Cloudflare Worker: Generating Projects
 Vedant Bothikar
Purpose
The purpose of this blog is to provide a step-by-step guide on how to generate a Cloudflare worker project using the Wrangler CLI.
Specifically, we will focus on the generate command of the Wrangler CLI. This command allows us to quickly generate a new Cloudflare worker project with a set of default files and configurations, which we can then customize to fit our needs. We will walk through each of the generated files and explain their function in the project, as well as cover any additional configuration steps needed to deploy the project.
Initial Steps
Open your code editor:
The first step to work on your Cloudflare worker project is to open a code editor of your choice. This could be any editor that you are comfortable with, such as Visual Studio Code, Atom, or Sublime Text.Go to the folder where you want to work on your worker project:
Next, navigate to the folder where you want to work on your Cloudflare worker project using your computer's file explorer. This could be a newly created folder or an existing one. It's always a good idea to create a separate folder for each project to ensure organization and avoid confusion.Open the terminal for this folder:
Now that you are in the desired folder, you need to open the terminal for this folder. This can be done by either navigating to the folder using your command prompt and opening the terminal or right-clicking on the folder and selecting "Open terminal" (this option is available in many code editors).
By following these three simple steps, you are now ready to start working on your Cloudflare worker project! You can now use the Wrangler CLI to generate a new project or continue working on an existing one.
Help Command
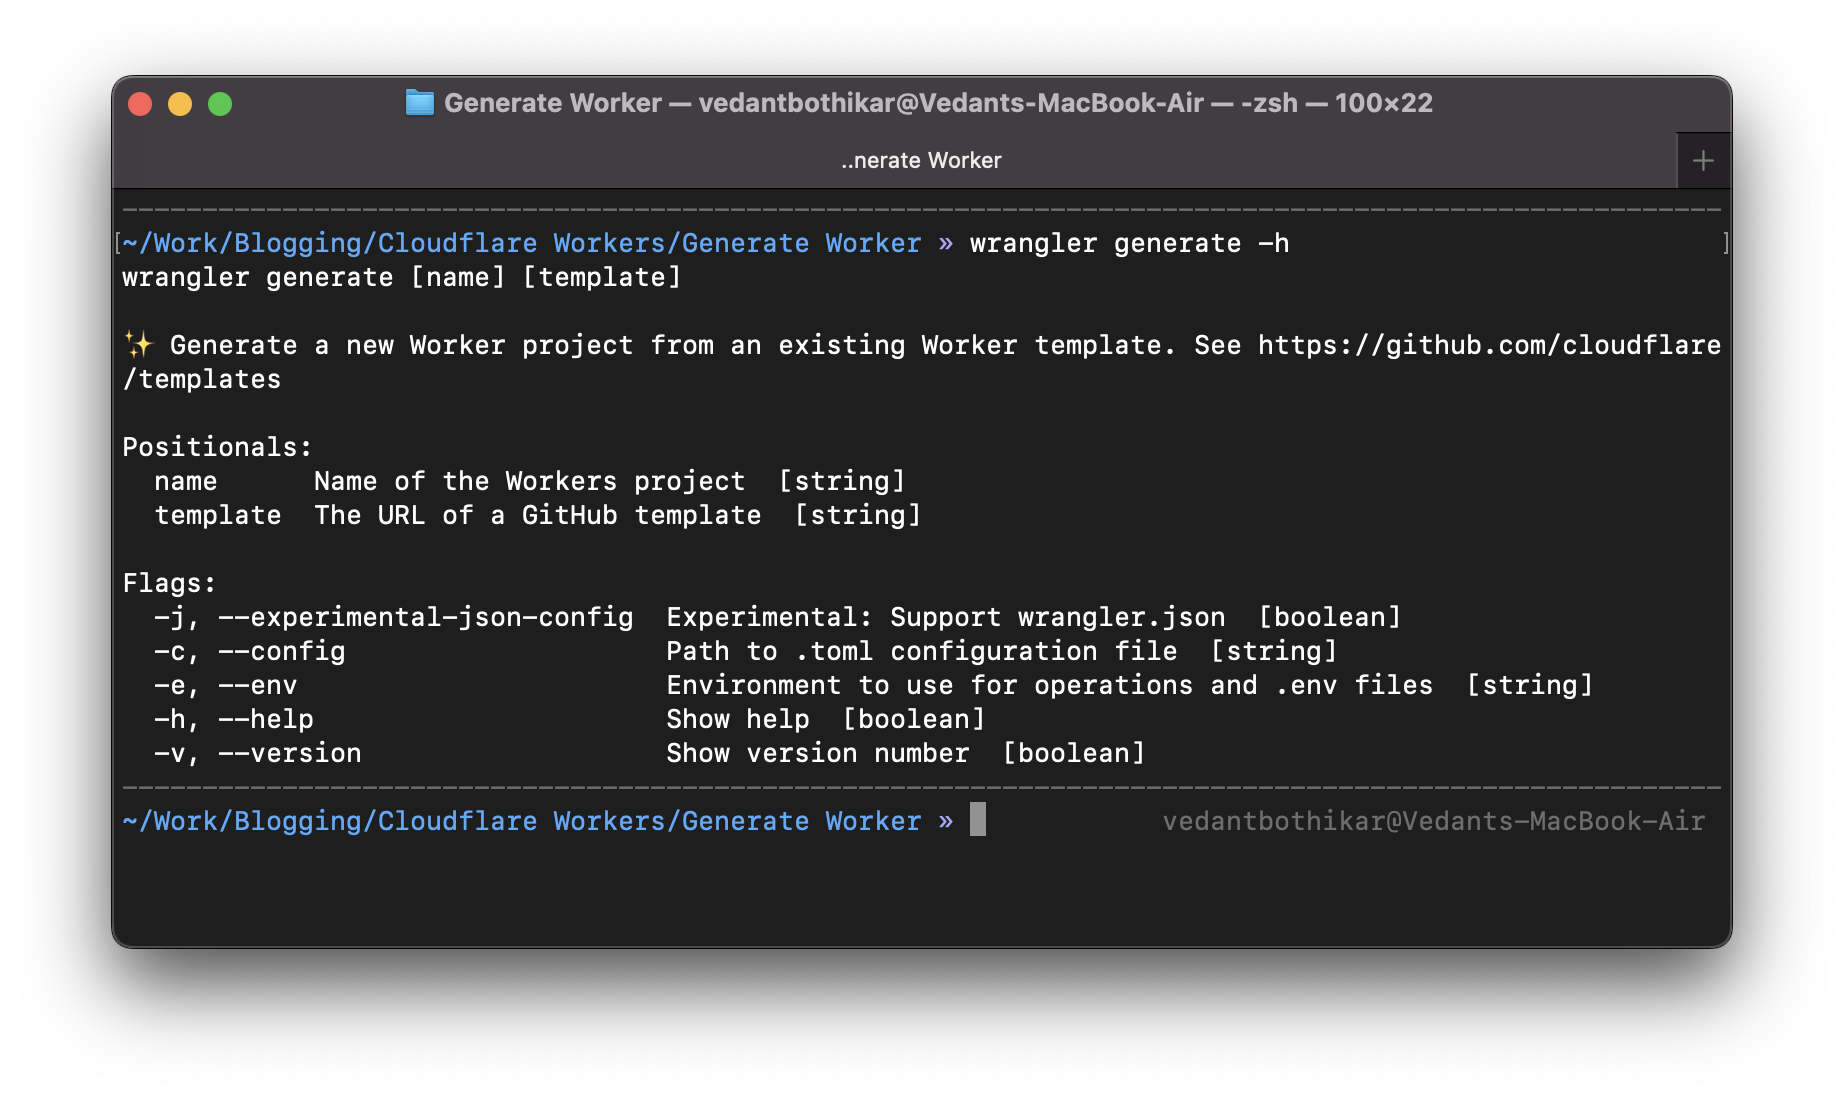
By using the wrangler generate -h command, you can access the help text for this command and utilize available options to customize your Cloudflare Worker project generation to your specific needs. This feature is especially handy for developers who are new to the wrangler CLI tool or need a quick refresher on how to use a specific command.
wrangler generate -h
2 ways of generating your Wrangler Project
There are two ways to generate a Cloudflare Worker project using the wrangler CLI tool.
Method 1
The first one is by using the wrangler generate command with just the project name. For example, you can generate a new project named my-worker by running wrangler generate my-worker. This command will generate a new Cloudflare Worker project with a default template.
wrangler generate <project_name>
Example:
wrangler generate myapp
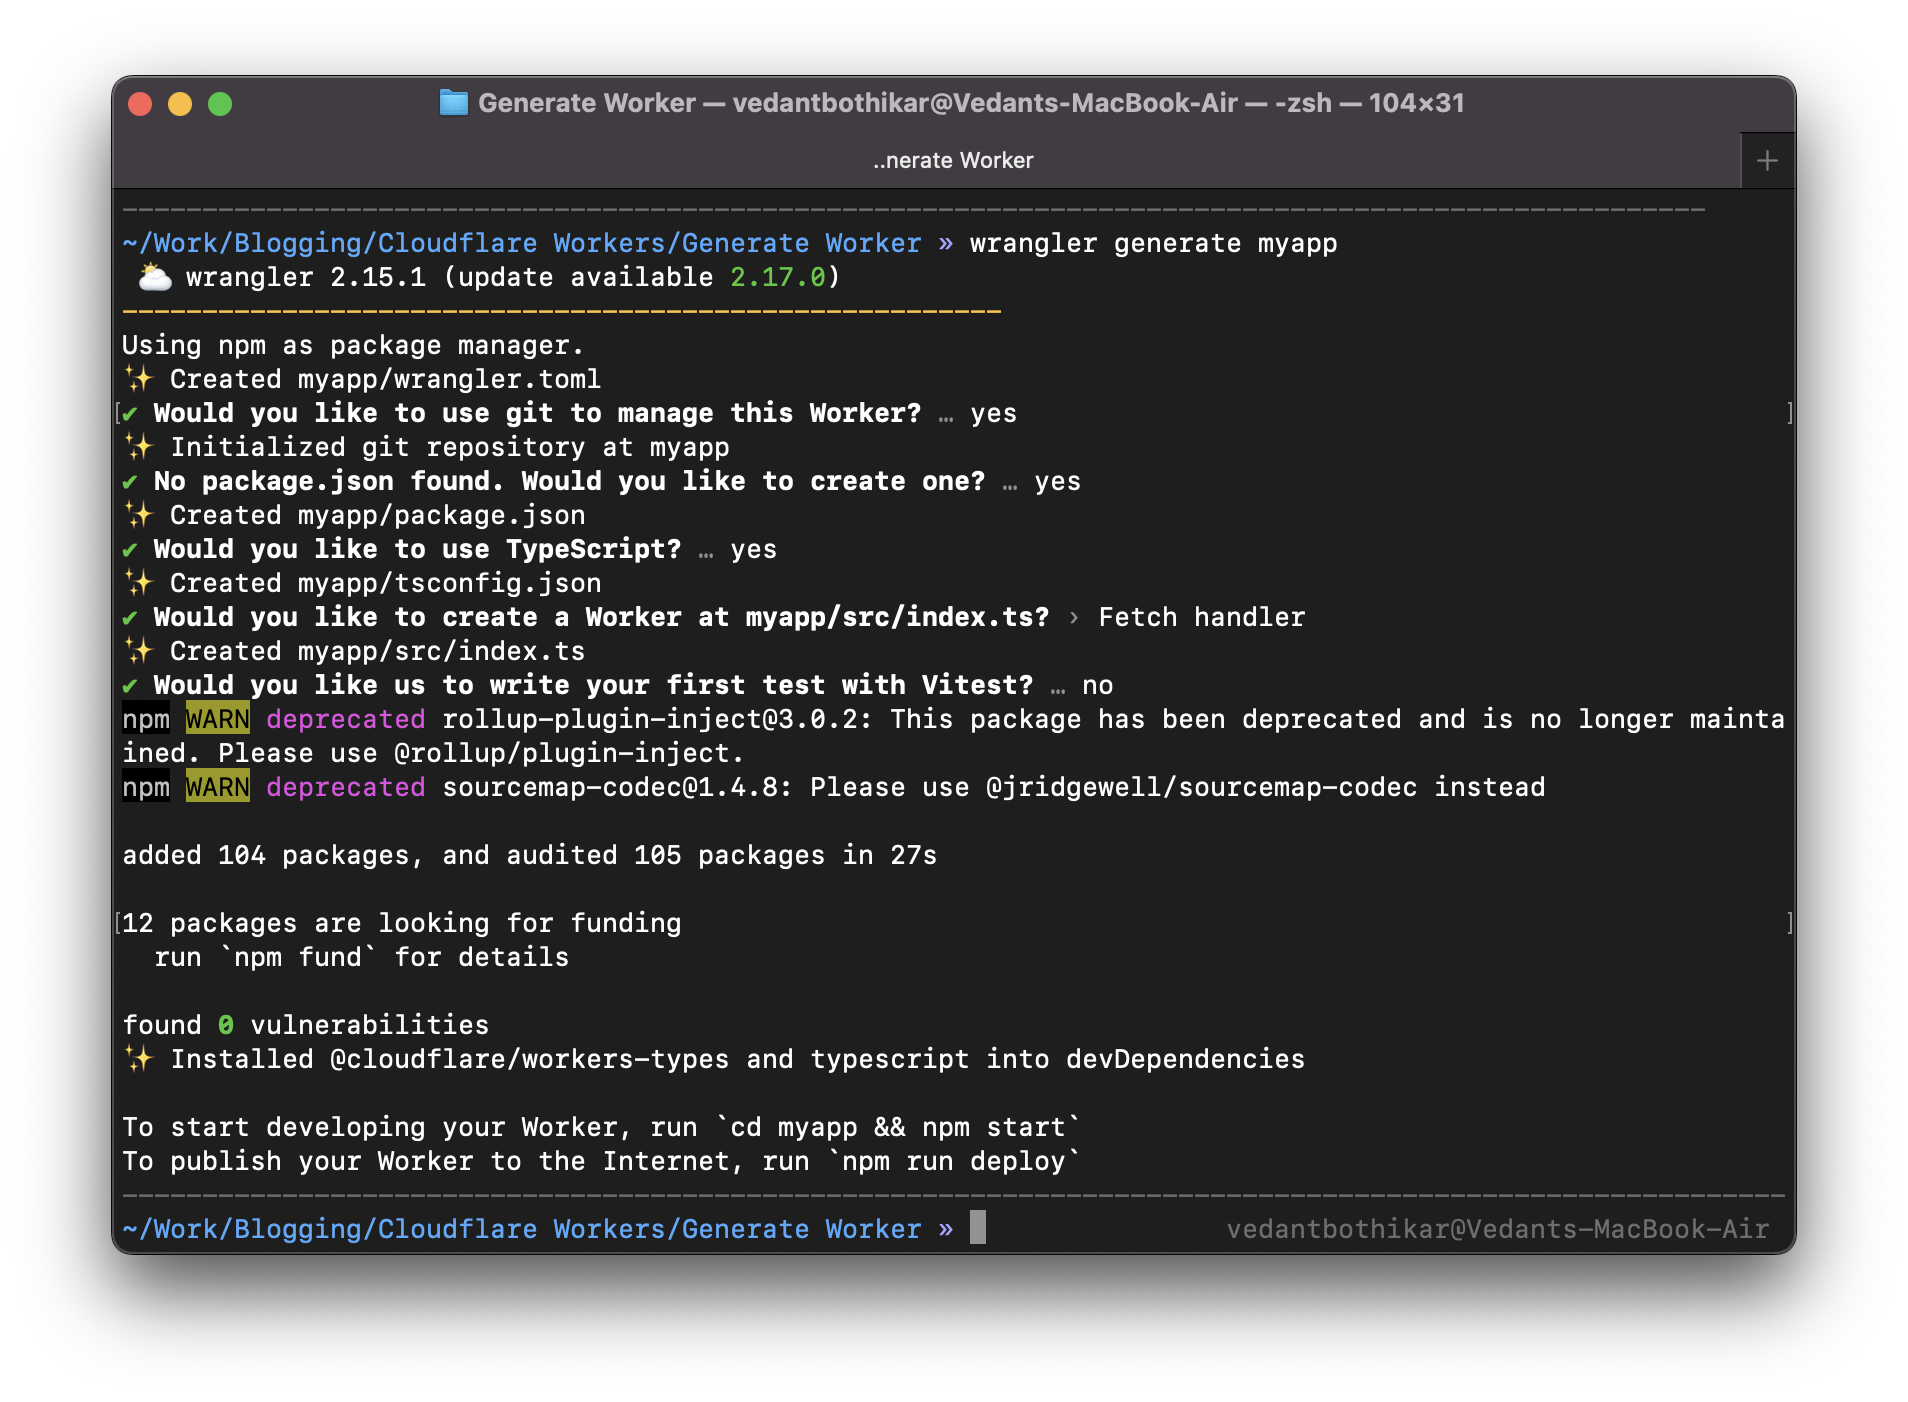
When you run the wrangler generate command with a specified project name (in this case myapp), wrangler will ask you a series of questions to help customize your new Project.
(You can have a look at what I have chosen below)
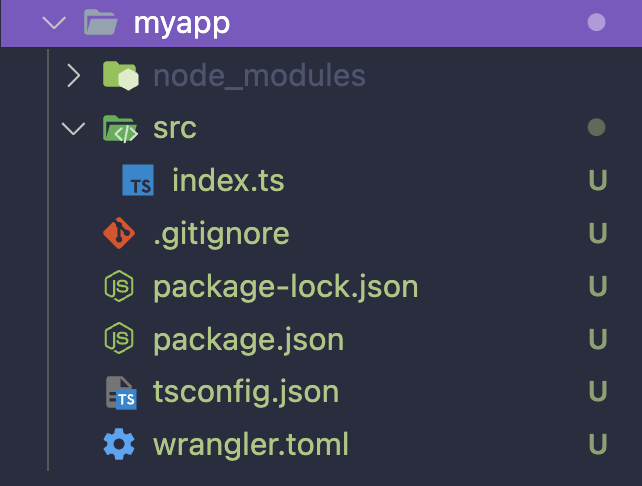
Once you've answered all the questions, wrangler will generate your new project with a pre-built folder structure, configuration files, and a starting point code.
Method 2
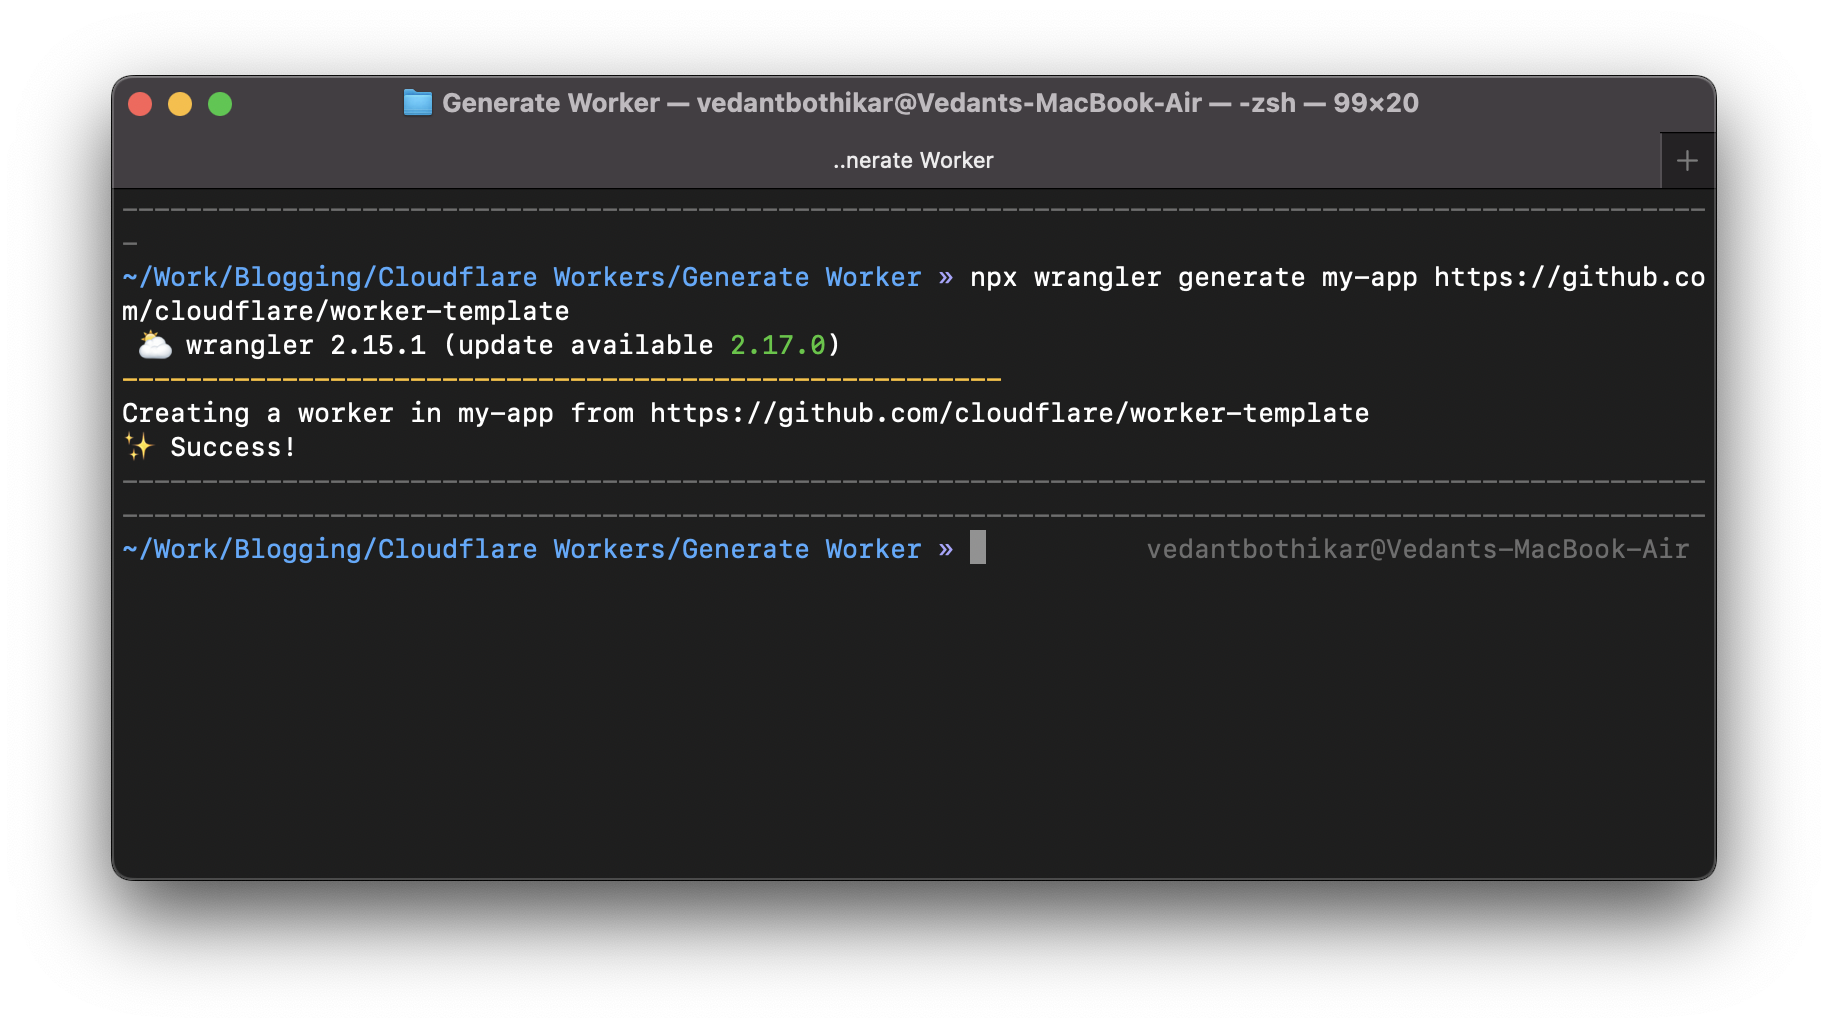
The second option is to provide a URL to the specific GitHub repository template you want to use to generate the project. You can do this by running wrangler generate followed by the new project name and the GitHub repository URL. For example, if you want to generate a project called my-worker using a specific GitHub template located at https://github.com/your-name/your-repo, you can run wrangler generate my-worker <https://github.com/your-name/your-repo\>. This will create a new Cloudflare Worker project using the specified GitHub repository as a template.
Using a specific GitHub repository allows you to generate a project with your preferred setup, dependencies, and environment configuration. You can customize your project based on your programming language, and leverage the community templates to build on existing solutions. This is especially helpful when working on large projects or collaborating with a team.
wrangler generate <NEW_PROJECT_NAME> <GITHUB_REPO_URL>
Templates can be found here:
https://github.com/cloudflare/workers-sdk/tree/main/templates
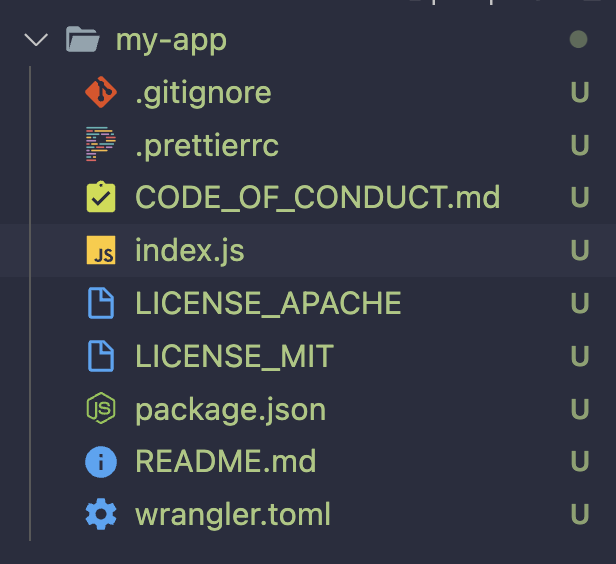
Refer to this for getting started:
https://developers.cloudflare.com/workers/get-started/quickstarts/
Overall, wrangler CLI provides two flexible options to generate your Cloudflare Worker project. Whether it's starting with a default template or creating a new project based on a GitHub repository, wrangler makes it easy to set up your project quickly and efficiently.
What are these files?
index.jsfile in a Cloudflare Worker project is the main entry point for the application. It defines the code that will run on Cloudflare's serverless platform and determines the behaviour of the worker in response to incoming requests.
The purpose ofindex.jsin a Cloudflare Worker project is to define the worker's routing behaviour and logic for processing incoming requests and generating responses. It essentially serves as the backbone of the worker project, dictating how the worker should function and respond to client requests.package.json: This is the package configuration file for Node.js projects, and it includes information about the project's dependencies, scripts, and other metadata.wrangler.toml: Configuration file for Wrangler. It contains the details needed by thewranglerCLI to communicate with the Cloudflare API. It includes details about theaccount_id,route,name, and other project-level configurations.
What are some other Wrangler Commands?
Refer to this page for more commands provided by Wrangler:
https://developers.cloudflare.com/workers/wrangler/commands/
That's it! Now you have the starter code. You can begin building your application.
Other Cloudflare Worker Articles
Cloudflare Worker Setup: https://vedantbothikar.hashnode.dev/cloudflare-worker-setup)
Subscribe to my newsletter
Read articles from Vedant Bothikar directly inside your inbox. Subscribe to the newsletter, and don't miss out.
Written by

Vedant Bothikar
Vedant Bothikar
Software Engineer