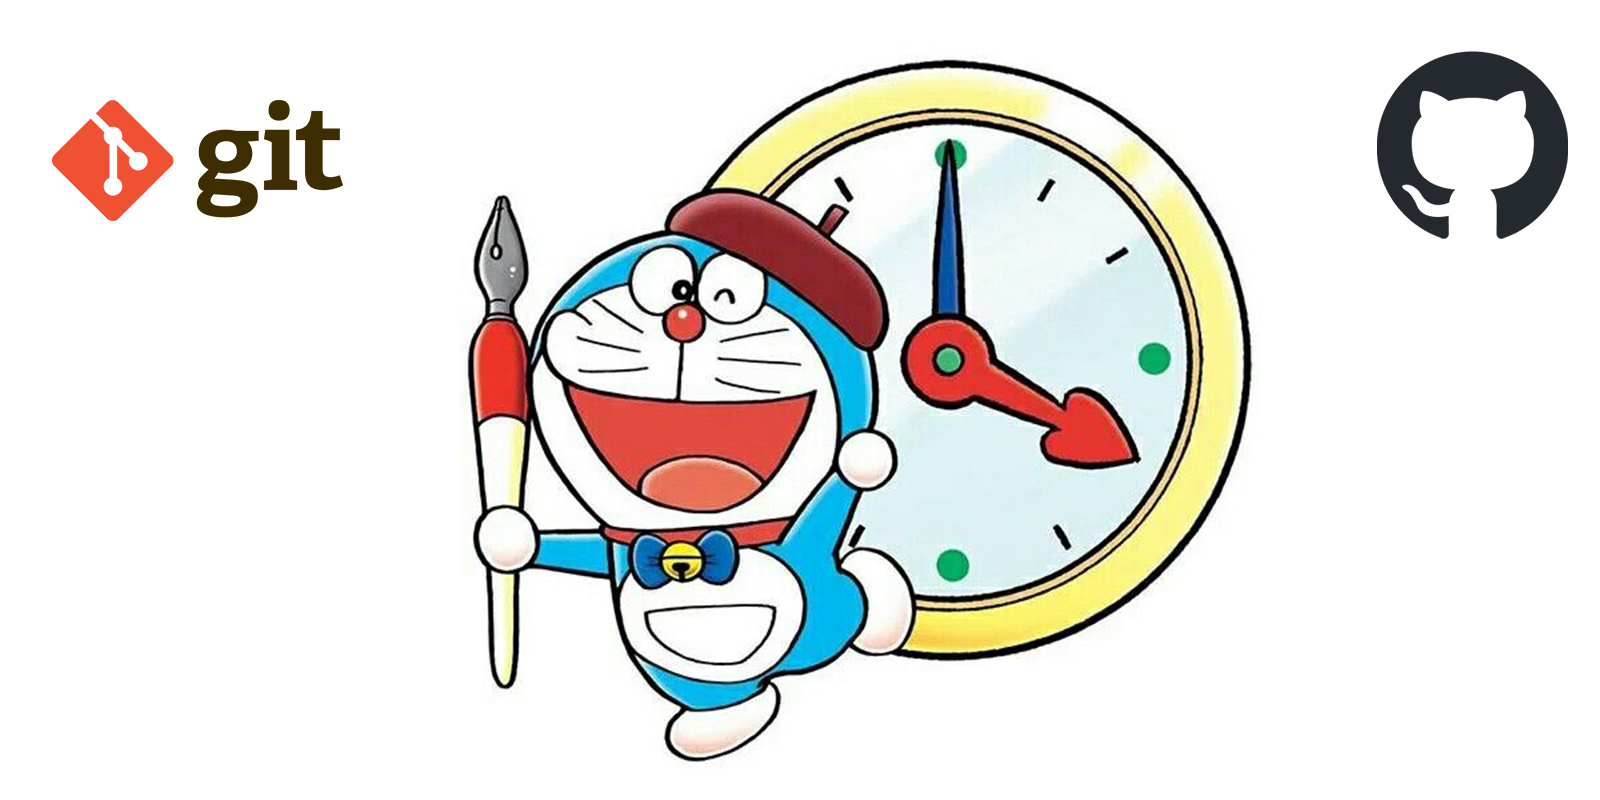
Git: A solo time travel 🧍♀️🕢🚀; GitHub: Time Travel in a Collaborative way 🧑🤝🧑🕢🚀
 Harsha Bayyaram
 Table of contents
- GIT explanation with Basic example :
- GitHub explanation with a Basic example :
- GitHub Branches explanation using a basic example:
- Concluding basic Example :
- So getting into Reality example for Git and GitHub :(Software workflow )
- Git Definition
- GitHub Definition
- Uff! Ohoo Bored with examples and documentation definitions then let's dive into the Commands :
- Ok with commands jump into executing a basic flow :
- Conclusion: What am expecting from you...

Greetings, readers! Today, we are gonna deep dive into the world of Git and GitHub using our childhood love Doraemon as our example. First, we gonna discuss theoretically with an example then jump into the core commands part. In the world of Doraemon, where magical gadgets make the impossible possible, imagine having a tool that allows you to travel through time, effortlessly undo mistakes, and collaborate seamlessly with others. Just like Doraemon's gadgets, Git and GitHub provide developers with incredible powers in the kingdom of software development. Let's light up on the journey to understand how Git and GitHub work and how they can transform the way we build software.
- Hmm, If you are into software engineering / Development You must know about Git and GitHub
OK, whoever is not aware of Doraemon :
Doraemon is a popular Japanese manga (comic) and anime (animated TV series) created by the duo Fujiko F. Fujio. It tells the story of a robotic cat named Doraemon, who travels back in time from the 22nd century to help a young boy named Nobita Nobi.
GIT explanation with Basic example :
Git is like Doraemon's time machine, allowing you to revisit different versions of your code. Just as Doraemon can take you back in time to rectify mistakes, Git enables you to traverse through commit history, revert changes, and explore different branches. It tracks every modification, creating a timeline that acts as a safety wall to our code. With Git, you can experiment fearlessly, knowing that you can always revert to a previous state if needed.

Git is a solo time travel machine I mean that only one user can travel to his past and can copy and rectify changes. Like in Doraemon, Nobita checks his childhood and rectifies things for his comfort.

As shown in the picture " future Nobita came to see old Nobita and making fun of him" in the same way, Git allows a single user to go to his previous versions and perform any actions.
GitHub explanation with a Basic example :
Similar to Time travel using Doraemon's time machine but now not one but in a collabrative way with others(just like Doraemon and his friends working together on exciting adventures). GitHub provides a centralized platform where developers can share their code, contribute to projects, and work together seamlessly. GitHub allows multiple developers to sync their code, merge changes, and resolve conflicts effortlessly. Just like Doraemon's TimeMachine takes people to the past time, GitHub fosters teamwork and empowers developers to build amazing things collectively.

GitHub Branches explanation using a basic example:
Branches in GitHub Doraemon's time machine can create parallel universes and alternate timelines. Similarly, GitHub offers branches that allow developers to work on different aspects of a project simultaneously. Each branch represents an independent line of development, allowing for experimentation, feature implementation, and isolation of changes. Branches enable developers to work in parallel, explore different ideas, and merge changes when ready.
Concluding basic Example :
Just as Doraemon's magical gadgets enhance the lives of Nobita and his friends, Git and GitHub transform the way developers work and collaborate. Git acts as a time-travel machine, giving you the power to navigate through code history, while GitHub serves as a collaborative playground, enabling seamless teamwork. Embrace the magic of Git and GitHub, and unlock new possibilities in your software development journey, just like Doraemon and his friends exploring exciting adventures together.
By using this Doraemon analogy, we can see how Git acts as a time machine, allowing developers to navigate through different versions, while GitHub serves as a magical pocket for storing, sharing, and collaborating on code. Together, Git and GitHub enable seamless version control and efficient collaboration, just like Doraemon and his friends working together on exciting adventures.
So getting into Reality example for Git and GitHub :(Software workflow )
Let's say the company "H*E solutions", have several different projects. Probably 10-15 people might be working on a particular project. So each and every person will be handling different parts of the project. Say the project is to build a Blogging website. So one person will be working on the HTML part, another person will be working on the styling and design (CSS), the third person is working on Javascript and the remaining are working on the back-end, that is the server side which includes the database and servers.
After finishing each feature of the project, each of them will upload their code to a common folder in the cloud. Before the code is saved to the folder, the code will be reviewed by the other members of the company, so that there are no errors in the code. If everything is OK, then the code is moved to the common folder. Or the reviewer may suggest changes, and after the changes are done, and if the reviewers approve, then it can be moved to the main folder.
This is the basic workflow that happens in a company. Now to be very specific, the common folder in the cloud is called a repository or repo for short. The cloud in which the repository is present or say hosted is the so-called Github and the thing we use in our local system to track changes using commands is called Git. I Hope you guys are getting it.
Git Definition
Git is basically a version control tool that helps a developer to track what all changes he/she has done in the code.
GitHub Definition
GitHub is the cloud-based hosting service for Git repositories. It is a tool built on top of Git. In simple terms, it provides a graphical interface that interacts with Git repositories. It makes it easier for individuals and team to use Git for version control and collaboration features such as bug tracking and feature request for every project.
Uff! Ohoo Bored with examples and documentation definitions then let's dive into the Commands :
Firstly install git in your local machine from " https://git-scm.com/downloads "
Then create a folder and open the command prompt at that location and type the" git init " command to start tracking that folder
git initThis ' git init ' command adds a hidden folder " .git " in your folder.
Create files as usual and edit your programs
Now time to track things, Staging and Committing Changes: You want to save this version of the code to Git. First, you add all the file to the staging area by running:
git add .This tells Git to track all the changes in the main folder.
git add <file>Adds a file or changes to the staging area, preparing them to be committed. You can specify individual files or usegit add .to add all changes in the current directory.Next, you commit the changes with a descriptive message:
git commit -m "comment-you-want-to-add"Now here version of code up to commit is stored with git and now we can use this point-of-time code anytime in our local system. But to make this accessible to other developers/colleagues we need to upload this to some cloud. So, here comes our hero of the collaboration remotely GITHUB
Creating a remote repository in GitHub :
--> Sign in to your GitHub account. If you don't have an account, you can create one for free at https://github.com/join.
--> Once you're signed in, click on the "+" (plus) button in the top-right corner of the GitHub interface. A dropdown menu will appear.
--> From the dropdown menu, select "New repository." You'll be taken to the "Create a new repository" page.
--> After providing the necessary information, click on the "Create repository" button. GitHub will create the repository and take you to the repository page.
--> Open the repository page on GitHub by navigating to the repository you want to copy the link for.--> Look for the green "Code" button on the right-hand side of the page, just above the file list. Click on it.
--> A drop-down menu will appear. Click on the clipboard icon next to the repository URL to copy the link. The link is automatically copied to your clipboard.
Collaborating and Pushing Changes: Now, you want to share your work with your friend or push it to a remote repository like GitHub. You add a remote repository URL using:
git remote add origin <remote repository URL>Then, you push your local changes to the remote repository with:
This sends your committed changes to the remote repository.
git push -u origin mainYou can always check the status of your folder is committed or not into git by using the command :
git status
Ok, now you can see your code directly in our git hub repository online and other developers can access this code and clone it into their own system and develop their own changes and add code then repeat the same process of committing and pushing changes to the GitHub. Then GitHub acts as a medium between your fellow developer and you without any efforts
10. git cloning command :
git pull origin <remote-branch-name>
Ok with commands jump into executing a basic flow :
create a folder in your local machine
open the command prompt and type:
git initnow edit your code and make developments and enter the below command to check what are files edited :
git statusNow add all files to stagged area by entering the command :
git add .Now commit the changes by giving a comment:
git commit -m "message"Again repeat the same steps and develop changes in your code
At any point, you want to check the previous committed code then enter the git log to check the list of all the commits made hash code
git logNow copy the hash code where you want to jump into and enter the below command :
git revert <Hash-code-of-commit>Now your folder updates to the last commit made earlier.
So, If you want to make a collaboration in a cloud with others enter:
git remote add origin <URL-of-repository>Now push your code by entering the command :
git push -u origin mainAnd there you go you are done with a beginner tutorial of git and GitHub with hands-on experience.
Conclusion: What am expecting from you...
Once try Github and git by creating your own repository and installing git in your local machine and initialize the folder with git init and follow the same procedure. feel free to comment down about any changes or corrections or suggestions regarding examples and commands. Of course, even though I am also learning Git and GitHub your valuable suggestions help me grow.
I hope this article is useful to you. Thanks for reading, and keep learning, keep growing! 🤍

Subscribe to my newsletter
Read articles from Harsha Bayyaram directly inside your inbox. Subscribe to the newsletter, and don't miss out.
Written by

Harsha Bayyaram
Harsha Bayyaram
I am a an engineer, developer, Article writer.