Install and Run Jenkins With Docker Compose
 Charan kumar
What is Jenkins?
Jenkins is an open-source automation tool used for continuous integration and continuous delivery (CI/CD) of software applications. It is a Java-based web application that can be run on a server and can be used to automate building, testing, and deploying software applications.
What is Docker Compose?
Docker Compose is a tool that allows you to define and run multi-container Docker applications. It is used to simplify the process of managing multiple Docker containers that need to work together as part of an application.
Steps:-
Step 1 — Launch EC2 T2 Medium Instance
Step 2 — Execute Docker Compose Up command to execute Jenkins
Step 3 — Verify the logs
Step 4 — Access Jenkins in UI
Step 5 — Create a Jenkins job, and restart the Jenkins instance
Step 6 — Confirm to see if the job is still there i.e. persisted.
Now, let's get started and dig deeper into each of these
Step 1 —Launch EC2 T2 Medium Instance and enable Port 8080
Launch an AWS EC2 T2 Medium Instance. Use Image as Ubuntu. You can create a new key pair or choose an existing one. Enable HTTP and HTTPS Settings. Click on the launch instance
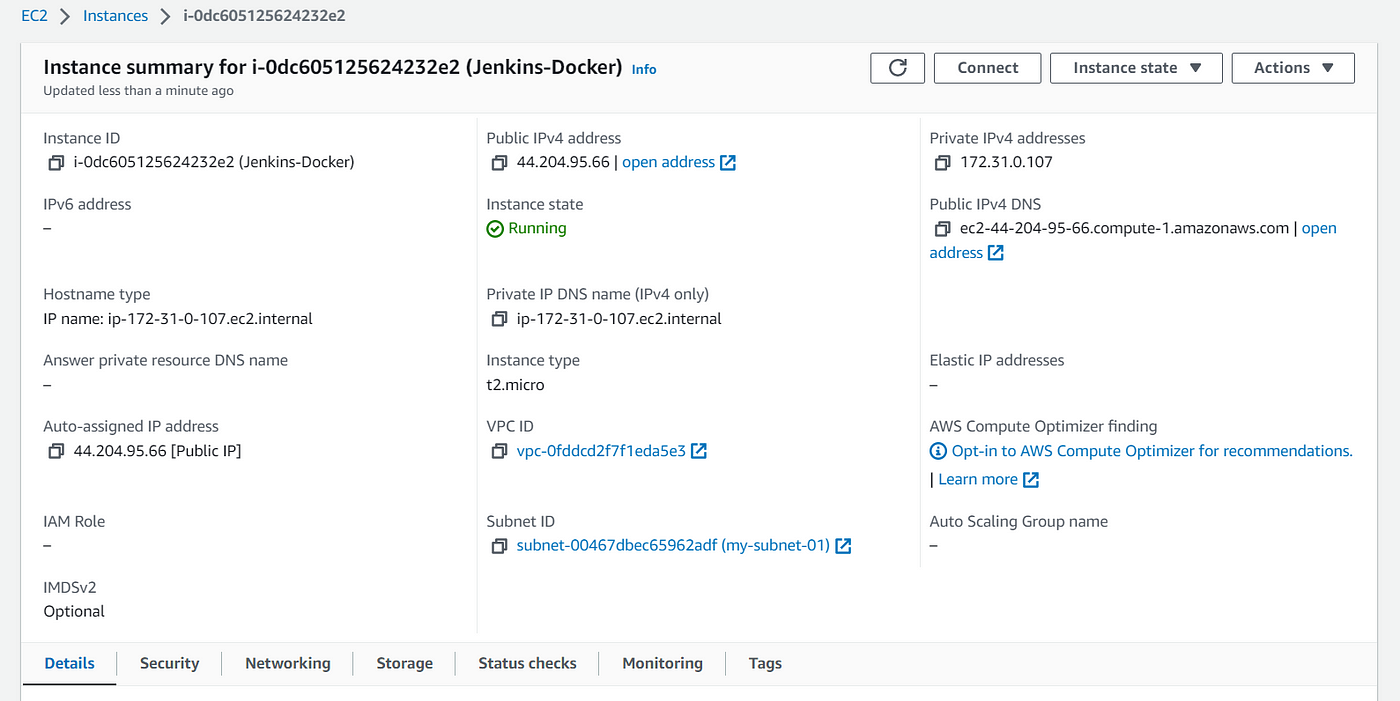
Now, goto Security Settings →Edit inbound security rule →Add rule → enable Port 8080 from anywhere and click on Save Rules

Step 2 — Install Docker Compose and create docker-compose.yml
Enter these below commands on your terminal
sudo hostnamectl set-hostname Jenkins
sudo apt-get update
sudo apt-get install docker-compose -y
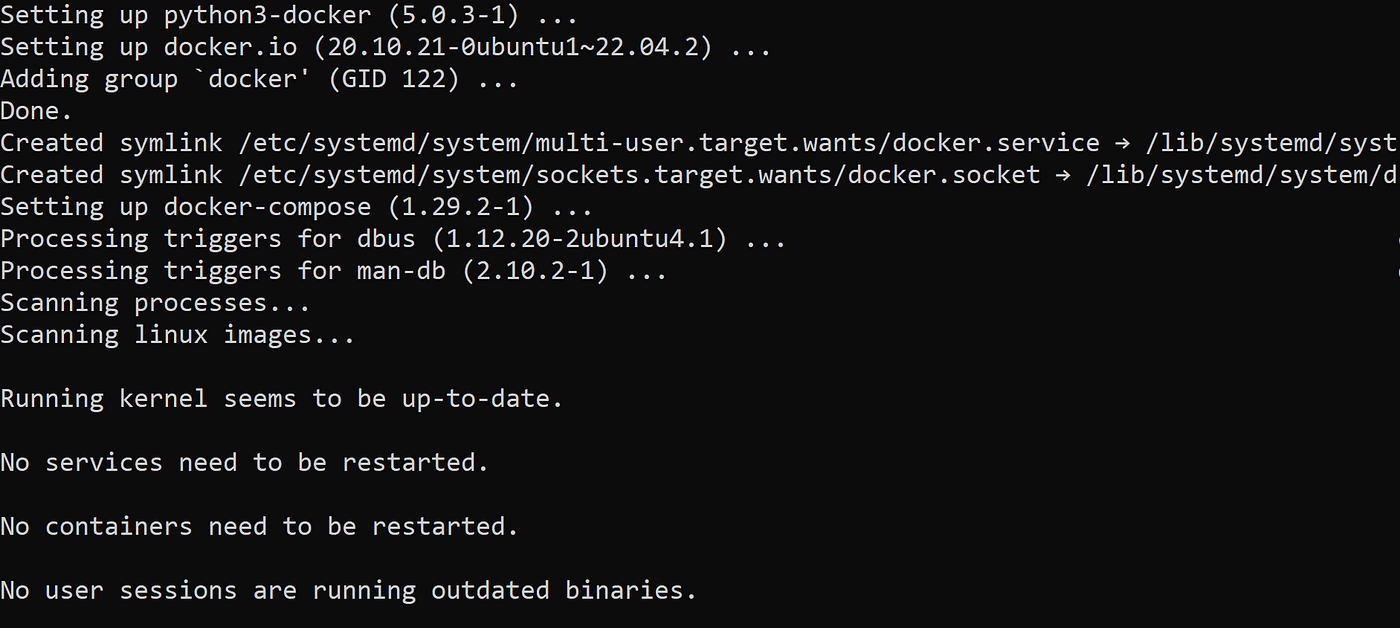
When you install docker-compose, docker also gets installed by default.
The output would look like this
Create docker-compose.yml using vi docker-compose.yml
version: '3'
services:
  jenkins:
    image: jenkins/jenkins:lts
    restart: always
    privileged: true
    user: root
    ports:
      - 8080:8080
      - 50000:50000
    container_name: jenkins
    volumes:
      - /home/ubuntu/jenkins_compose/jenkins_configuration:/var/jenkins_home
      - /var/run/docker.sock:/var/run/docker.sock
Press escape. To save and quit, enter wq. Now, let's go into the details of this file
The above configuration will allow us to create a container with the latest version of Jenkins (LTS). The most important elements of this configuration are:
image — determines the image we want to use.
ports — defines what ports we want to make available from the container to the outside. In our case, it will be ported to 8080 (www) and 50000 (API)
container_name — the name of our container
volumes — these are the virtual volumes used by the container. In our case, we have a Jenkins_home directory, which is on our system, and an additional two volumes that allow us to use Docker from Jenkins.
To execute this,
sudo docker-compose up -d
The output would look like this
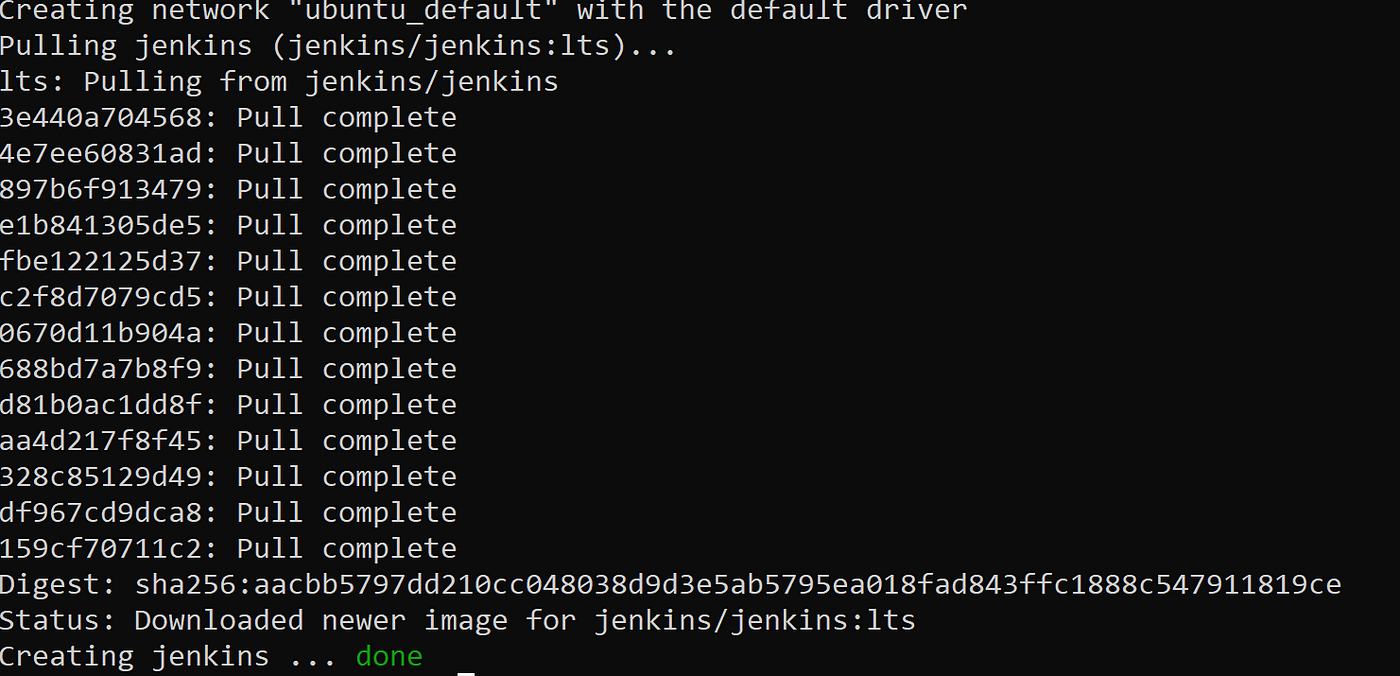
The image is getting downloaded from the docker hub and finally, the container will get created. Jenkins has been created
Step 3 — Verify the logs
sudo docker-compose logs --follow

Now, you have the admin password from here.
Using the public IP Address of your EC2 Instance, you should now be able to access Jenkins
<public IP Address EC2 Instance>:8080
Congratulations…. Jenkins is now installed
Step 4 — Access Jenkins in UI
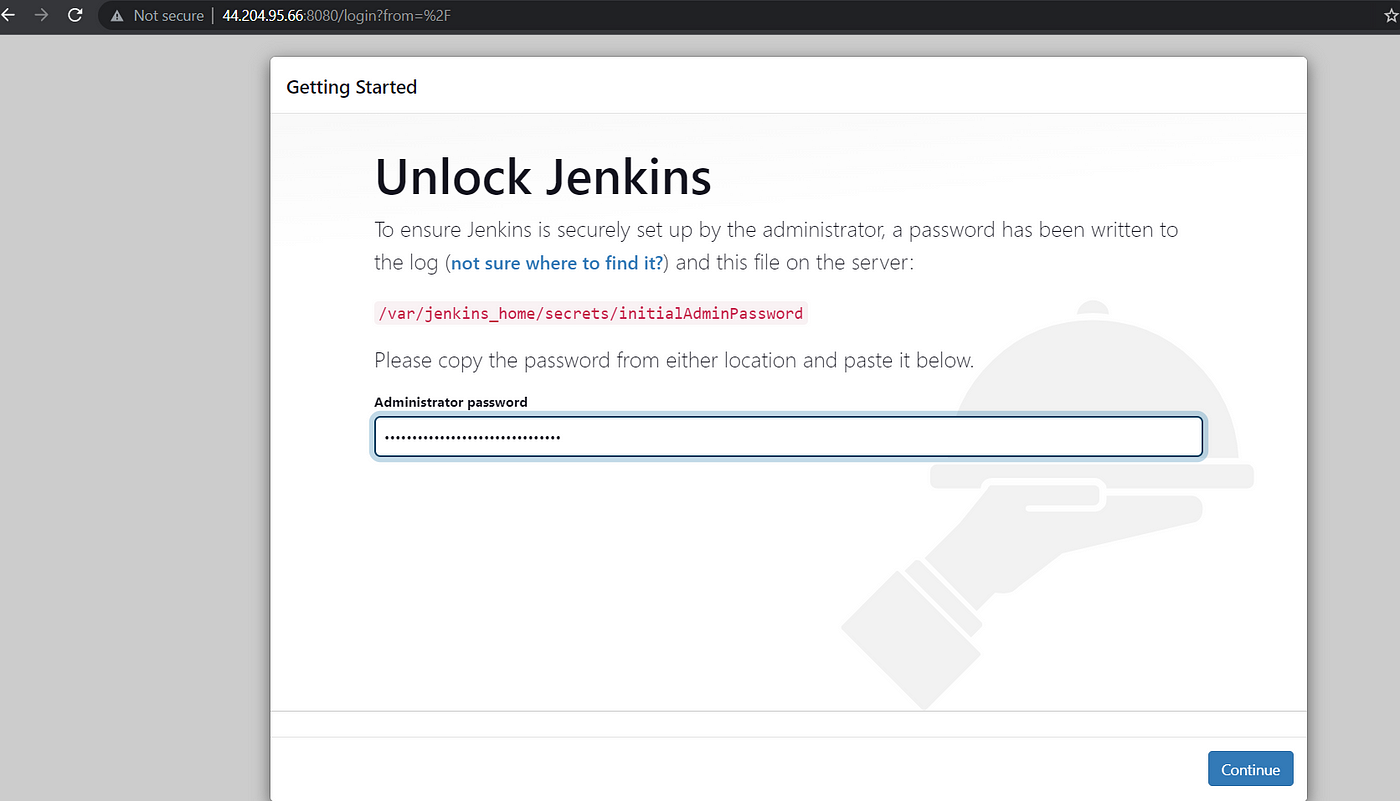
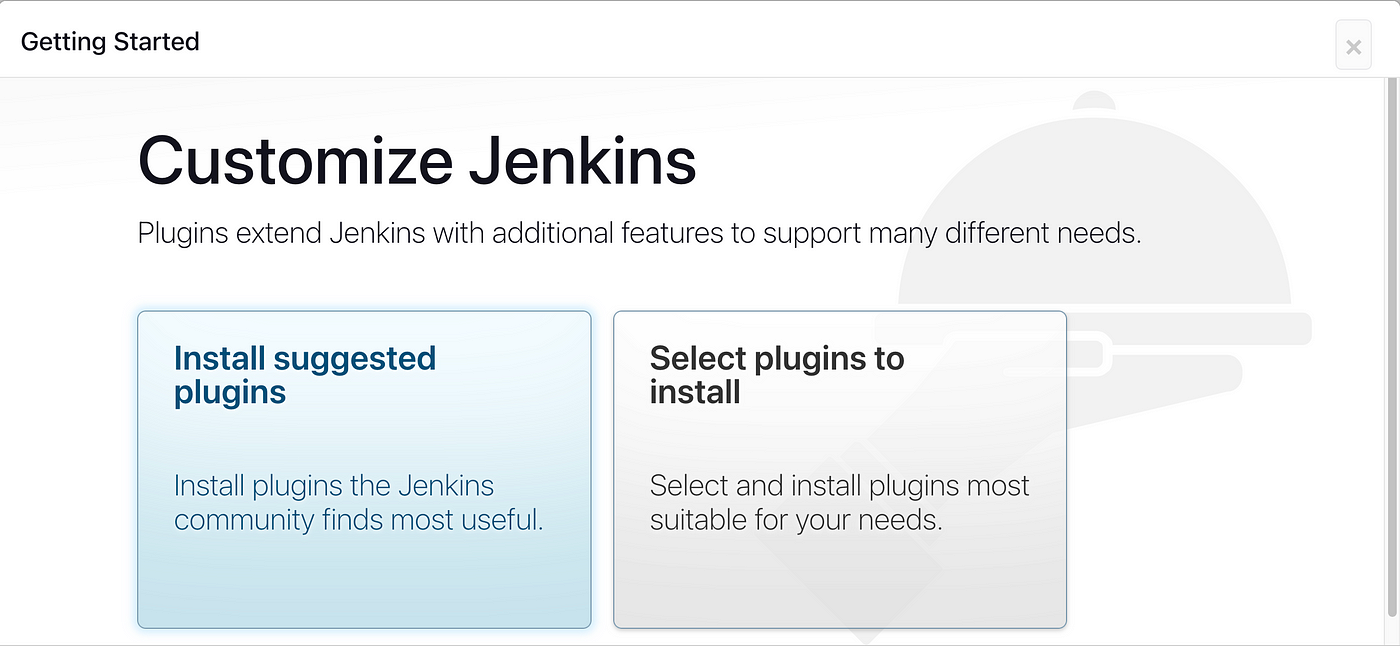
Click on Install suggested plugins
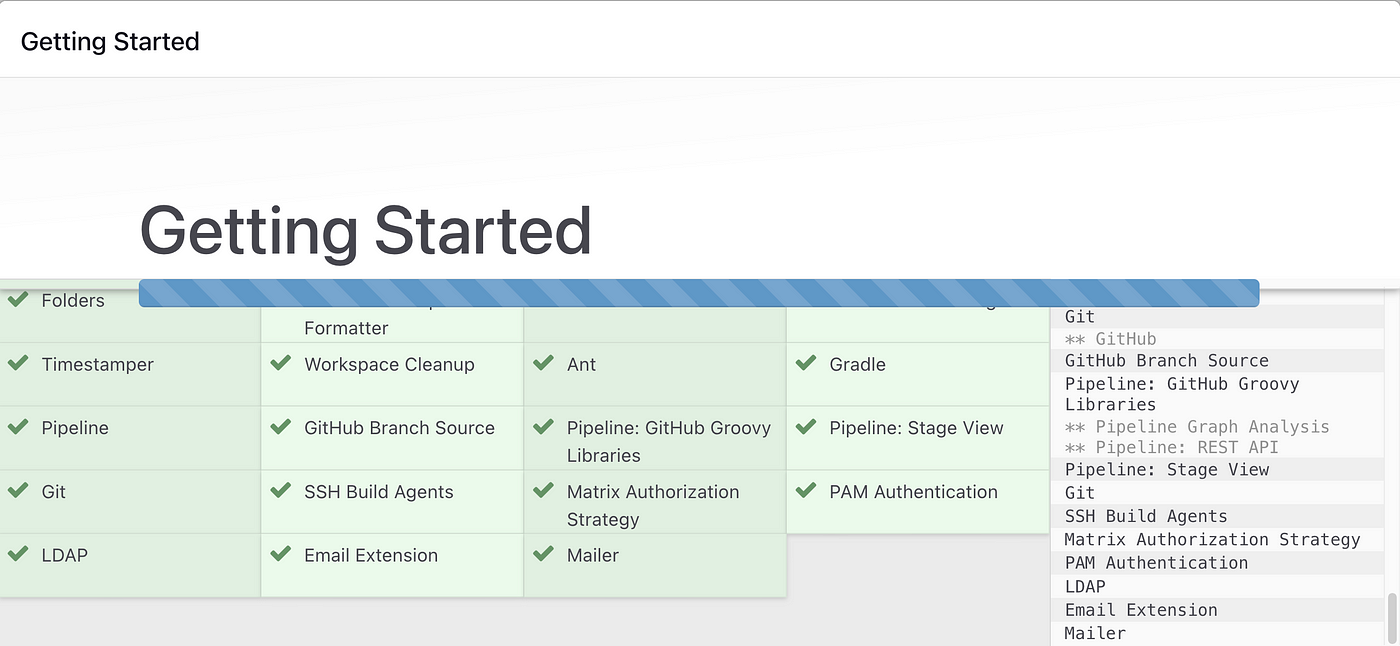
Wait for the Jenkins to Install suggested plugins
Create First Admin User or Skip the step [If you want to use this Jenkins instance for future use-cases as well, better to create an admin user]
Jenkins Installation is Successful. You can now start using the Jenkins

You have successfully installed Jenkins using Docker Compose
Step 5 — Create a Jenkins job, and restart the Jenkins instance
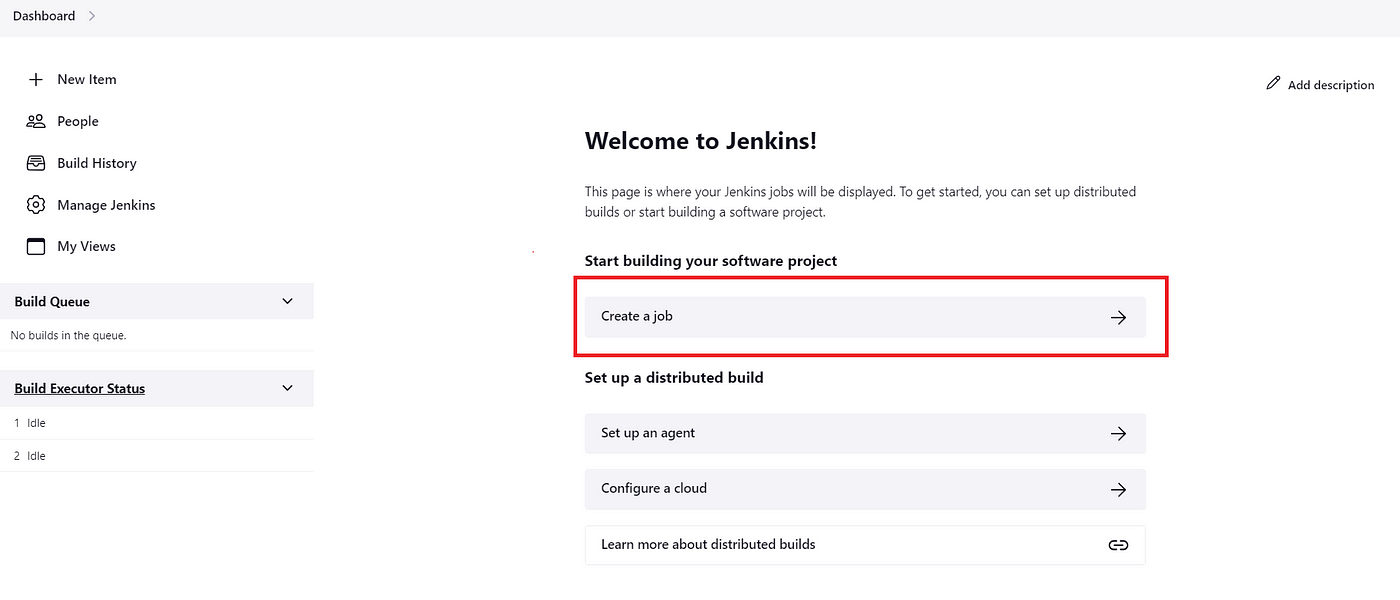
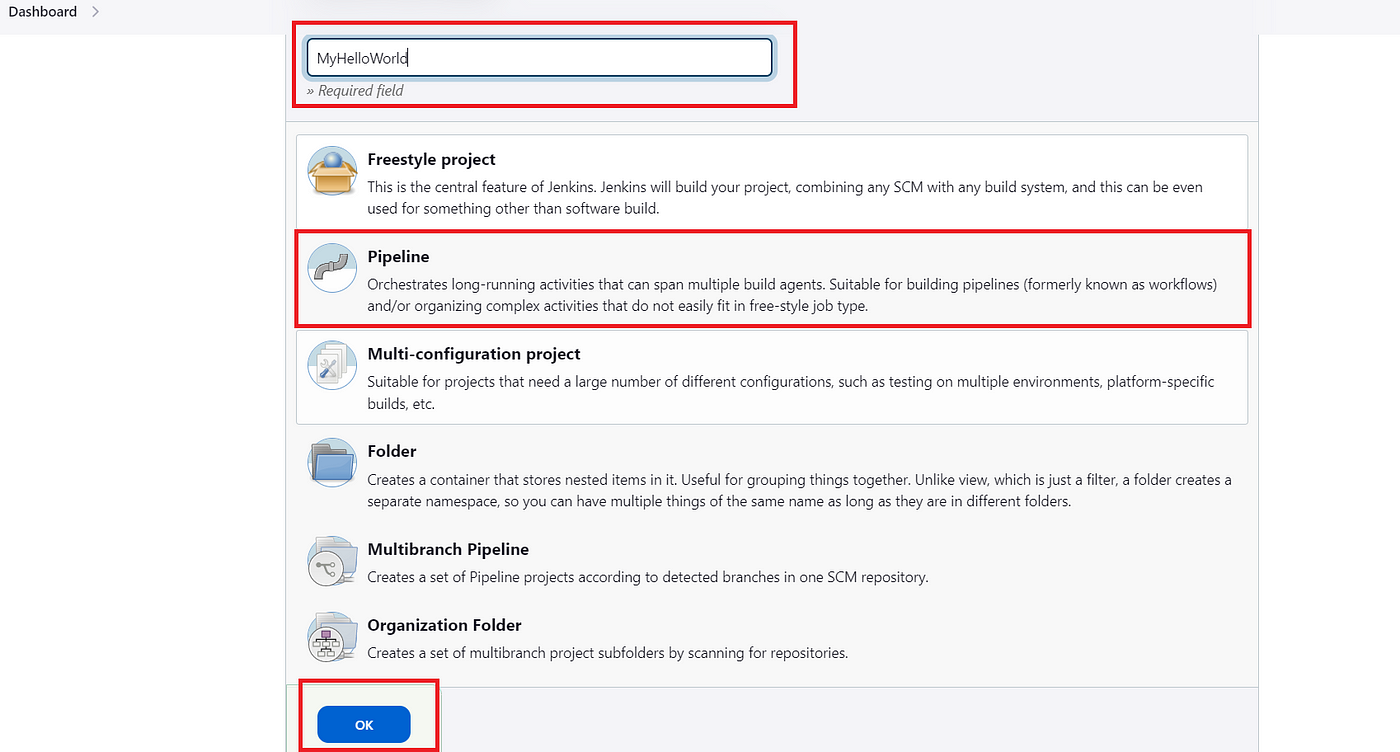
Create a job →MyHelloWorld →Click on Pipeline and hit OK at the bottom of the page.

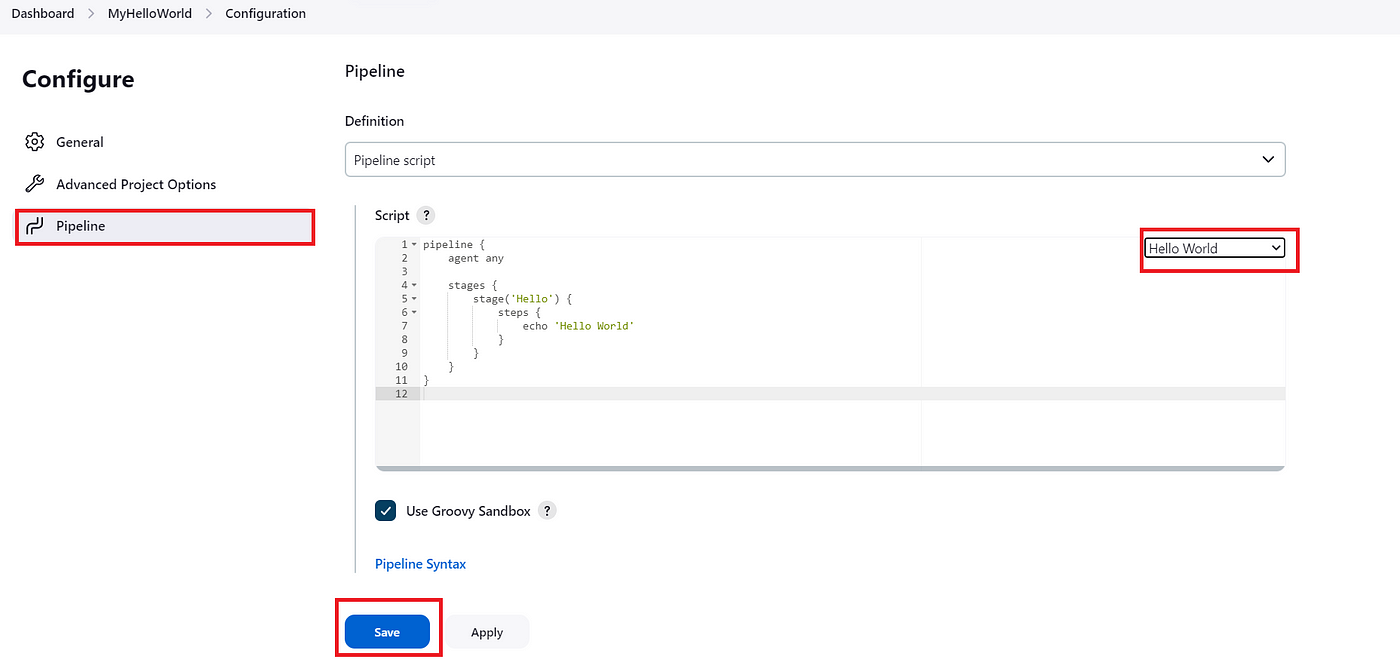
Goto Pipeline → From the drop down select “Hello World” →Click on Apply and Save →Build now
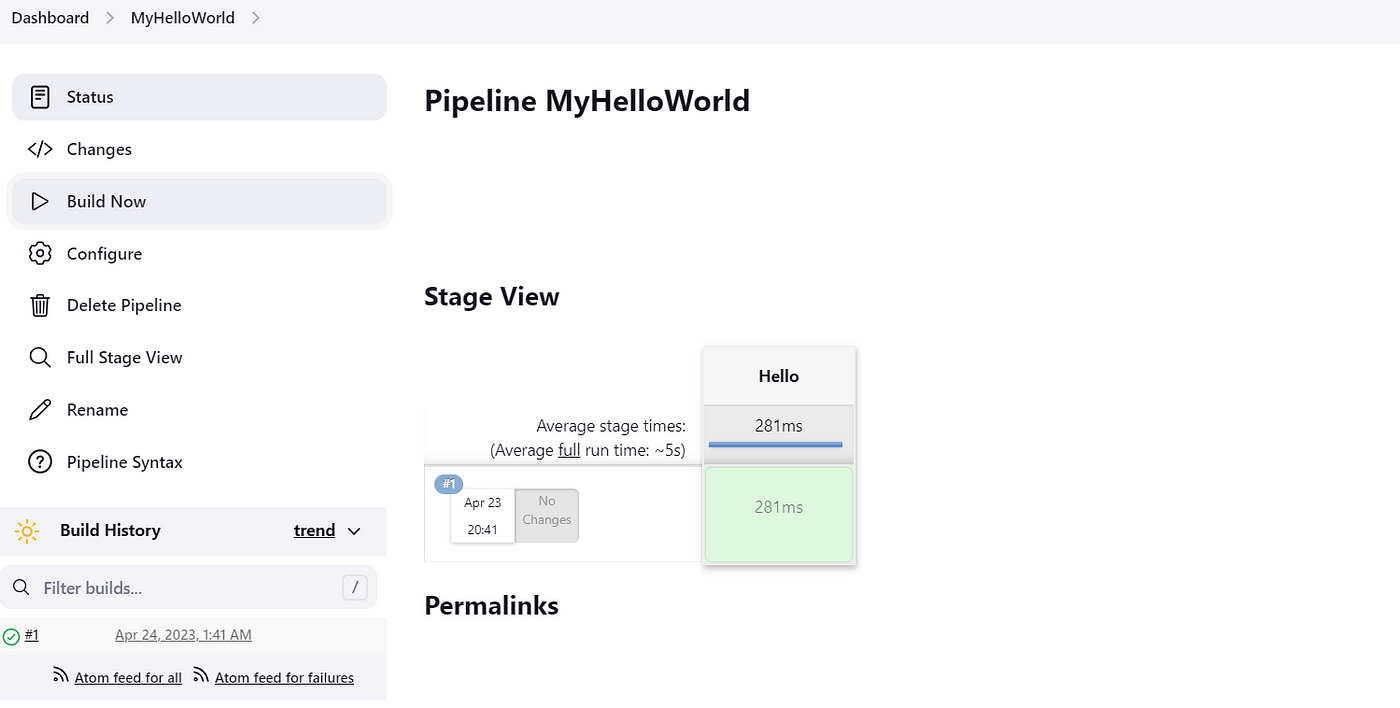
You will be able to see the Stage View below
Step 6 — Confirm to see if the job is still there i.e. persisted.
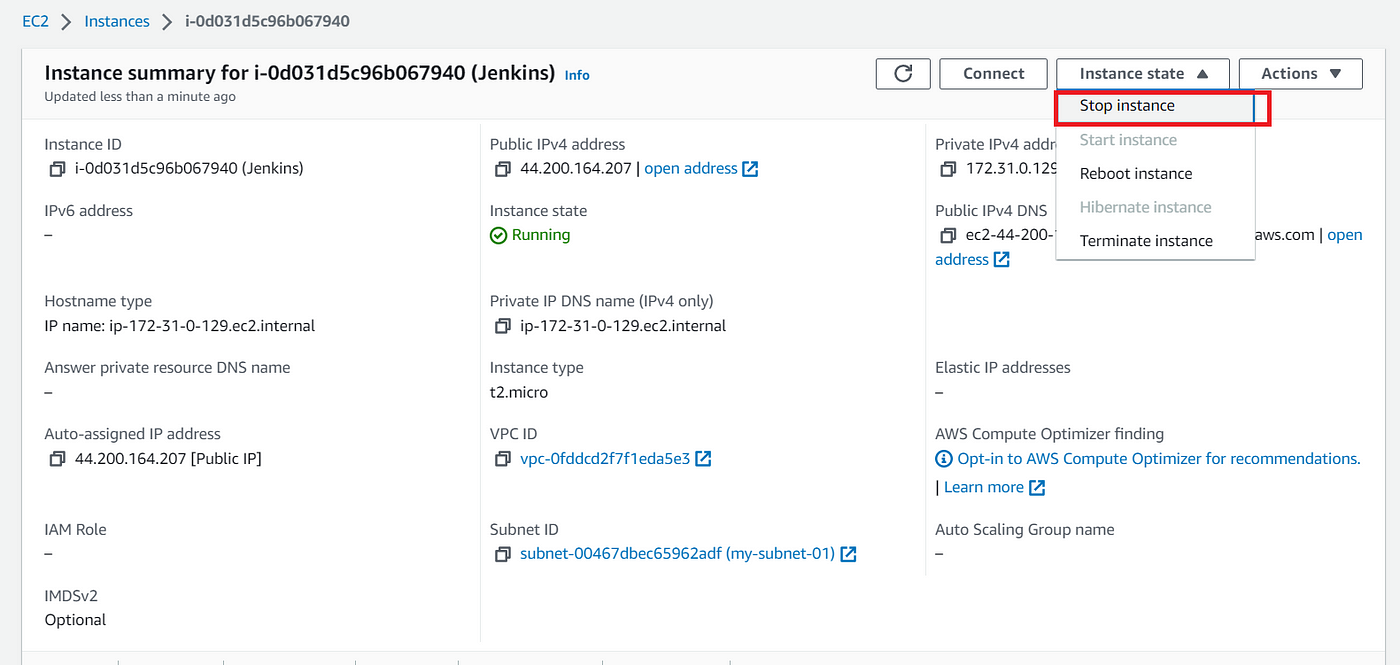
We will stop the EC2 Instance from our console, and click on Stop Instance
Now, we will start the instance and when we go back to our console, we will see that everything has been persisted through Docker Volume.
Using the new IP Address assigned, check the Jenkins jobs on Port 8080
<EC2 IP Address>:8080
Now, when you go back to your terminal and enter
sudo docker ps
You will see that the container has been running

Hence we saw that though we stopped and restarted the EC2 Instance, we did not lose the data.
Happy learning! Follow me for more content on DevOps.
Subscribe to my newsletter
Read articles from Charan kumar directly inside your inbox. Subscribe to the newsletter, and don't miss out.
Written by

Charan kumar
Charan kumar
Devops engineer at Acro Computing India. Skilled in Git, Ansible, Jenkins, Docker, Kubernetes.