Jumpstart Your Sitecore JSS Next.js Journey: Getting Started Guide for Developers
 Thai Tran
Introduction
In a previous blog post, we explored the process of setting up a headless rendering site using the Sitecore Rendering SDK for ASP.NET. Today, we will delve into another exciting aspect of headless rendering by leveraging the JSS library for Next.js. By doing so, we will witness the remarkable power of the headless API, which empowers us to build diverse frontend applications using various technologies while harnessing the strength of Sitecore and its unique Layout Service.
By combining the flexibility and agility of Next.js with the robust capabilities of Sitecore and its Layout Service, we can develop front-end applications that seamlessly consume data and content from the Sitecore platform. This integration sets Sitecore apart from other headless CMS solutions available in the market.
Throughout this tutorial, we will explore the step-by-step process of adding a headless rendering site using the JSS library for Next.js. Let's dive in and unlock the potential of JSS Next.js for your next project!
Creating a JSS App with Base Templates Using the JSS App Initializer
According to the Sitecore documentation found at https://doc.sitecore.com/xp/en/developers/hd/211/sitecore-headless-development/walkthrough--creating-a-jss-next-js-application-with-the-jss-initializer.html, you have the option to create a new JSS app with base templates using the JSS app initializer. The JSS app initializer provides two ways to run it: input prompted and with arguments noninteractive. The latter is particularly useful for Continuous Integration (CI) pipelines.
Input Prompted
Open your terminal or command prompt and navigate to the desired location where you want to create the JSS app.
Run the JSS app initializer command provided in the Sitecore documentation:
npx create-sitecore-jssThe initializer will prompt you with a series of questions to configure your JSS app, such as the application name, Sitecore instance URL, authentication details, template to use, and other relevant options.
Answer each question based on your specific requirements and configuration.
Once you provide all the necessary information, the JSS app initializer will generate the base templates and set up your JSS app accordingly.
With Arguments Noninteractive (CI Pipelines)
This method is suitable for CI pipelines or automated setups where you want to provide the configuration options as arguments to the JSS app initializer command.
Open your terminal or command prompt and navigate to the desired location where you want to create the JSS app.
Run the JSS app initializer command with the required arguments in a noninteractive manner:
npx create-sitecore-jss <base-template-name>,<first-add-on-template-name>,<second-add-on-template-name> --appName <app-name> --destination <app-directory-path> --fetchWith REST|GraphQL --prerender SSG|SSR --language <language-locale-code> --hostName <sitecore-host-name>Provide the necessary argument values based on your specific configuration. Refer to the Sitecore documentation for the exact arguments and their usage.
npx create-sitecore-jss nextjs,nextjs-styleguide,nextjs-styleguide-tracking --appName myprojectnextjs --destination myprojectnextjs --fetchWith REST --prerender SSR --language da-DK --hostName myproject.cmThe JSS app initializer will use the provided arguments to create the JSS app without requiring any additional user input.
To get a full list of arguments that can be used with the npx create-sitecore-jss command, you can refer to the Sitecore documentation at the following link:
Although it is possible to install the Sitecore JavaScript Rendering SDK (JSS) for Next.js in an existing Next.js project, Sitecore does not recommend this methodology for creating a Next.js JSS app. The instructions provided in the official documentation at https://doc.sitecore.com/xp/en/developers/hd/211/sitecore-headless-development/install-jss-for-next-js.html are general and do not cover all aspects of configuration and usage. Instead, Sitecore strongly recommends using their library as part of the Next.js sample application.
Modifying default port for application launch
By default, a JSS Next.js application uses port 3000, but you can configure it to use a different port of your choice. To change the default port for launching the application, you need to make modifications in the .env file. Here are the steps to follow:
Open the
.envfile in your project.Add a new line with
PORT=<your port>. Using the example port 12345, the line should look like this:PORT=12345Look for a line that starts with
PUBLIC_URL=. If it doesn't exist, add a new line withPUBLIC_URL=.Set the value of
PUBLIC_URLtohttp://localhost:<your_port>. Using the example port 12345, the line should look like this:PUBLIC_URL=http://localhost:12345Save the changes to the
.envfile.
After making these modifications, your application should use the new port specified in the .env file. Make sure to restart your application for the changes to take effect.
Disconnected mode
There are two modes in which you can run your application: disconnected mode and connected mode. Running in disconnected mode does not require a connection to the Sitecore platform. Instead, it utilizes local mock data to render content within the layout. This is particularly useful for front-end development, as it allows developers to work with mock data without needing access to the Sitecore platform.
In disconnected mode, your application retrieves data from local JSON files or a local data source, simulating the content that would typically come from the Sitecore platform. This enables front-end developers to design and develop the user interface using realistic data without relying on a live Sitecore instance.
By leveraging disconnected mode, developers can work on frontend components, templates, and layouts independently, even in the absence of connectivity to the Sitecore platform. This mode enhances productivity by reducing dependencies and facilitating a smoother development process.
Let's begin:
Open a terminal or command prompt.
Change the directory to your application's directory. For example, if your application is in a directory called "myprojectnextjs," use the following command:
cd myprojectnextjsOnce you're inside the application directory, use the following command to start your application:
jss startThis command will initiate the start-up process for your application.
Alternatively, you can run: npm run start. jss is a shorthand for npm run.
After executing the command, the terminal will display some logs and information about the application's build process.
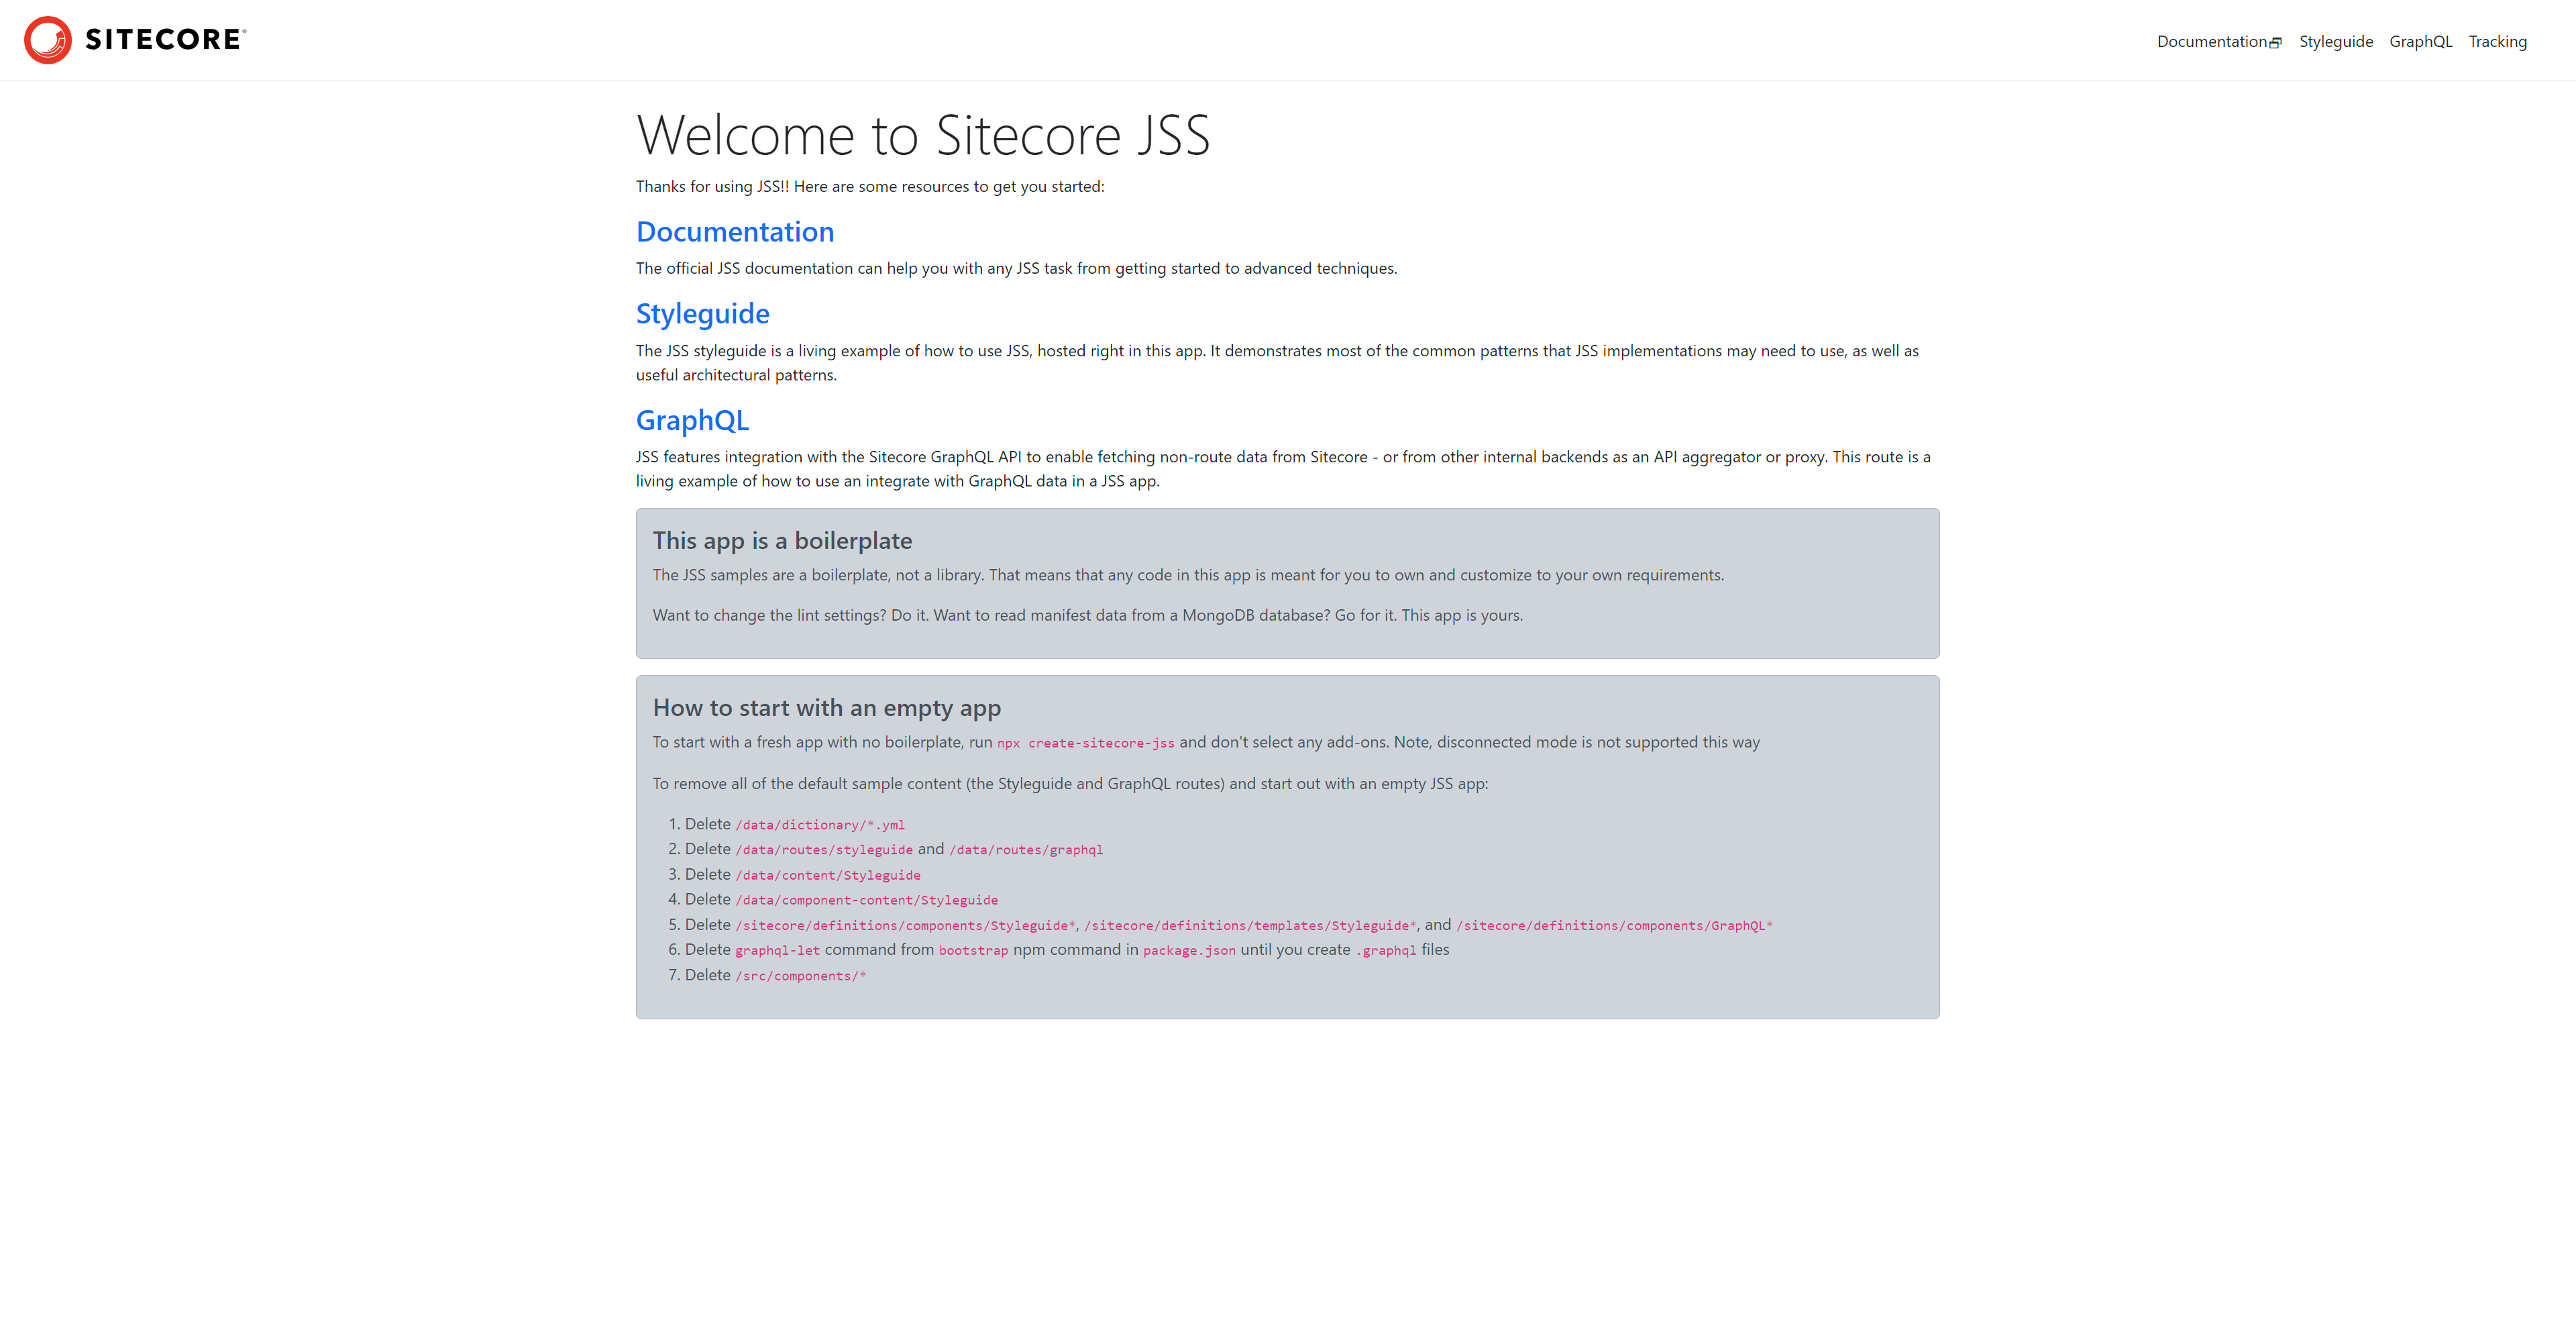
Once the build process is complete, you can open your preferred web browser.
In the address bar of your web browser, enter the following URL:
http://localhost:12345This URL will direct your browser to the locally hosted version of your application.
Press Enter or Return to load the application.
Your application should now be running on
localhost:12345, and you can interact with it in your web browser.
Remember, if you have modified the default port for your application as described in previous steps, replace localhost:12345 with the new port number you specified.

Connected mode
In addition to running your JSS application in disconnected mode, you have the option to run it in connected mode. This mode enables you to develop and test your front end using real-time data from the Sitecore platform. Follow these steps to run your JSS application in connected mode:
Run the
jss setupcommand. Thejss setupcommand can be executed in two different ways: input prompted or using non-interactive arguments. When running thejss setupcommand without any additional arguments, it will prompt you with a series of questions to configure your JSS setup. These questions will cover various aspects of the setup process, such as the application name, Sitecore instance URL, authentication details, and other relevant options. You will need to provide the necessary information by interacting with the prompts.jss setupThis interactive mode allows you to easily provide the required configuration details by following the prompts. Alternatively, you can use noninteractive arguments to provide the configuration options directly as command-line arguments when executing the
jss setupcommand. This approach is particularly useful when automating the setup process in CI/CD pipelines or scripts.Example usage:
jss setup --instancePath <wwwroot-folder> --deployUrl <deploy-host> --layoutServiceHost <sitecore-layout-service-host> --apiKey <api-key> --deploySecret <32-random-chars> --nonInteractive <boolean>Replace the placeholder values
<wwwroot-folder>,<deploy-host>,<sitecore-layout-service-host>,<api-key>,<32-random-chars>, and<boolean>with the appropriate values for your specific Sitecore instance and JSS application:jss setup --instancePath "C:\projects\demo\MyProject\wwwroot\MyProject.cm" --deployUrl "https://myproject.cm/sitecore/api/jss/import" --layoutServiceHost "https://myproject.cm" --apiKey "..." --deploySecret "..." --nonInteractive trueIn the above example, the configuration options are provided as arguments, along with their respective values. By using non-interactive arguments, you can streamline the setup process by programmatically passing the required configuration options, eliminating the need for manual interaction.
To view all the available options for the
jss setupcommand, you can executejss setup --help. This command will provide you with a list of all the available options and their descriptions, allowing you to understand and utilize the different configuration possibilities for setting up your JSS application.Example usage:
jss setup --helpYou can choose the most suitable method based on your workflow and requirements. The input-prompted mode offers a user-friendly interactive experience, while the noninteractive arguments mode allows for automation and scripting.
In the
package.jsonfile of your project, you need to set the"appName"property to"MyProject"(replace MyProject with the app name in your Sitecore platform<site name="MyProject" hostName="MyProject.cm" rootPath="/sitecore/content/MyProject">). Locate the"jss"section in thepackage.jsonfile and modify it as follows:"jss": { "appName": "MyProject" }Save the changes to the
package.jsonfile.To run the JSS application in connected mode, use the following command:
jss start:connectedAfter running the command, open your web browser and navigate to
http://localhost:12345(replace 12345 with the port you have specified).

Your JSS application will now run in connected mode, fetching data and content from the Sitecore platform. This allows you to develop and test your frontend components and layouts with real-time data and content.
As you make changes to your application, the Sitecore platform will provide the necessary data and content updates, ensuring seamless integration between the front end and the Sitecore back end.
In our upcoming blog post, we will embark on an exciting journey of converting a rendering component from ASP.NET to Next.js. This transition will allow us to explore the capabilities and advantages of leveraging Next.js, a popular JavaScript framework, for our front-end development needs.
References
Finally, check out the following documentation links which provide valuable references and guidance for the Sitecore JSS library for your Next.js projects:
https://github.com/Sitecore/jss
https://support.sitecore.com/kb?id=kb_article_view&sysparm_article=KB1000576
Subscribe to my newsletter
Read articles from Thai Tran directly inside your inbox. Subscribe to the newsletter, and don't miss out.
Written by
