The Ultimate Guide to Setting up an App with Appwrite Cloud: A Step by Step Guide.
 Nishant Jain
Introduction
In our modern tech world, cloud computing helps developers make apps and websites that can grow, work well, and save time. But, setting up the backend for these apps still needs a lot of skill and work. That's where Appwrite helps – it's a strong, free-to-use tool that helps developers make web and mobile apps that can grow. In this blog, I'll show you how to set up Appwrite with Appwrite Cloud step by step. No matter if you're an expert or a beginner, this guide will help you start fast and simply. Let's get going!

Step 1: Sign up for an Appwrite Cloud Account
To begin using Appwrite, the first step is to sign up for an Appwrite Cloud account. Follow these simple steps:
Go to the Appwrite website (appwrite.io) and click on "Sign Up" in the top right corner.
Fill in the required information in the registration form, including your email address, name, and password.
Verify your email address by clicking on the verification link sent to your email.
Once you have verified your email, log in to your Appwrite account using your email and password.

Congratulations! You have successfully signed up for an Appwrite Cloud account and are now ready to move on to step 2.
Step 2: Create a New Project
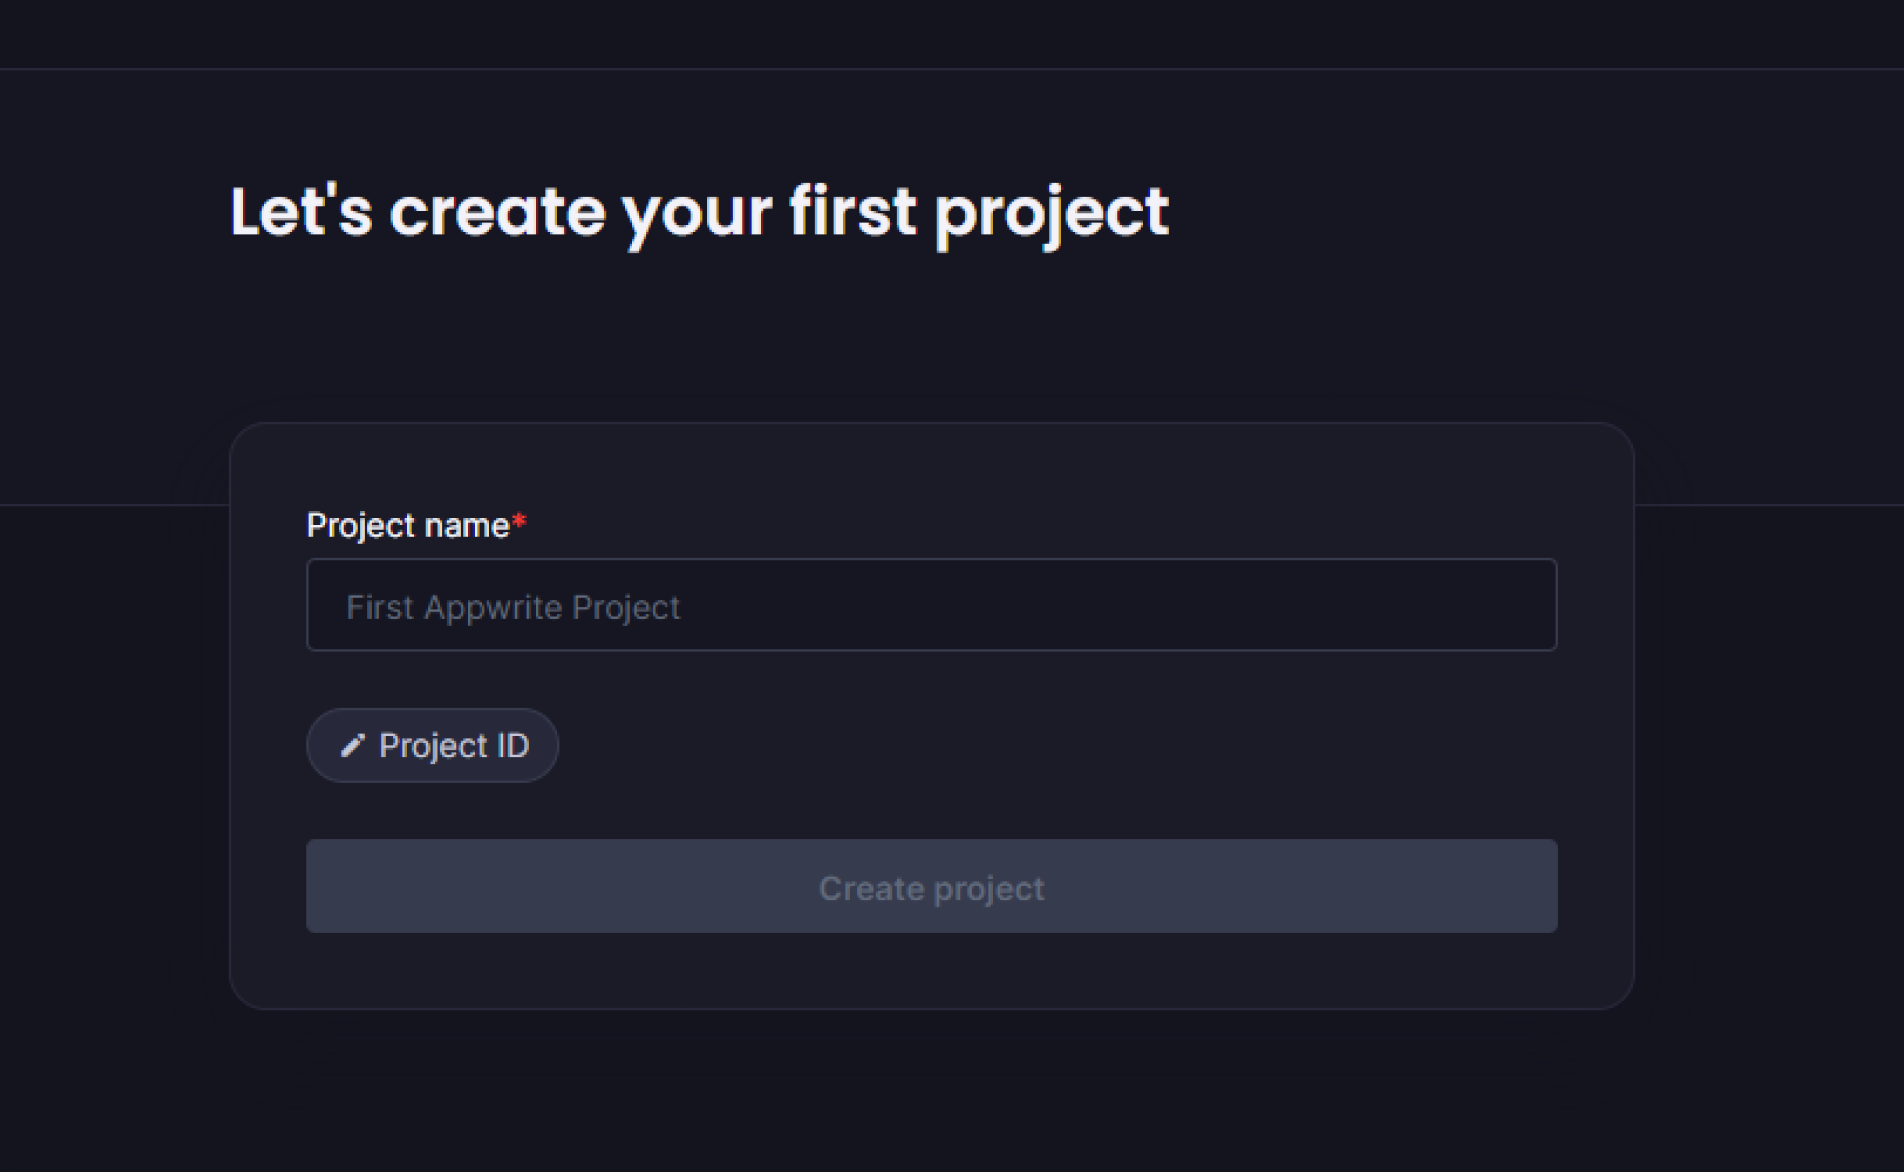
Now that you have a verified Appwrite Cloud account, it is time to create a new project. This will enable you to access all the Appwrite services and APIs. Follow these steps to create a new project:
Log in to your Appwrite console using your email and password.
Once logged in, you will see the Appwrite dashboard. Click on "Projects" in the left-hand menu.
Click on "Create Project" in the top right corner of the screen.
In the "Create Project" popup, enter a project name.
You can choose whether or not to enable the Appwrite email service for your project. Enabling this will allow you to send emails from your app using Appwrite.
Click "Create Project" to create your new project.

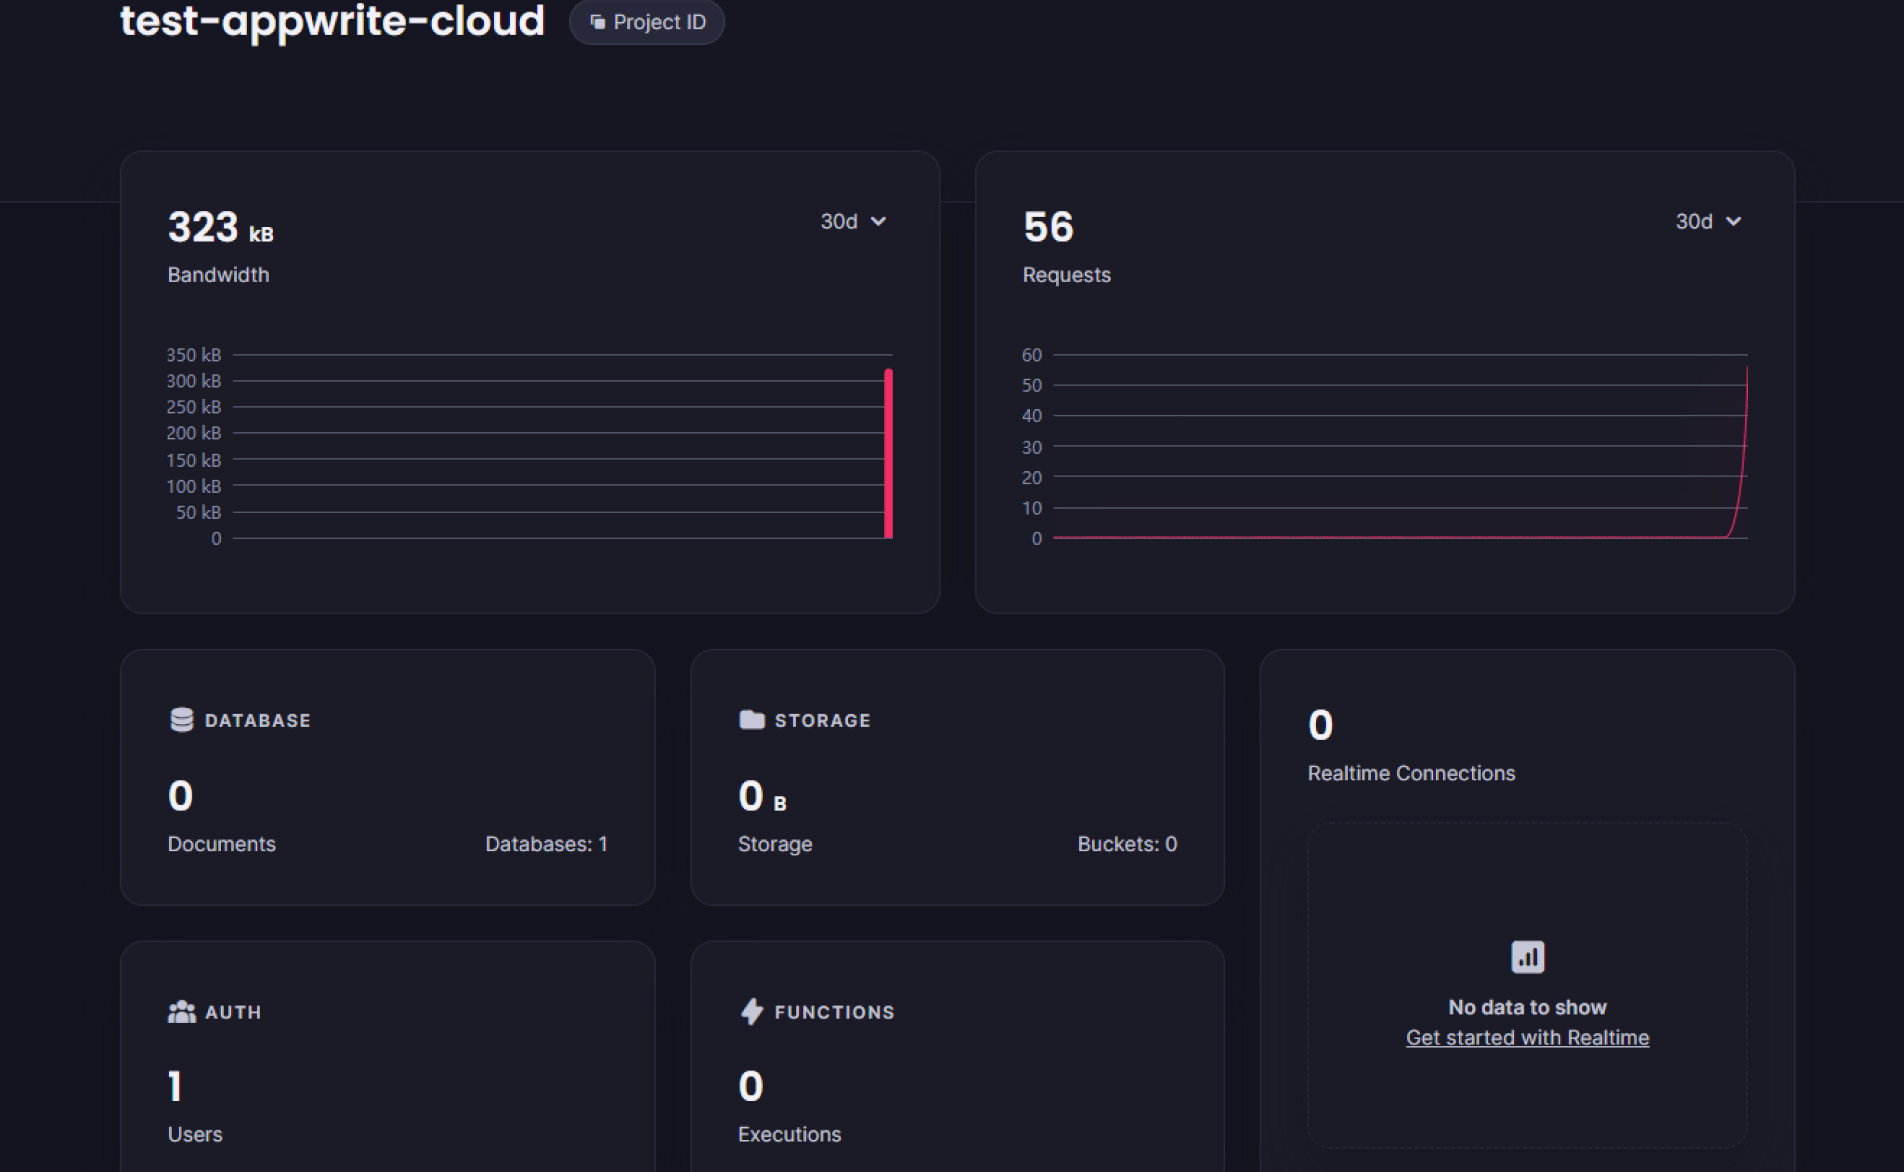
Congrats! You have successfully created a new project in Appwrite. You should now see your new project listed on the Appwrite dashboard under "Projects". You are now ready to start using Appwrite services and APIs in your project.
After creating your project on Appwrite, you can easily integrate your application with your desired platforms. Whether you're targeting web, mobile, or desktop environments,
Appwrite gives you easy-to-follow guides and resources to connect your app with different platforms like the web, mobile, or desktop. To learn more, check out the Appwrite documentation and see what you can do.
Step 3: Generate API Keys
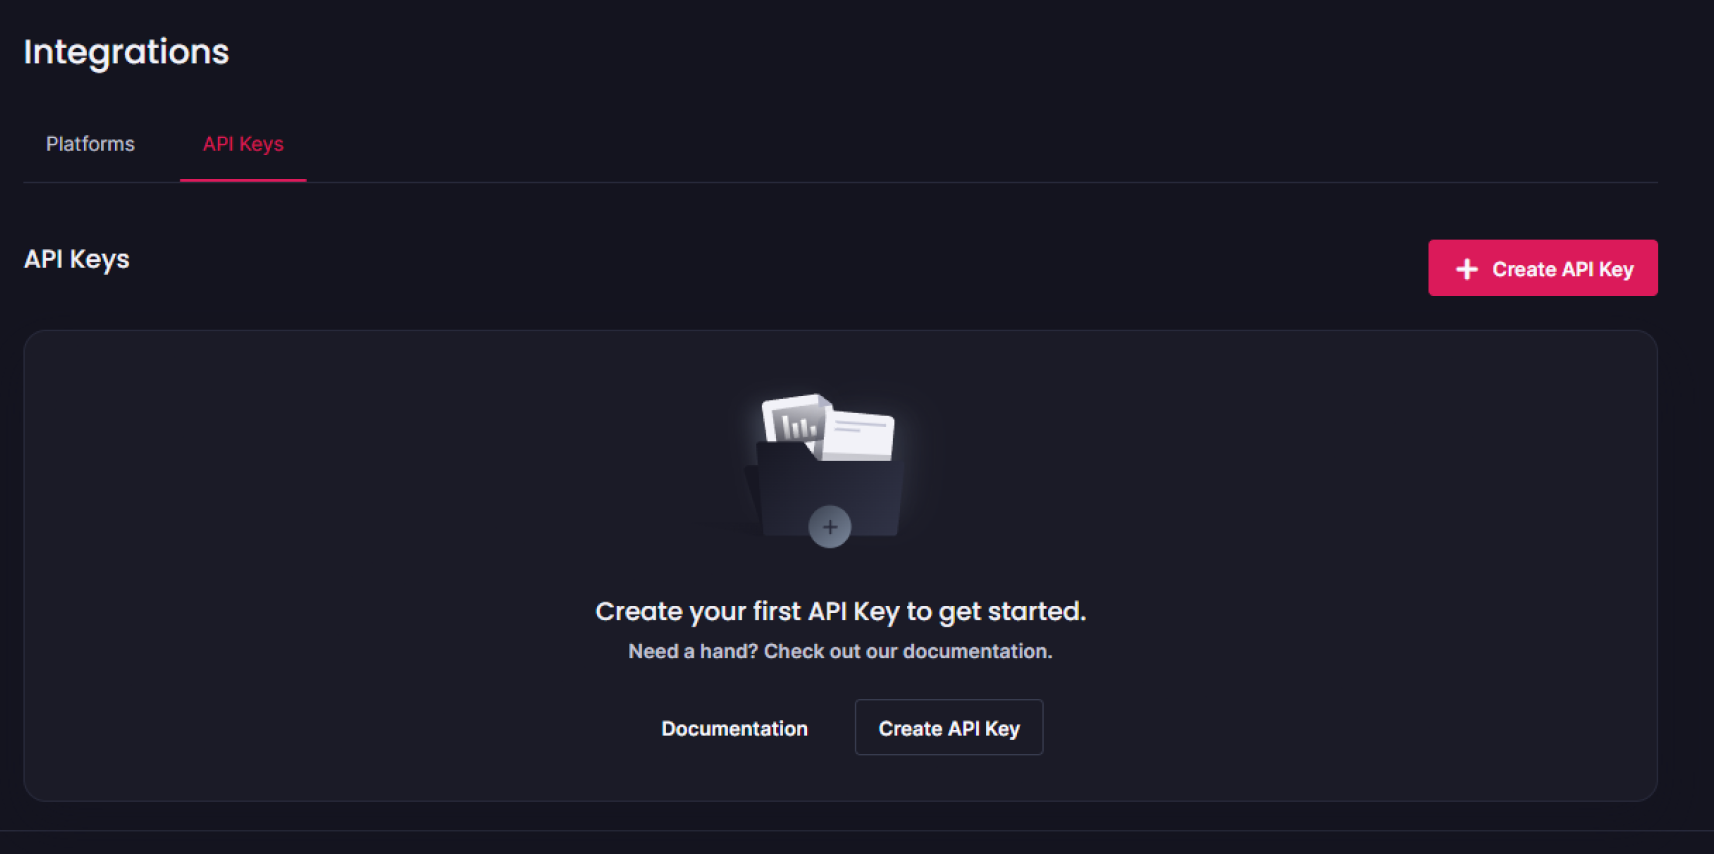
After making a new project in Appwrite, you need to create API keys for it. These keys let you use Appwrite services and APIs in your project. Follow these easy steps to make API keys:
1. Go to the Appwrite dashboard and pick your project from the list.
2. Click "API Keys" at the bottom of the overview page.
3. Click "Create API Key" in the top right corner.
4. In the popup, give your API key a name and choose the services and roles it can access. Click "Create" to make the API key.
5. Your new API key will show up on the "API Keys" page. Click the "eye" icon to see the key details.
6. Click the "Copy" button to copy the API key.
Good job! You made an API key for your Appwrite project. Now you can use it to access services and APIs in your project. Remember to keep your API key safe and only use it in allowed apps.

Step 4: Set up Appwrite SDK
After getting API keys, you need to set up the Appwrite SDK. This helps you use Appwrite APIs in your apps. Follow these steps to set up the SDK:
1. Pick your favorite programming language and download the Appwrite SDK.
2. Unzip the downloaded file to get the SDK files.
3. Go to the folder with the SDK files.
4. Add the Appwrite library to your app. The steps may be different for each programming language. Check the SDK guide for help.
5. Start the Appwrite client library with your project API link and API keys. For example, in JavaScript, you can start the client like this:
const appwrite = new Appwrite();
appwrite.setEndpoint('https://[HOSTNAME_OR_IP]/v1');
appwrite.setProject('PROJECT_ID');
appwrite.setKey('API_KEY');
Replace [HOSTNAME_OR_IP] with your Appwrite Cloud endpoint, PROJECT_ID with your project ID, and API_KEY with your API key.
Call the Appwrite APIs through the client library in your application code.
Great job! You've set up the Appwrite SDK and can now use its APIs in your app. Move on to the next step to learn how to use Appwrite functions in your code.
Step 5: Use Appwrite Services and APIs
Now that you have configured your Appwrite server API, you can start using Appwrite services and APIs to build your application. Appwrite provides a range of services and APIs that you can use to quickly and easily add functionality to your application. Here are some of the key Appwrite services and APIs:
Authentication: Appwrite provides secure authentication services that allow your users to log in and access your application. You can use Appwrite to manage user accounts, passwords, and authentication tokens.
Database: Appwrite provides a range of database services that you can use to store and manage your application data. You can choose from various database types, including SQL and NoSQL databases.
Storage: Appwrite provides a range of storage services that you can use to store and manage your application files. You can choose from various storage types, including local and remote storage.
Functions: Appwrite provides serverless functions that you can use to run code in response to specific events. You can use Appwrite functions to automate tasks, process data, and more.
APIs: Appwrite provides APIs that you can use to integrate your application with other services and platforms. You can use Appwrite APIs to connect with social media platforms, payment gateways, and more.

To use Appwrite services and APIs, you will need to integrate them into your application. Appwrite provides documentation and SDKs to help you get started. With Appwrite, you can quickly and easily add powerful functionality to your application, without having to build it from scratch.
Step 6: Test and Deploy Your Application
Step 8: Test and Deploy Your Application Using Appwrite Cloud
After setting up your Appwrite server and integrating its services and APIs into your application, it's time to test and deploy your application. In this section, I will discuss the step-by-step procedure to do this using Appwrite Cloud.
Test your application - Use Appwrite Cloud's built-in testing tools to test your application's functionality. You can also use third-party testing tools if you prefer.
Deploy your application - Once you have tested your application and are confident it works as expected, deploy it to the chosen deployment method.
Monitor your application - Use Appwrite Cloud's monitoring tools to keep an eye on your application's performance. You can see things like server uptime, response time, and more.
By following these steps, you can easily test and deploy your application on Appwrite Cloud. With Appwrite Cloud, you can automate much of the deployment and testing process, saving countless hours of work.

Conclusion
In conclusion, setting up and deploying an application using Appwrite Cloud can be a seamless process when the right steps and procedures are in place. It is crucial to test and monitor your application to ensure it functions as expected before deploying it using your chosen method.
Subscribe to my newsletter
Read articles from Nishant Jain directly inside your inbox. Subscribe to the newsletter, and don't miss out.
Written by
