Analyze, compile and deploy a Smart Contract on a Polkadot parachain 🛤
 Tomas Rawski
For this tutorial, we are going to use Ink! as our Rust language to develop smart contracts in the Polkadot ecosystem. But it's good to know that you can do it in any language that compiles to wasm.
We'll use parachains that have the Contract Pallet installed in their substrate configuration. This pallet allows us to execute WebAssembly.
Let's start our journey :
Setup Environment 🎨
Install Rust & cargo: Visit the official Rust website (https://doc.rust-lang.org/cargo/getting-started/installation.html) and follow the installation instructions for your operating system.
Install cargo-contract with the information in the readme of the github repository (https://github.com/paritytech/cargo-contract), this will install the CLI tool which helps you develop smart contracts.
In the terminal, go to your dev directory and run
cargo contract new state_variable. You would create a directory with the name of the project and inside a default project. (Github: Flipper default proyect)
Install a Polkadot-compatible wallet extension for your browser. I recommend any of these: Talisman, Subwallet or polkadot.js. For this guide, I recommend Subwallet, because you can see the amount of ROC that you have in your wallet.
Test and build the example smart contract 🩺
When you open your code, you will see an example already made in the lib.rs file.
Check if the tests are working with the command
cargo test.
It would take a while the first time to compile all the files.Build (in debug mode) the wasm file with
cargo contract build
It would also take a while the first time to compile all the files.
In debug mode, we would see the print linesink::env::debug_println!("magic number: {}", value);in our node console.
Analyze the different parts of the smart contracts 👓
The first line #![cfg_attr(not(feature = "std"), no_std, no_main)] is a conditional attribute directive used in ink! smart contracts to configure the code compilation based on whether the standard library is available or not. If the standard library is not available (not(feature = "std")), it instructs the compiler to compile the code without linking the standard library (no_std). Additionally, it specifies that the contract does not have a main function (no_main), as the entry point is provided by the ink! framework.
The other two lines are the opening to start writing our contract.#[ink::contract] & mod state_variable {
    #[ink(storage)]
    pub struct StateVariable {
        value: bool,
    }
In this part of the code, we define the storage of the SC. In this default use case, there is a single boolean value.
    impl StateVariable {
        #[ink(constructor)]
        pub fn new(init_value: bool) -> Self {
            Self { value: init_value }
        }

        #[ink(constructor)]
        pub fn default() -> Self {
            Self::new(Default::default())
        }

        #[ink(message)]
        pub fn flip(&mut self) {
            self.value = !self.value;
        }

        #[ink(message)]
        pub fn get(&self) -> bool {
            self.value
        }
    }
Here is the implementation of the struct.
We would use the macro #[ink(constructor)] to define the constructors and the macro #[ink(message)] to write the public functions pub.
Later on, we have the tests inside de mod tests
Each test that would be evaluated when we run cargo test, must start with the macro #[ink::test]
    #[ink::test]
    fn default_works() {
        let state_variable = StateVariable::default();
        assert_eq!(state_variable.get(), false);
    }
Compile your smart contract 🛞
Now we can run in our terminal cargo contract build --release. You should see these results and have that 3 files.

Deploy to Rococo 🛫
We would deploy our contracts to "Contracts parachain", which is a substrate parachain that has installed the pallet contract. This parachain uses the Rococo relay chain's native token (ROC).
You have to ask for some
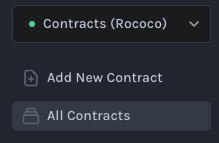
ROCin the https://use.ink/faucet to pay for the gas that will cost to upload the contract.Navigate to https://contracts-ui.substrate.io/ and select from the combo the option:
Contracts (Rococo)
Click on "Add New Contract" and then "Upload New Contract Code".
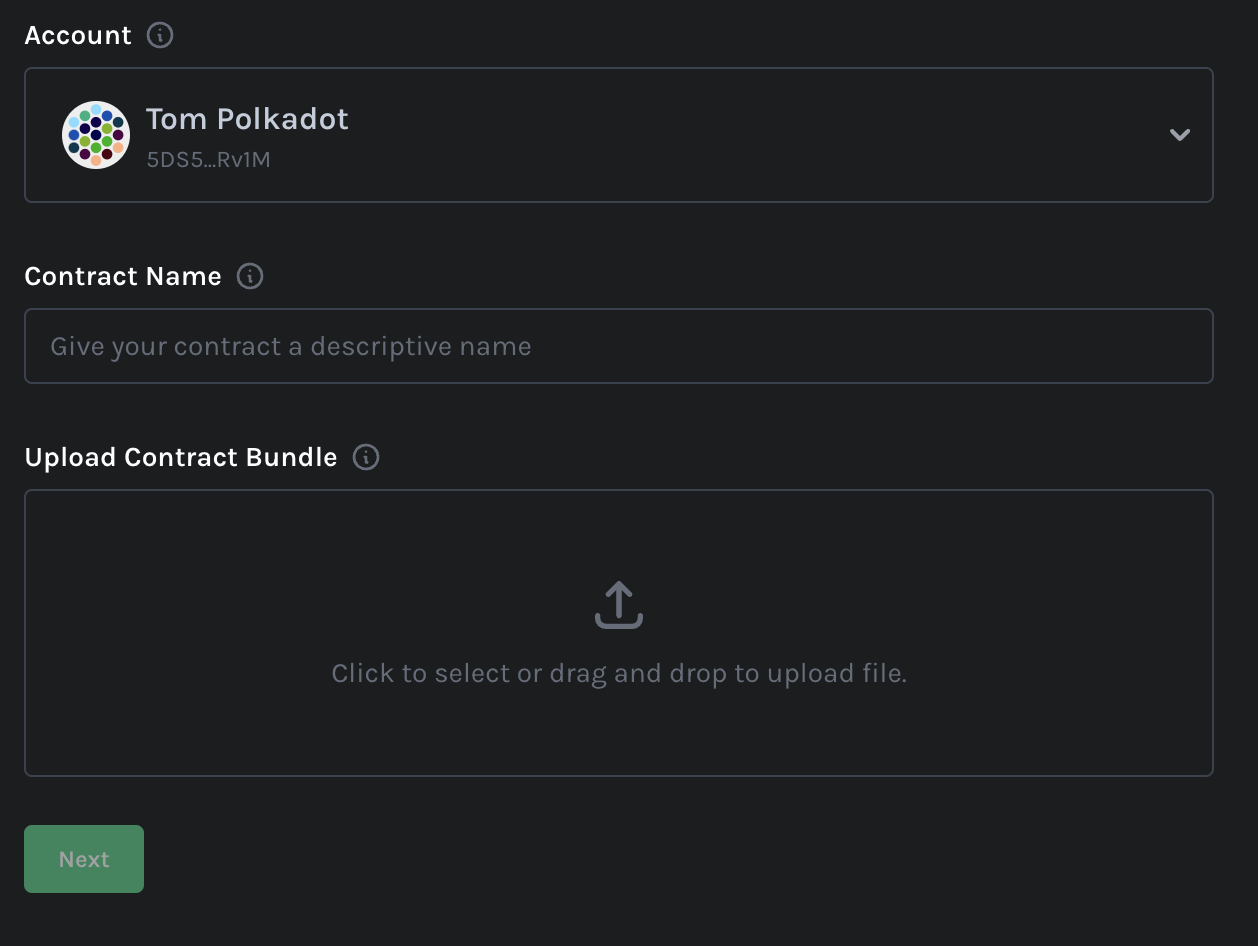
Select your account, completed a contract name (only local information) and select the
.contractfile that you generated in the compile section.
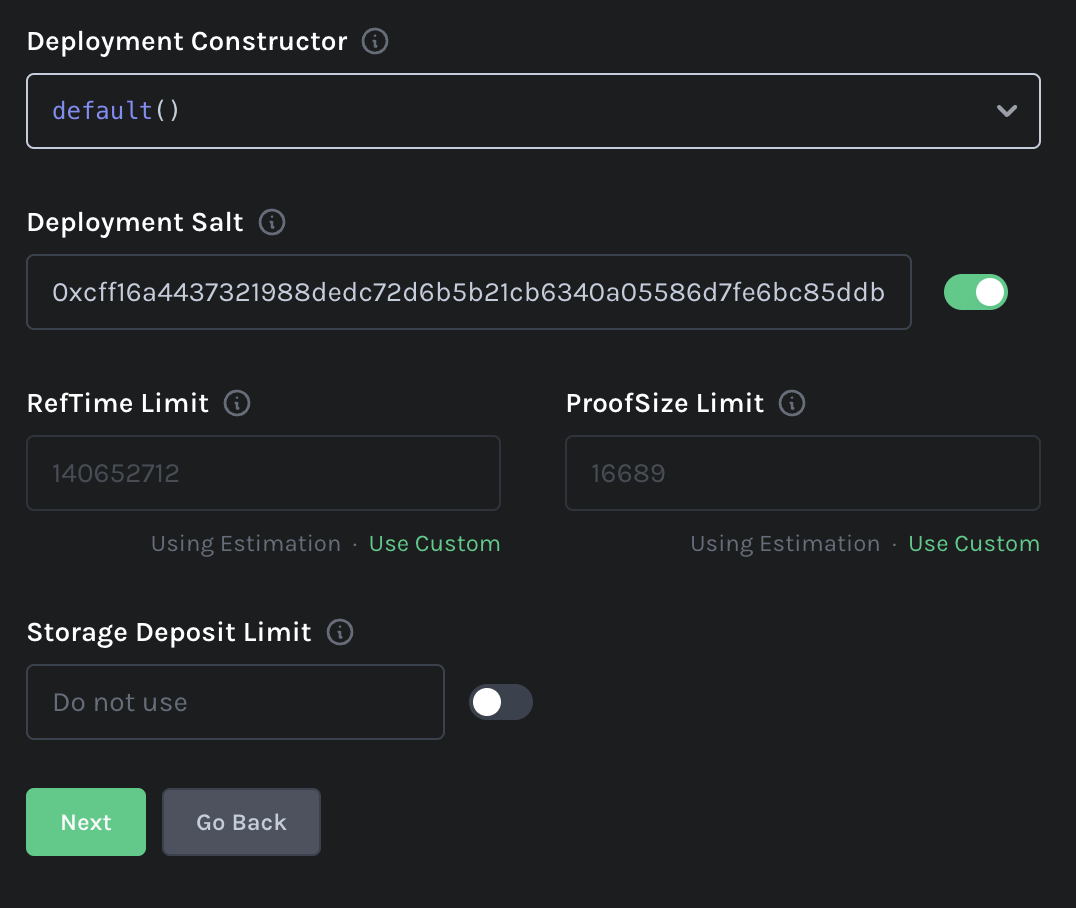
Select the constructor that you want to call and click on "next"

Finally, click "Upload and instantiate" 🙌🏼
Links:
Subscribe to my newsletter
Read articles from Tomas Rawski directly inside your inbox. Subscribe to the newsletter, and don't miss out.
Written by

Tomas Rawski
Tomas Rawski
code, arts and earth keeper