Streamlined Passwordless Authentication in Django REST Framework with Passage using drf-passage-identity: A Seamless Integration Guide with React.js
 Prem Kothawle
Table of contents
- Unlocking the Benefits of Passwordless Authentication with Passage by 1Password
- What are Django REST Framework and React.js?
- How Passage can be integrated here to provide passwordless authentication traditionally?
- What is the need for a separate package if Python SDK is available?
- How would drf-passage-identity help a bit?
- Enough Theory: Let's quickly set up Passage!
- Let's start with the Backend first!
- Let's wrap up the Frontend!
- But how can I use my existing database models here?
- Integrating Passage using drf-passage-identity with Backendifyi
- Check out this Video!
- Here are the Links!
- Closing Notes!!
Use pip install drf-passage-identity to effortlessly integrate Passage into your Django REST Framework app. Leverage a custom PassageUser module over the User module provided by Django but with built-in Passage user integration and token authentication for seamless passwordless authentication via REST APIs.
The package drf-passage-identity was developed during the hackathon, along with this guide and a demo example. The article concludes by showcasing its integration with a fully-fledged application named Backendifyi.
Thank You 1Password and Hashnode for organizing this hackathon. Hope this contribution helps the community ✨✨
Unlocking the Benefits of Passwordless Authentication with Passage by 1Password
Passage by 1Password is an innovative solution that unlocks the benefits of passwordless authentication for developers. With Passage, developers can simplify the complex task of implementing end-to-end biometric authentication with just a few lines of code. This powerful tool provides a web component for seamless biometric login and registration in web applications, along with backend libraries to validate user sessions on the server. By leveraging Passage, developers can effortlessly introduce modern authentication methods in a matter of minutes.
Traditional password-based authentication has long been a source of frustration for users, leading to abandoned purchases and security vulnerabilities. While two-factor authentication improved security, it added extra steps and complexity. The concept of "passwordless" authentication emerged as an exciting solution, but existing methods like email links and one-time codes still fell short in terms of user experience and security.
Biometrics, such as Touch ID and Face ID, have proven to be simple and secure authentication methods on mobile devices. Passage capitalizes on this by enabling developers to leverage a device's biometrics directly from a web browser. This means that the same safe and delightful login experience found in native mobile apps can now be extended across the web.
What are Django REST Framework and React.js?
Django REST Framework is a powerful and flexible toolkit for building web APIs (Application Programming Interfaces) using the Django framework, a high-level Python web framework. It provides developers with a set of tools and libraries to quickly and efficiently create robust APIs. It simplifies the process of handling HTTP requests, routing, serialization, authentication, and more, making it easier to build scalable and maintainable APIs.
React.js, on the other hand, is a JavaScript library developed by Facebook for building user interfaces. It focuses on creating reusable UI components and allows developers to efficiently update and render components when the underlying data changes. React.js follows a component-based architecture, where complex UIs are broken down into small, reusable components.
How Passage can be integrated here to provide passwordless authentication traditionally?
The authentication flow is as follows:
The user authenticates using the Frontend, which is supported by Passage's React SDK.
If authenticated successfully, an auth token is automatically stored as
psg_auth_tokenin the browser's local storage.For every request made, this token is sent to the backend, where it gets verified by Passage's Python SDK and the appropriate response is returned.
If it's the user's first request, a user entry needs to be created in the application's database to enable subsequent actions. Django's admin panel, renowned for its dashboard-like database visualization, plays a crucial role in displaying user data.
What is the need for a separate package if Python SDK is available?
In Django, models are a fundamental component of the framework's Object-Relational Mapping (ORM) system. Models represent the structure and behavior of data, allowing you to define the database schema and interact with it using Python code. The User model is a built-in model that represents user accounts. It is provided by the django.contrib.auth module. The User model offers a range of functionalities and features in web applications like User Registration and Authentication, User Profiles, Authorization and Permissions, User Management, Django Admin Interface, User-Based Functionality, User-Based Data Relationships, User-Driven Actions, etc.
Using only the Python SDK requires explicit configuration of the Passage User with the User model in Django's models. Furthermore, developers must manually create a Token Authentication function for each API request, increasing the complexity and effort involved in authentication and user retrieval from the database.
How would drf-passage-identity help a bit?
The drf-passage-identity package offers a convenient solution for developers by providing the PassageUser model, built on the core User Model. This specialized model automatically sets the passage user id as the primary identifier and includes only the essential email field, eliminating the need for less frequently used fields like username, first_name, and last_name. However, if required, these additional fields can be easily added later from the core model.
Additionally, the package comes with built-in Token Authentication support, enabling seamless authentication for API requests. The Token Authentication mechanism returns the user object, simplifying the retrieval of user information from the database.
Moreover, the package includes a pre-built auth API, allowing for initial authentication requests sent from the frontend to the backend. This functionality provides a convenient starting point for authentication implementation.
Enough Theory: Let's quickly set up Passage!
Head towards Passage and Click on Sign Up to Register. You can experience the amazing passwordless authentication here :-)
To begin, navigate to the bottom of the screen and locate the "Create New App" button.
Proceed with the registration process, in this article we opt for a fully passwordless approach. Additionally, take note of the redirect URL, as this is where users will be directed after completing the authentication process.
Next, retrieve the APP ID from the dashboard. It should be readily available for your application. Additionally, access the API Key by accessing the settings option located at the bottom of the sidebar.
Woohoo! The setup is complete and we can head towards installing the package and writing some code.
Let's start with the Backend first!
To begin with, please complete your Django setup. We will use Header Based Authentication strategy here.
Create a virtual environment in a directory:
python -m venv .venvInstall the packages:
pip install django djangorestframework django-cors-headersCreate a project:
django-admin startproject my-serverFirst, we will set up the "corsheader" which will help us to have seamless connectivity with our frontend at localhost port 3000. In your settings.py, add it to your installed apps:
 INSTALLED_APPS = [
     ...,
     "corsheaders",
     ...,
 ]
You will also need to add a middleware class to listen in on responses:
 MIDDLEWARE = [
     ...,
     "corsheaders.middleware.CorsMiddleware",
     "django.middleware.common.CommonMiddleware",
     ...,
 ]
Add the following to allow the source of required requests to be handled:
 CORS_ALLOWED_ORIGINS = [
     "http://localhost:3000",
 ]
Install drf-passage-identity package:
pip install drf-passage-identityAdd it to your installed apps:
 INSTALLED_APPS = [
     ...,
     "passage_auth",
     ...,
 ]
In your settings.py, add the following fields
 AUTH_USER_MODEL = 'passage_auth.PassageUser'
 PASSAGE_APP_ID = "your-app-id"
 PASSAGE_API_KEY = "your-api-key"
 PASSAGE_AUTH_STRATEGY = 2
Lastly, in your urls.py add a path to the installed app. It should look like this:
 from django.contrib import admin
 from django.urls import path, include

 urlpatterns = [
     path('admin/', admin.site.urls),
     path('api/client/', include("passage_auth.urls"))
 ]
Now you can make an API request to:
http://127.0.0.1:8000/api/client/auth/wherein headers must include:Note: You will get
psg_auth_tokenfrom your frontend.{ "Content-Type": "application/json", "Authorization": `Bearer ${psg_auth_token}`, }And you will get a response as:
 {
     "authStatus": "success",
     "identifier": "passage_user_id"
 }
Your backend is complete :-)
Let's wrap up the Frontend!
To begin with, please complete your React.js setup. Make sure the port is the same as mentioned in the Passage App. You will need to have Node >= 14.0.0 and npm >= 5.6 on your machine.
To create a React app run:
npx create-react-app my-passage-appMove to the directory:
cd my-passage-appInstall the Router:
npm install react-router-domInstall the Passage custom element from npm:
npm install --save @passageidentity/passage-authCustomize the views according to your preferences. Here, we have two views: Login.js and Dashboard.js. In Login.js, Passage's <passage-auth> custom element will be included, which facilitates user authentication. In Dashboard.js, render the redirected URL and configure it as an authenticated route. This ensures that only authenticated users can access and view the dashboard. We will also create a custom hook.
The App.js file would look like this:
 import { BrowserRouter as Router, Routes, Route } from "react-router-dom";

 import Login from "./Authentication/Login";
 import Dashboard from "./Dashboard/Dashboard";

 function App() {
   return (
     <Router>
       <Routes>
         <Route path="/" element={<Login/>} />
         <Route path="/dashboard" element={<Dashboard/>} />
       </Routes>
     </Router>
   );
 }

 export default App;
The login.js file would look like this:
 import React from 'react'
 import "@passageidentity/passage-elements/passage-auth";

 const Login = () => {
   return (
     <div>
       <passage-auth app-id="your-app-id"></passage-auth>
     </div>
   );
 }

 export default Login
The Dashboard.js file would look like this:
 import { useAuthStatus } from "../hooks/useAuthStatus";

 const Dashboard = () => {
   const { isLoading, isAuthorized, userid } = useAuthStatus();

   if (isLoading) {
     return null;
   }
   const authorizedBody = (
     <>
       You successfully signed in with Passage.
       <br />
       <br />
       Your userid is: <b>{userid}</b>
     </>
   );

   const unauthorizedBody = (
     <>
       You have not logged in and cannot view the dashboard.
       <br />
       <br />
       <a href="/">
         Login to continue.
       </a>
     </>
   );

   return (
     <div >
       <div>
         {isAuthorized ? "Welcome!" : "Unauthorized"}
       </div>
       <div>
         {isAuthorized ? authorizedBody : unauthorizedBody}
       </div>
     </div>
   );
 }

 export default Dashboard;
Add the useAuthStatus Hook.
 import { useState, useEffect } from "react";
 import axios from "axios";

 const API_URL = "http://localhost:8000";

 export function useAuthStatus() {
   const [result, setResult] = useState({
     isLoading: true,
     isAuthorized: false,
     userid: "",
   });

   useEffect(() => {
     let cancelRequest = false;
     const authToken = localStorage.getItem("psg_auth_token");
     axios
       .post(`${API_URL}/api/client/auth_token/`, null, {
         headers: {
           Authorization: `Bearer ${authToken}`,
         },
       })
       .then((response) => {
         if (cancelRequest) {
           return;
         }
         const { authStatus, identifier } = response.data;
         // console.log(authStatus)
         if (authStatus === "success") {
           setResult({
             isLoading: false,
             isAuthorized: authStatus,
             userid: identifier,
           });
         } else {
           setResult({
             isLoading: false,
             isAuthorized: false,
             userid: "",
           });
         }
       })
       .catch((err) => {
         console.log(err);
         setResult({
           isLoading: false,
           isAuthorized: false,
           userid: "",
         });
       });
     return () => {
       cancelRequest = true;
     };
   }, []);
   return result;
 }
Hurray! Integration is complete and now you can test your work.
Your Application would have pages like these:
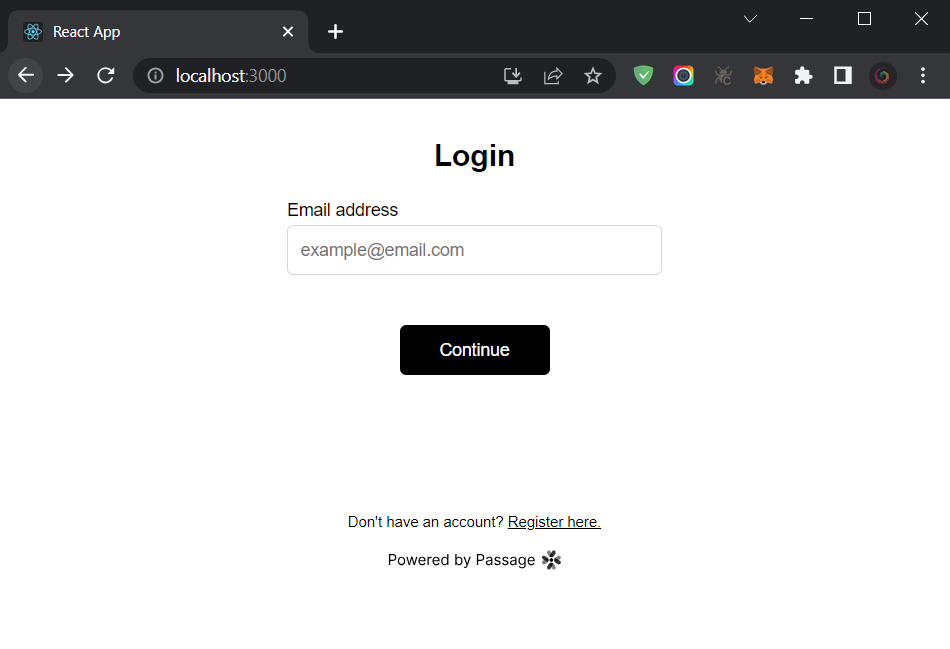
First, you enter your email address.
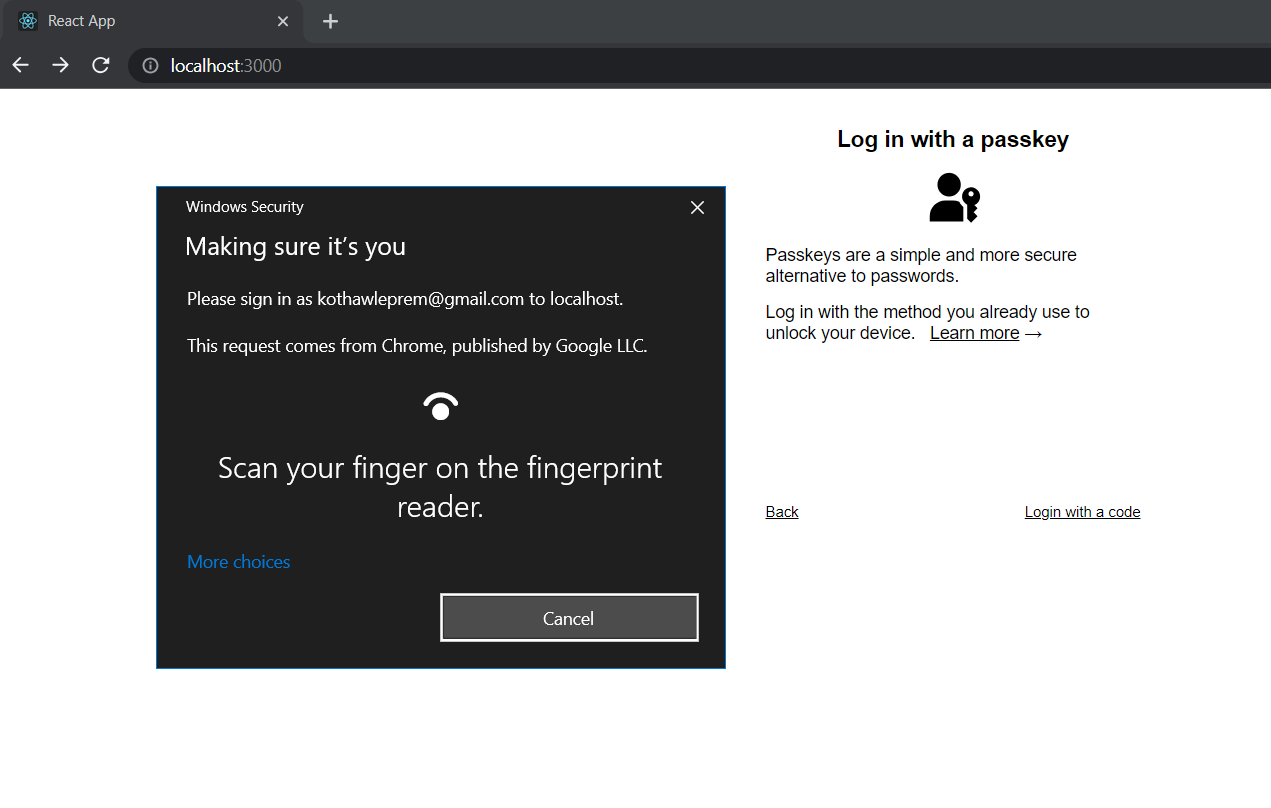
If you are new to the application, you will receive a code on your email and you can set your passage.
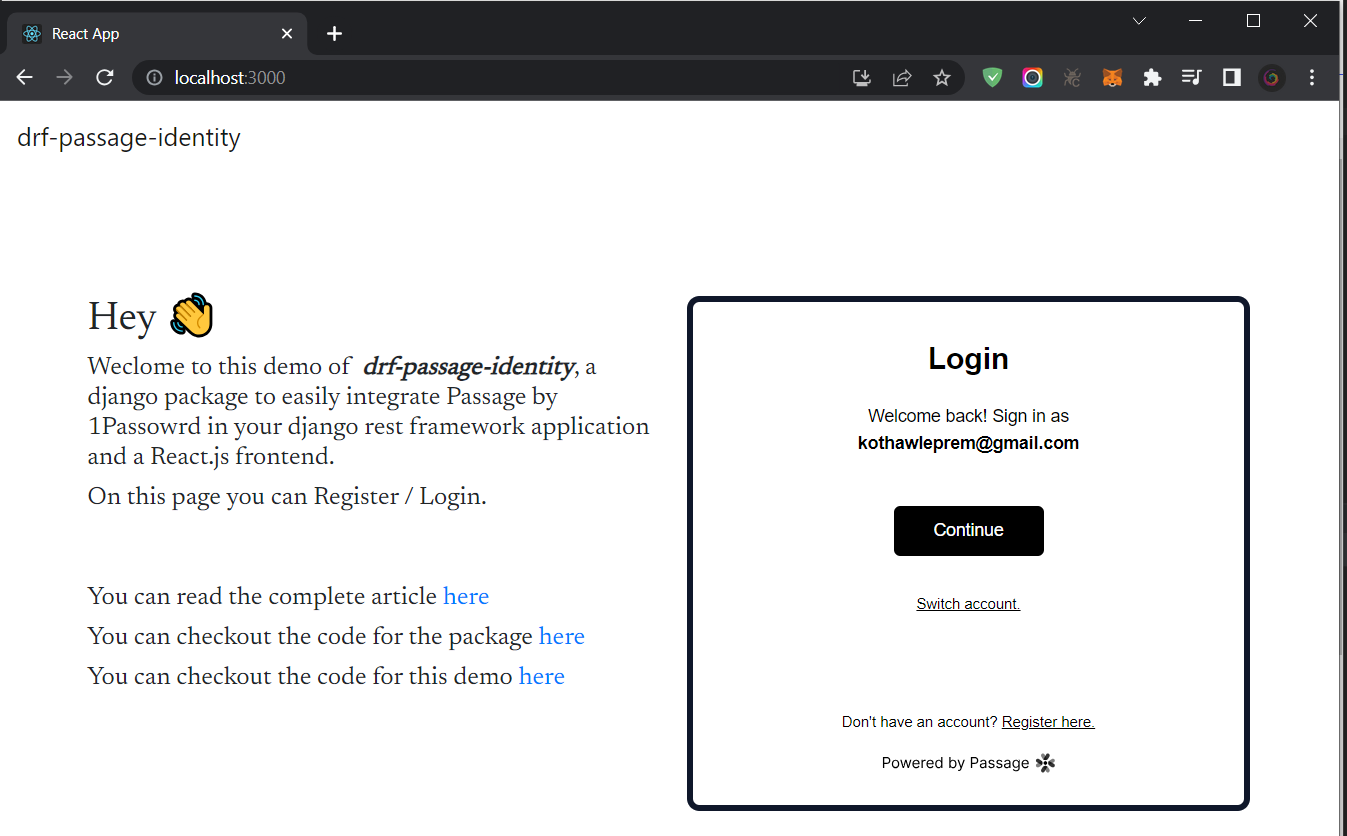
Once authenticated you would be redirected,

I have added some styles, included Bootstrap and enhanced the UI for this application for the later part of this article. You can get the entire code for this example on Github.
But how can I use my existing database models here?
Now, let's consider that you have a profile table in your database represented by a Django model. In this model, you have a foreign key relationship with the User model, and an additional field for the Motivation Quote. The following example demonstrates how you can implement this, with the User model being based on Passage and other models in your application.
We will create django app called as client : python manage.py startapp client
In models.py your Profile Model should look like this:
from passage_auth.models import PassageUser
from django.db import models

class ProfileModel(models.Model):
    user = models.ForeignKey(PassageUser, on_delete=models.CASCADE)
    motivation_quote = models.TextField()

    def __str__(self):
        return self.user.email + "'s Profile"
To handle the API request, we will create a new file views.py and it should look like this:
from rest_framework.response import Response
from rest_framework import status
from rest_framework.views import APIView
from django.core.exceptions import ObjectDoesNotExist

from passage_auth.authentication import TokenAuthentication

from .models import ProfileModel
class ProfieView(APIView):
    authentication_classes = [TokenAuthentication]

    def get(self, request):
        user = request.user
        try:
            profile = ProfileModel.objects.get(user=user)
        except ObjectDoesNotExist:
            profile = ProfileModel.objects.create(user=user)
        response = {
            "email": user.email,
            "motivation_quote": profile.motivation_quote
        }
        return Response(response, status=status.HTTP_200_OK)

    def patch(self, request):
        user = request.user
        motivation_quote = request.data.get("motivation_quote")
        profile = ProfileModel.objects.get(user=user)
        profile.motivation_quote = motivation_quote
        profile.save()
        return Response({"detail": "Profile Updated"}, status=status.HTTP_201_CREATED)
The final step is to add this View in your urls.py file. First, reference our new app to your project's core urls.
from django.contrib import admin
from django.urls import path, include

urlpatterns = [
    path('admin/', admin.site.urls),
    path('api/client/', include("passage_auth.urls")),
    path('api/client/profile/', include("client.urls"))
]
Your urls.py file in the client app would look like this:
from django.urls import path
from .views import ProfieView

urlpatterns = [
    path('', ProfieView.as_view(), name="profile")
]
That's it for the backend part, we will quickly checkout the Profie.jsx file which will help to display the profile in the frontend. It would look like this:
import React, { useState } from 'react'
import { useAuthStatus } from "../hooks/useAuthStatus";
import { useEffect } from 'react';
import { Container, Card, Col, Row, Button, Navbar, Nav, Form } from "react-bootstrap";
import axios from 'axios';

const Profile = () => {
  const { isLoading, isAuthorized, userid } = useAuthStatus();

  const [profile, setProfile] = useState()
  const [quote, setQuote] = useState("");
  const [initialQuote, setInitialQuote] = useState("");

  const token = localStorage.getItem("psg_auth_token");

  const API_URL = "http://localhost:8000";

  const config = {
    headers: {
      "Content-Type": "application/json",
      Authorization: `Bearer ${token}`,
    },
  };

  useEffect(() => {
    axios.get(`${API_URL}/api/client/profile/`, config)
    .then((response) => {
        const data = response.data
        setProfile(data)
        setQuote(data.motivation_quote)
        setInitialQuote(data.motivation_quote)
    })
  },[])

  const handleInputChange = (event) => {
    setQuote(event.target.value);
  };

  const handleSubmit = async () => {
    if (quote === initialQuote) {
      alert("The Quote is already set to this value.");
      return;
    }

    if (!quote) {
      alert("Please enter a Quote");
      return;
    }

    const data = {
      motivation_quote: quote,
    };

    axios
      .patch(`${API_URL}/api/client/profile/`, data, config)
      .then((response) => {
        alert("Quote updated successfully!");
        setInitialQuote(quote);
      })
      .catch((error) => {
        console.error("Error updating Quote:", error);
        alert("An error occurred while updating the Quote.");
      });
  };

  if (isLoading) {
    return null;
  }

  const authorizedBody = (
    <>
      Your Email: {profile.email}
      <br />
      <br />
      <Form>
        <Row>
          <Col>
            <Form.Group controlId="formTextField">
              <Form.Control
                type="text"
                onChange={handleInputChange}
                value={quote}
              />
            </Form.Group>
          </Col>
          <Col>
            <Form.Group controlId="formButton">
              <Button
                className="formButton"
                type="button"
                onClick={handleSubmit}
              >
                Update Quote
              </Button>
            </Form.Group>
          </Col>
        </Row>
      </Form>
    </>
  );

  const unauthorizedBody = (
    <>
      You have not logged in and cannot view the dashboard.
      <br />
      <br />
      <a href="/">Login to continue.</a>
    </>
  );

  return (
    <div>
      <Navbar expand="lg" className="bg-body-tertiary">
        <Navbar.Brand href="/">drf-passage-identity</Navbar.Brand>
        <Navbar.Toggle aria-controls="basic-navbar-nav" />
        <Navbar.Collapse id="basic-navbar-nav">
          <Nav className="me-auto">
            <Nav.Link href="/dashboard">Dashboard</Nav.Link>
          </Nav>
        </Navbar.Collapse>
      </Navbar>
      <Container className="welcome">
        <Card className="loginCard">
          <div className="dashboardCard">
            <Card.Title>
              <h3>{isAuthorized ? "Welcome!" : "Unauthorized"}</h3>
            </Card.Title>
            <h5>
              <div>{isAuthorized ? authorizedBody : unauthorizedBody}</div>
            </h5>
          </div>
        </Card>
      </Container>
    </div>
  );
}

export default Profile
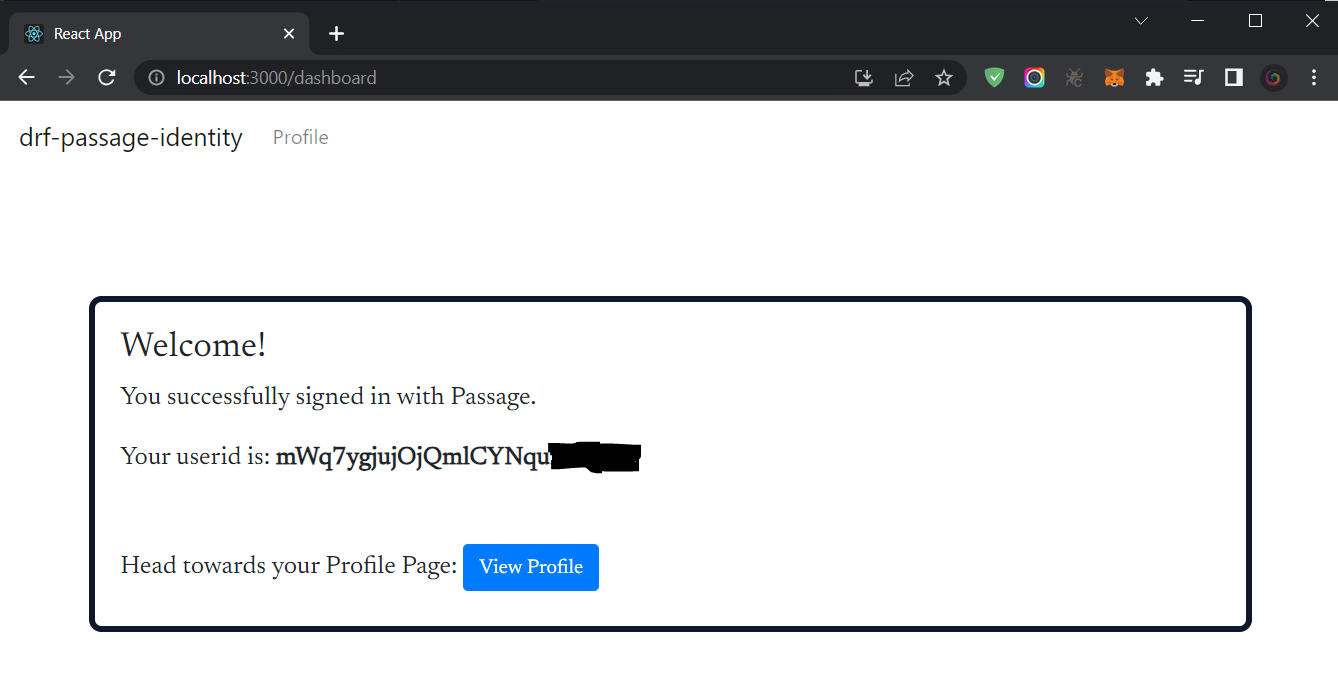
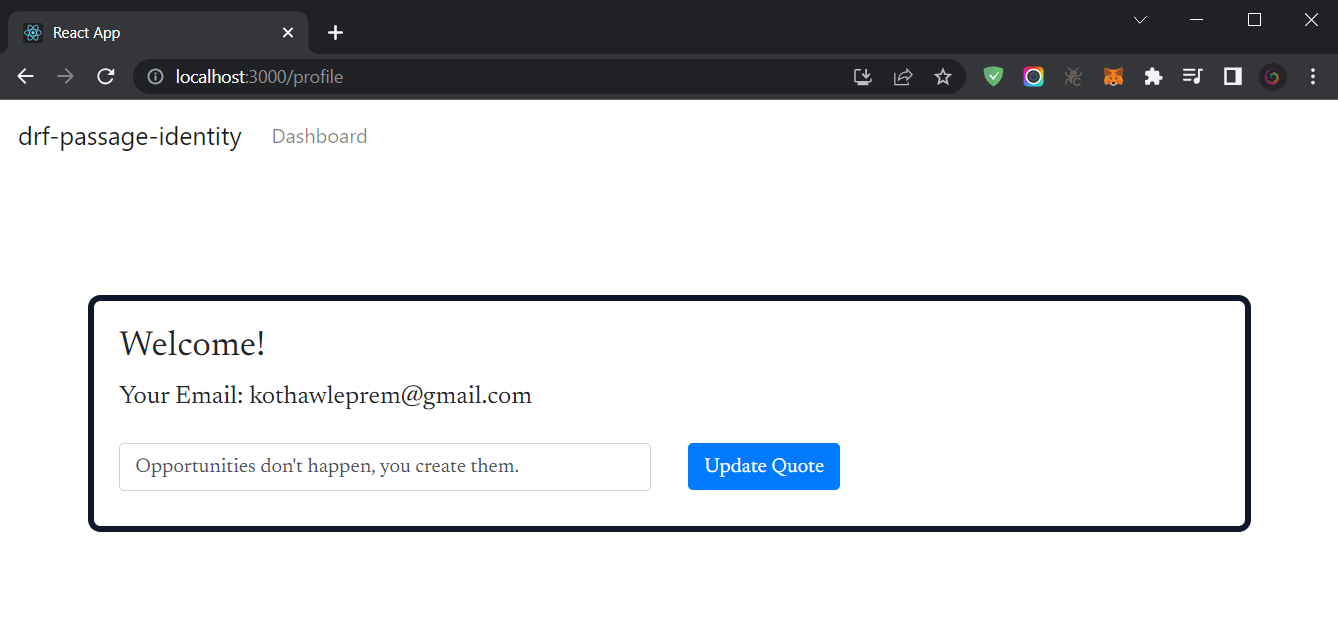
So, our example is complete here. Following, are screenshots of the demo website.
Integrating Passage using drf-passage-identity with Backendifyi
Backendifyi simplifies backend development by providing user-friendly APIs that can be seamlessly integrated into the frontend. It also offers a convenient dashboard for efficient data management. The main goal of Backendifyi is to eliminate the complexities associated with backend development while still benefiting from the advantages of a separate backend. This approach greatly assists new developers in their initial journey by providing them with a significant boost in their development process.
EmailBox by Backendifyi
EmailBox offers API Keys that can be utilized in the frontend to implement various sections such as subscriptions, newsletters, and contact forms. It provides a convenient dashboard where you can easily manage and reply to incoming email addresses. Additionally, you can download email data in CSV format. Shortly, EmailBox will also introduce features like email analysis and filtering. To assist users, EmailBox includes a comprehensive technical guide with well-documented instructions for seamless integration and utilization.
Sign In to Backendifyi
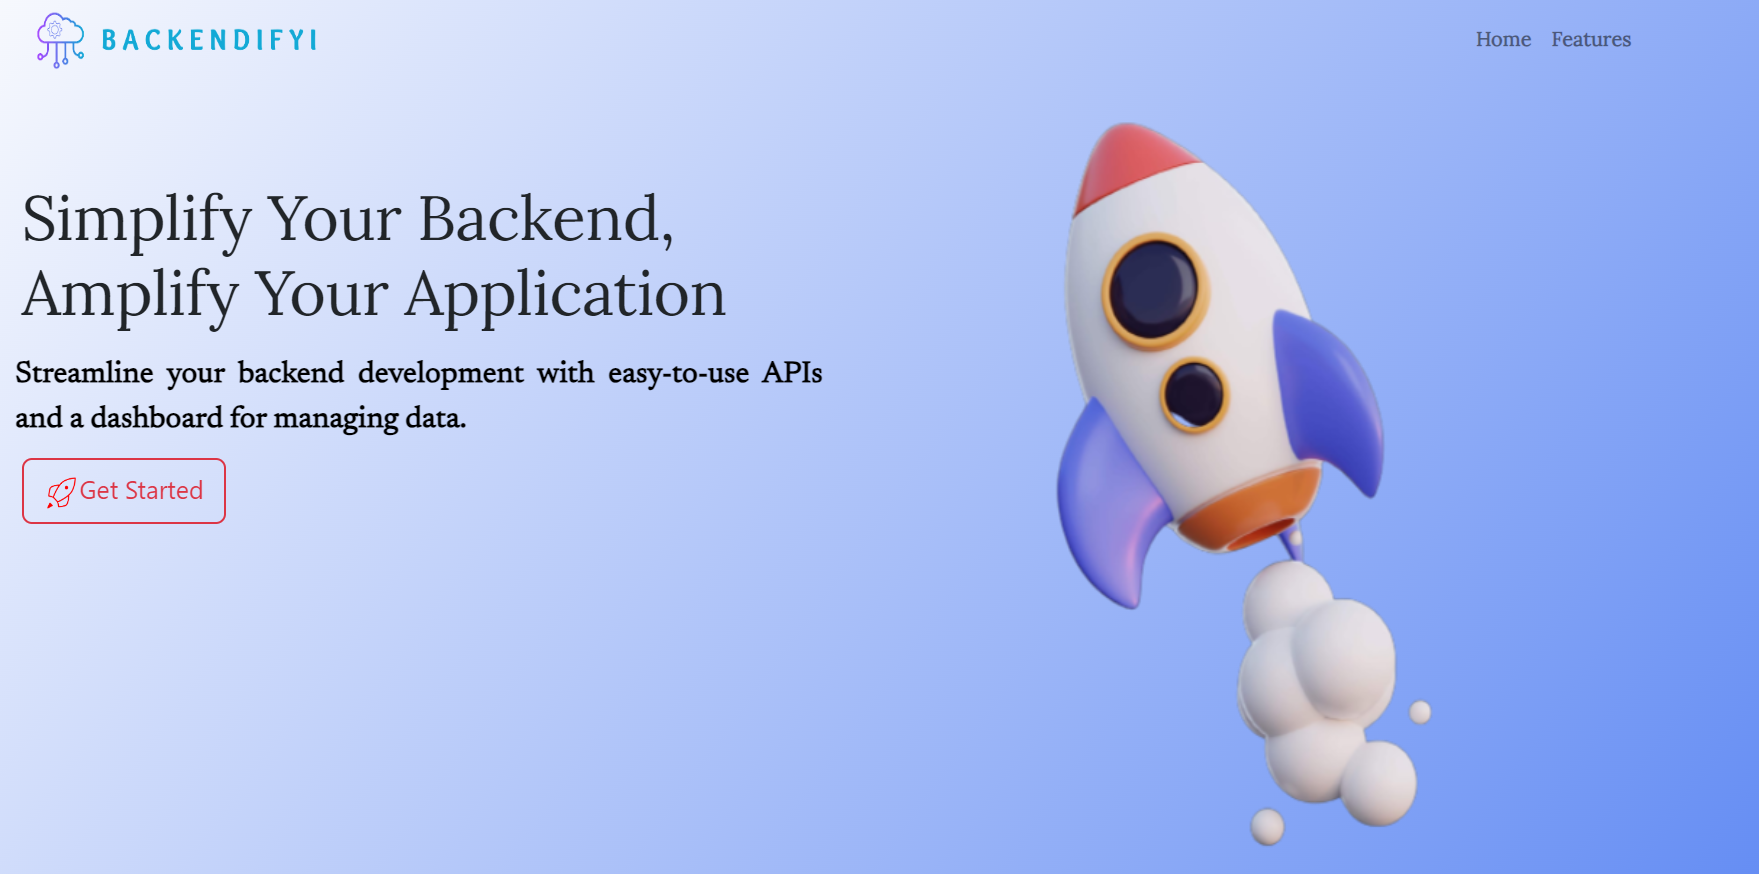
The home page features a "Get Started" option. Users can login without Passwords with Passage Passkey. Once logged in, the dashboard with the EmailBox page will be displayed.
Create EmailBox
To get started with your project, enter its name. You will then be redirected to the main page, where you can update your project's name, copy its API key, or replace it with a new one. Additionally, on this page, you can view all of your email addresses.
Note: A maximum of 3 EmailBox are allowed per user.
Integrate with your application
To use the EmailBox API, you will need to send requests to the following endpoint:
http://127.0.0.1:8000/api/emailbox/addEmail/
The request should include the following data:
- In your headers, add Authorization Field.
{
    "Content-Type": "application/json",
    "Authorization": `APIKey ${apiKey}`,
}
- In your body, in JSON format add the following data.
{
  "email": "johndoe@example.com"
}
The response will include the following data:
{
    "status": "success",
    "message": "Email added in Emailbox."
}
Check out this Video!
Here are the Links!
PyPi web link for
drf-passage-identity: Click HereCode for
drf-passage-identity: Click HereExample Integration with Django Rest Framework and React.js: Click Here
Backendifyi Integrated with Passage: Click Here
Example Component for backendifyi: Click Here
Closing Notes!!
In this article, we explored how one can integrate Passage with Django REST Framework with drf-passage-identity package developed during the hackathon. Within just a few steps, the integration is completed and thus provides a unique way of Authentication method.
Comment below for any suggestions ⚡
Thank You for this opportunity 🚀
Subscribe to my newsletter
Read articles from Prem Kothawle directly inside your inbox. Subscribe to the newsletter, and don't miss out.
Written by
