Effortlessly Manage AWS Access with IAM Identity Center (successor to AWS Single Sign-On)
 Phil
Phil
Introduction
Managing access to AWS resources can be a challenge, especially when working with multiple accounts and applications. Fortunately, AWS IAM Identity Center (successor to AWS Single Sign-On) provides a solution. In this blog post, we’ll explore how to use IAM Identity Center to create and invite users to access AWS resources without the need for an AWS account or IAM User.
Pre-Conditions:
Enable AWS Organizations
Enable IAM Identity Center
Choose your Identity source
Step 1: Add the user to IAM Identity Center
1) Sign in to the AWS Management Console as the administrator.
2) Go to the AWS IAM Identity Center Click on "User" from the left navigation pane and Click on "Add user".

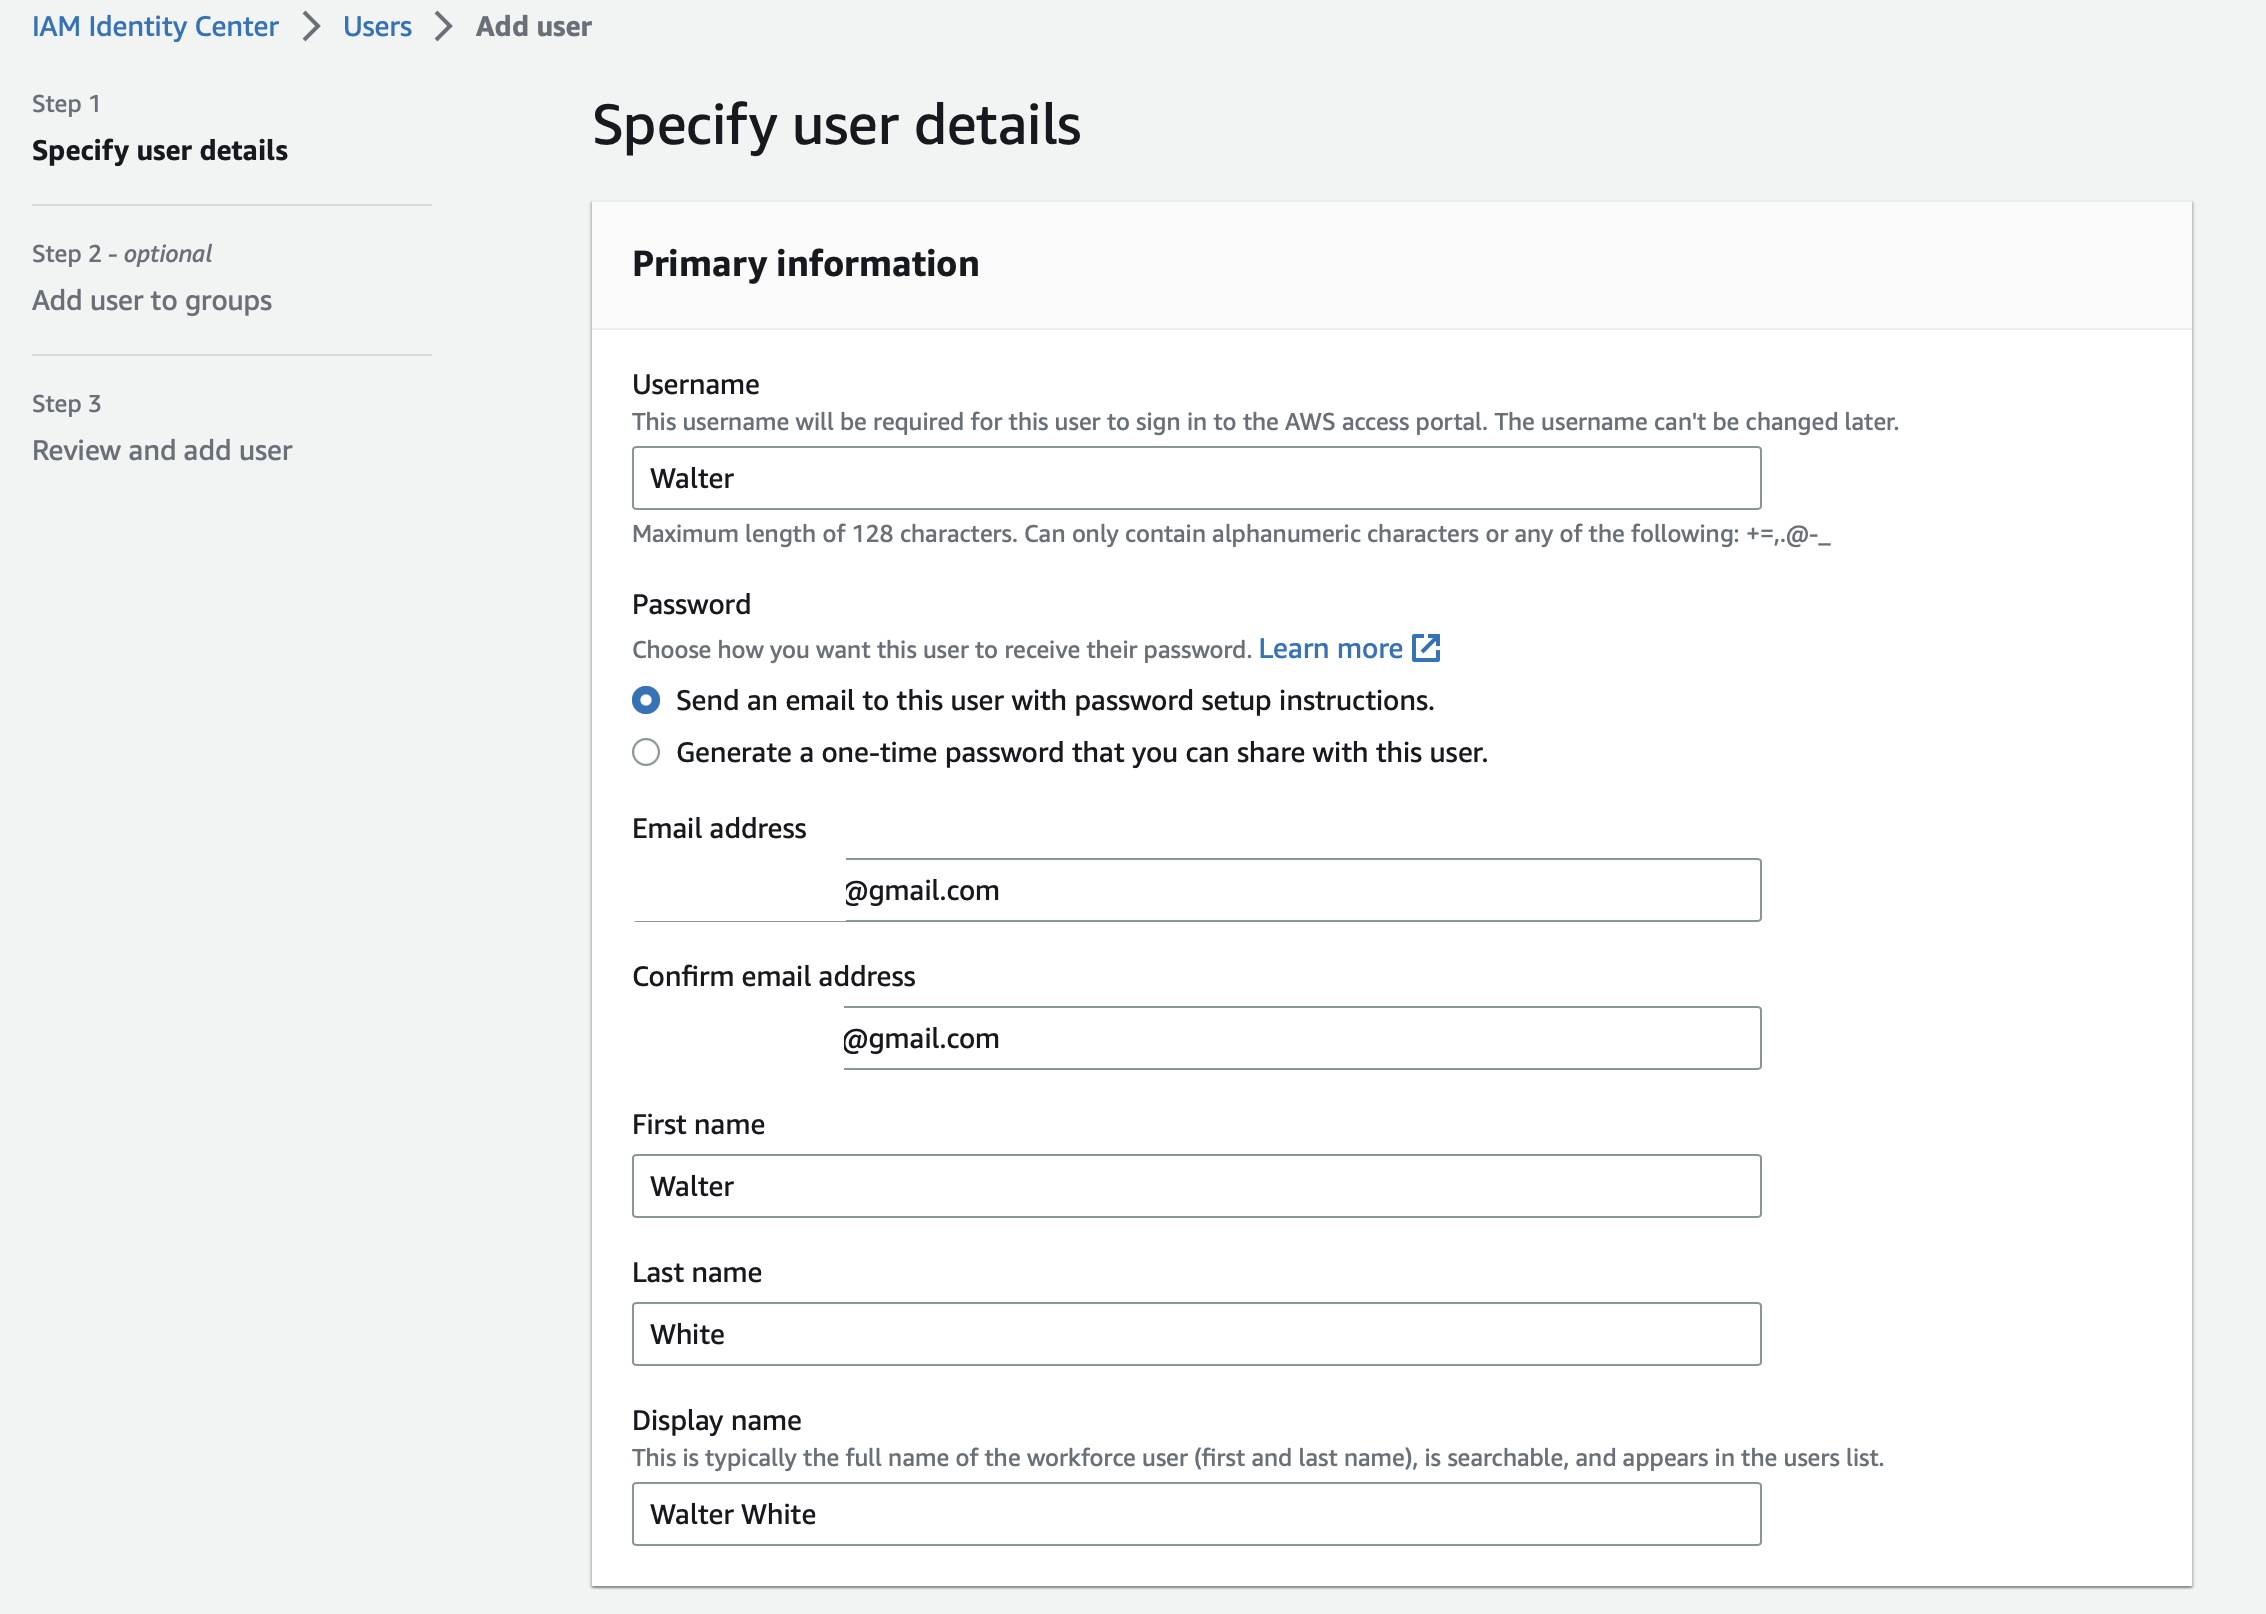
3) Enter your username. In the password section, you can choose how you want the user to receive their password. In this Hands-on, we will select "Send an email to this user with password setup instructions." Next, provide the email address, first name, and last name. We will skip the optional sections, but you can configure them as per your preferences. Then, click on "Next."
Note: If you choose to "Generate a one-time password that you can share with this user", IAM Identity Center will provide you with a temporary password that you can share with the user. The user can then use this password to sign in to the AWS access portal for the first time.

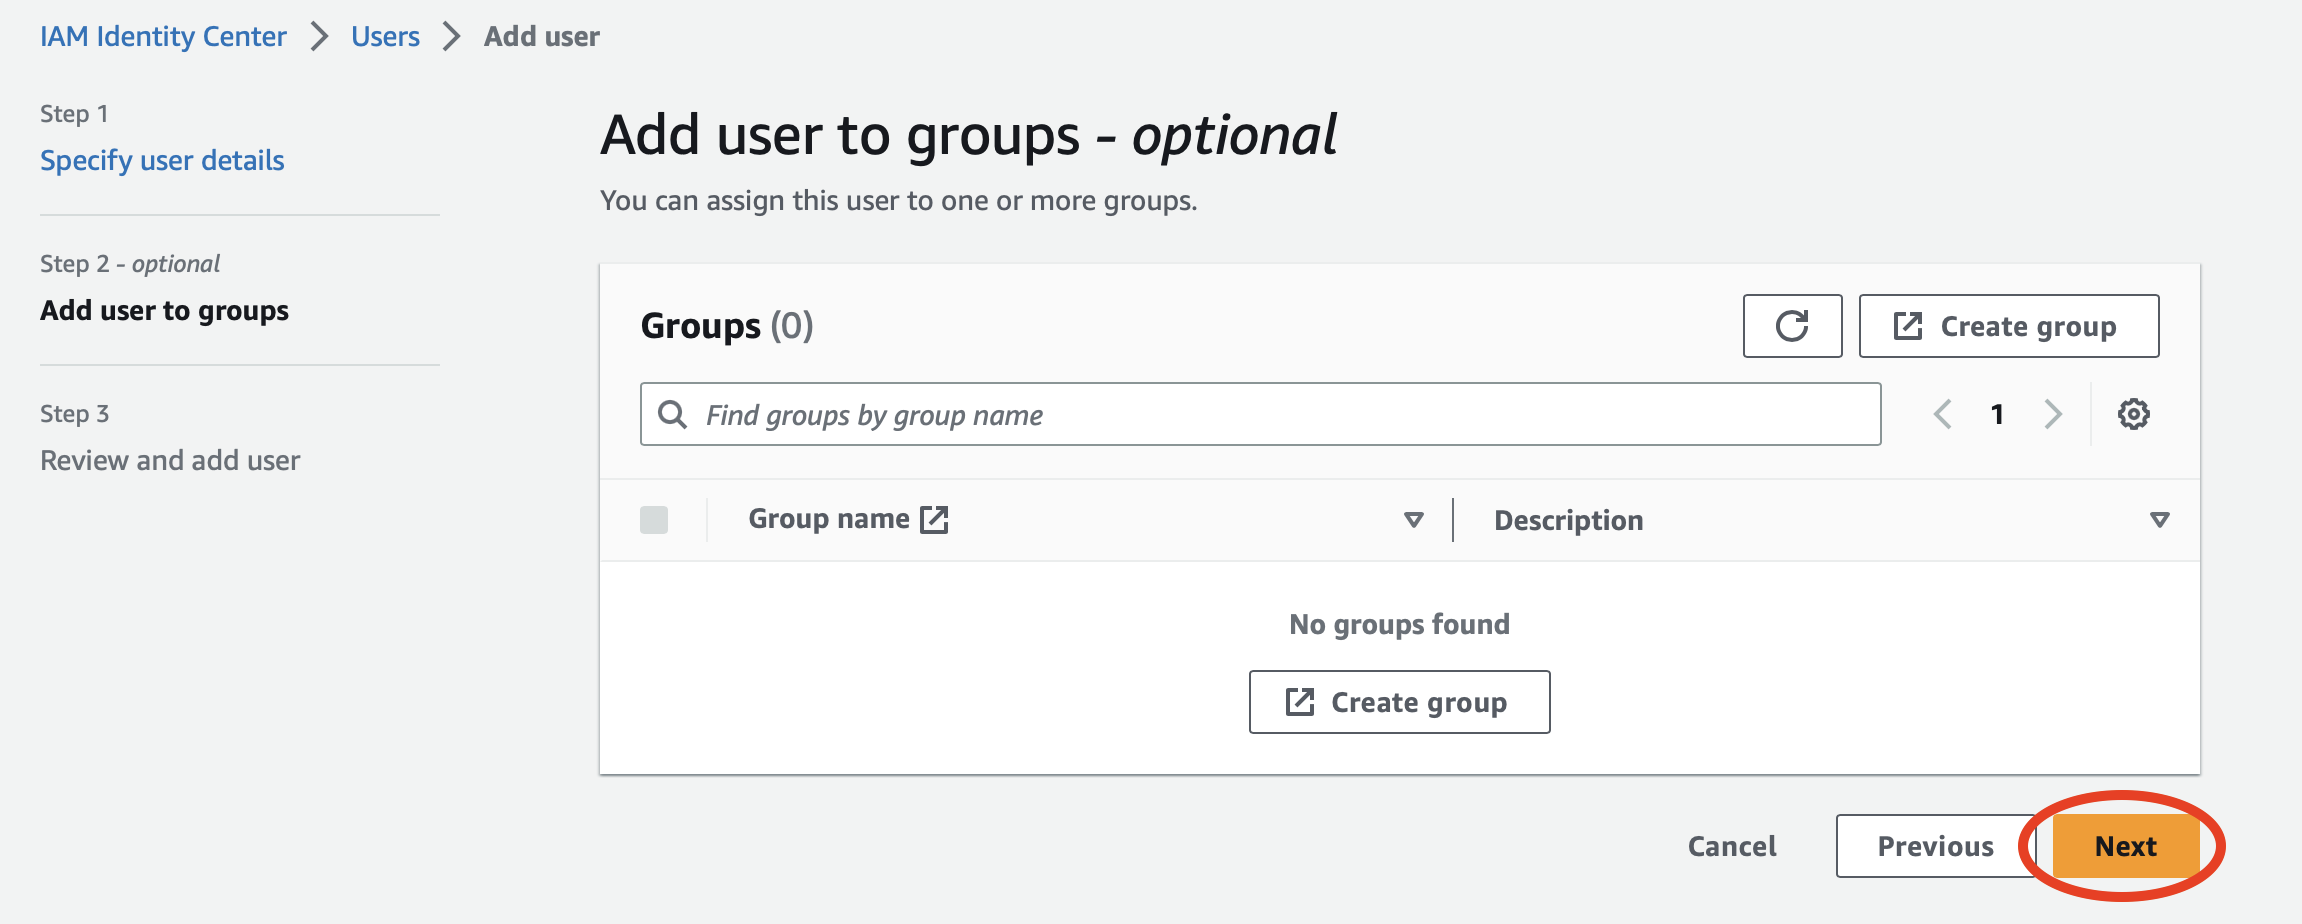
4) If you have groups then you can add users to groups. However, it's optional therefore we will skip it in this tutorial. Click on "Next".
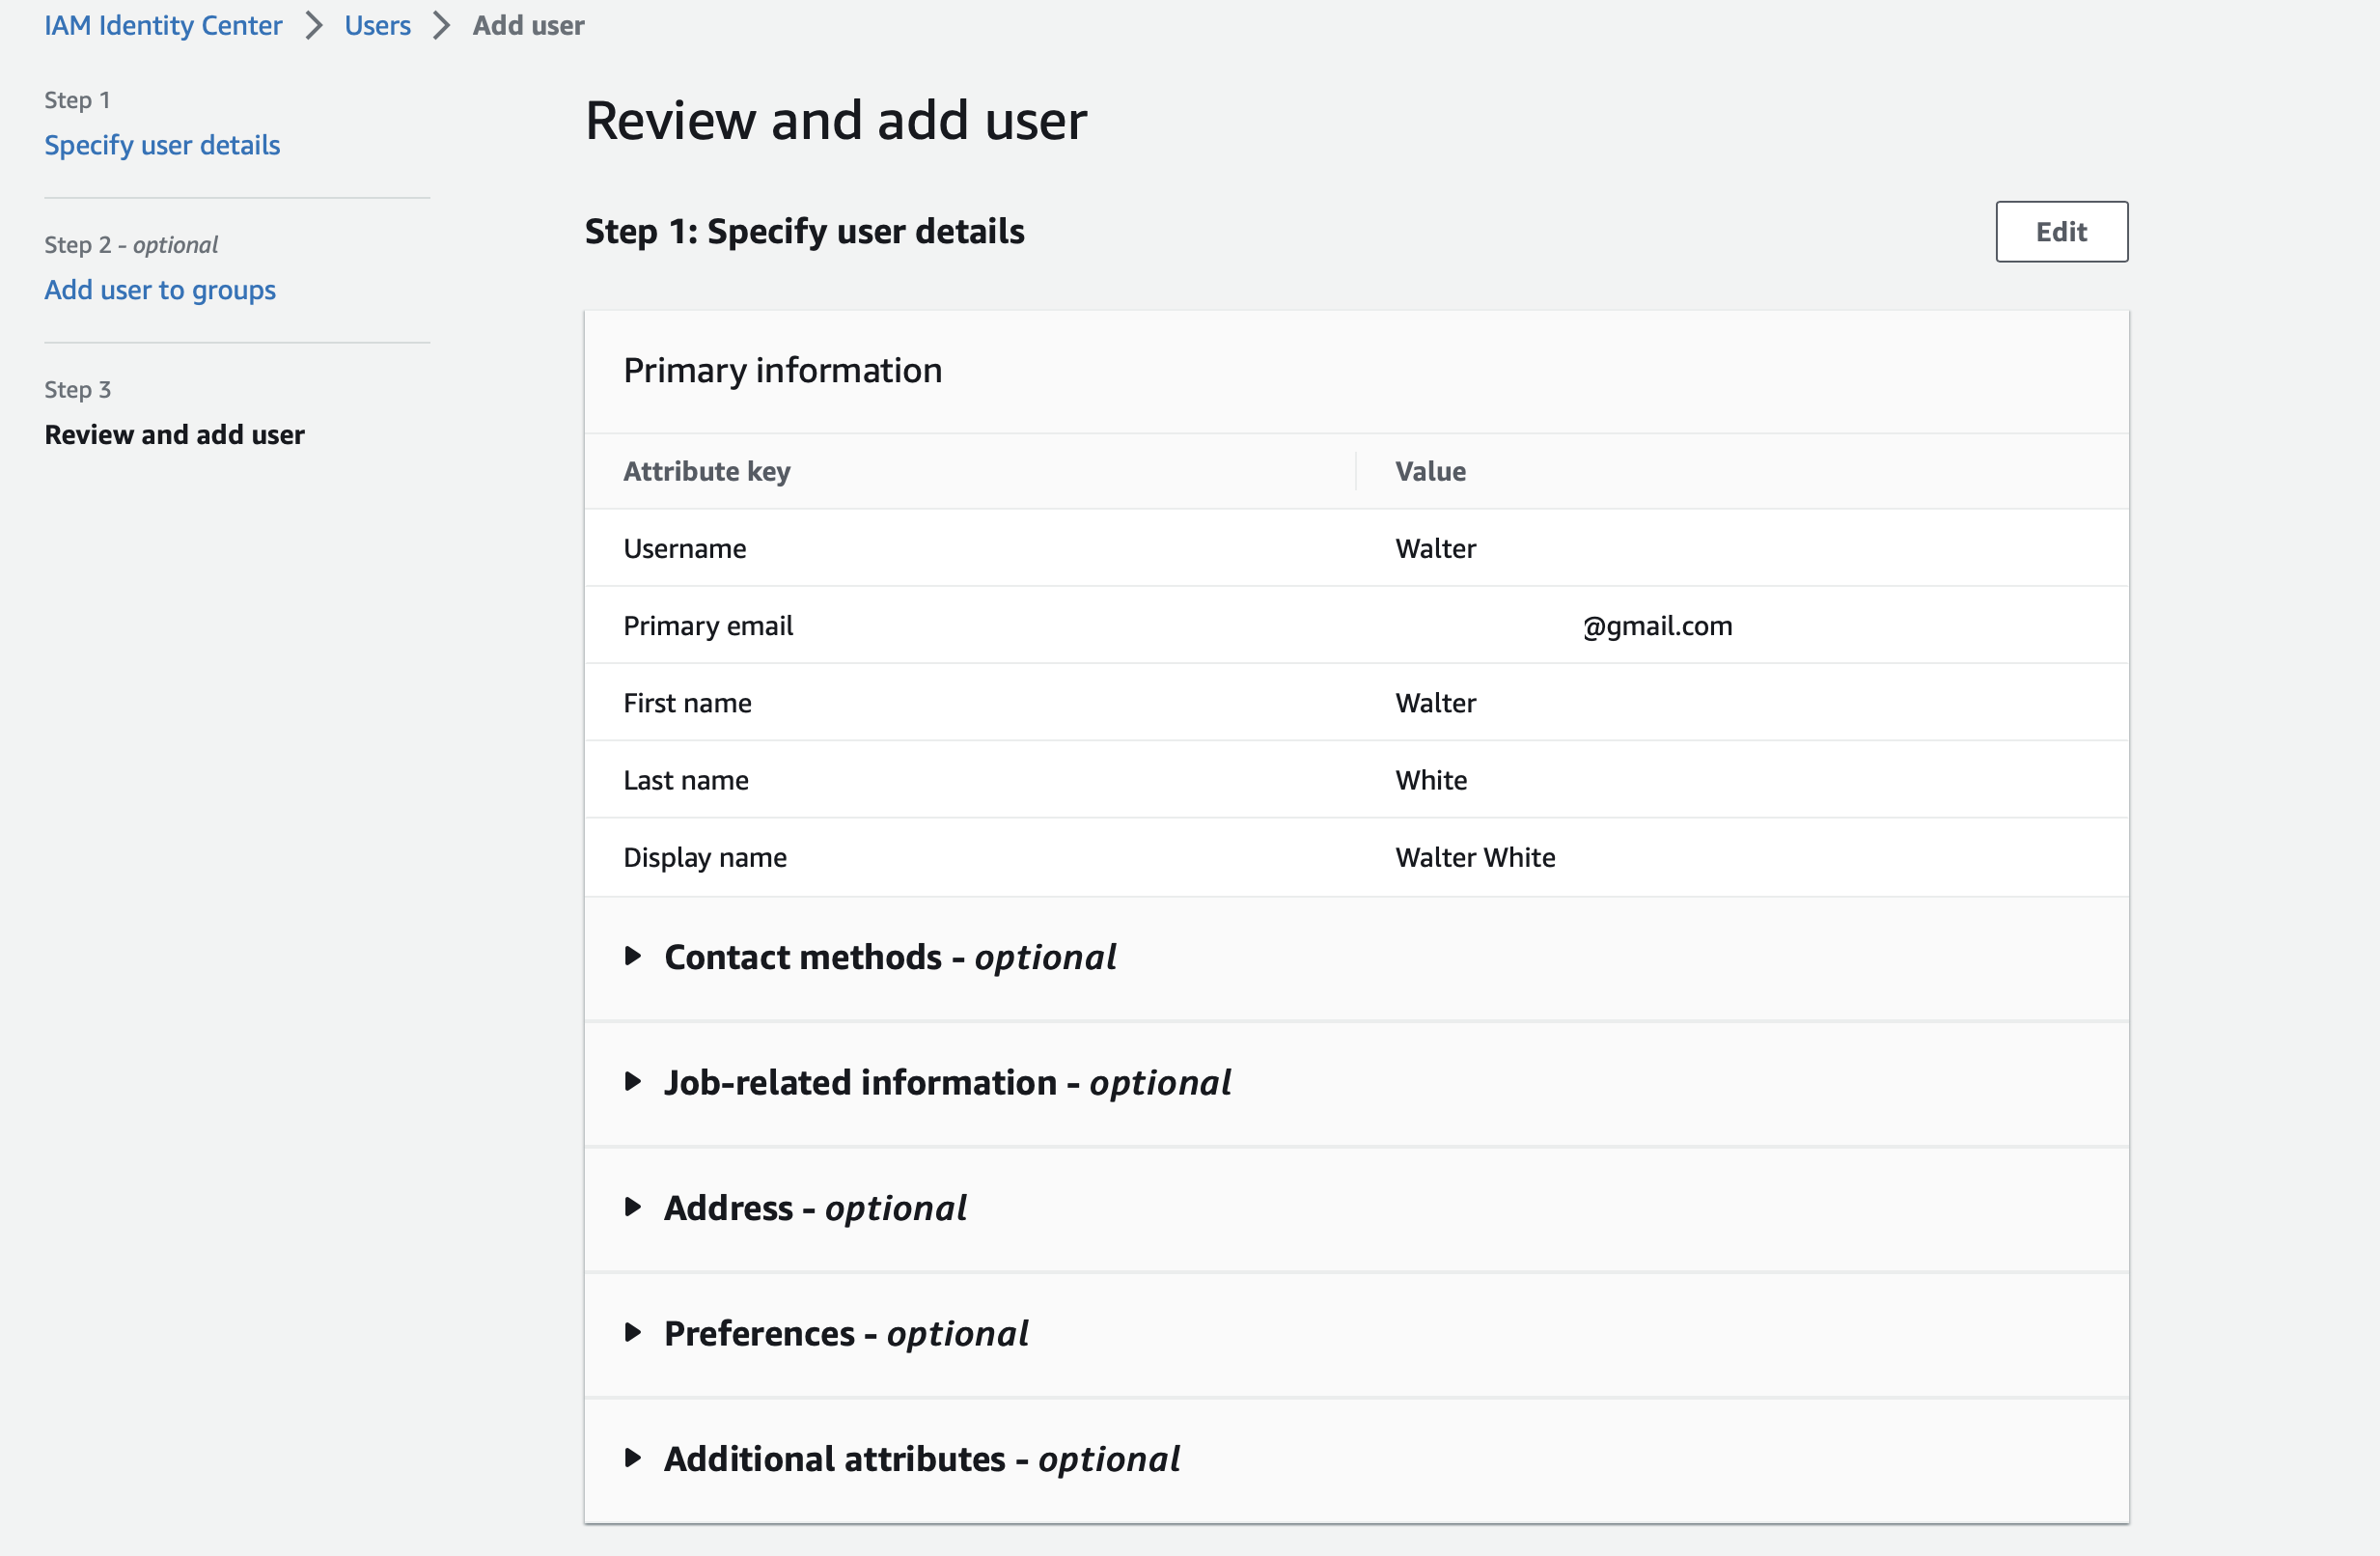
5) In the Review and Add user step, you can review the information that you specified for the user in the previous steps, including their username, password, email address, first name, last name, and additional attributes. If there are no issues, Click on "Add user".

6) Our user has been created successfully and you will get a prompt that says "The user will receive an email with a link to set up a password and instructions to connect to the AWS access portal. The link will be valid for up to 7 days etc..." Next, we need to confirm our email and configure the password which we will do in the next step.

Step 2: Accept the Invitation & Password Set-up
1) Open the email from AWS in your inbox and click "Accept Invitation".


2) Enter the new password and click on Set up a new password.
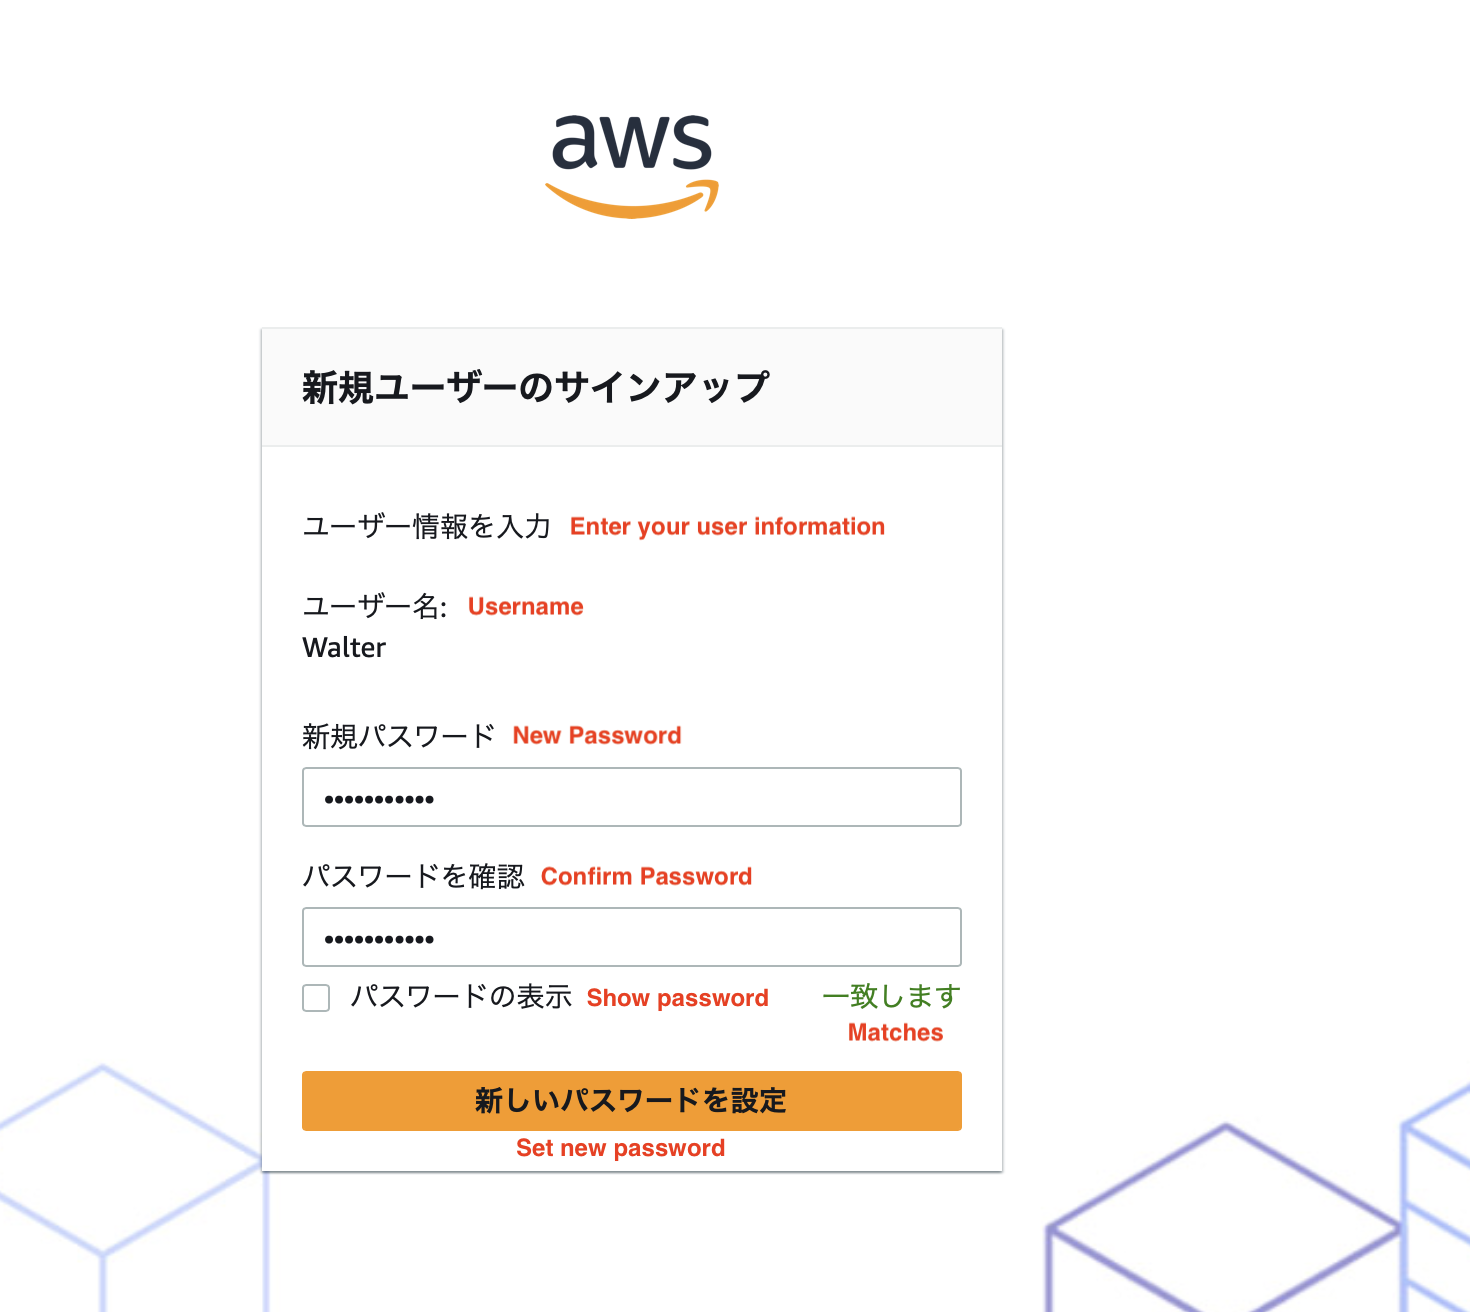
3) Enter the username and click on "Next".

4) Enter the password for the user and click on "Sign in".
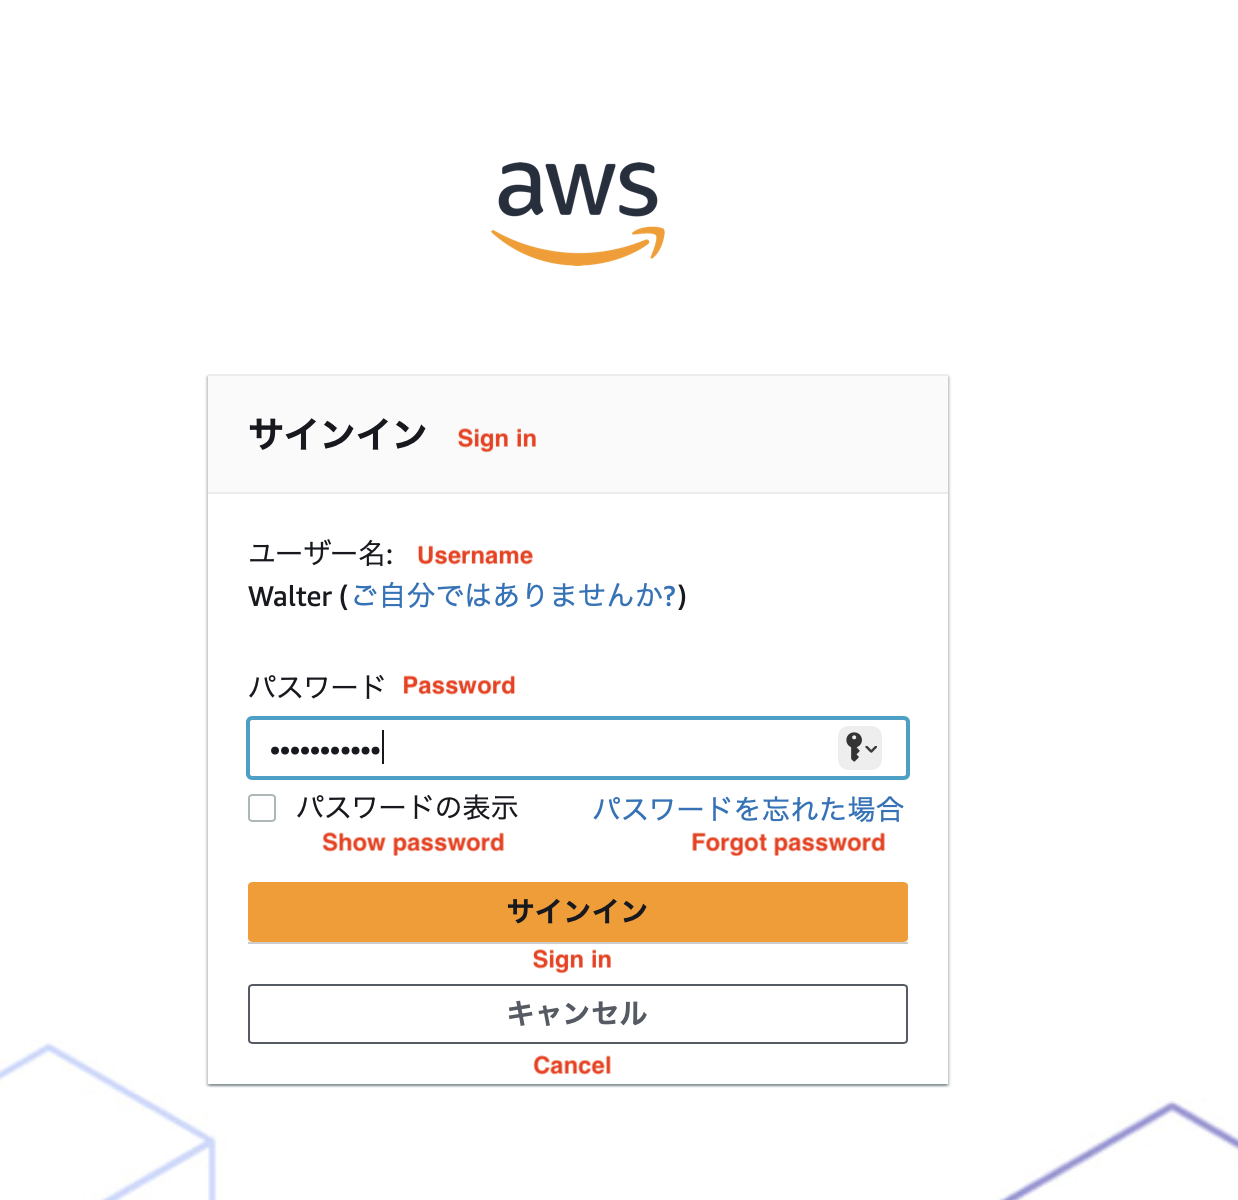
5) We have successfully logged into the AWS portal, but we have not yet been assigned any applications or provided with multi-account access. Therefore, you will see a message like the one below.

Step 3: Provide multi-account access/Assign Permission sets to the User
1) Go to the IAM Identity Center, Click on Permission sets from the Multi-account permissions section on the left navigation pane and click on Create permission sets.

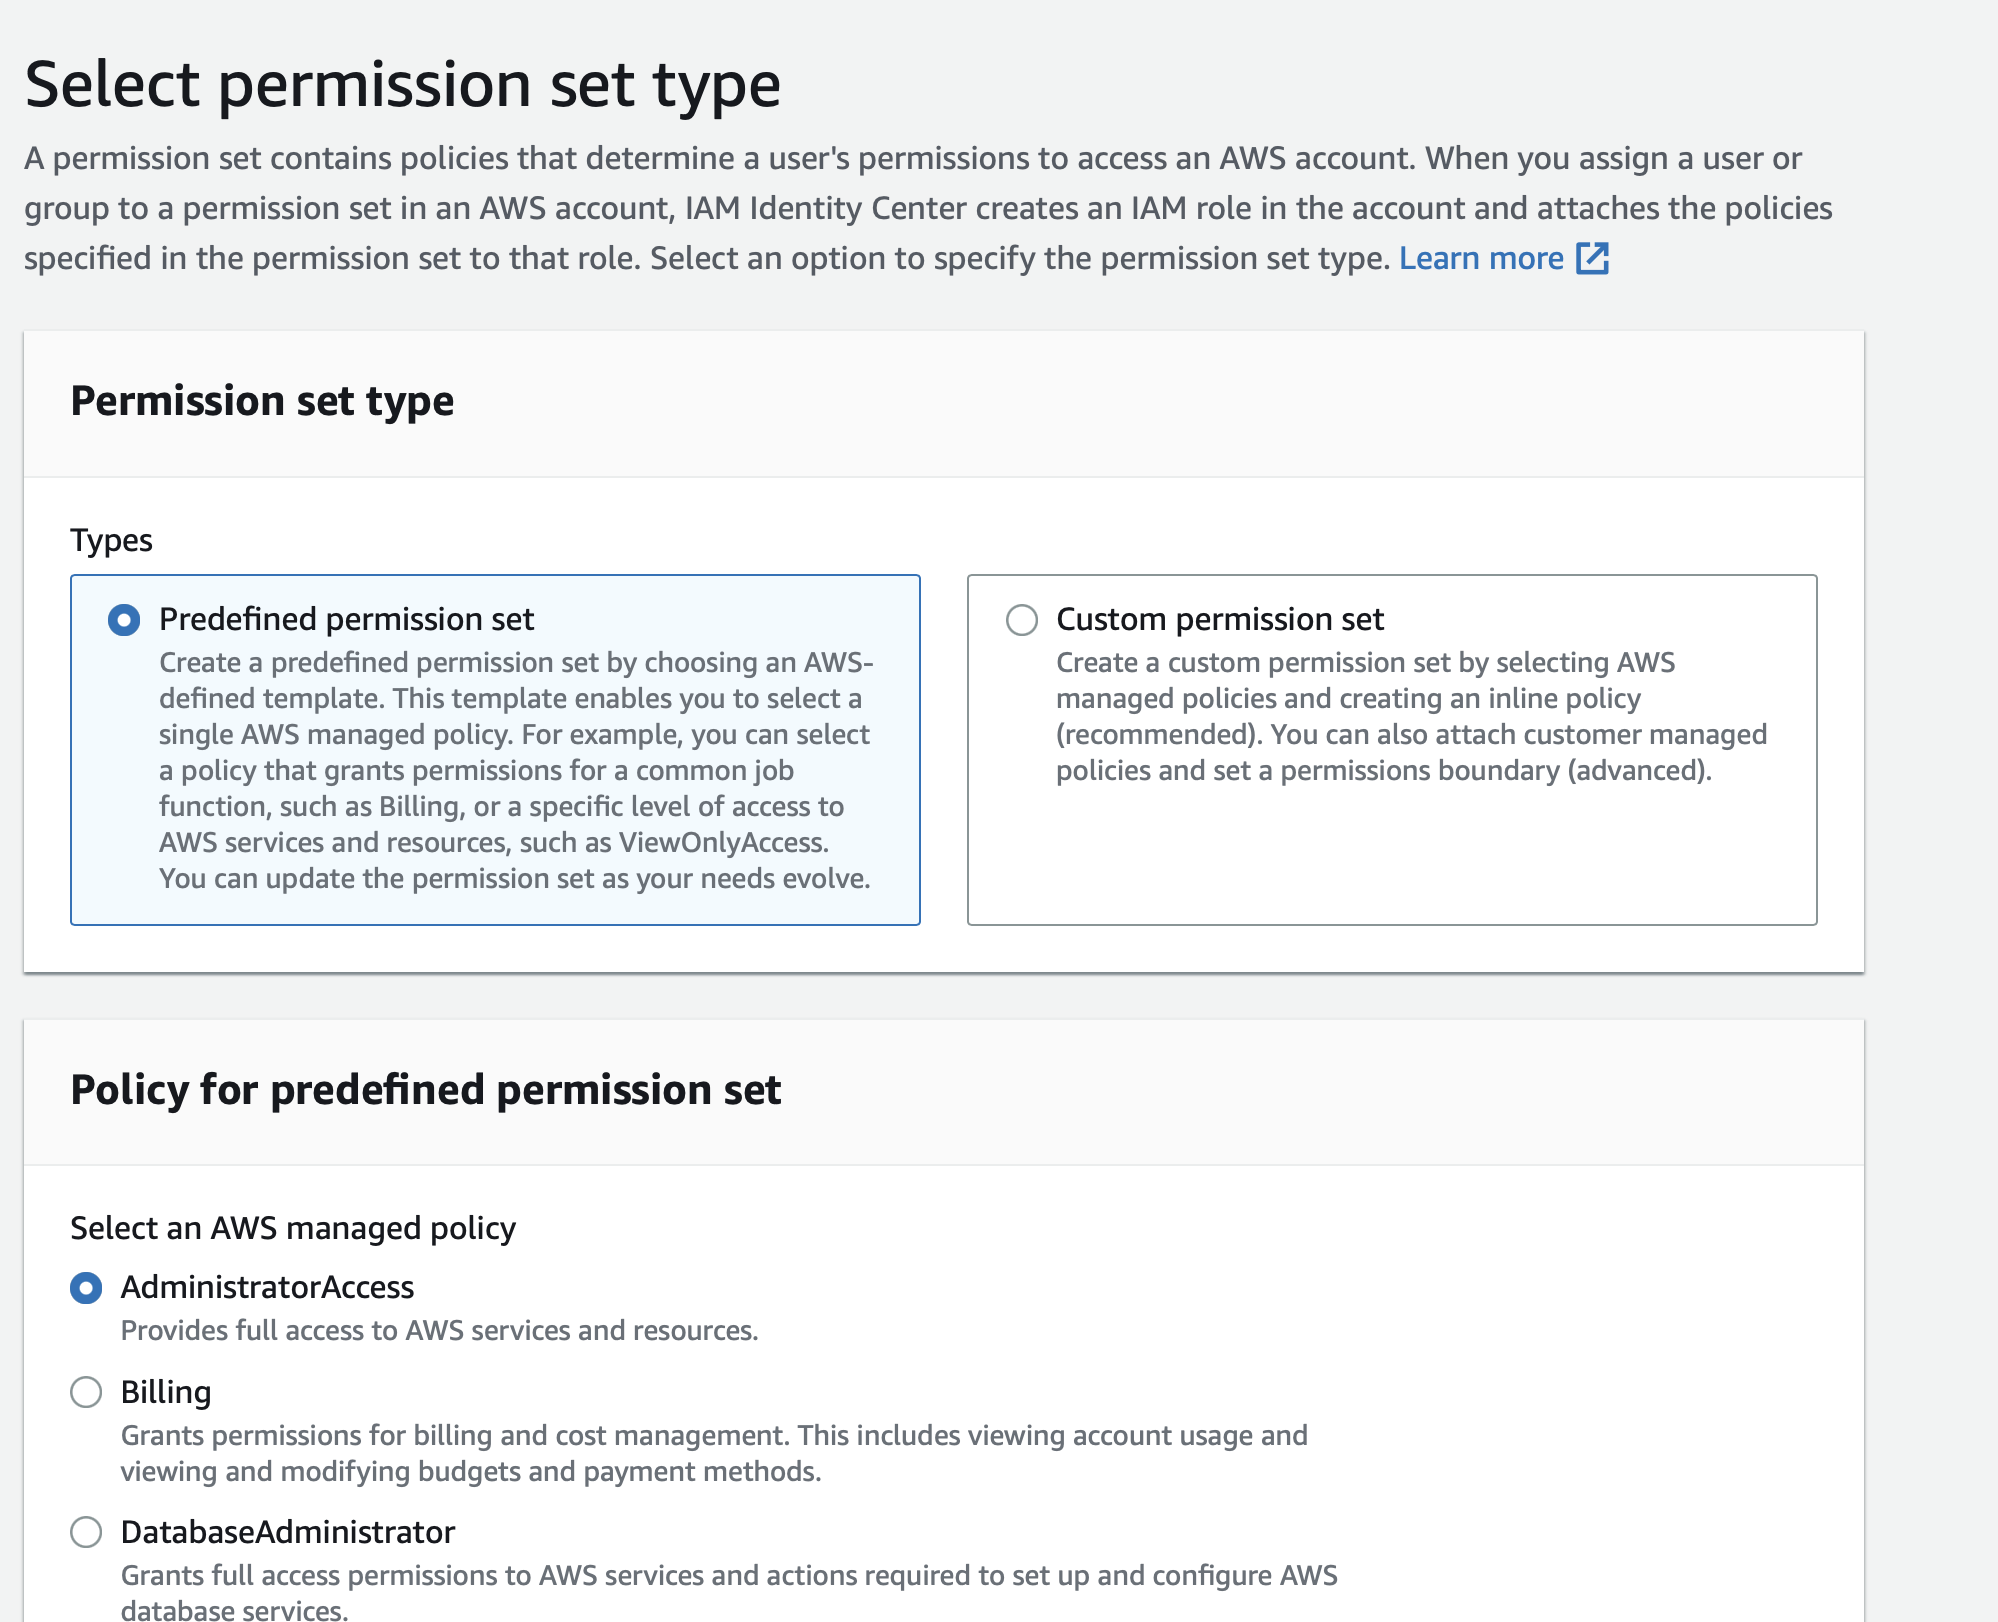
2) Select permission set type, either you can create your custom permission set or choose a predefined permission set. For this hands-on, I will choose a predefined permission set and choose AdministratorAccess which provides full access to AWS services and resources. Click on "Next".

5) In "Specify permission set details" I will leave everything in default but you can modify it per your preferences. click on "Next".
6) Next review the permission set type, and details that you specified in the previous step. If it seems right to you then click on "Create".

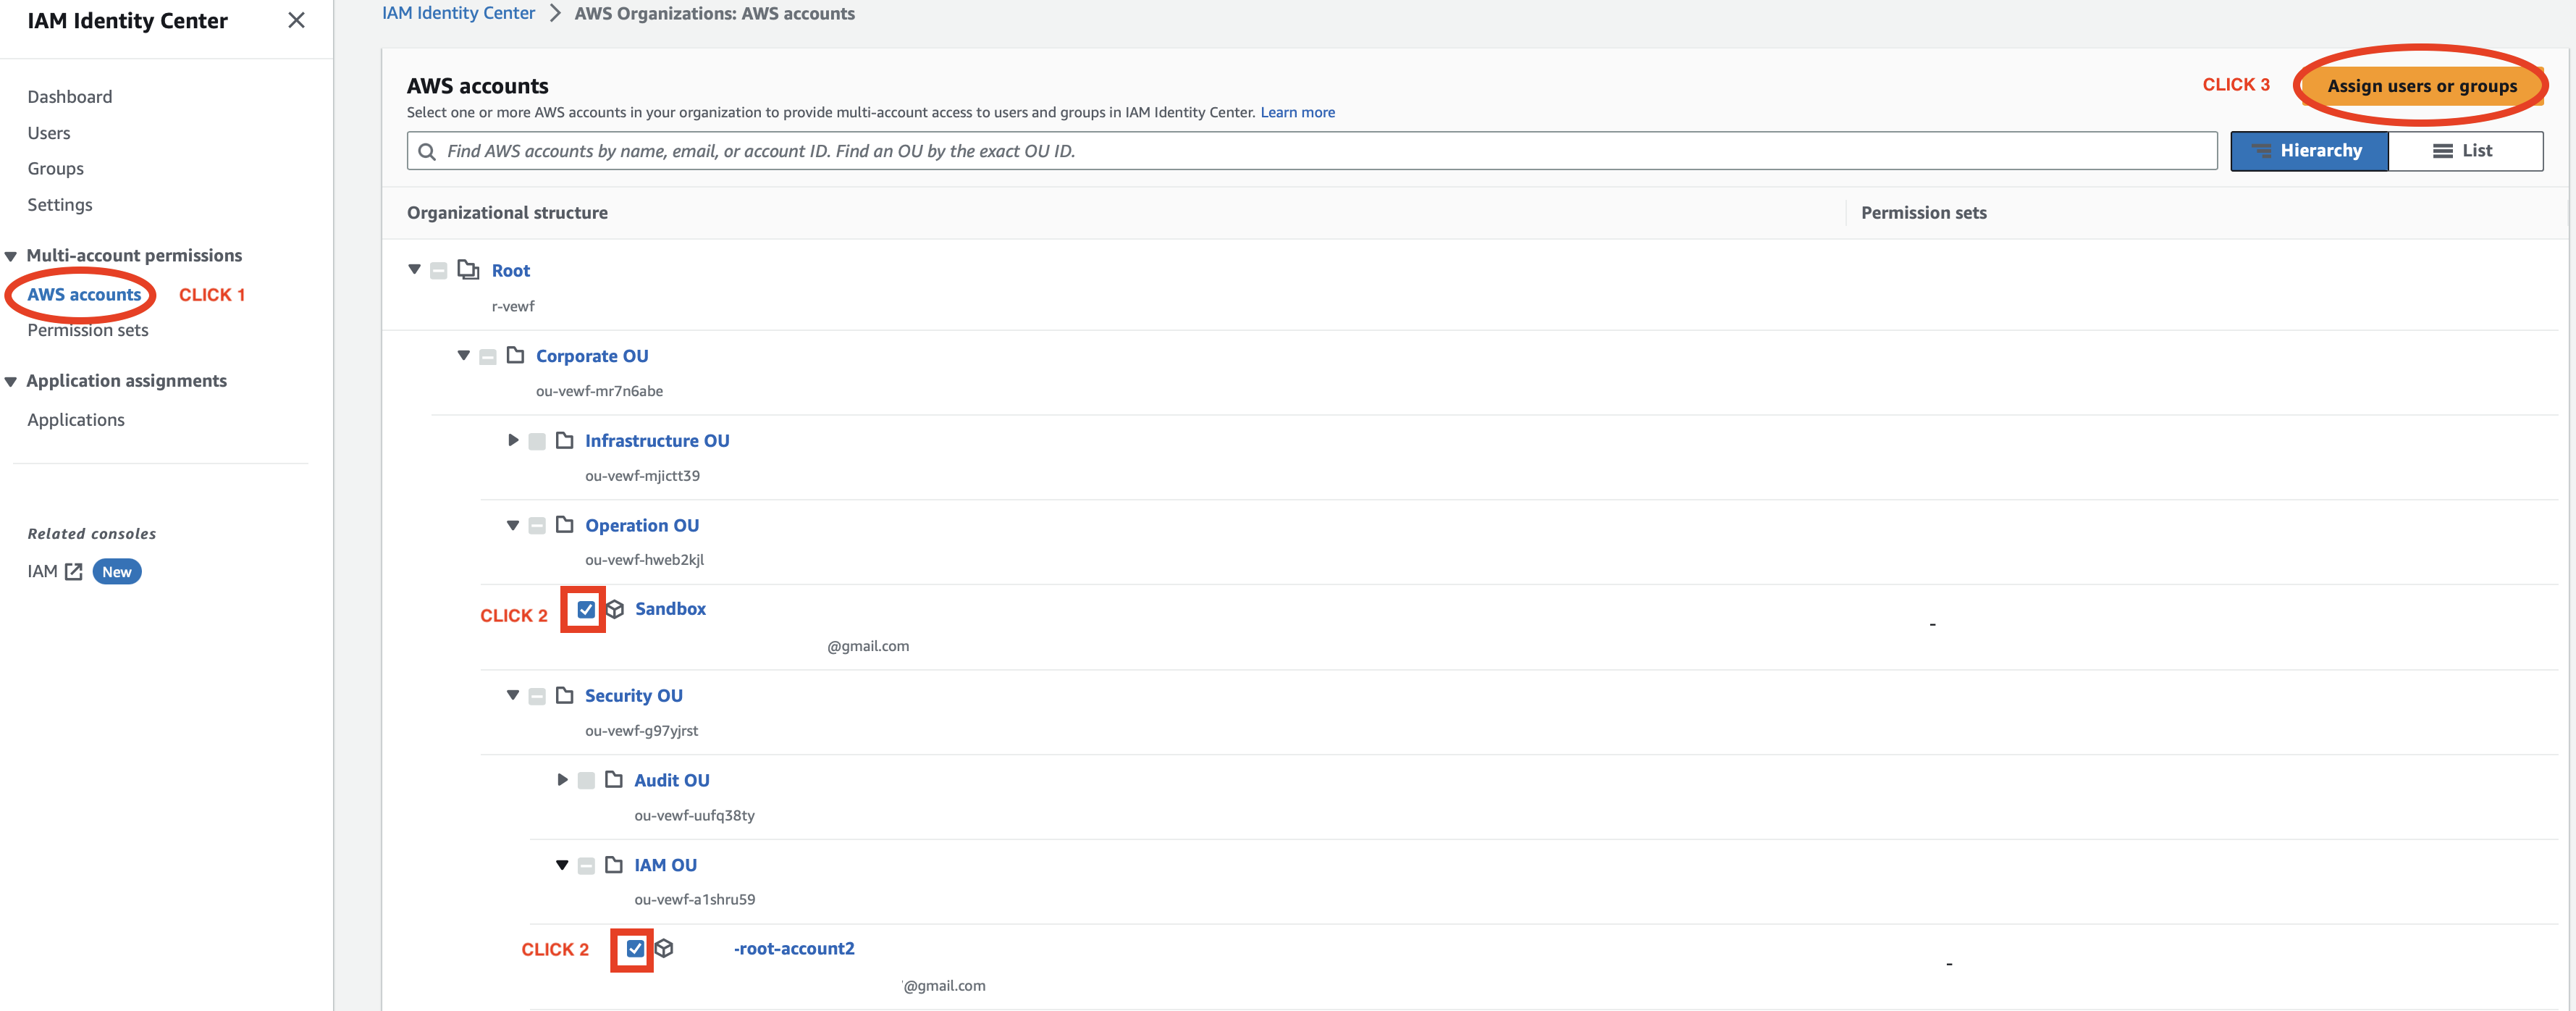
7) Click on AWS accounts from Multi-account permissions on the left side of the navigation pane and check on accounts of your organization that you'd like to provide access to the user and click on "Assign users or groups". (In this hands-on, I will only select two accounts from Operation OU and IAM OU but you can select more accounts from other OUs as well )
8) Check on the username that we created before and click on "Next".

9) Now, check on the Administrator Access as permission sets that we created before and click on "Next".

10) Review the users and permission sets that we configured in the previous step and if you think everything is right then click on "Submit".

Step 4: Sign in and access assigned AWS accounts (AWS access portal)
Note: If you refresh the page in Step 2: 5) you will see assigned AWS accounts but we will do this from the start.
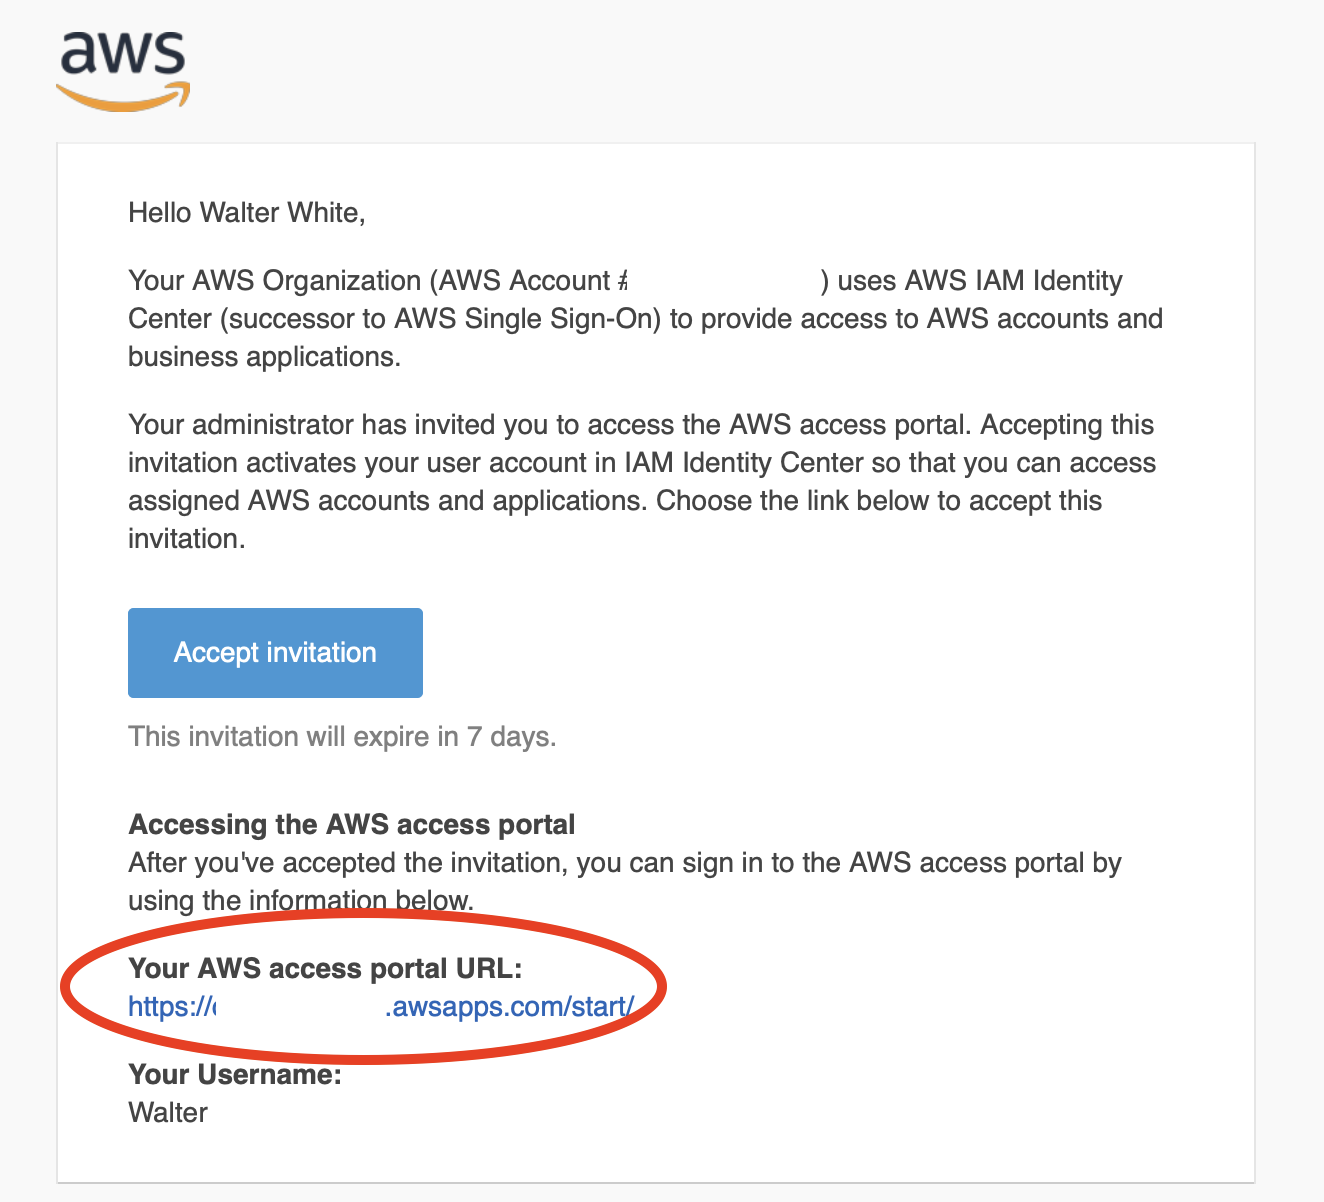
1) Open the email from AWS in your inbox that you received earlier and click on the access portal URL or you can also access the portal by copying the link from the IAM Identity Center dashboard.

2) Enter the username and click on "Next".

3) Enter the password for the user and click on "Sign in".

4) Now, you can see assigned AWS accounts that we assigned in step 3: 7). You can access either an AWS Management Console or Command line or programmatic access. However, I will choose Management Console for this hands-on.

5) I have successfully signed into my Sandbox account with Administrator access which means I can access almost every AWS resource on this account.

Thank you, and that concludes this hands-on session. I appreciate you reading this guide and hope it has been informative and useful to you.
Conclusion
In conclusion, AWS IAM Identity Center provides a powerful tool for managing access to AWS resources. By following the steps outlined in this blog post, you can easily create and invite users to access resources without the need for an AWS account. With its improved user management and support for external identity providers, IAM Identity Center is a must-have tool for any organization using AWS.
Subscribe to my newsletter
Read articles from Phil directly inside your inbox. Subscribe to the newsletter, and don't miss out.
Written by

Phil
Phil
Hello and welcome to my blog! I am a passionate professional with a diverse background in Quality Assurance (QA) and System Engineering, and I am currently working as an AWS Cloud Engineer. Throughout my career, I have gained hands-on experience in a wide range of AWS services, both through my professional work and dedicated self-study. This practical exposure has provided me with valuable insights and deepened my understanding of leveraging AWS to build robust and scalable solutions. On this blog, I aim to share my experiences, insights, and practical guidance on AWS services and their application in real-world scenarios. Whether you are a cloud enthusiast, an aspiring AWS professional, or someone simply looking to deepen your understanding of cloud technology, I invite you to join me on this exciting journey. Thank you for visiting my blog, and I look forward to connecting and engaging with you as we delve into the world of AWS and cloud technology.