The Easiest Way to Build LiveStream Mobile App: ZEGOCLOUD SDK’s Flutter Integrated
 Saiful Bahri
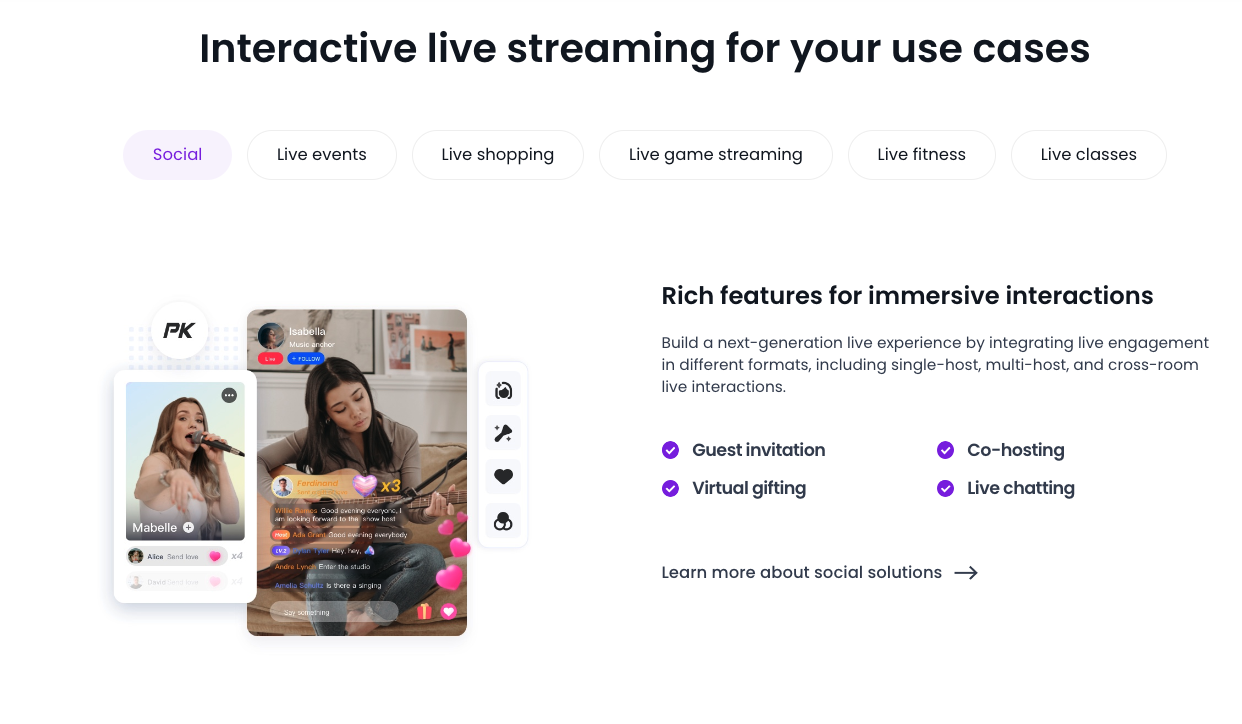
Making a live-streaming application with a limited amount of time could be overwhelming, and with a lot of burdens and problems that facing in our way, it feels impossible. But worry no more! The live-streaming SDK from Zegocloud is the solution. SDK allows you to integrate with the Flutter framework to make live-streaming mobile apps quickly. Need to know more? Check the tutorial below:
First, we need to create the Flutter project:
flutter create livestreaming_app
And then “open project” in Visual Studio Code
cd livestreaming_app
code .
After that, add the live streaming SDK package from Zegocloud via terminal:
flutter pub add zego_uikit_prebuilt_live_streaming
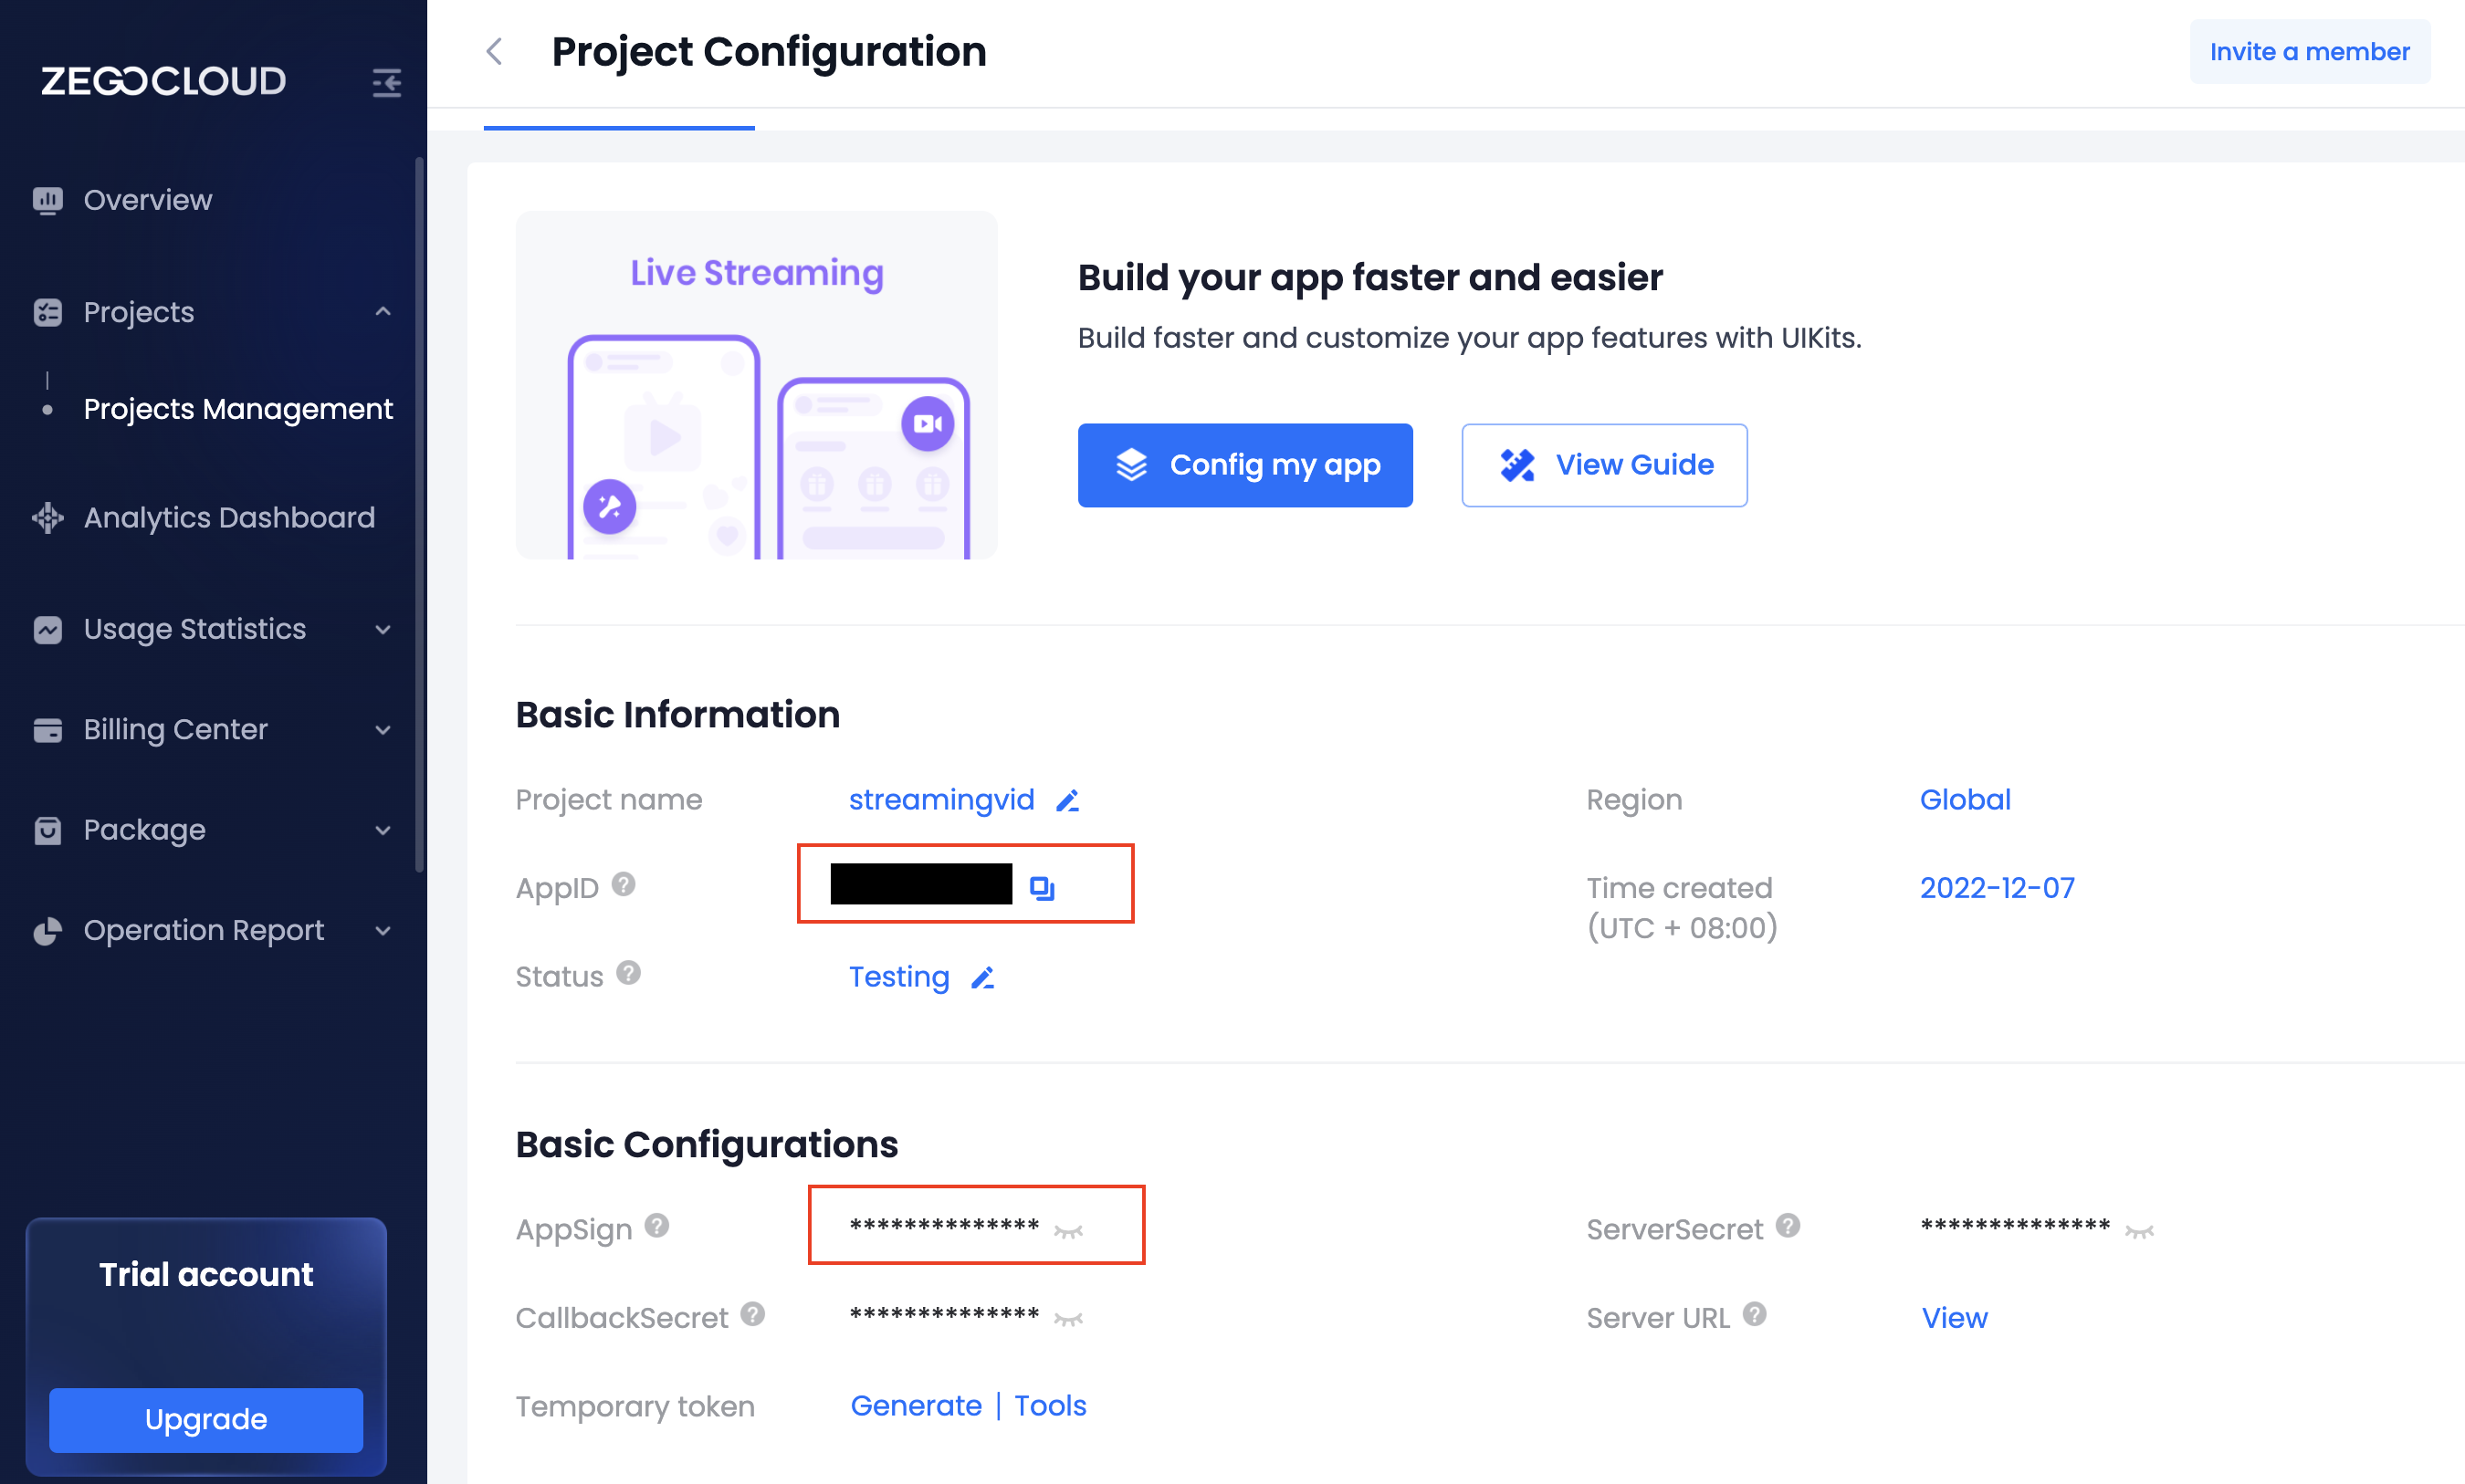
After that, you need to create a Livestreaming project in the Zegocloud admin console to get the appID and appSign that we need to install in our project to connect to the Zegocloud service.
Register first or log in via zegocloud website: https://www.zegocloud.com/
Create project Live Streaming and open it, you will see the appID and AppSign:
Then we can create a live_page.dart file in lib folder:
import 'package:flutter/material.dart';
import 'package:zego_uikit_prebuilt_live_streaming/zego_uikit_prebuilt_live_streaming.dart';

import 'package:flutter_zego_livestreaming_sample_app/config_zego.dart';

class LivePage extends StatelessWidget {
  final String liveID;
  final bool isHost;
  final String userName;
  final String userId;

  const LivePage({
    Key? key,
    required this.liveID,
    required this.isHost,
    required this.userName,
    required this.userId,
  }) : super(key: key);

  @override
  Widget build(BuildContext context) {
    return SafeArea(
      child: ZegoUIKitPrebuiltLiveStreaming(
        appID: ConfigZego
            .appId, // Fill in the appID that you get from ZEGOCLOUD Admin Console.
        appSign: ConfigZego
            .appSign, // Fill in the appSign that you get from ZEGOCLOUD Admin Console.
        userID: userId,
        userName: userName,
        liveID: liveID,
        config: isHost
            ? ZegoUIKitPrebuiltLiveStreamingConfig.host()
            : ZegoUIKitPrebuiltLiveStreamingConfig.audience(),
      ),
    );
  }
}
It will be an error for ConfigZego.appId and appSign because we still need to make the config file. Here is the config file, create file config_zego.dart :
class ConfigZego {
  static int appId = 0000000; //change with your appId
  static String appSign =
      'changewithyourappSign0000';
}
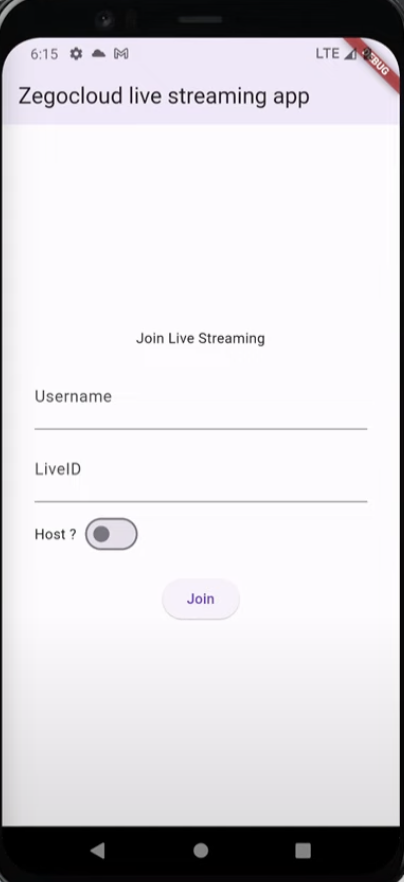
Then remember that we need to create a page to join the live page. Here is the complete code for join_page.dart :
import 'package:flutter/material.dart';
import 'package:flutter_zego_livestreaming_sample_app/live_page.dart';

class JoinPage extends StatefulWidget {
  const JoinPage({super.key});

  @override
  State<JoinPage> createState() => _JoinPageState();
}

class _JoinPageState extends State<JoinPage> {
  TextEditingController usernameController = TextEditingController();
  TextEditingController liveIDController = TextEditingController();
  bool isHost = false;
  @override
  Widget build(BuildContext context) {
    return Scaffold(
      appBar: AppBar(
        title: const Text('Zegocloud live streaming app'),
        elevation: 5,
      ),
      body: Padding(
        padding: const EdgeInsets.all(32),
        child: Column(
          mainAxisAlignment: MainAxisAlignment.center,
          crossAxisAlignment: CrossAxisAlignment.center,
          children: [
            const Center(child: Text('Join Live Streaming')),
            const SizedBox(
              height: 16,
            ),
            TextField(
              controller: usernameController,
              decoration: const InputDecoration(labelText: 'Username'),
            ),
            const SizedBox(
              height: 8,
            ),
            TextField(
              controller: liveIDController,
              decoration: const InputDecoration(labelText: 'LiveID'),
            ),
            const SizedBox(
              height: 8,
            ),
            Row(
              children: [
                const Text('Host ?'),
                const SizedBox(
                  width: 4,
                ),
                Switch(
                    value: isHost,
                    onChanged: (val) {
                      setState(() {
                        isHost = val;
                      });
                    }),
              ],
            ),
            const SizedBox(
              height: 16,
            ),
            ElevatedButton(
                onPressed: () {
                  Navigator.push(context, MaterialPageRoute(builder: (context) {
                    return LivePage(
                        liveID: liveIDController.text,
                        isHost: isHost,
                        userName: usernameController.text,
                        userId:
                            usernameController.text.replaceAll(' ', '').trim());
                  }));
                },
                child: const Text('Join')),
          ],
        ),
      ),
    );
  }
}
Then write the join_page widget in the main class:
import 'package:flutter/material.dart';
import 'package:flutter_zego_livestreaming_sample_app/join_page.dart';

void main() {
  runApp(const MyApp());
}

class MyApp extends StatelessWidget {
  const MyApp({super.key});

  @override
  Widget build(BuildContext context) {
    return MaterialApp(
      title: 'Flutter Demo',
      theme: ThemeData(
        colorScheme: ColorScheme.fromSeed(seedColor: Colors.deepPurple),
        useMaterial3: true,
      ),
      home: const JoinPage(),
    );
  }
}
Before we run to emulator or device, we must setup the configuration for android:
Open the
your_project/android/app/build.gradlefile, and modify thecompileSdkVersionto 33.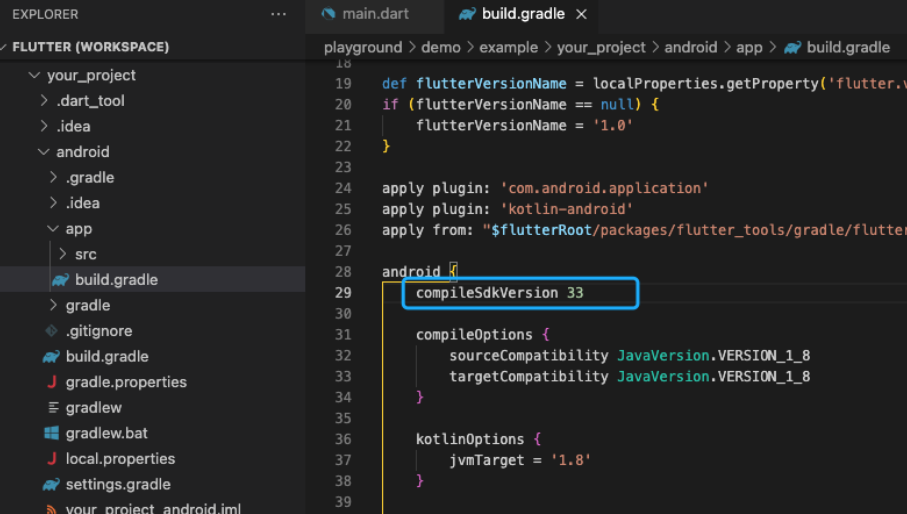
Add app permissions. Open the file
your_project/app/src/main/AndroidManifest.xml, and add the following:
<uses-permission android:name="android.permission.ACCESS_WIFI_STATE" />
<uses-permission android:name="android.permission.RECORD_AUDIO" />
<uses-permission android:name="android.permission.INTERNET" />
<uses-permission android:name="android.permission.ACCESS_NETWORK_STATE" />
<uses-permission android:name="android.permission.CAMERA" />
<uses-permission android:name="android.permission.BLUETOOTH" />
<uses-permission android:name="android.permission.MODIFY_AUDIO_SETTINGS" />
<uses-permission android:name="android.permission.WRITE_EXTERNAL_STORAGE" />
<uses-permission android:name="android.permission.READ_PHONE_STATE" />
<uses-permission android:name="android.permission.WAKE_LOCK" />
Prevent code obfuscation:
a. In your project's
your_project > android > appfolder, create aproguard-rules.profile with the following content as shown below:-keep class **.zego.** { *; }b. Add the following config code to the
releasepart of theyour_project/android/app/build.gradlefile.proguardFiles getDefaultProguardFile('proguard-android.txt'), 'proguard-rules.pro'Setup configuration finish.
Open android emulator and then we can run in terminal: flutter run -v
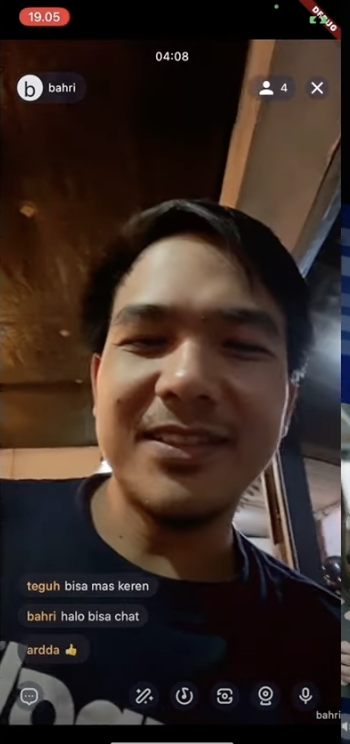
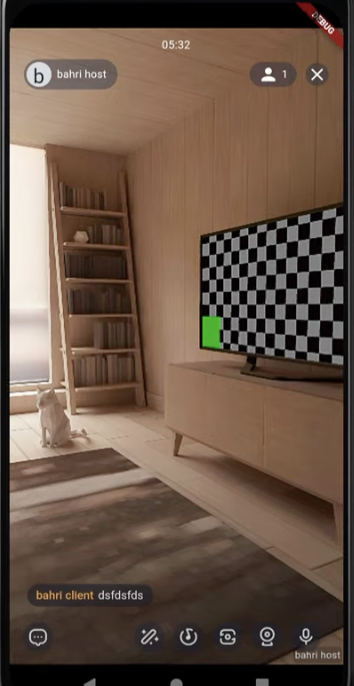
The following is a screenshot of the application:
Detailed source code can be seen below:
Official Docs:
Get ZEGOCLOUD SDK for 10,000 free mins: https://bit.ly/3N4aywI
Pre-built Live streaming Kit with Flutter: https://bit.ly/42ddRWY
Learn about ZEGOCLOUD live streaming SDK: https://bit.ly/3WEhrbt
How to build flutter Live Streaming App: https://bit.ly/42nAF6w
ZEGOCLOUD live streaming SDK allows you to easily build your live streaming apps with flutter within minutes.
Check my Youtube channel for more flutter tutorials:
Subscribe to my newsletter
Read articles from Saiful Bahri directly inside your inbox. Subscribe to the newsletter, and don't miss out.
Written by
