aws project: vpc with public - private subnet in production
 Shreyash Bhise
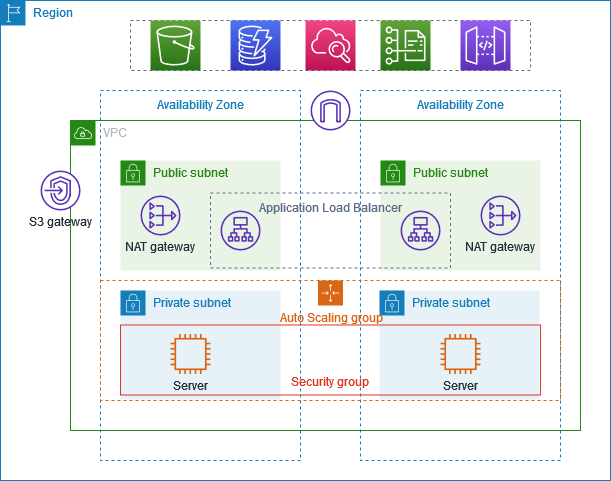
✅ About the project:
✅ This example demonstrate how to create a VPC that you can use for servers in production enviroment.
✅ To improve resiliency you deploy the server in two availability zones by using an auto scaling group and an application load balancer.
✅ For additional security you deploy server in private subnets. The server receive request through load balancer.
✅ The server can connect to the internet by using a NAT gateway. To improve resiliency you deploy the NAT gateway in both availabilty zones.
✅ Overview:
✅ The VPC has public subnets and private subnets in two availability zones.
✅ Each public subnet contain a NAT gateway and a load balancer node.
✅ The server run in the private subnet are launched and terminated by using an auto scaling group and receive traffic from the load balancer.
✅ The servers can connect to the internet by using the NAT gateway.
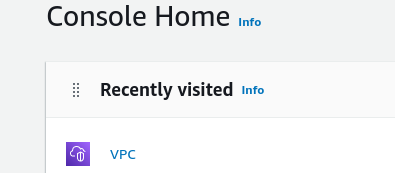
Step 1 : The creation of vpc so go to the search bar type vpc so you will see an option click on that.
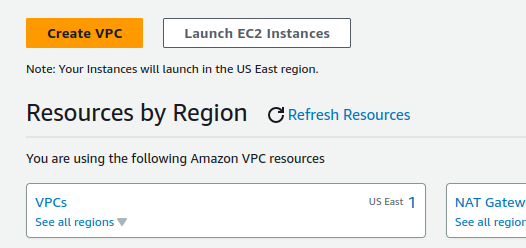
step 2 : So you will find an option called create vpc, click on create vpc and there will be two option.
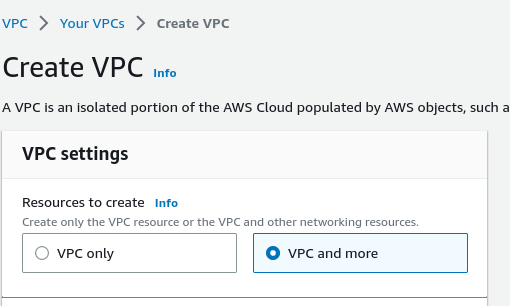
step 3 : Go with vpc and more.
step 4: Then select name of the project.

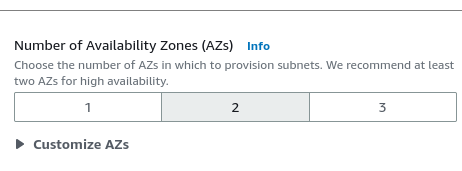
Step 5: Select number of availability zones two.
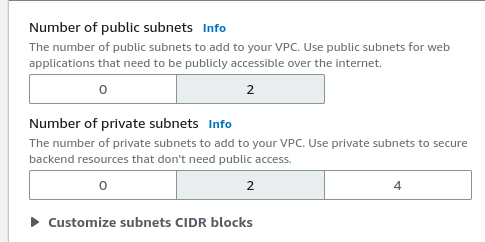
Step 6 : Then select number of public subnet 2 and private subnet 2.
Step 7: Select one NAT Gateway in one particular availability zones.

Step 8 : In vpc end point click on None.

Step 9 : Now click on create vpc.

Step 10 : Now click on view vpc.

Step 11 : Now click on your vpc, and lets go got he vpc.

Step 12 : So search for ec2 and in the ec2 you can go for auto scaling group option scroll down you will see this option called auto scaling groups.
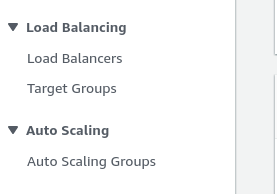
Step 13 : Click on create auto scaling group.

Step 14 : Then click on create a launch template.

Step 15 : You just have to mention what is the name of this launch template and after that give same template version description about it.
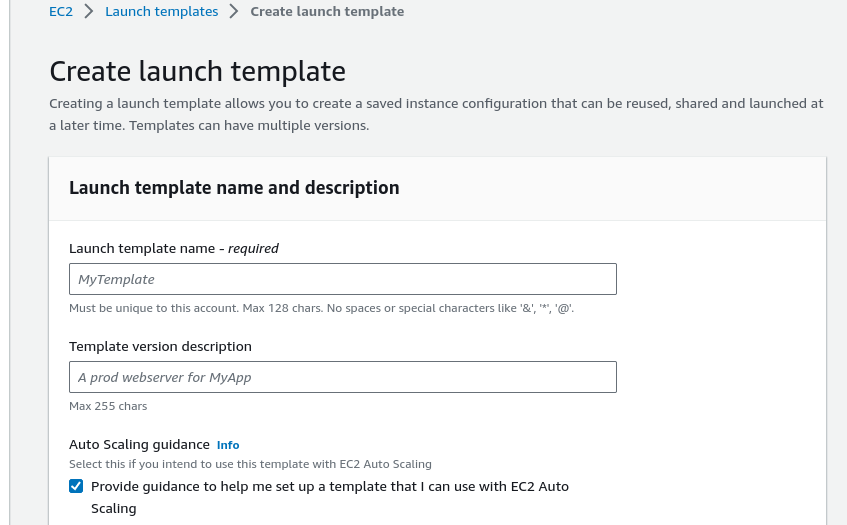
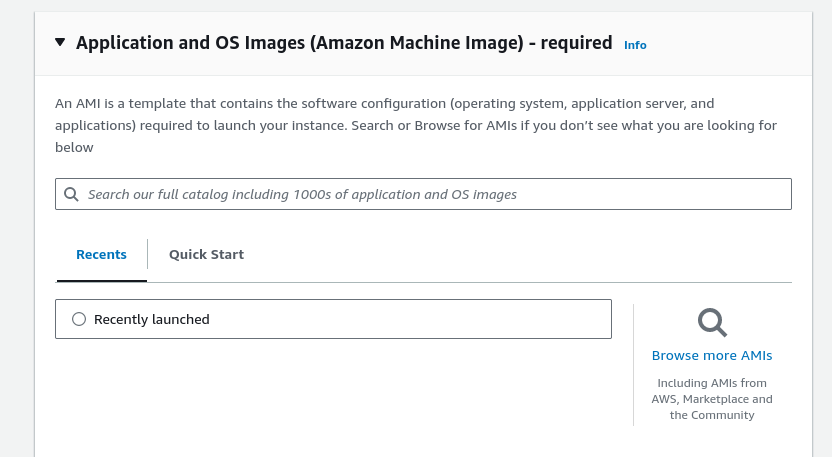
Step 16 : Then scroll down to the application and os images (Amazon Machine image) required and select Browse more AMIs and select ubuntu.
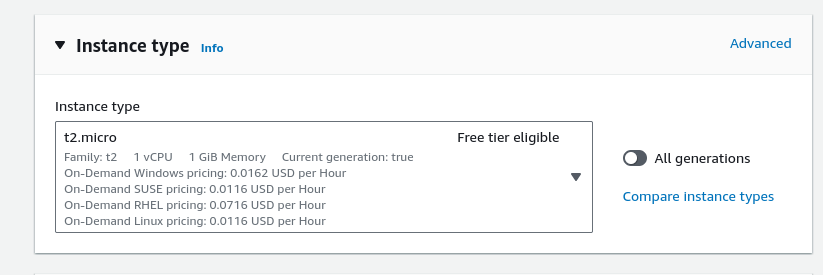
Step 17 : Then go to the instance type and select t2.micro free tier eligable.
Step 18 : After that select the key pair (login) or you can create new pair.

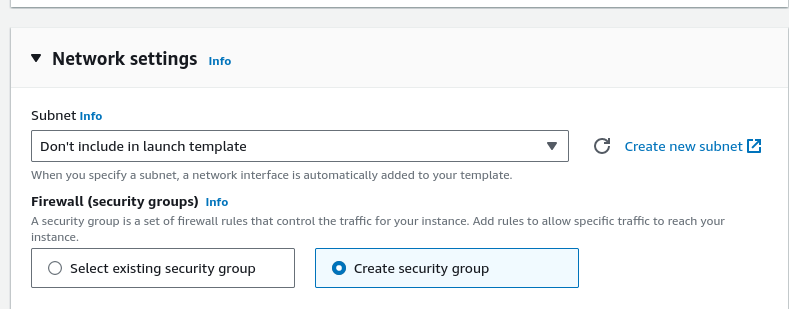
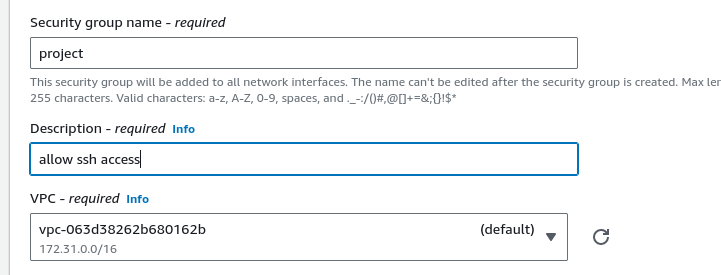
Step 19 : In networking setting there is a firewall (security group) and select create security group and provide the name of the security group and give description.
step 20 : In the vpc - required section select the vpc that you just created.
Step 21 : Then click on add security group rule.

Step 22 : In the type section select ssh and in the source type section select anywhere.
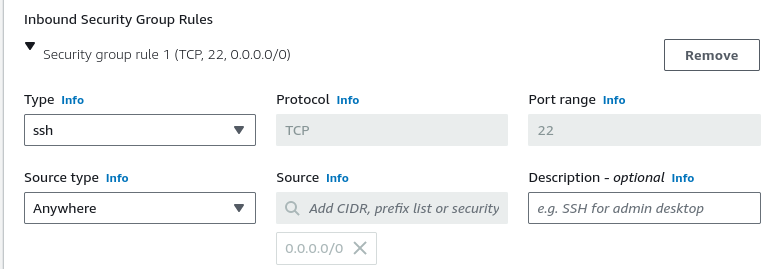
Step 23 : Then click on add security group . In the type section select ssh and in the source type select Anywhere.
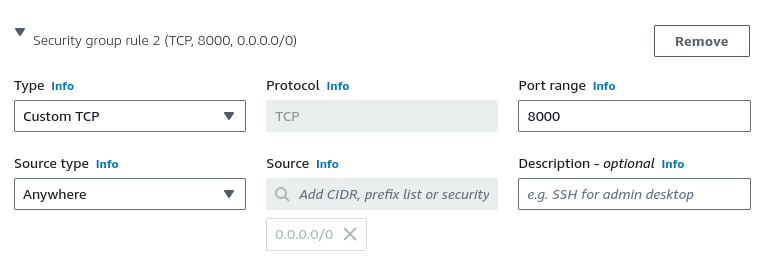
Step 24 : Then click on create lauch template.

Step 25 : Then go to the previous tab choose launch template or configuration and give the name to the auto scaling group and select lauch template that you just created after that click on next.
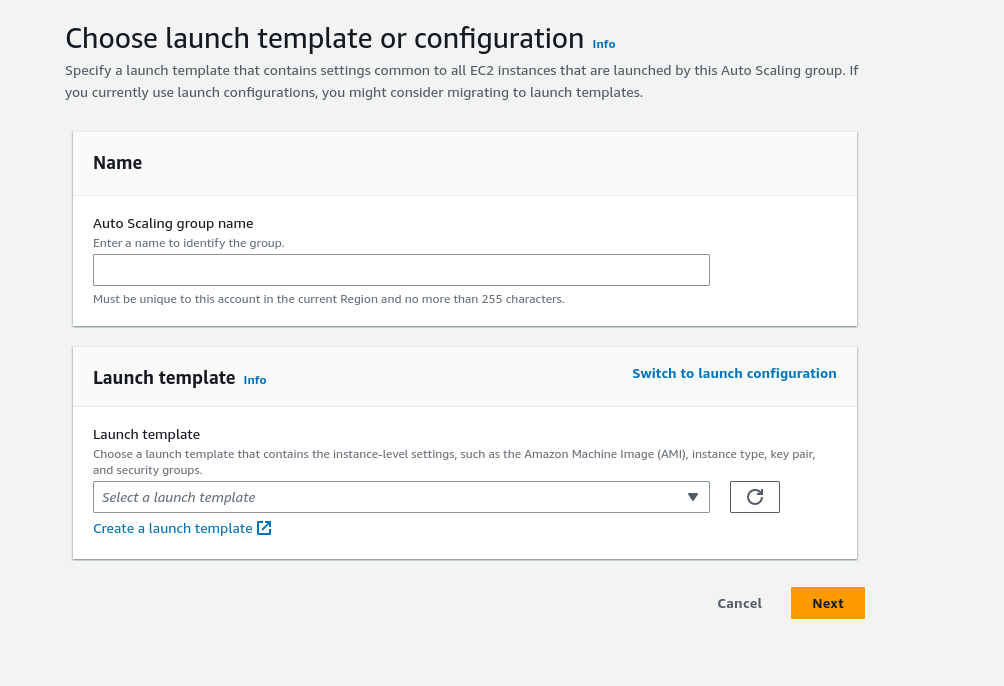
Step 26 : Then click on next .

Step 27 : After that in network section select the vpc that you just created.
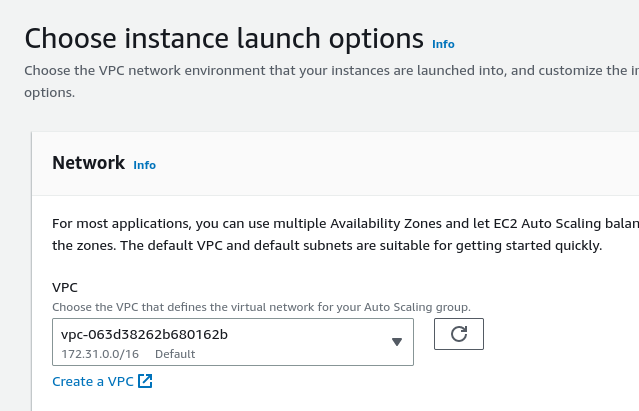
Step 28 : After that go to the availability zones and subnet and select private subnet

Step 29 : Then click on next

Step 30 : Then click on next

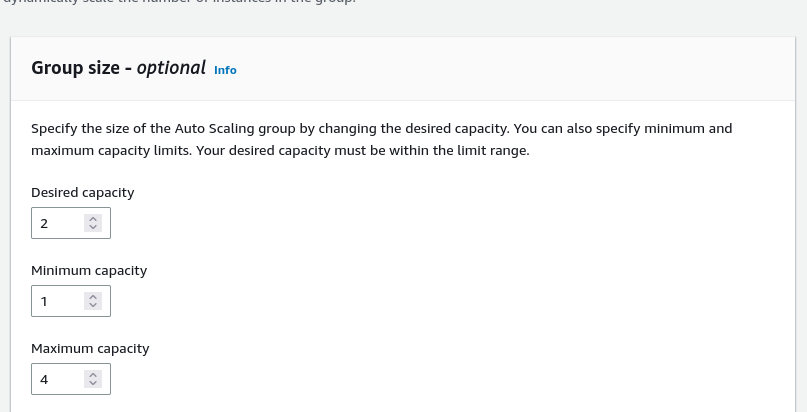
Step 31 : In group size optional section select desired capacity 2 and maximum capacity 4.
Step 32 : Then click on next .

Step 33 : Then click on next.

Step 34 : Then click on next.
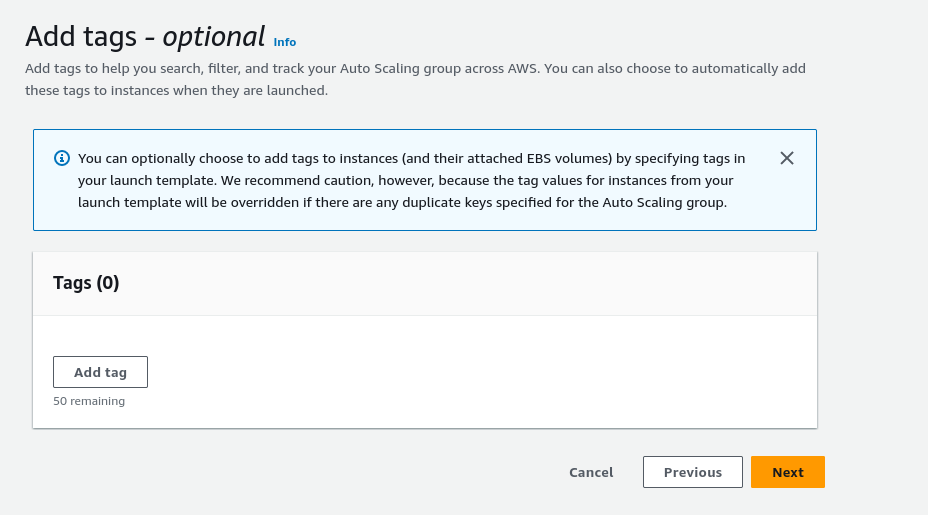
Step 35 : Then click on create auto scaling group.

Step 36 : Then go to the ec2 instance and select or click on launch instances.

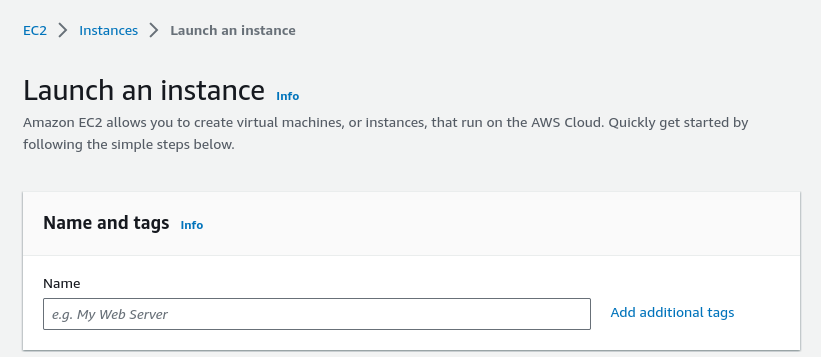
Step 37 : After that give name to the instance.
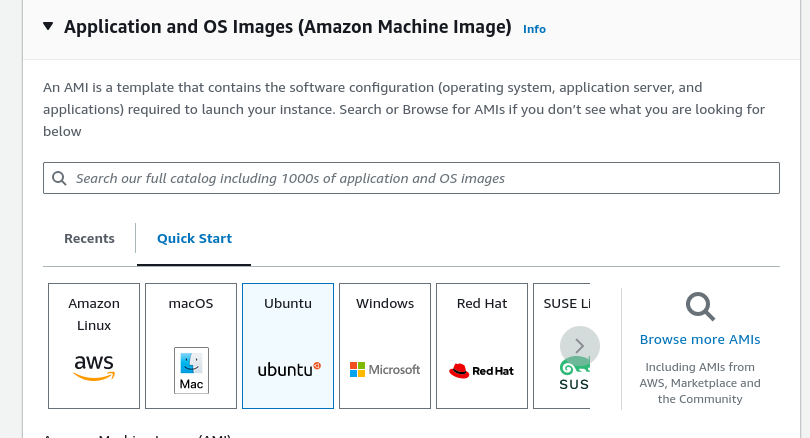
Step 38 : After that go to the application and os images (Amazon Machine Images) and select ubuntu.
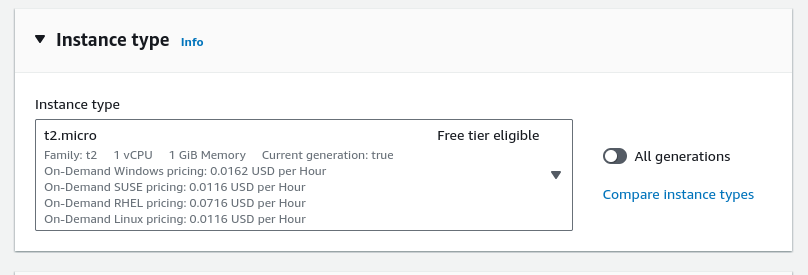
Step 39 : After that choose instance type t2.micro (Free tier eligable).
Step 40 : After that select the key pair logins.

Ste 41 : Scroll down and go to the network setting and click on edit.
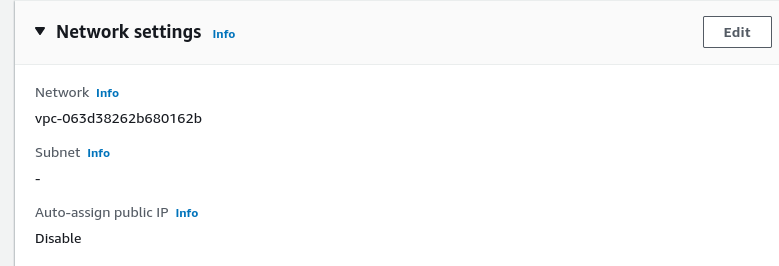
Step 41 : After that in vpc required section select the vpc that you just created.

Step 42 : After that in Auto - assign public IP section select the enable option.

Step 43 : Then click on launch instances.

Step 44: Then open this instance and copy the public ip address.

Step 45 : Then oprn the terminal and write this command.
scp -i /home/q/Downloads/aws_login.pem /home/q/Downloads/aws_login.pem ubuntu@paste your public ip address:/home/ubuntu
Step 46 : After that write this command to login in to instance.
ssh -i aws_login.pem ubuntu@paste your public ip address
Step 47 : Then go to the instance and click on first instance and copy the private ip address .
Step 48 : Then go the terminal and write this command.
ssh -i aws_login.pem ubuntu@paste the private ip address
Step 49 : After that create file in the terminal vim index.html and copy past this code.
<!DOCTYPE html>
<html>
<body>

<h1>My First AWS Project to demonstrate app in private subnet</h1>

</body>
</html>
~
Step 50 : After that run this following commmand.
python3 -m http.server 8000
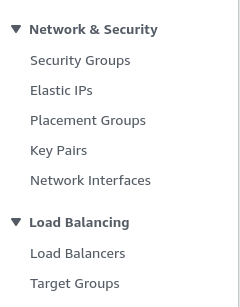
Step 51 : After that search ec2 and scroll down and select the load balancer.
Step 52 : After that click on create load balancer.
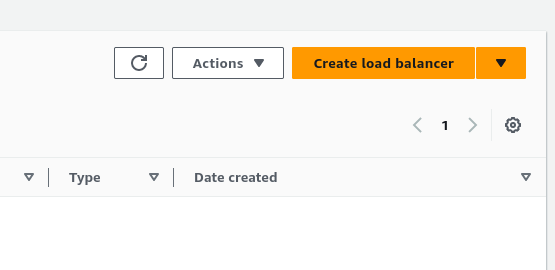
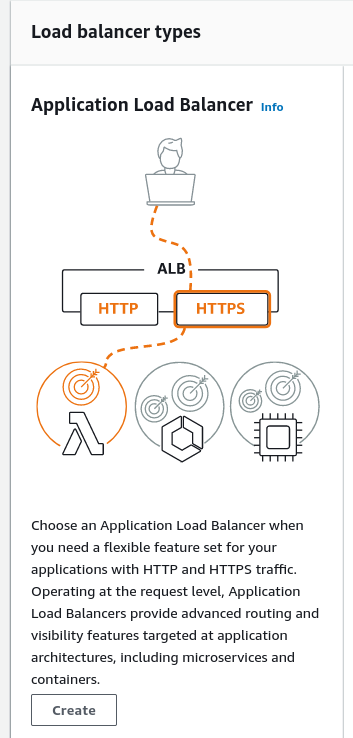
Step 53 : Then click on a application load balancer and click on create button.
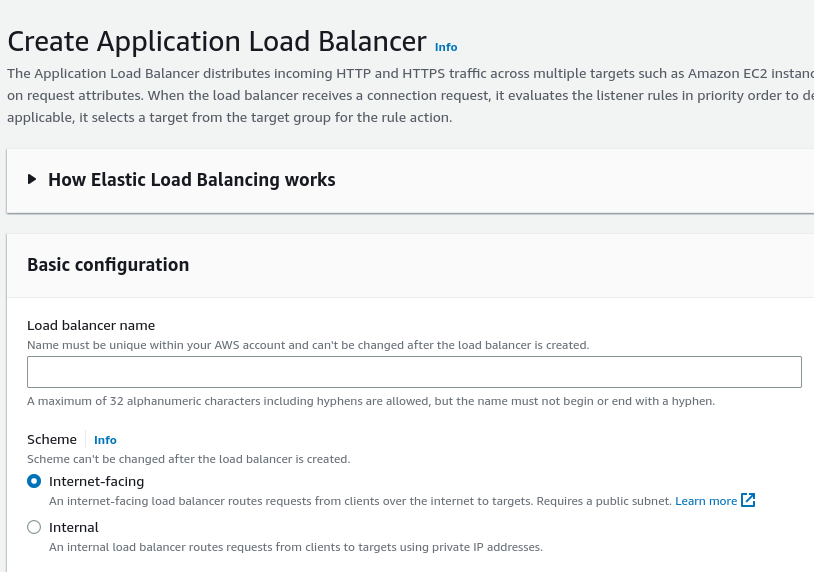
Step 54 : After that in basic configuration go to the load balancer name and provide a name.
Step 55 : After that go to the network mapping section and in that select the vpc that you have just created.

Step 56 : After that go to the mapping section and select both the availability zones it should be public.

Step 57 : Then go to the security groups section and select the security groups that you just created.

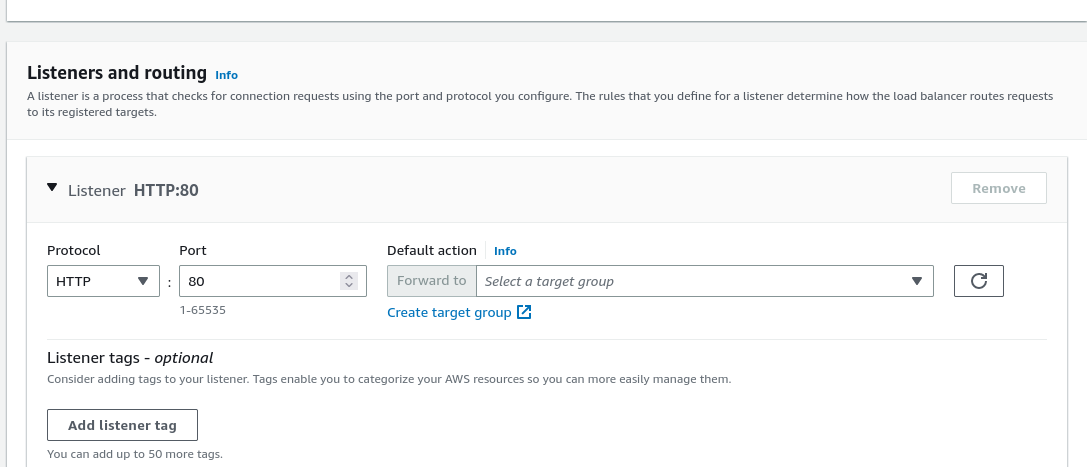
Step 58 : Then go to the listners and routing section and click on create target group .
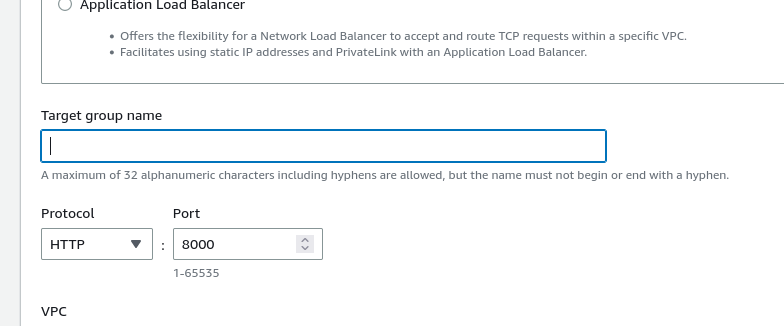
Step 59 : After that go to the target group name and provide a group name and select port 8000
Step 60 : After that click on next.

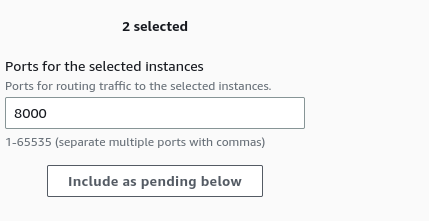
Step 61 : After that go to the available instances and select two instance that you created do not select bastion-host instance.
Step 62 : After that click on include as pending below.
Step 63 : After that click on create target group.

Step 64 : Then go to the previous tab of load balancer then go to the listners and routing and then go to the default action and select the target group you have created.
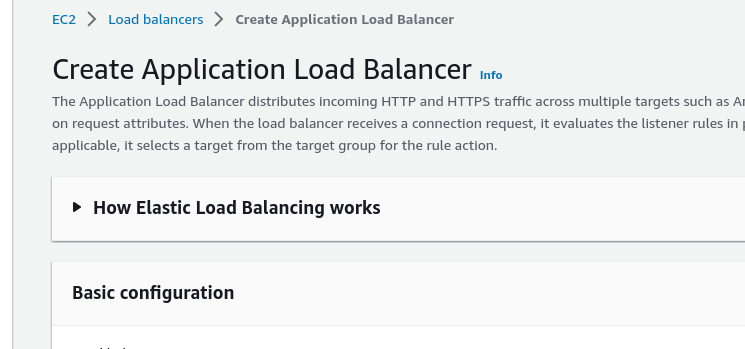
Step 65 : Then click on create load balancer.

Step 66 : Then go to the security group and click on security group id .
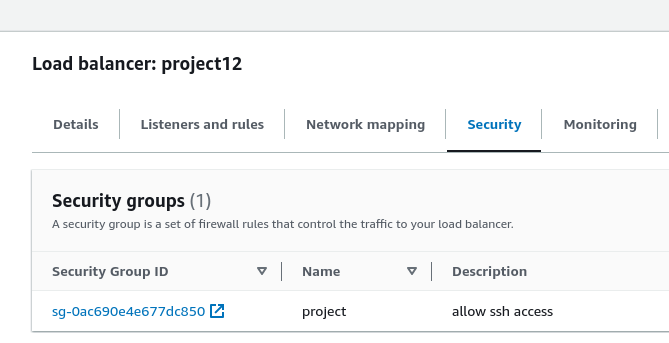
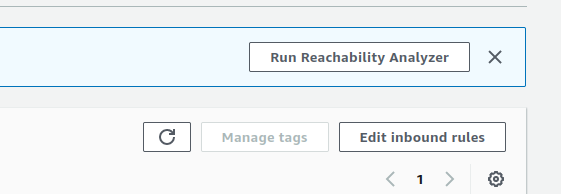
Step 67 : Then edit inbound rule and add new rule HTTP and service anywhere IPV4 and click on save rule.
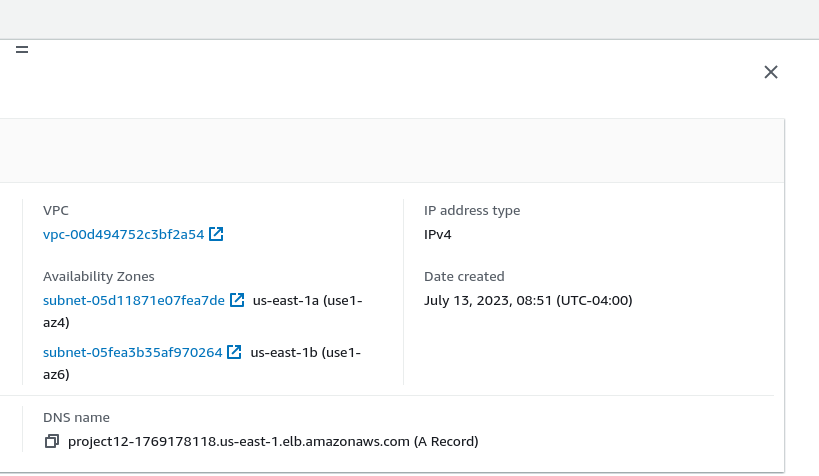
Step 68 : Then copy this DNS name and serach in your browser.
Subscribe to my newsletter
Read articles from Shreyash Bhise directly inside your inbox. Subscribe to the newsletter, and don't miss out.
Written by

Shreyash Bhise
Shreyash Bhise
*Shreyash Bhise | Aspiring Mern Stack Developer and DevOps enthusiast,