Simulating a Digital Clock in C
 Alex Kinyua
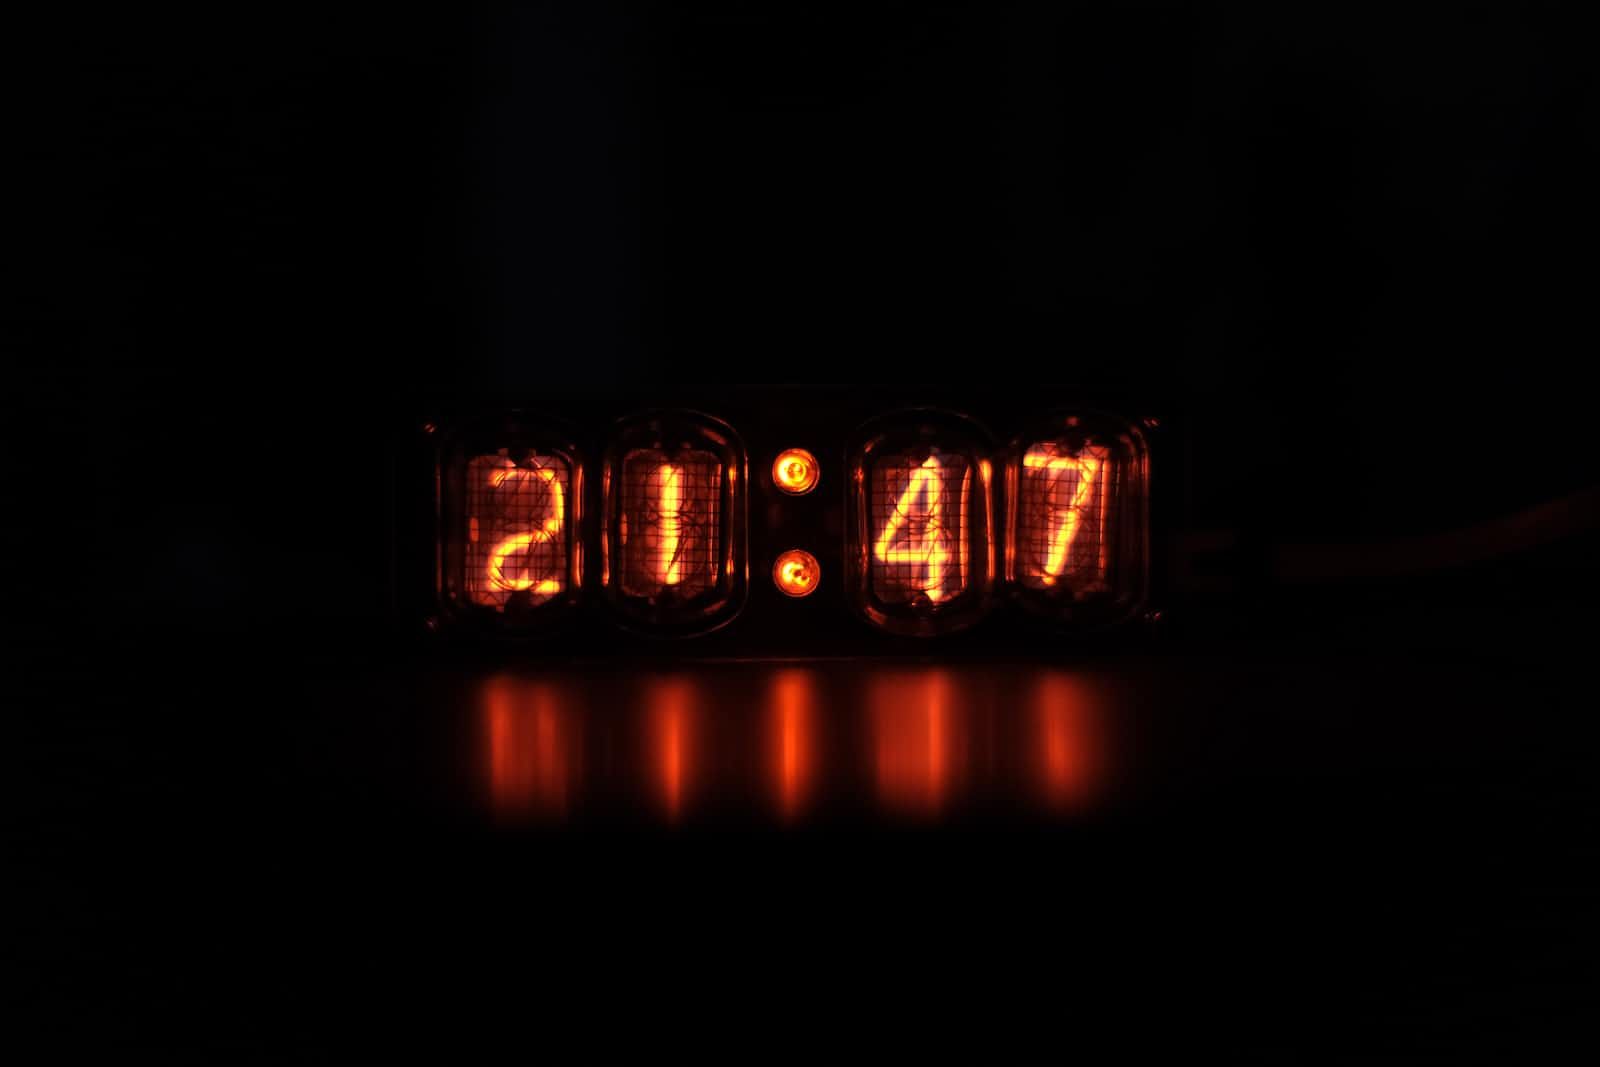
In this blog post, we will explore a C program that simulates a digital clock. The program allows users to set the initial time and continuously updates and displays the time in hours, minutes, and seconds. We will break down the code step by step to understand its functionality.
Including Required Libraries
The program starts by including two important header files: stdio.h and stdlib.h. These headers provide necessary functions for input/output operations and memory management.
#include <stdio.h>
#include <stdlib.h>
The main() Function
The main() function is the entry point of the program. It has a return type of int to indicate success or failure of program execution. The function signature is as follows:
int main()
Variable Declarations
Inside the main() function, several variables are declared to store the current time and control the clock update speed.
int hours, minutes, seconds;
int delay = 1;
hours,minutes, andsecondsare integer variables that will hold the current time.delayis an integer variable representing the delay (in seconds) between clock updates.
Setting Initial Time
The program prompts the user to set the initial time in a 12-hour format. It displays a message asking the user to input the time and reads the input using scanf().
printf("Set Time (12hr) then press Enter\n");
scanf("%d:%d:%d", &hours, &minutes, &seconds);
The format specifier %d:%d:%d expects three integers separated by colons. The values entered by the user will be stored in the hours, minutes, and seconds variables.
Clock Update Loop
The program enters an infinite loop to continuously update and display the clock.
while (1)
{
    // Clock update logic goes here
}
The loop runs indefinitely because 1 is always considered true in the condition.
Time Increment
Inside the loop, the seconds variable is incremented by 1 to simulate the passage of time.
seconds++;

if (seconds > 59)
{
    minutes++;
    seconds = 0;
}

if (minutes > 59)
{
    hours++;
    minutes = 0;
}

if (hours > 12)
{
    hours = 1;
}
If seconds exceeds 59, it means a minute has passed. In this case, minutes is incremented by 1, and seconds is reset to 0. Similarly, if minutes exceeds 59, an hour has passed, so hours is incremented by 1 and minutes is reset to 0. Lastly, if hours exceeds 12, the clock is reset to 1, assuming a 12-hour format.
Displaying Updated Time
The updated time is displayed using printf() to show hours, minutes, and seconds in a digital clock format.
printf("\n%02d:%02d:%02d", hours, minutes, seconds);
The format specifier %02d ensures that each component is displayed with leading zeros if necessary. This produces a visually appealing digital clock format.
Creating Delay
To create a delay between clock updates, the program uses the sleep() function.
sleep(delay);
The sleep() function pauses the program execution for the specified number of seconds, allowing time to pass in the simulation. The delay variable controls the duration of the delay.
Clearing the Screen
Before displaying the updated time again, the program clears the console screen using the system() function.
system("clear");
The system("clear") command clears the console screen, providing a fresh display for the updated time. Note that the clear command is platform-dependent. On Windows systems, you may need to use the cls command instead.
This is the final code compiled
#include <stdio.h>
#include <stdlib.h>
/**
 * main - computes the clock in digital form
 * Return: void
*/
int main()
{
        int hours, minutes, seconds;
        int delay = 1;
        printf("Set Time(12hr) then press Enter\n");
        scanf("%d:%d:%d", &hours, &minutes, &seconds);

        while (1)
        {
                seconds++;
                if (seconds > 59)
                {
                        minutes++;
                        seconds = 0;
                }
                if (minutes > 59)
                {
                        hours++;
                        minutes = 0;
                }
                if (hours > 12)
                {
                        hours = 1;
                }
                printf("\n %02d:%02d:%02d", hours, minutes, seconds);
                sleep(delay);
                system("clear");
        }
        return (0);
}
Conclusion
In this blog post, we explored a C program that simulates a digital clock. The program allows users to set the initial time and continuously updates and displays the time in hours, minutes, and seconds. By understanding the code step by step, you can modify and enhance it according to your requirements. Feel free to experiment with the code and add your own features to create a more advanced clock simulation.
Subscribe to my newsletter
Read articles from Alex Kinyua directly inside your inbox. Subscribe to the newsletter, and don't miss out.
Written by

Alex Kinyua
Alex Kinyua
Software engineer and intern @ALX SE program.