Simplifying AWS Cloud Setup: How to Create AWS_ACCESS_KEY_ID and AWS_SECRET_ACCESS_KEY
 Subho Dey
Introduction:
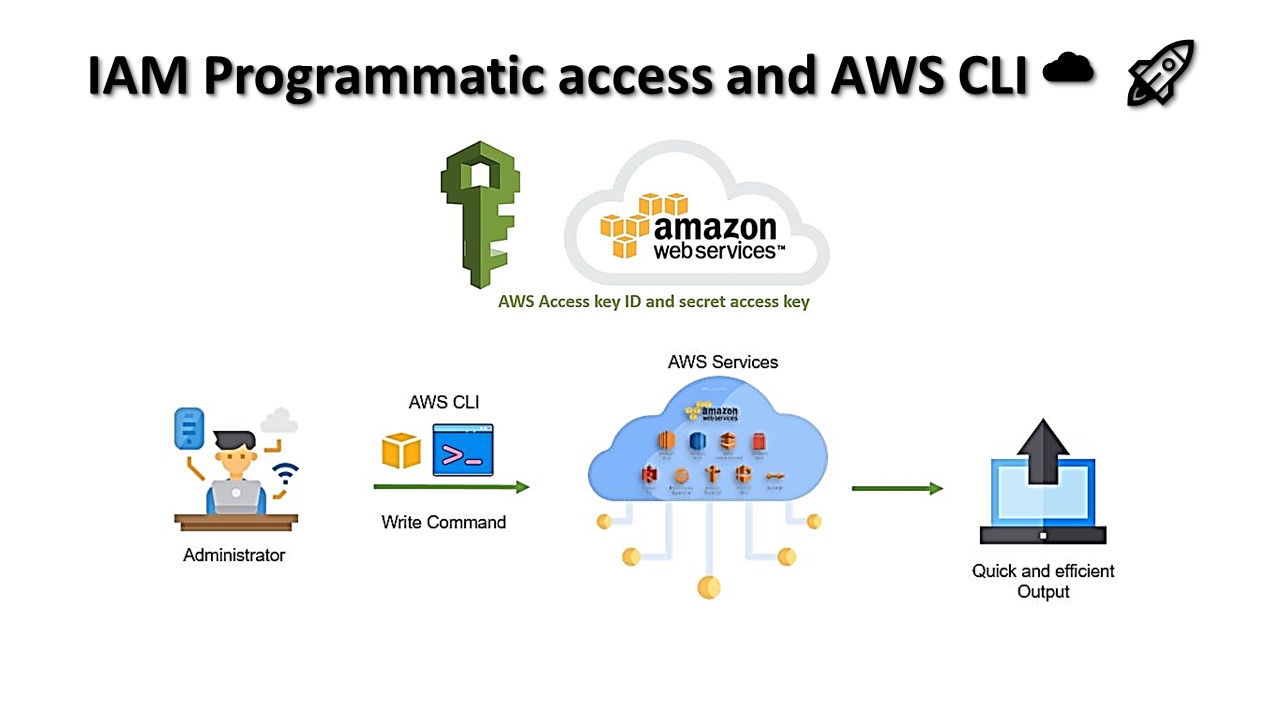
In today's digital era, cloud computing has revolutionized the way businesses operate. Amazon Web Services (AWS) has emerged as a leading cloud platform, offering a wide range of services to help businesses scale, innovate, and grow. To harness the full potential of AWS, you need to set up your access credentials properly. In this blog, we will walk you through the steps of creating AWS_ACCESS_KEY_ID and AWS_SECRET_ACCESS_KEY, followed by installing and configuring the AWS CLI for seamless cloud management.
Task 1: Creating AWS_ACCESS_KEY_ID and AWS_SECRET_ACCESS_KEY
Step 1: Sign in to the AWS Console Navigate to the AWS Management Console (https://aws.amazon.com/) and log in to your AWS account using your credentials.
Step 2: Accessing IAM (Identity and Access Management) In the AWS Management Console, search for "IAM" in the search bar, and click on the "IAM" service under the "Security, Identity & Compliance" section.
Step 3: Creating a New IAM User In the IAM Dashboard, click on "Users" from the left-hand menu and then click on the "Add user" button.
Step 4: Set User Details Provide a unique username for the new IAM user. For this example, let's name it "AWS_CLI_User." Check the "Programmatic access" checkbox to enable access through the AWS CLI and API. Click on "Next: Permissions" to proceed.
Step 5: Set Permissions In this step, you can assign various permissions to the IAM user based on your requirements. For this blog's purpose, we will grant the user full access to AWS services. Select "Attach existing policies directly" and search for "AdministratorAccess." Check the box next to "AdministratorAccess" to grant full admin access to the user. Click on "Next: Tags" to proceed.
Step 6: Add Tags (Optional) Tags are useful for organizing and categorizing IAM users, but they are optional for this blog. Click on "Next: Review" without adding any tags.
Step 7: Review and Create User Review the details provided for the IAM user. If everything looks correct, click on "Create user."
Step 8: View User Details and Download Credentials On the confirmation page, you will see the newly created IAM user's details. Make sure to copy and save the "AWS_ACCESS_KEY_ID" and "AWS_SECRET_ACCESS_KEY" credentials in a secure location. This information will be required in the next task.
Creating IAM User with AWS CLI:
aws iam create-user --user-name AWS_CLI_User
aws iam create-access-key --user-name AWS_CLI_User
Task 2: Setting up and Installing AWS CLI
Step 1: Install AWS CLI To install the AWS CLI on your local machine, follow the installation instructions provided in the AWS documentation for your specific operating system (Windows, macOS, or Linux).
Step 2: Configure AWS CLI After installing the AWS CLI, open your terminal or command prompt and run the following command:
aws configure
This command will prompt you to enter your "AWS_ACCESS_KEY_ID" and "AWS_SECRET_ACCESS_KEY," along with your preferred default region and output format. Enter the credentials you obtained in Task 1 when prompted.
Configuring AWS CLI:
AWS Access Key ID [None]: YOUR_ACCESS_KEY_ID
AWS Secret Access Key [None]: YOUR_SECRET_ACCESS_KEY
Default region name [None]: YOUR_DEFAULT_REGION
Default output format [None]: json
Step 3: Verify Configuration To verify that the AWS CLI has been configured correctly, you can run the following command:
aws s3 ls
If the configuration is successful, you should see a list of your AWS S3 buckets. Congratulations! You are now ready to use the AWS CLI to manage your AWS resources.
Conclusion:
Setting up AWS_ACCESS_KEY_ID and AWS_SECRET_ACCESS_KEY is a crucial step in leveraging the power of AWS. By creating an IAM user and configuring the AWS CLI, you gain seamless access to AWS services and can efficiently manage your cloud resources. This streamlined process simplifies cloud operations and empowers businesses to thrive in the dynamic world of cloud computing.

To connect with me - https://www.linkedin.com/in/subhodey/
Subscribe to my newsletter
Read articles from Subho Dey directly inside your inbox. Subscribe to the newsletter, and don't miss out.
Written by

Subho Dey
Subho Dey
"DevOps engineer with a passion for continuous improvement and a drive to build better software, faster. I'm a strong believer in the power of collaboration, automation, and agile methodologies to transform the world of software development and delivery. My expertise includes continuous integration and delivery, infrastructure as code, Docker, Kubernetes, and configuration management. Follow along as I share my insights and experiences on Hashnode and let's build better software, together!"