How to add Ads.txt in the NextJS project to fix the AdSense alert?
 quizzesforyou
In a new website, once Google AdSense approves the website for Ads, getting the below warning message to add “Ads.txt” is very common. In this article let's see how “Ads.txt” can be added to a NextJS project.

What is Ads.txt?
Below is the definition from the AdSense link
Authorised Digital Sellers or ads.txt is an IAB Tech Lab initiative that helps ensure that your digital ad inventory is only sold through sellers (such as AdSense) who you’ve identified as authorized.
How to fix Ads.txt issue?
create ads.txt in the root path of the NextJS project.
touch ads.txt // note the case of ads.txt file
Sign in to your AdSense account.
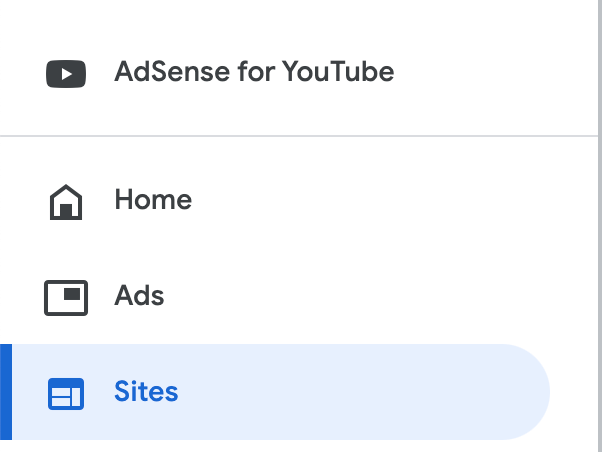
Click “Sites” on the sidebar

Select the site with the ‘Not found’ ads.txt status.
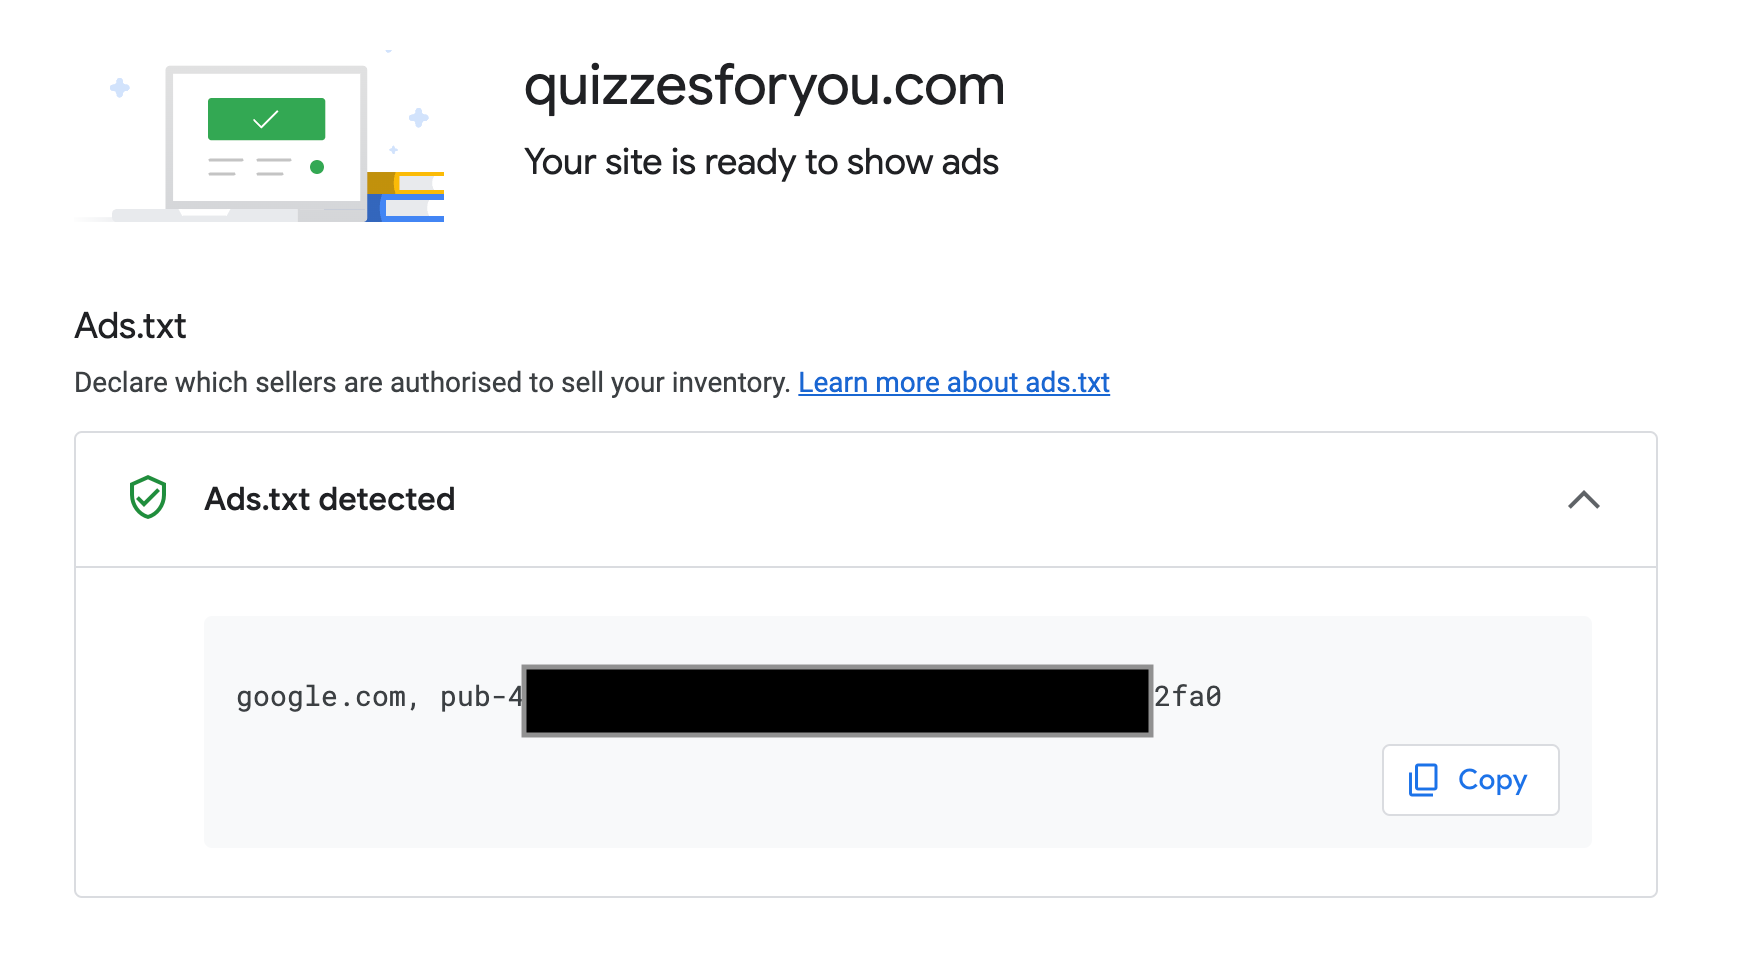
Here you can get the contents required for the “Ads.txt” file, copy and paste them into the file.

In the “ads.txt” file, we can add not only the Google AdSense details but also other Ad networks can also be added.
Upload your ads.txt file to the root directory of your site.
To verify that you published your file correctly, check that you successfully see your file’s content when you access the ads.txt URL (https://example.com/ads.txt) in your web browser. If you can see the file in your web browser, it’s likely that AdSense will successfully find it.
If you are already using Google Search Console, submit the path of “ads.txt” in the “URL Inspector” to expedite the crawling.
It would take at least 7 days for AdSense to crawl and verify the “ads.txt” file. In a few days, the site status would be updated like below

You are all set! Happy Earning 💰💲
Visit https://quizessforyou.com for programming quizzes.
Subscribe to my newsletter
Read articles from quizzesforyou directly inside your inbox. Subscribe to the newsletter, and don't miss out.
Written by
