🚀 Setting Up a Git Repository on Azure and Demonstrating Basic Git Operations 👩💻
 Edvin Dsouza
Introduction: In this step-by-step guide, we will walk you through the process of setting up a Git repository on Microsoft Azure and demonstrate some basic Git operations. Git is a powerful version control system that allows developers to track changes in their code, collaborate with others, and manage project versions efficiently. By hosting your Git repository on Azure, you can take advantage of the platform's scalability, security, and collaboration features.
Prerequisites:
Microsoft Azure account (sign up at https://azure.microsoft.com/)
Git installed on your local machine (Download from https://git-scm.com/)
Step 1: Create an Azure DevOps Organization
Log in to your Azure account.
Navigate to Azure DevOps (https://dev.azure.com) and click on "Create organization."
Follow the prompts to set up your organization with a unique URL.
Step 2: Create a New Project
Within your Azure DevOps organization, click on "New Project."
Choose a project name and a description (optional) and click on "Create."
Step 3: Create a New Git Repository
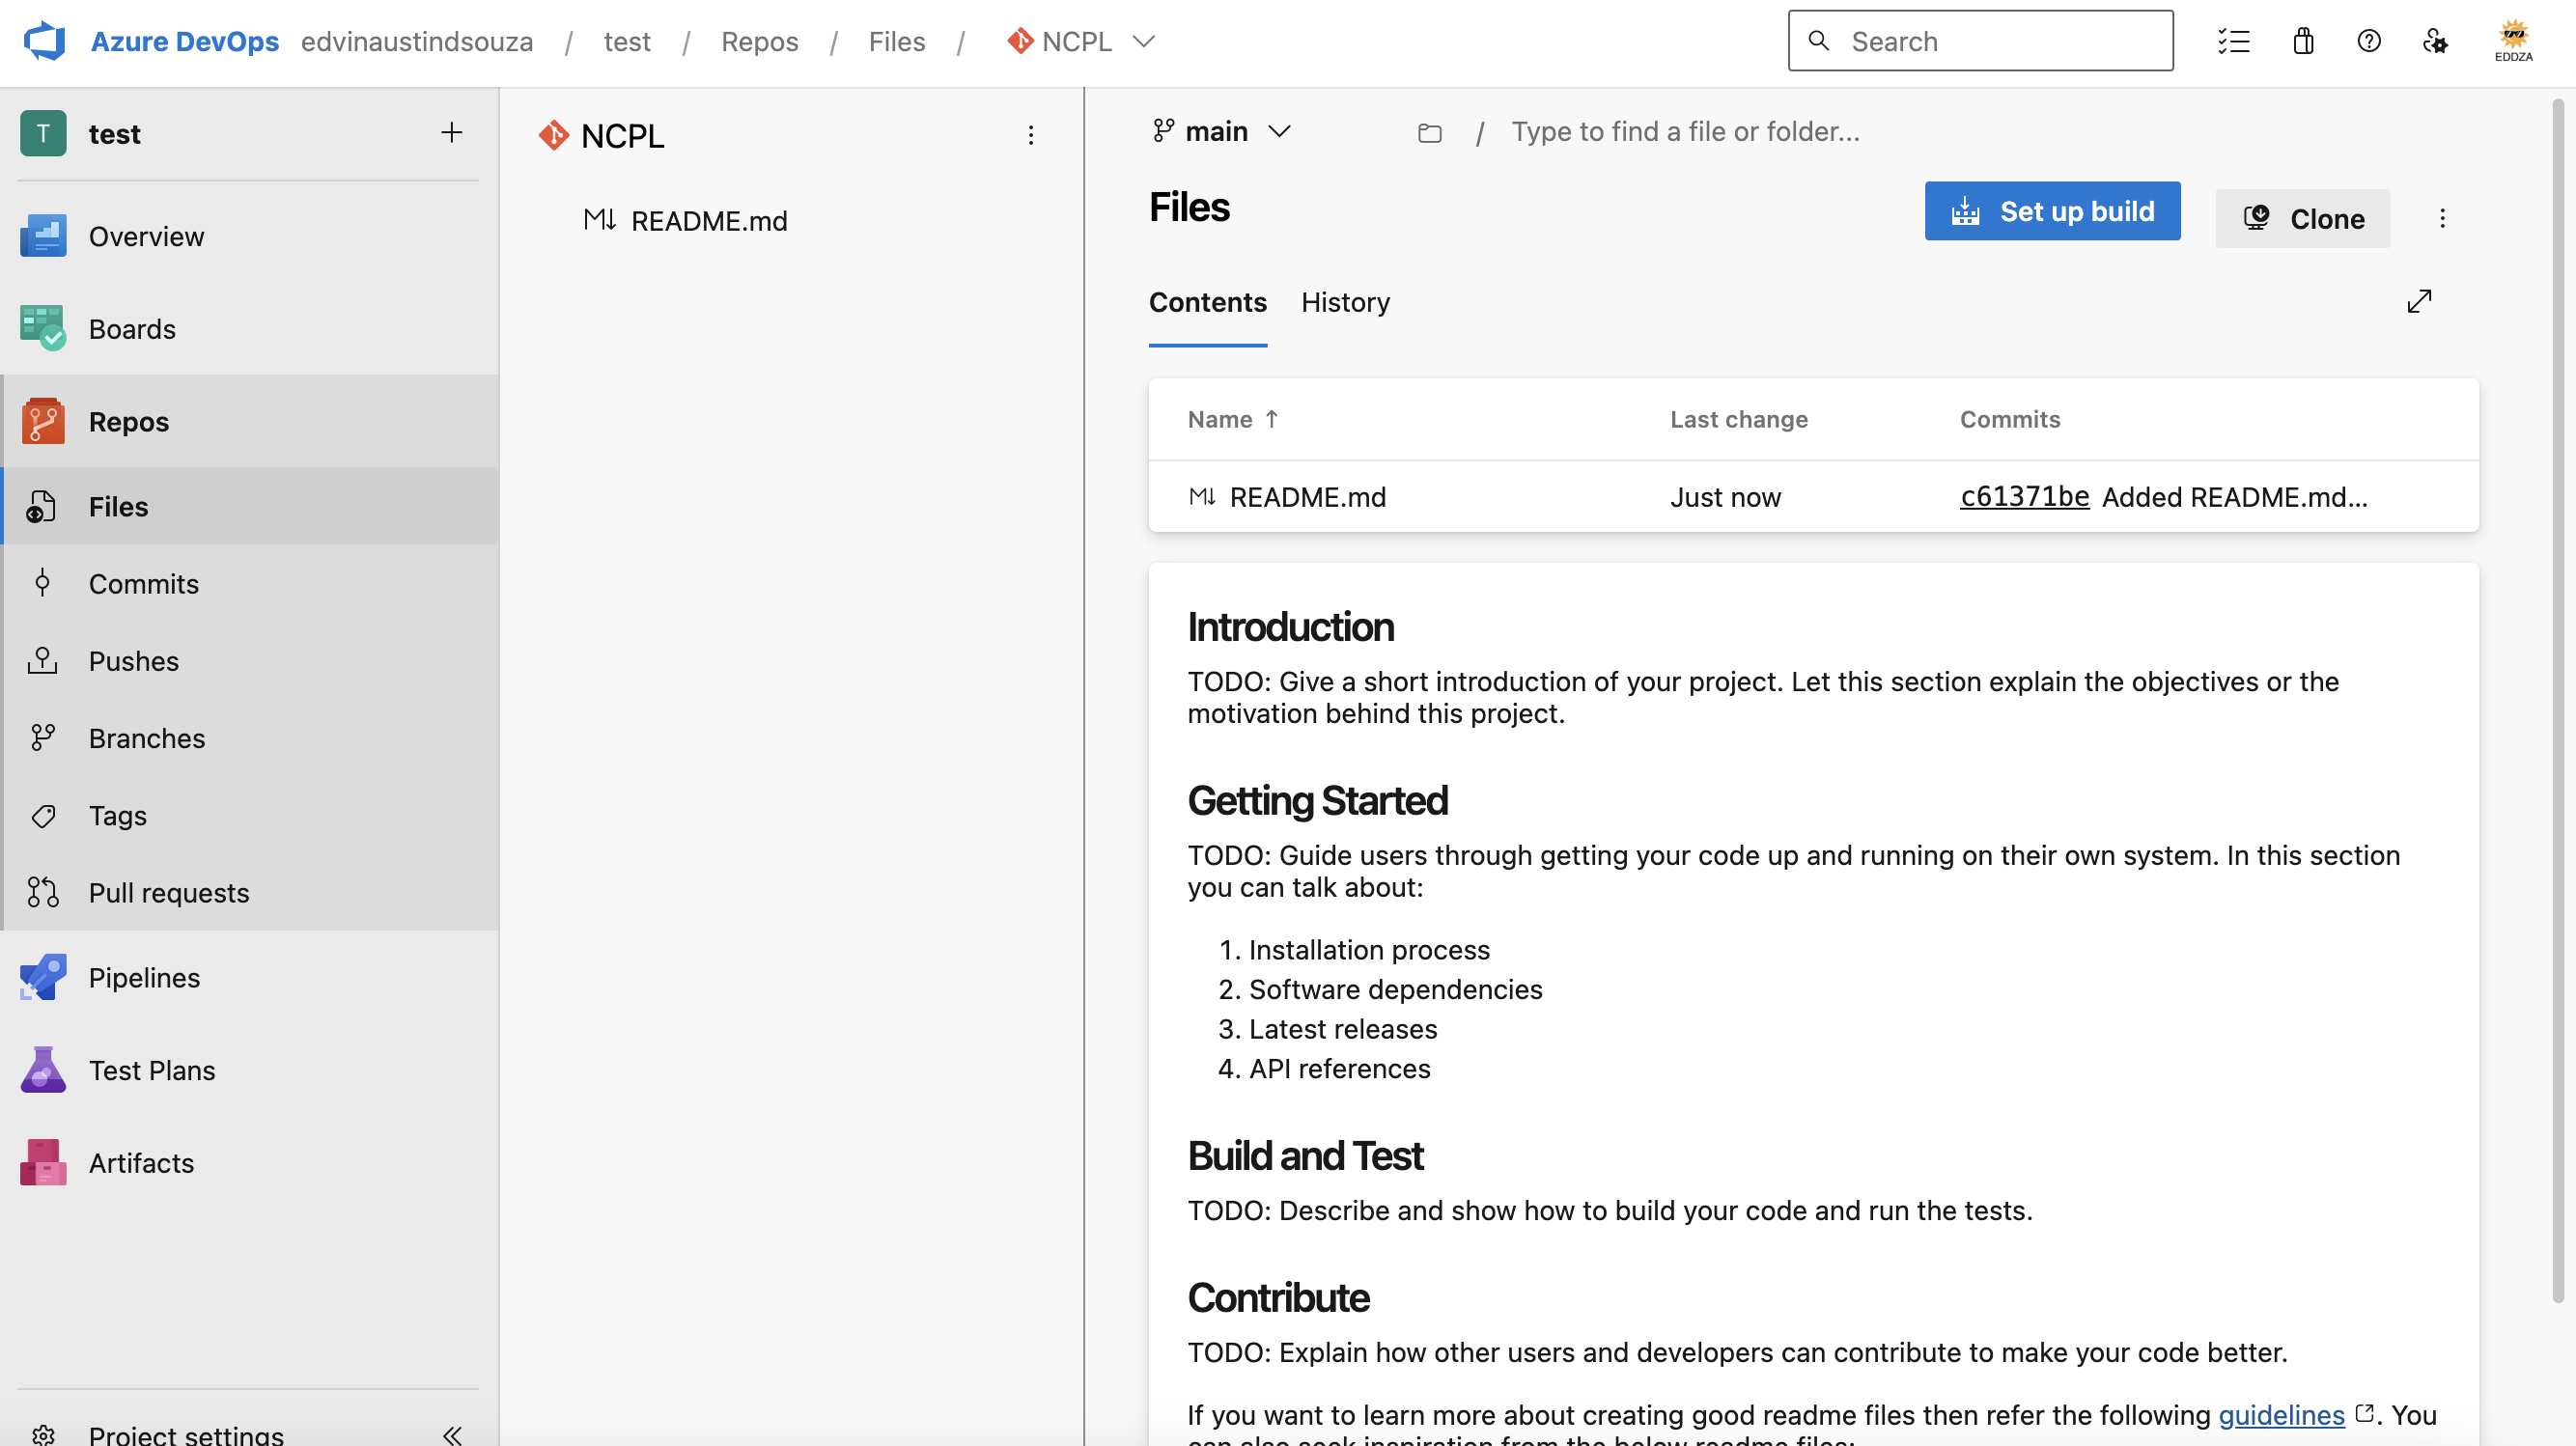
In your newly created project, navigate to the "Repos" tab.
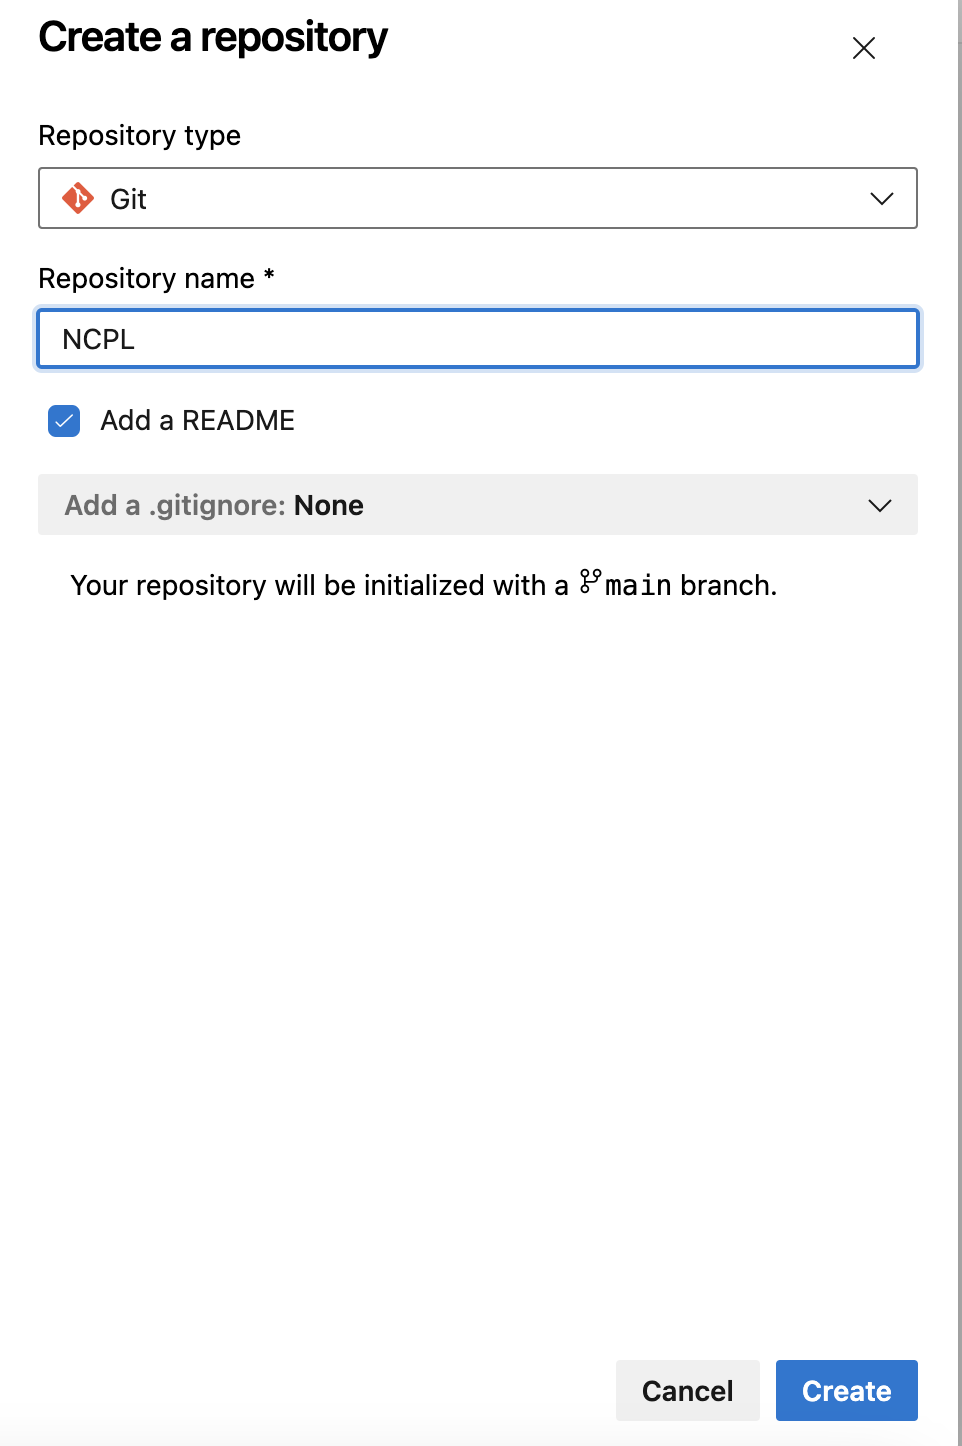
Click on "New repository" and provide a name for your Git repository

.
Optionally, add a description and click on "Create."
Step 4: Set Up Git Locally
Open a terminal or Git Bash on your local machine.
Configure your name and email for Git using the following commands:
 git config --global user.name "Your Name"
 git config --global user.email "your@email.com"

Step 5: Connect Local Repository to Azure Git
Go back to your Azure DevOps project and navigate to your newly created Git repository.
Click on the "Clone" button and copy the repository URL.
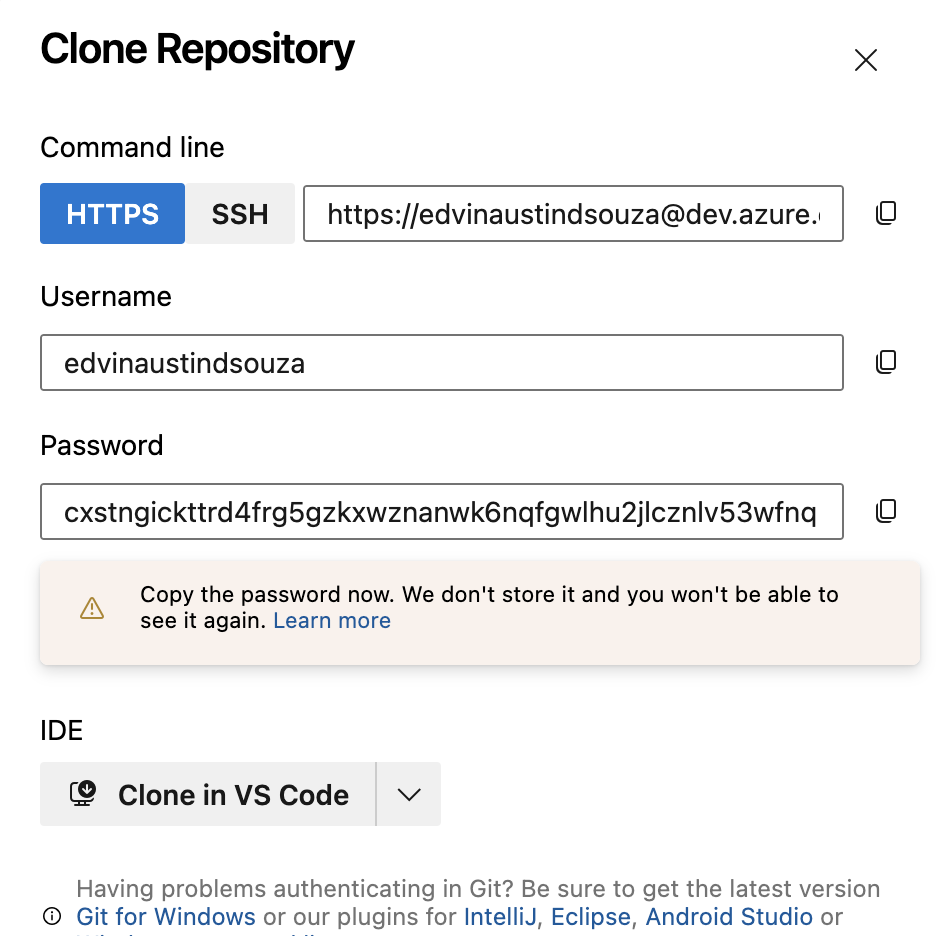
In your terminal or Git Bash, navigate to the directory where you want to clone the repository.
Clone the repository using the copied URL:
git clone <repository_url>(Replace
<repository_url>with the URL you copied.
)
Step 6: Perform Basic Git Operations
Creating a new file:
touch new_file.txt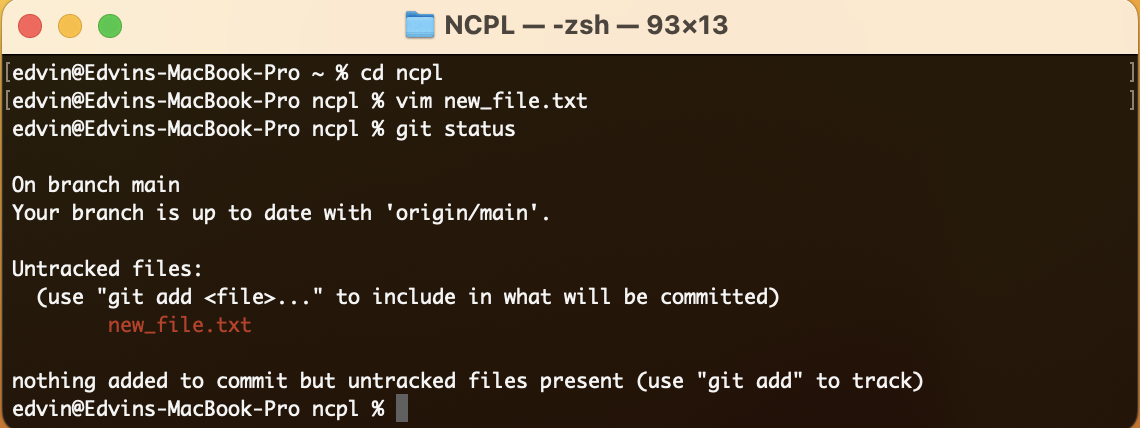
Check the status of your repository:
git statusAdd the new file to the staging area
:
git add new_file.txtCommit the changes with a descriptive message:
git commit -m "Added a new file"
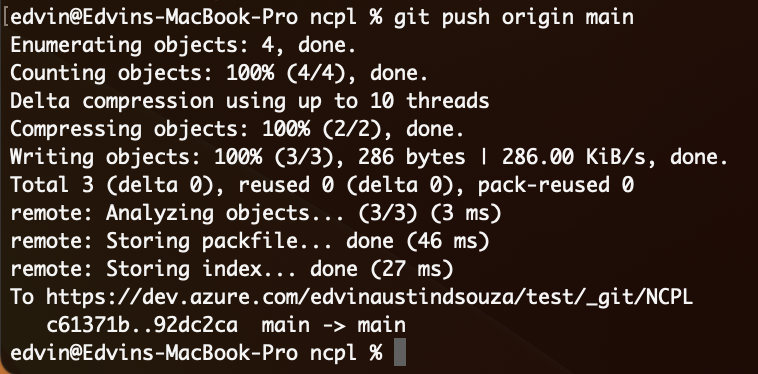
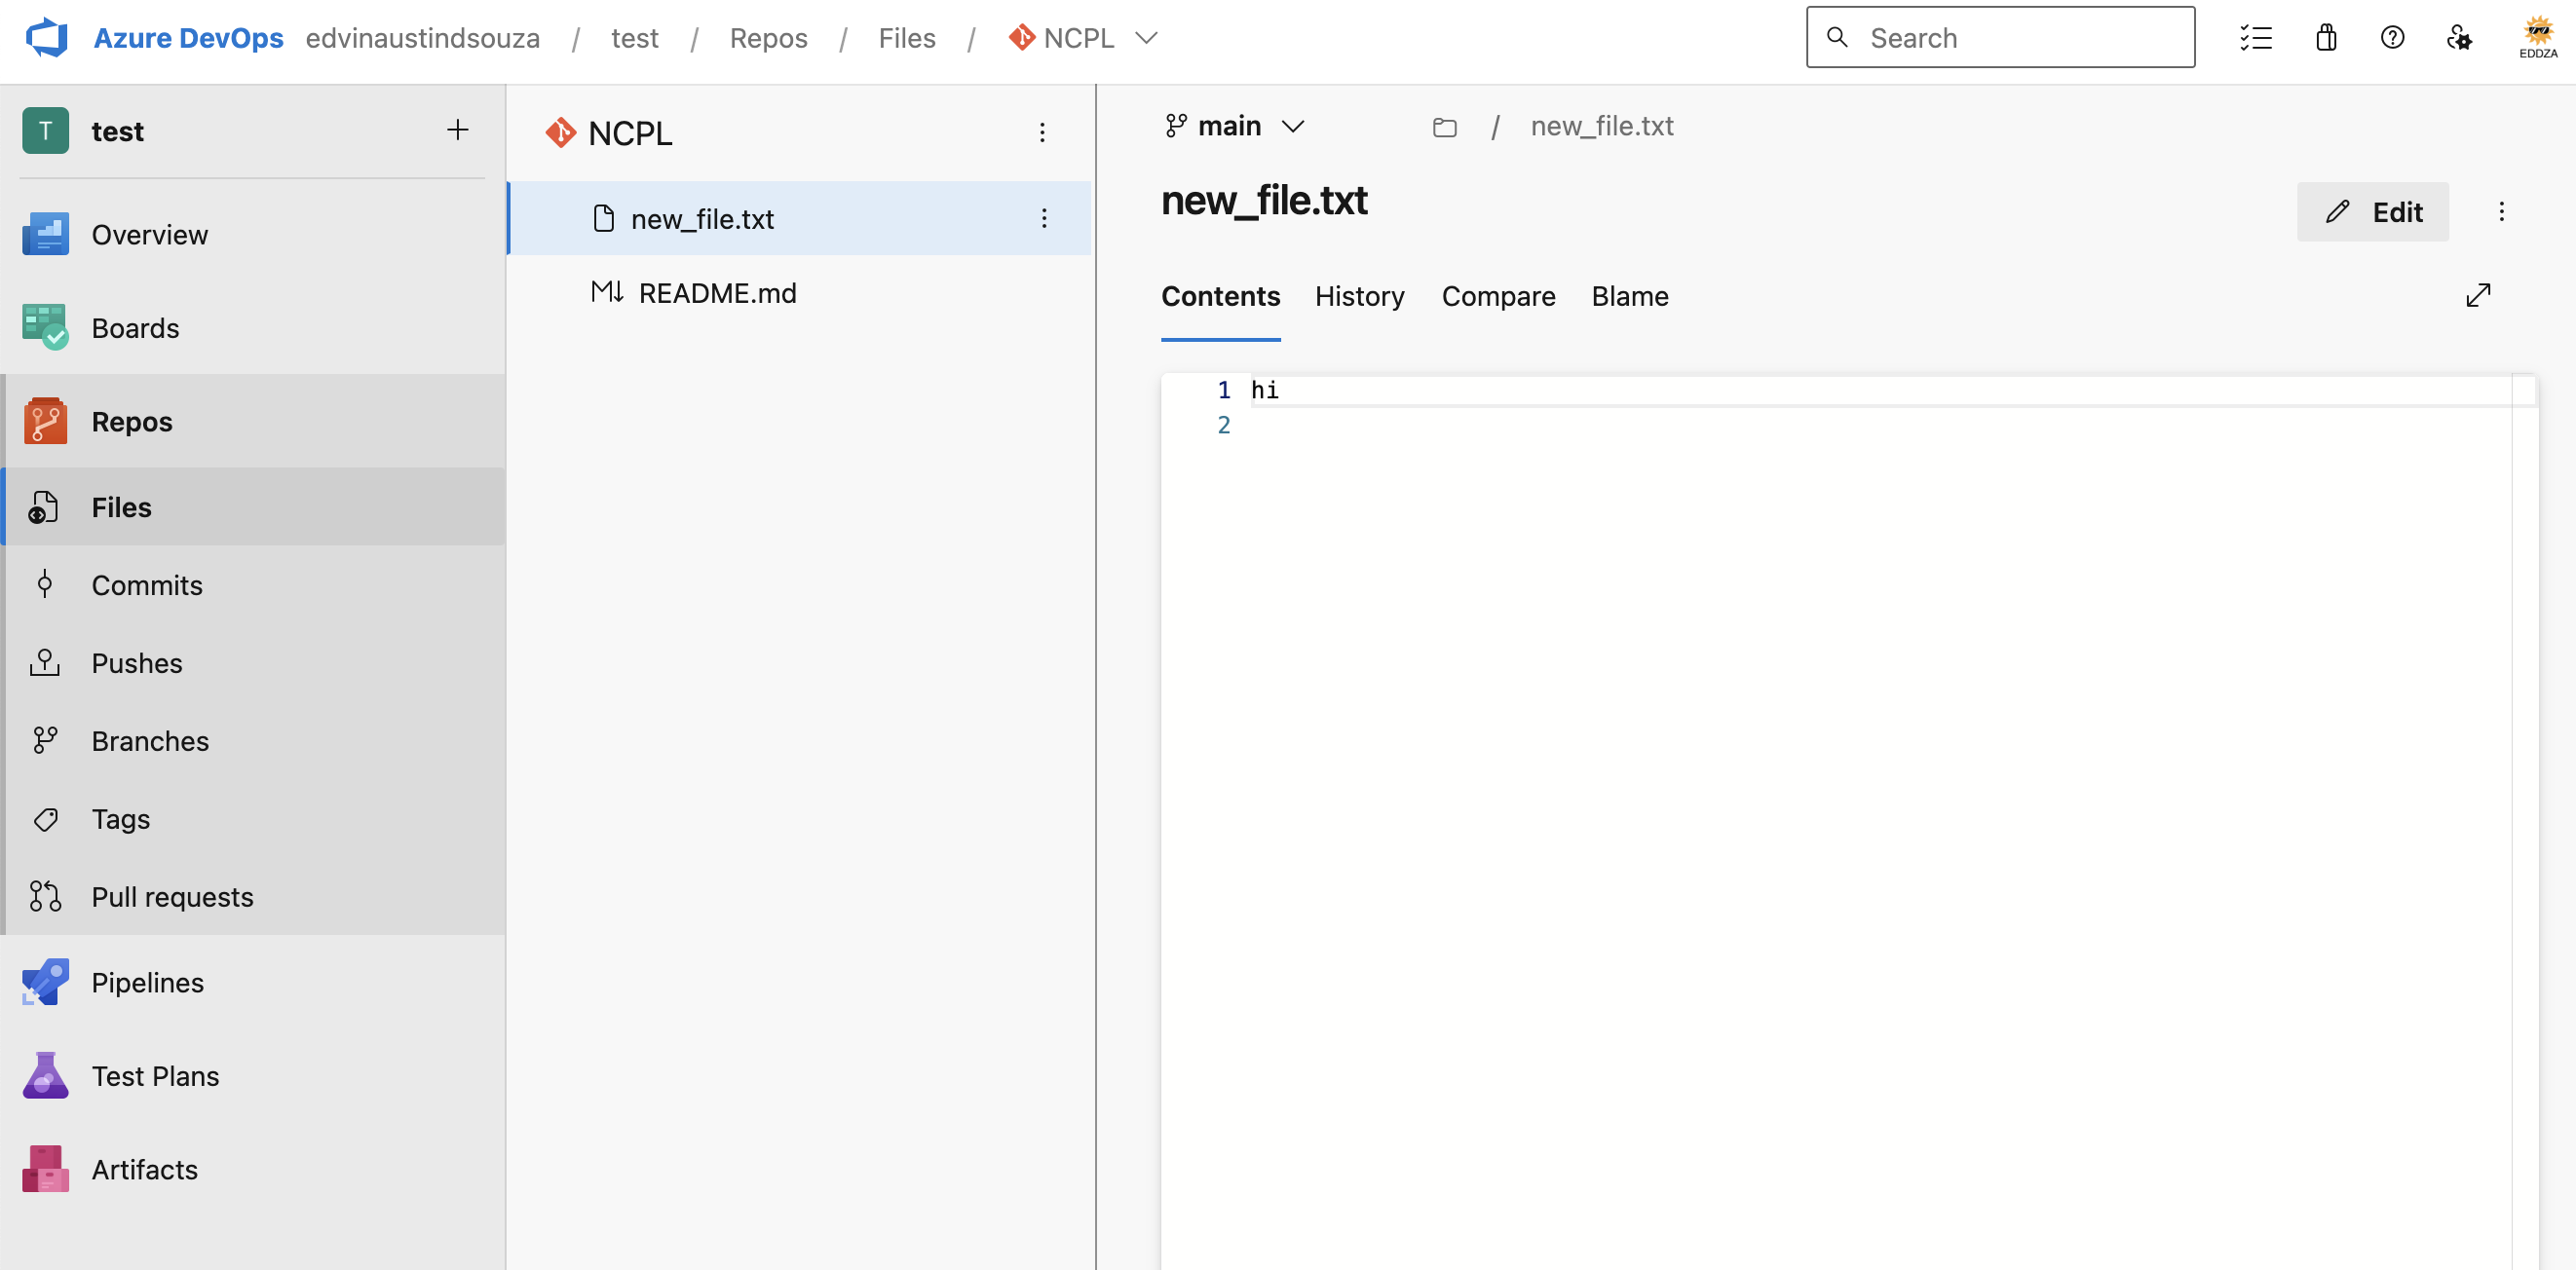
Push the changes to the Azure Git repository:
git push origin main
Step 7: Update and Synchronize Changes
Suppose someone else makes changes to the repository. To update your local repository, use:
git pull origin main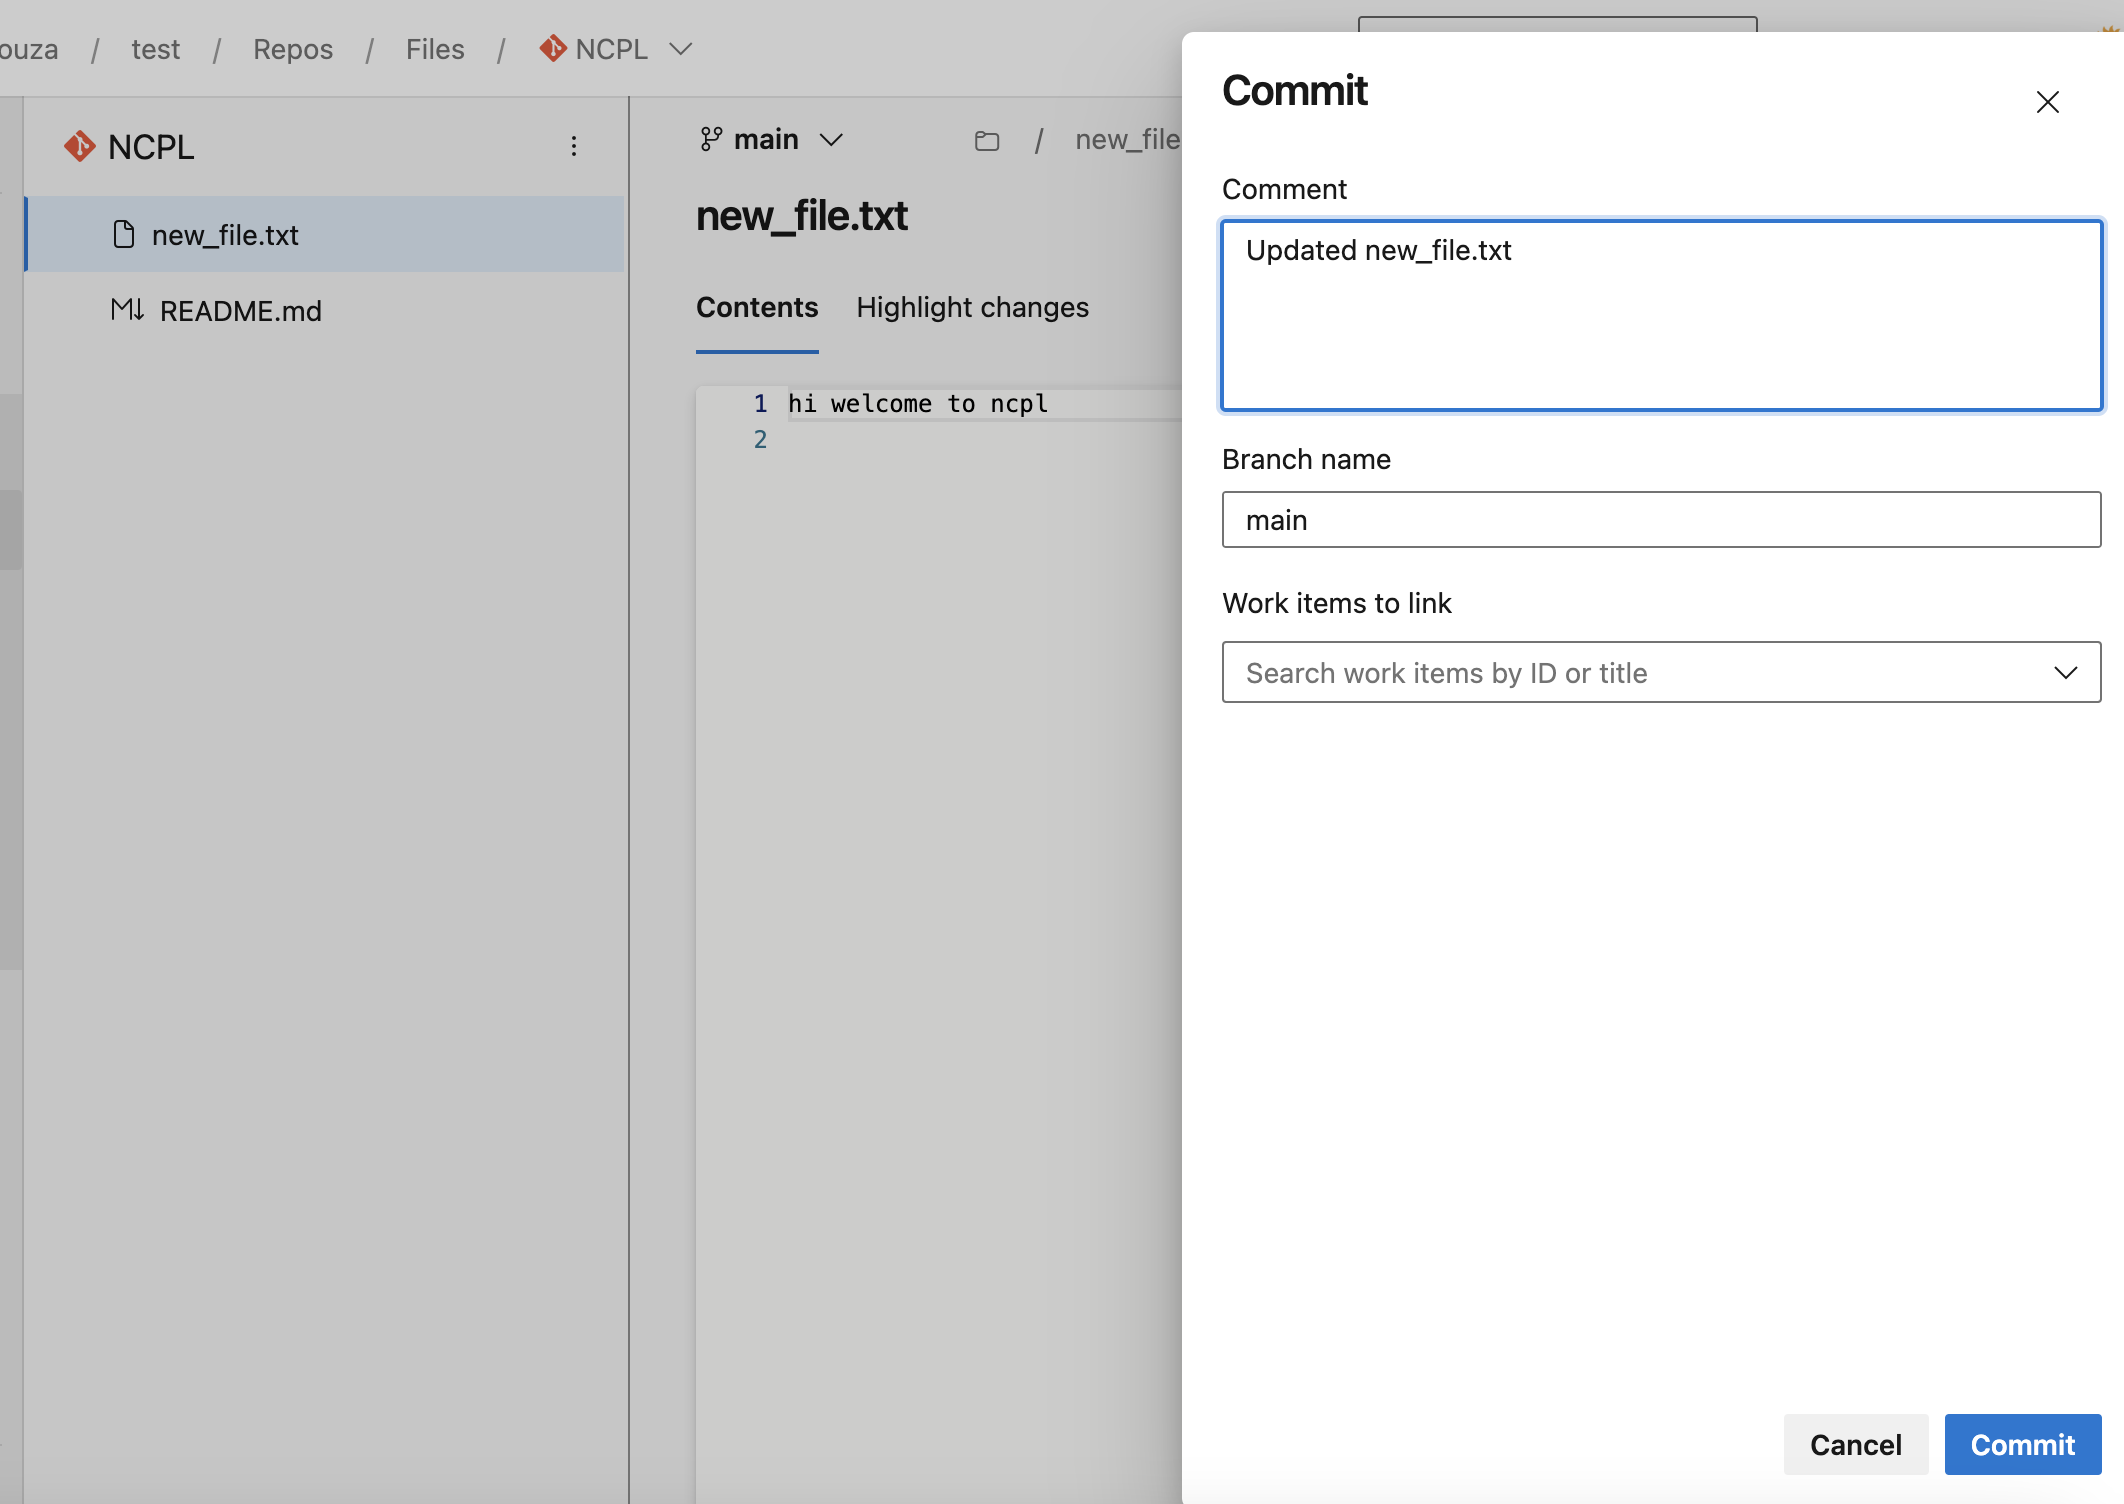

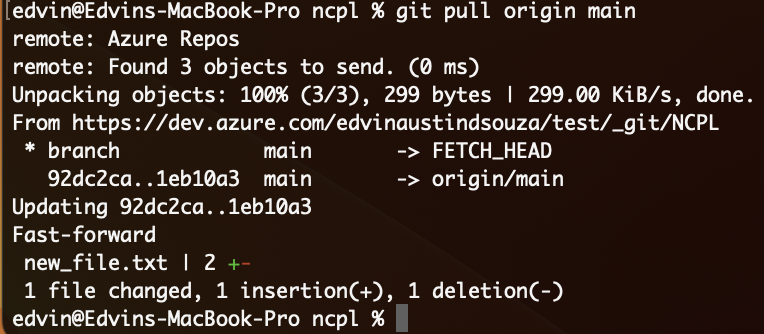

In case you have made changes, and someone else has updated the repository in the meantime, you may encounter conflicts. Resolve the conflicts, add the changes to the staging area, commit, and push as usual.
Conclusion:
🎉 Congratulations! We have now successfully set up a Git repository on Azure and learned how to perform basic Git operations. With this version control system in place, you can efficiently track changes, collaborate with your team, and manage your project's codebase. Remember to explore more advanced Git features to enhance your development workflow further. Happy coding! 👩💻🚀
Subscribe to my newsletter
Read articles from Edvin Dsouza directly inside your inbox. Subscribe to the newsletter, and don't miss out.
Written by

Edvin Dsouza
Edvin Dsouza
👩💻 DevOps engineer 🚀 | Automation enthusiast ⚙️ | Infrastructure as code | CI/CD 🌟 Let's build awesome things together!