Two-tier Web Application Deployment using Docker Compose
 Dhanashri Saner
Introduction
Welcome to our blog! The demand for efficient and seamless web application deployment is ever-growing in today's digital age. The world of two-tier web architecture is a powerful approach. But that's not all – we're taking it a step further by introducing you to the magic of Docker Compose, a game-changing tool that simplifies the deployment process, enhances scalability, and streamlines management. In this blog, we'll unravel the concepts behind the two-tier architecture and guide you through deploying your very own two-tier web application using Docker Compose.
What is Two-tier Architecture?
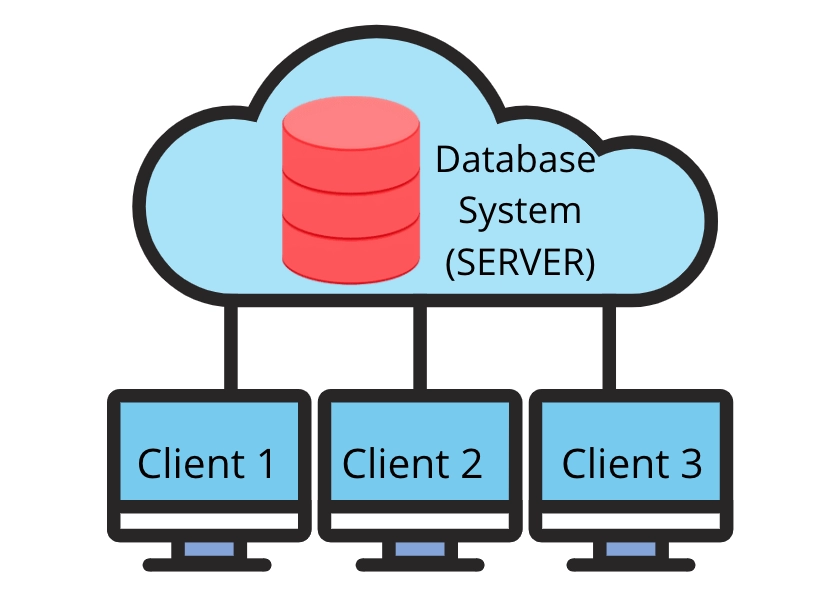
Two-tier architecture, also known as two-layer architecture, is a software architecture design in which an application is divided into two distinct layers or tiers:
Presentation Layer (Client Tier):
This is the user interface or the front-end layer of the application that interacts directly with users.
It is responsible for presenting data and user interfaces to the users, typically through a graphical user interface (GUI).
User interactions, such as input validation and user interface logic, are managed in this layer.
The presentation layer communicates with the data layer to retrieve or store data.
Data/Storage Layer (Server Tier):
This is the back-end layer that handles data storage, retrieval, and manipulation.
It is responsible for managing data storage, databases, and data-related operations.
Business logic and application functionality that involve data processing are typically handled in this layer.
The data layer communicates with the presentation layer to provide the requested data or to store data submitted by users.
What is Docker Compose?
Docker Compose is a tool that was developed to help define and share multi-container applications. With Compose, we can create a YAML file to define the services and with a single command, can spin everything up or tear it all down.
docker-compose.yml
A docker-compose.yml file, often referred to as a Compose file, is a configuration file used by Docker Compose to define and manage multi-container applications. This YAML-formatted file contains all the necessary instructions and settings to specify the services, networks, and volumes that make up your application.
Example
version: '3'
services:

  backend:
    build:
      context: .
    ports:
      - "5000:5000"
    environment:
      MYSQL_HOST: mysql
      MYSQL_USER: root
      MYSQL_PASSWORD: test@123
      MYSQL_DB: two_tier
    depends_on:
      - mysql

  mysql:
    image: mysql:5.7
    environment:
      MYSQL_ROOT_PASSWORD: test@123
      MYSQL_DATABASE: two_tier
      MYSQL_USER: devops
      MYSQL_PASSWORD: devops
    volumes:
      - mysql-data:/var/lib/mysql  # Mount the volume for MySQL data storage

volumes:
  mysql-data:
Dockerfile
# Use an official Python runtime as the base image
FROM python:3.9-slim

# Set the working directory in the container
WORKDIR /app

# install required packages for system
RUN apt-get update \
    && apt-get upgrade -y \
    && apt-get install -y gcc default-libmysqlclient-dev pkg-config \
    && rm -rf /var/lib/apt/lists/*

# Copy the requirements file into the container
COPY requirements.txt .

# Install app dependencies
RUN pip install mysqlclient
RUN pip install --no-cache-dir -r requirements.txt

# Copy the rest of the application code
COPY . .

# Specify the command to run your application
CMD ["python", "app.py"]
Project
Step 1: Clone the Repository
Open your terminal and execute the following commands:
https://github.com/DhanashriSaner/two-tier-flask-app.git

Step 2: Install Docker Compose
sudo apt install docker-compose -y
Step 3: Start Docker Compose
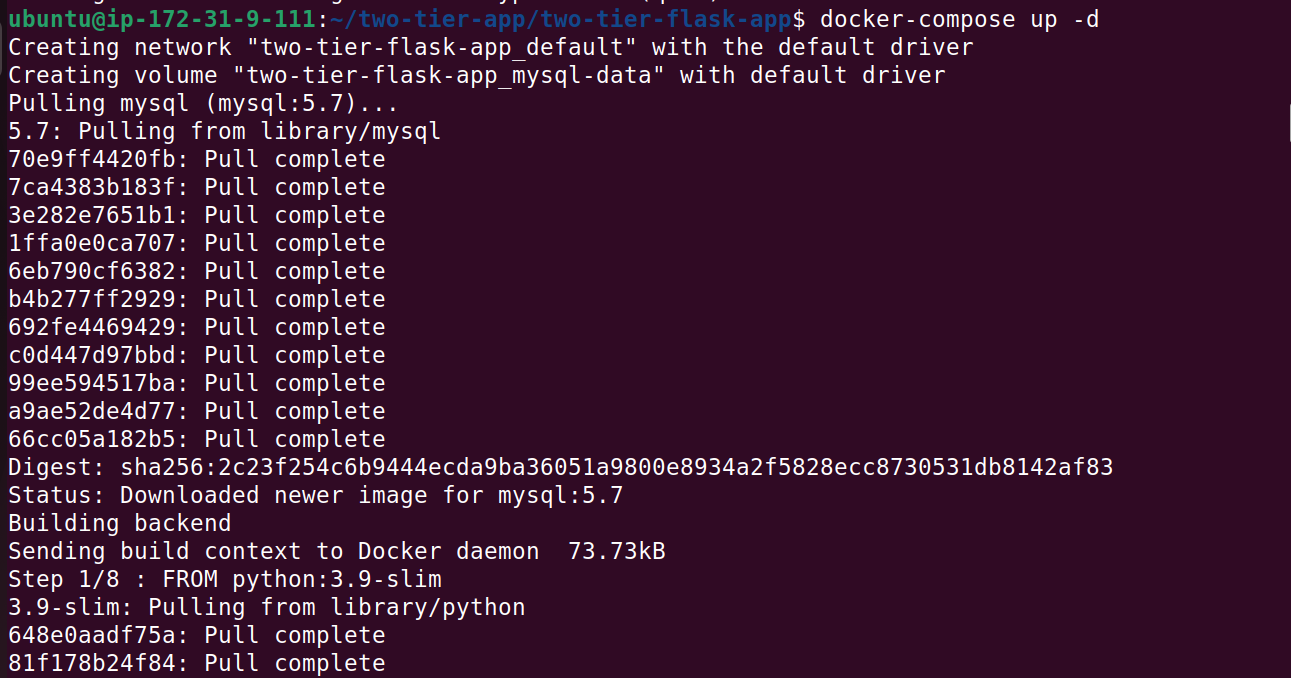
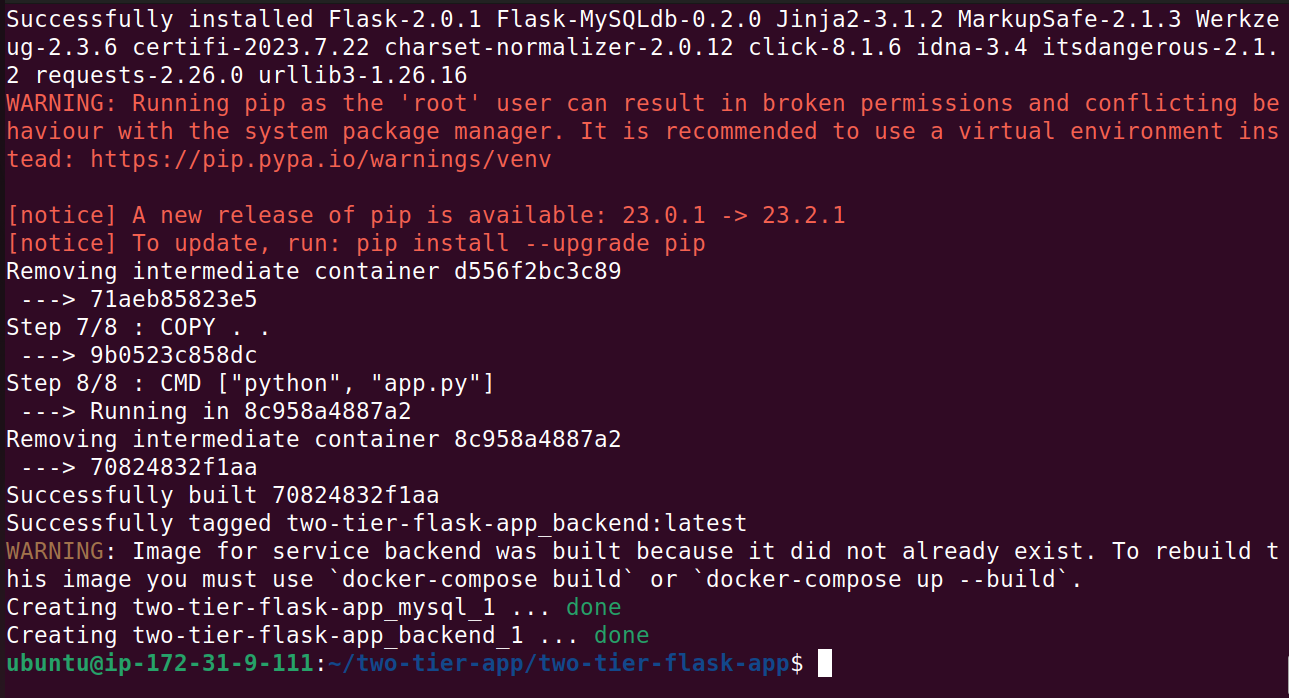
docker-compose up -d
Step 4: Verify Containers
Check whether the container is running or not, and execute the following command:
docker ps

The container is running, now we have to create the database.
Step 5: Create Data Volume
Now, let's create a data volume to store the MySQL data.
sudo mkdir /var/lib/mysql/
Step 6: Access MySQL Database
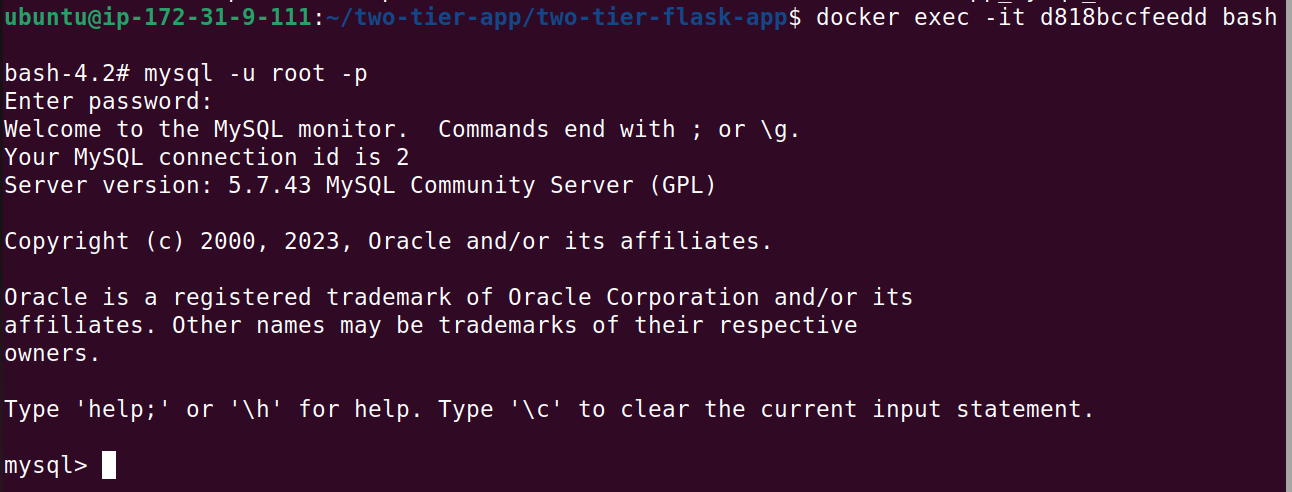
Now the MySQL database is running in the container. We have to find the container name using the docker ps command. Then, use the following command to access the MySQL shell:
docker exec -it <CONTAINER_ID> bash
mysql -u root -p
Step 7: Create the database and table
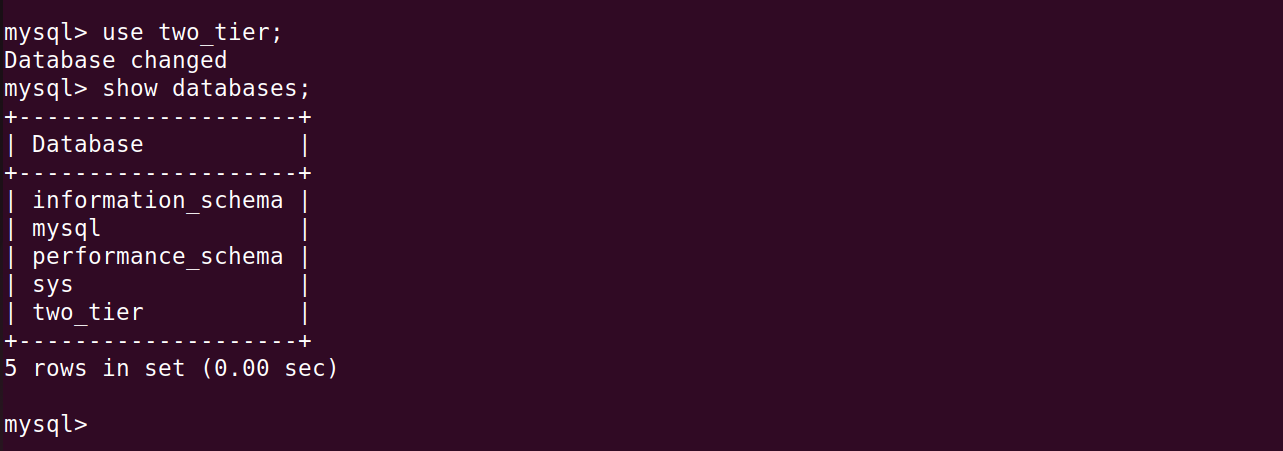
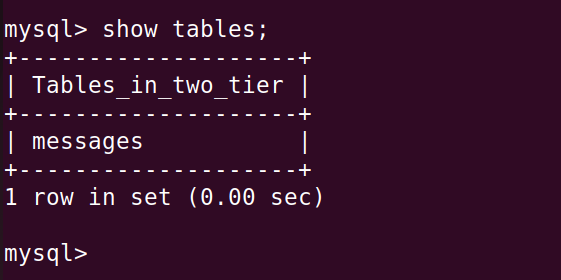
Now You'll have to enter the MySQL root password to log in and execute the following queries.
use two_tier;

show databases;

create table messages (message varchar(300));
Step 8: Access the Application
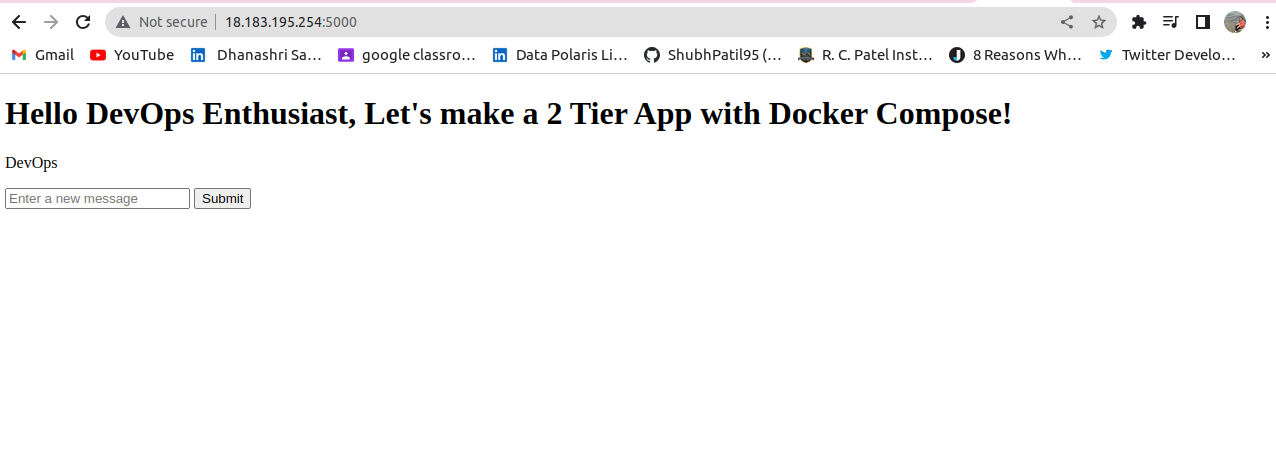
You need to open port 5000 to access an application. To check your Flask application progress, type the following URL in the browser.
http://<PUBLIC_IP_OF_SERVER>:5000
Step 9: Cleaning up
To stop and remove the Docker containers, press Ctrl+C in the terminal where the containers are running, or use the following command:
docker-compose down
With this newfound knowledge, you're ready to embark on your own deployment adventures, crafting digital landscapes that seamlessly integrate presentation and data layers. Remember, the road to mastery may have its twists and turns, but armed with Docker Compose, you've got the compass to navigate the complex terrain of modern application deployment.
So go ahead, start composing your container symphony, and watch your web applications. Happy deploying!
Subscribe to my newsletter
Read articles from Dhanashri Saner directly inside your inbox. Subscribe to the newsletter, and don't miss out.
Written by

Dhanashri Saner
Dhanashri Saner
Data Engineer @Midoffice Data