Analyzing CloudTrail Logs for AWS Security Incidents.
 Goodycyb
🚀 Sign up for the challenge Here by Cyber-defender for Free
AIM
This lab aims to analyze the CloudTrail logs for AWS security incidents related to the IAM User "Security”.
Disclaimer
Keep in mind that the challenge questions are not directly stated in this lab. Use the details from the AWS console and the information provided in this lab to answer the questions on the Bucket Blue Team Challenge.
Scenario
You have been given access to the "Security" AWS account as an IAM user. In this account, you can access the logs from the time of the incident. Additionally, you can assume the "Security" role in the target account, enabling you to investigate and identify any misconfigurations that may have contributed to the occurrence of the attack.
Credentials
# Your IAM credentials for the Security account:
Login: https://flaws2-security.signin.aws.amazon.com/console
Account ID: 322079859186
Username: security
Password: password
Access Key: AKIAIUFNQ2WCOPTEITJQ
Secret Key: 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
Note: This AWS Account was intentionally made public for learning Purposes
Accessing Logs via AWS Console
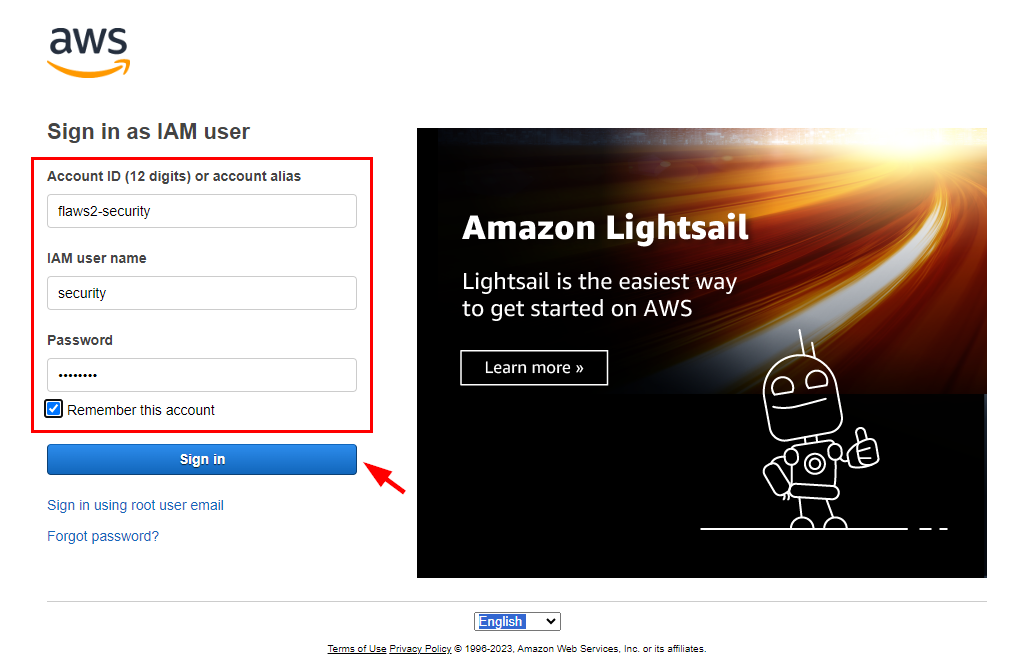
- Sign in to the IAM User Account Security.” Using the above credentials to log in.
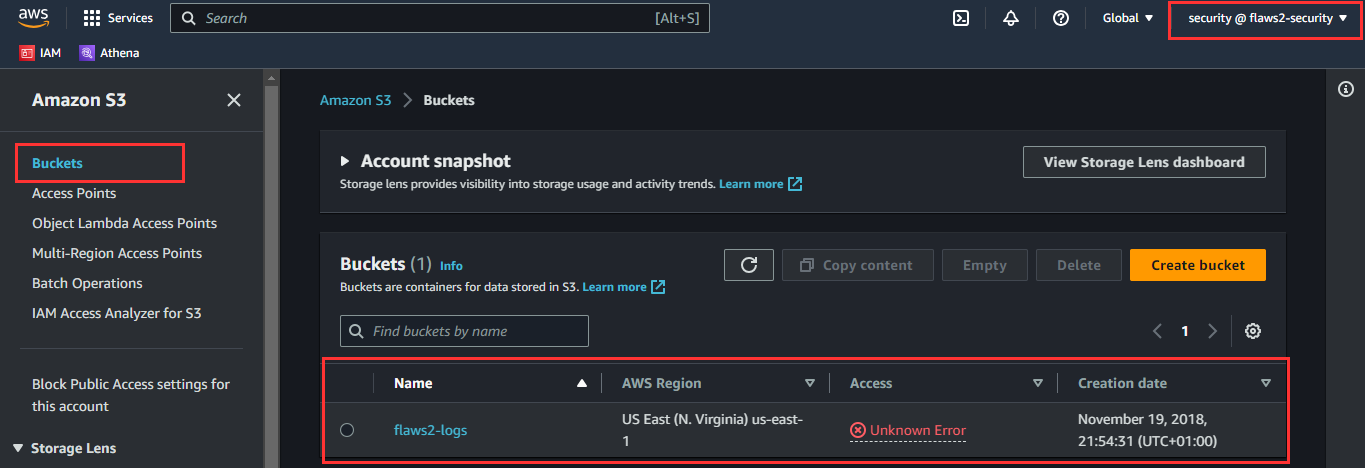
- Once signed in, navigate to the S3 dashboard by searching for S3 in the top search bar.

- On the S3 dashboard, click on Bucket in the left pane menu to view the list of buckets.
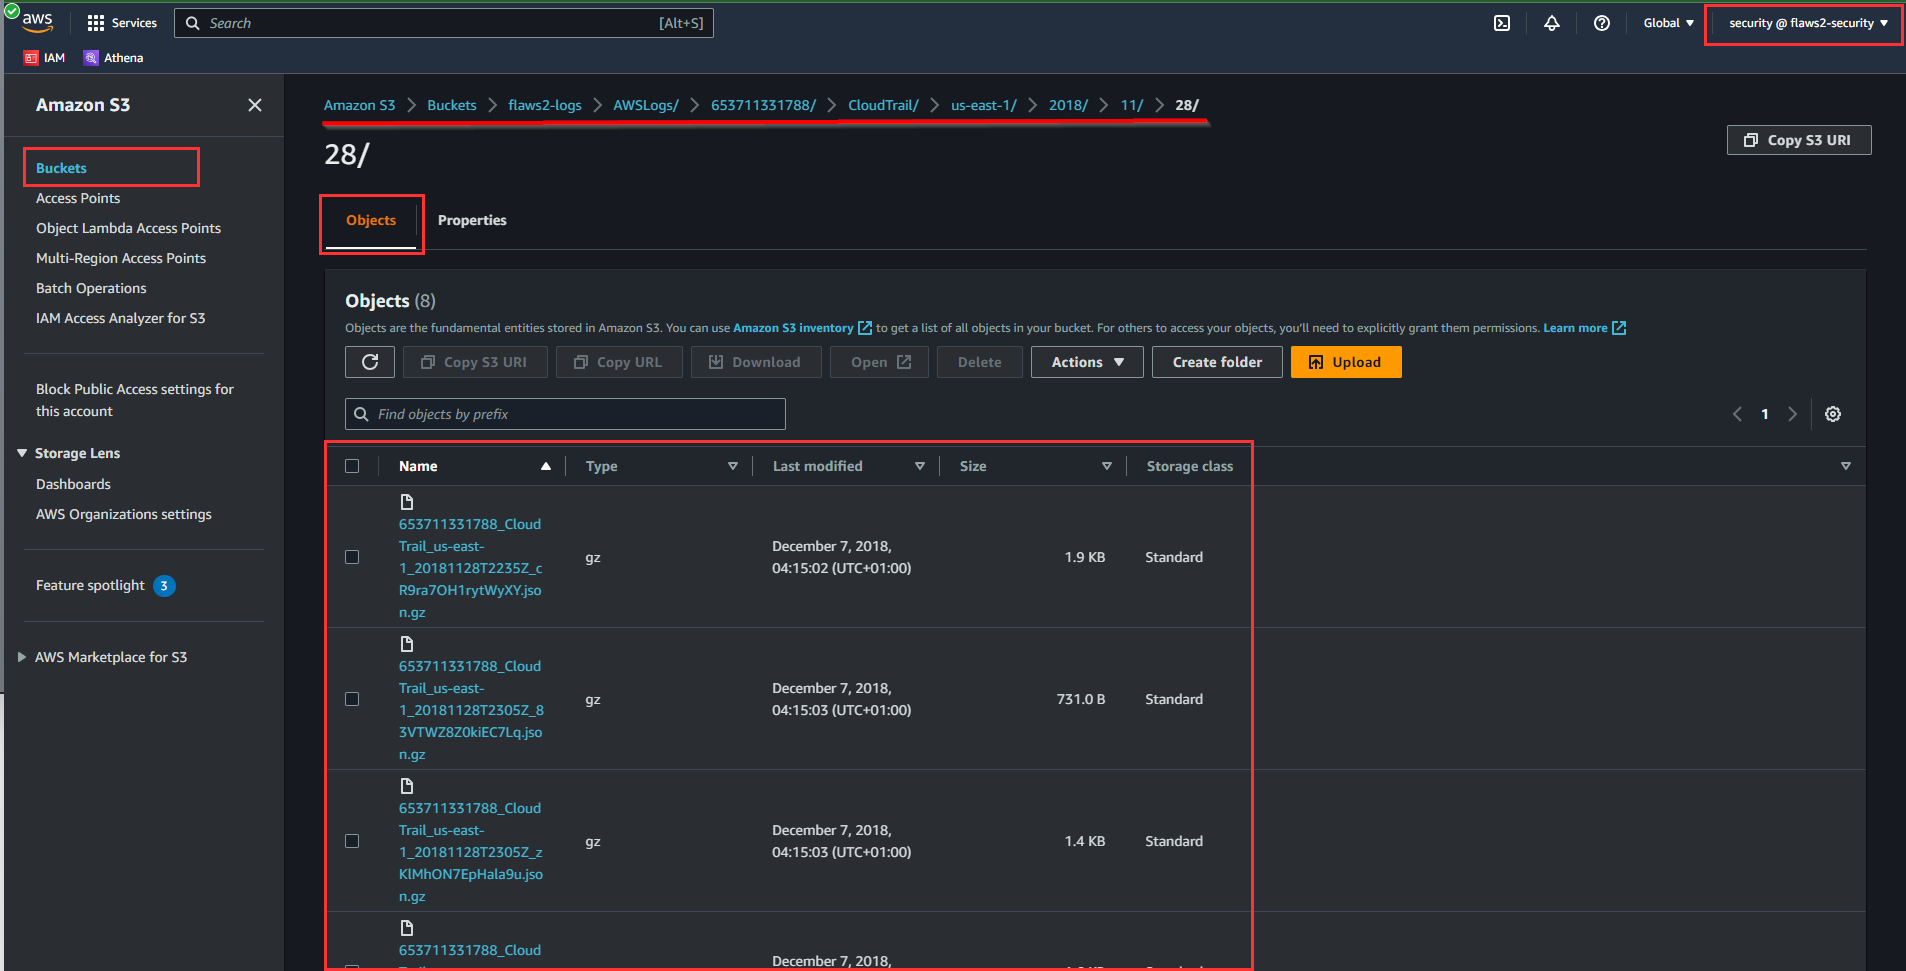
- Click on flaws2-logs till you get to the list of objects (filetype: gz)
Amazon S3 → Buckets → flaws2-logs → AWSLogs/ → 653711331788/ → CloudTrail/ → us-east-1/ → 2018/ → 11/ → 28/
Here you have access to the list of logs created in 2018
Accessing AWS Logs Via AWS CLI
In this lab, we will access these logs via AWS CLI on Parrot OS to analyze the logs.
Refer to this guide on how to install AWS CLI on your Linux terminal, or you can check the AWS Documentation for installation instructions on any OS of your preference.
- Run the command
aws --versionto verify the current version installed

- Next, Create an AWS profile using the command and then supply the Access Key and Secret Key from the above credentials section
# Credentials
Access Key: AKIAIUFNQ2WCOPTEITJQ
Secret Key: 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

$ aws configure --profile <name-of-profile>
#in this lab, the profile name is flaws-sec

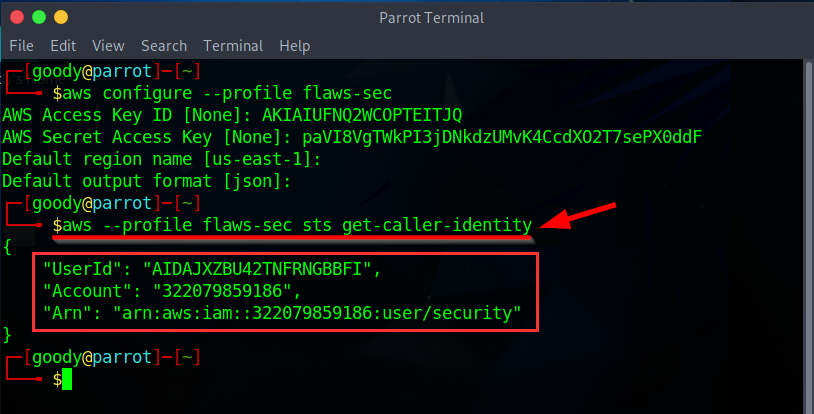
- Run the AWS CLI command to verify that the IAM user "Security" credentials have been created correctly.
$ aws --profile flaws-sec sts get-caller-identity
- Next, create a folder on your Desktop (here, Flaws) using the command shown
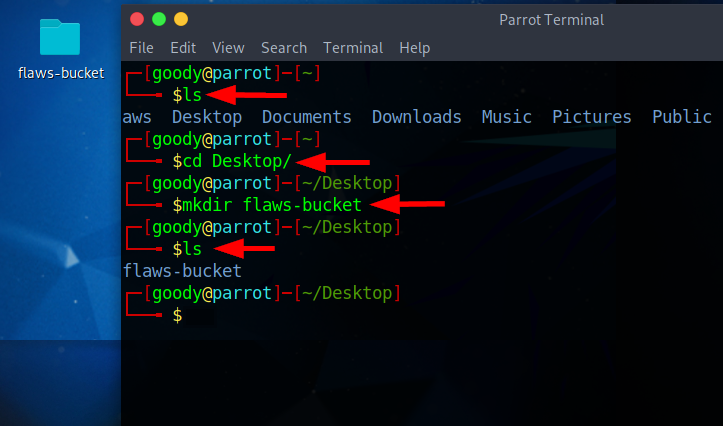
$ ls
$ cd Desktop
$ mkdir <your-folder-name>
$ls
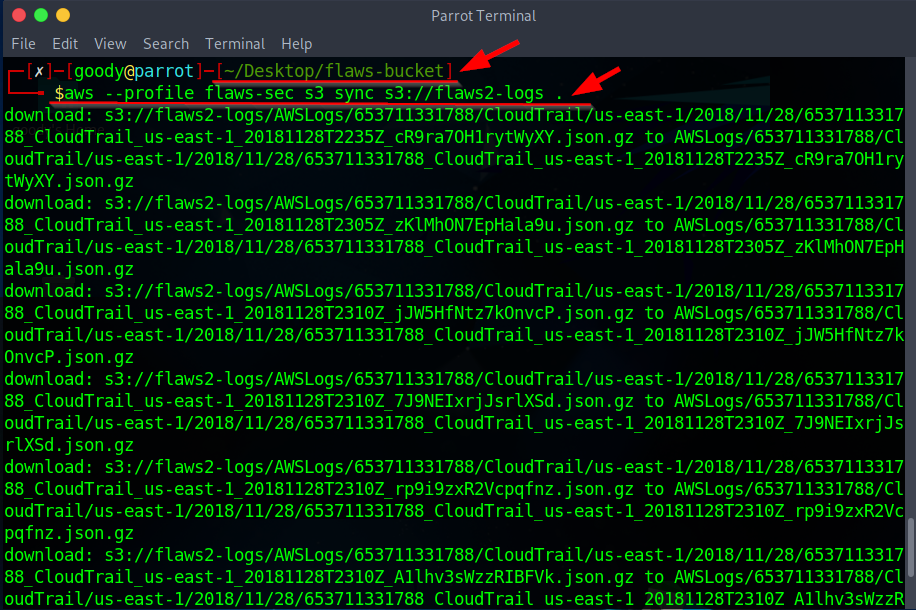
- Downloading bucket data (logs) to the local directory created (here, flaws-bucket)
$ aws --profile flaws-sec s3 sync s3://flaws2-logs .
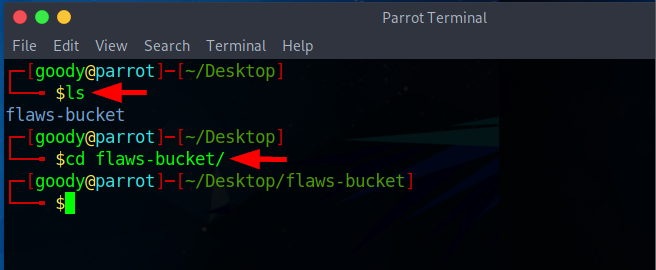
- Navigate to the local directory (here, flaws-bucket):
$ cd AWSLogs/653711331788/CloudTrail/us-east-1/2018/11/28
$ ls
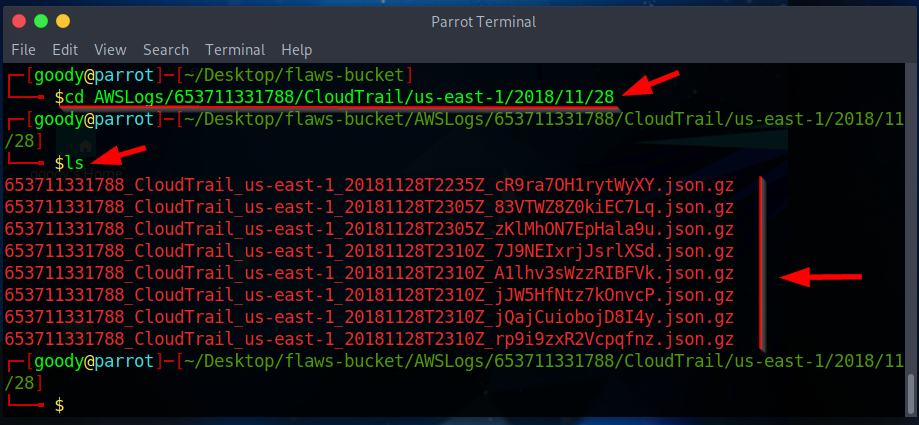
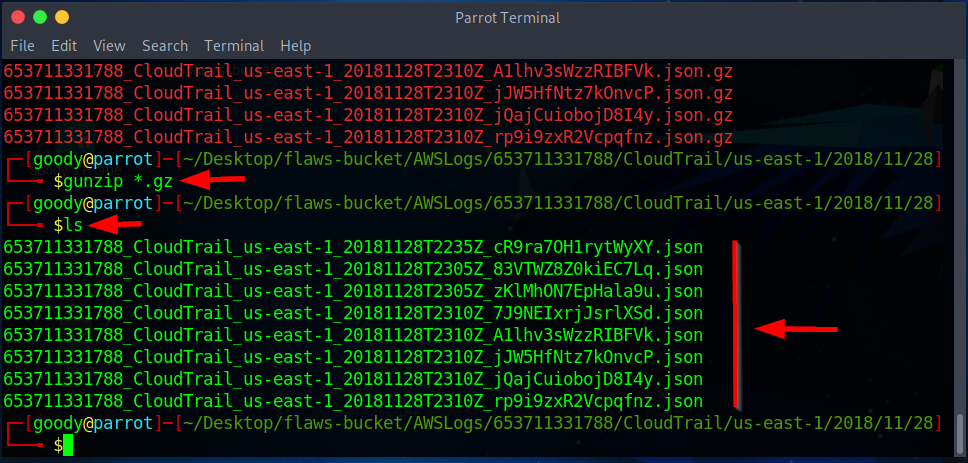
- use the command
gunzip *.gzto unzip the.jsonfiles
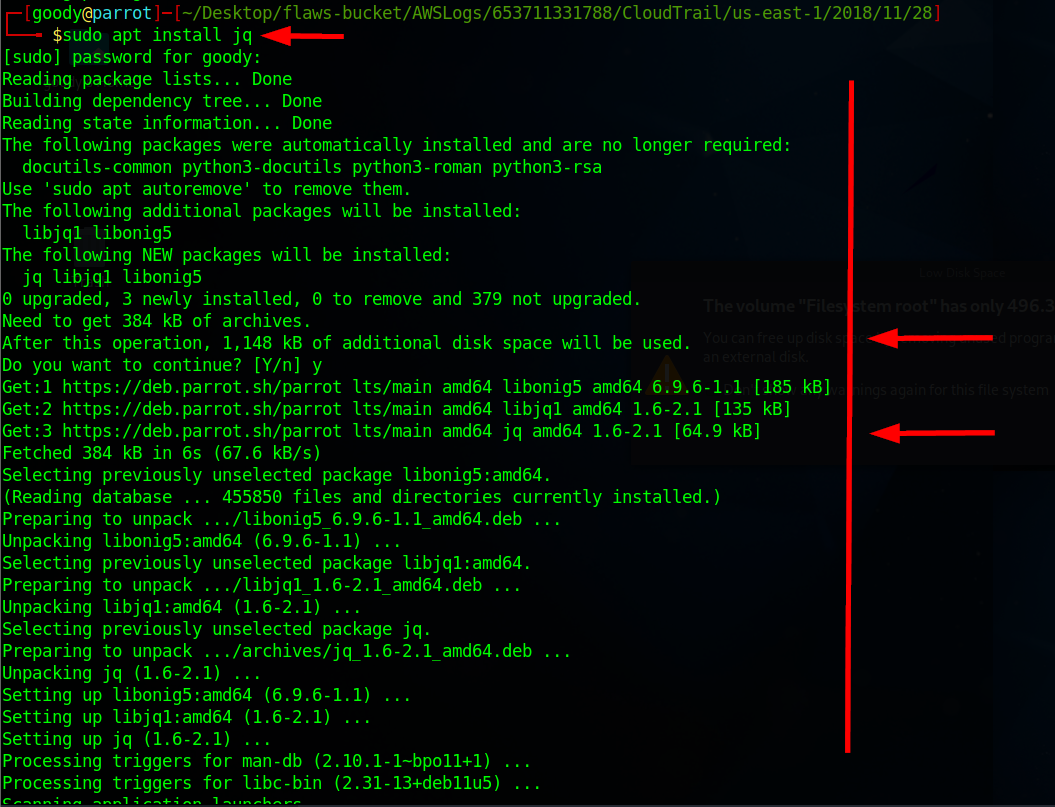
- To view the JSON files in a well-formatted format, install jq. Using the command
# Run this command to install
$ sudo apt install jq

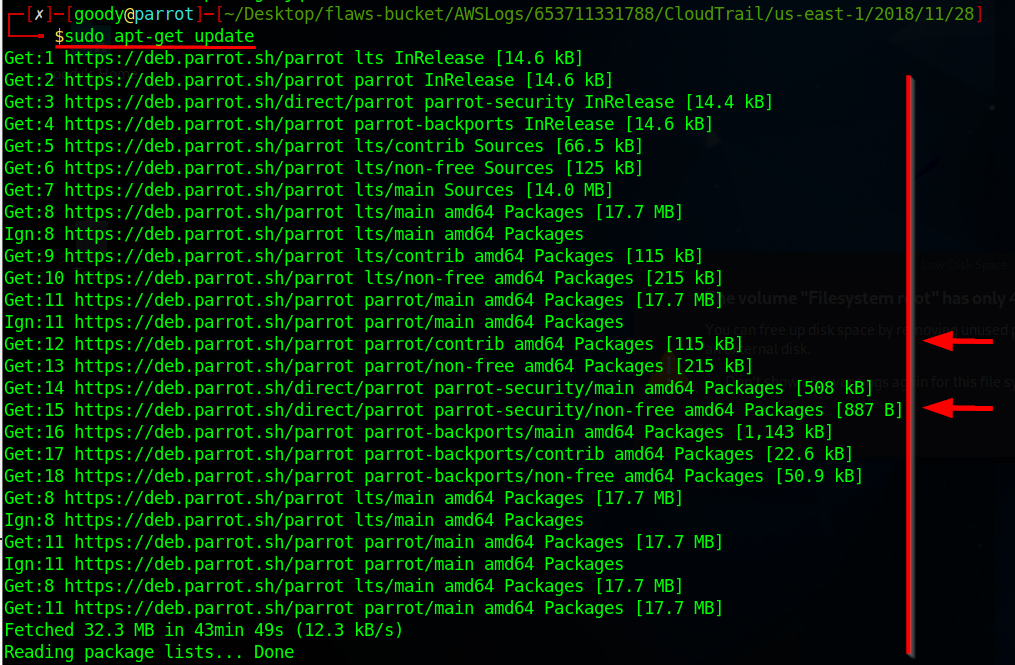
#Run this command incase you get an error message
$ sudo apt-get update

# Try installing "jq" again
$ sudo apt-get install jq
- Once done, run the command
cat *****.json | jq.
$ cat 653711331788_CloudTrail_us-east-1_20181128T2235Z_cR9ra7OH1rytWyXY.json | jq
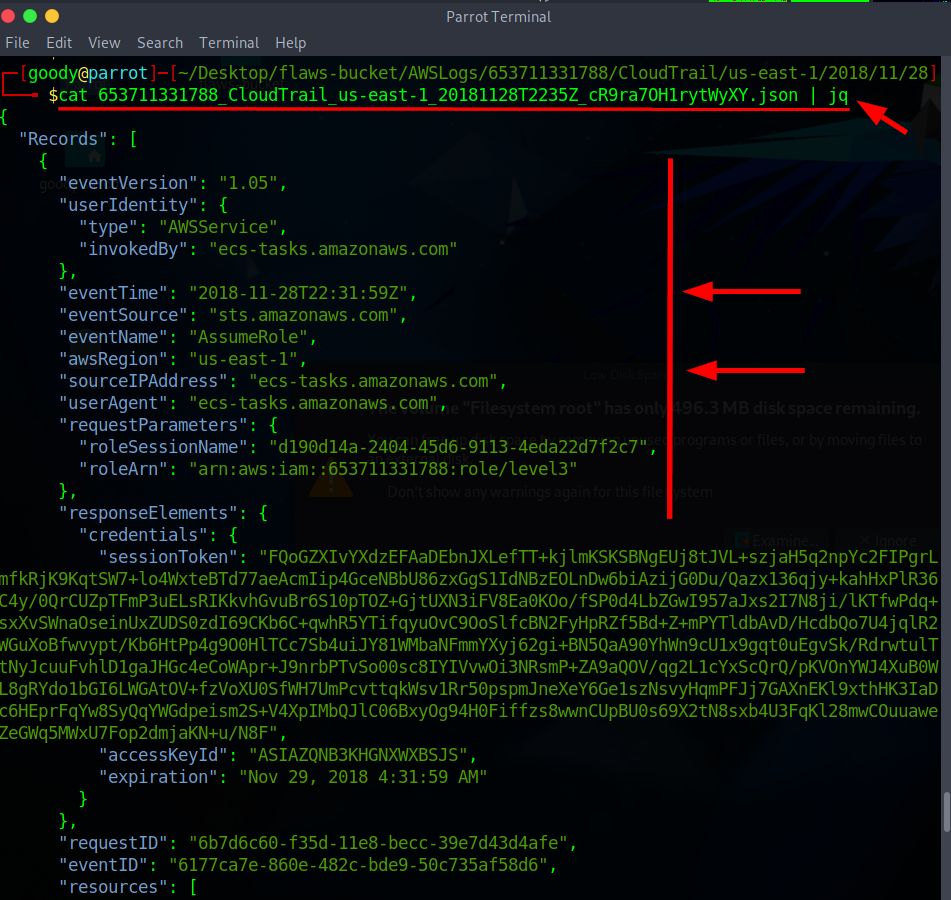
Analyzing Logs
From the list of JSON log files downloaded, let’s analyze them using the bash script
Copy and paste the bash script into a Vim editor. The shell script searches all JSON files and filters by EventTime and EventName.
Create bash script using Vim Editor
# creating a bash script using vim Editor
$ vim Eventscript.sh
#!/bin/bash

LOGS="*.json" # Specify the variable for logs

for l in $LOGS # Starting the for loop
do
  echo "Analyzing $l" # Analyzing the log file
  cat "$l" | jq '.Records[] | {eventTime, eventName}' # Extract eventTime and eventName fields
done
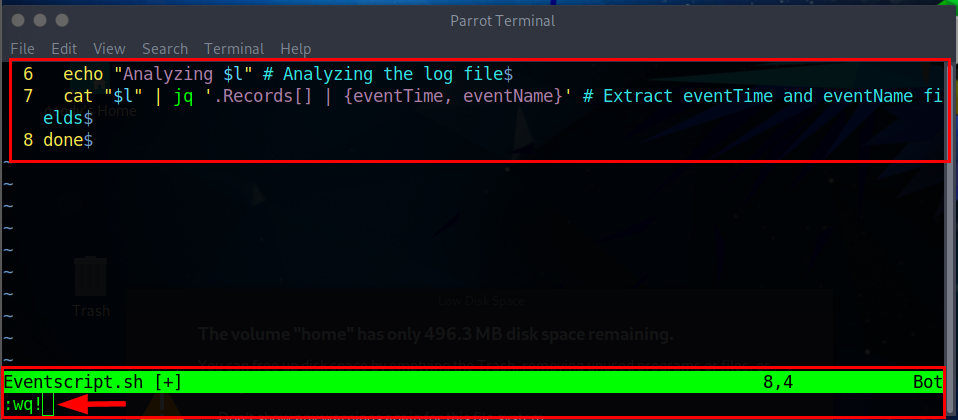
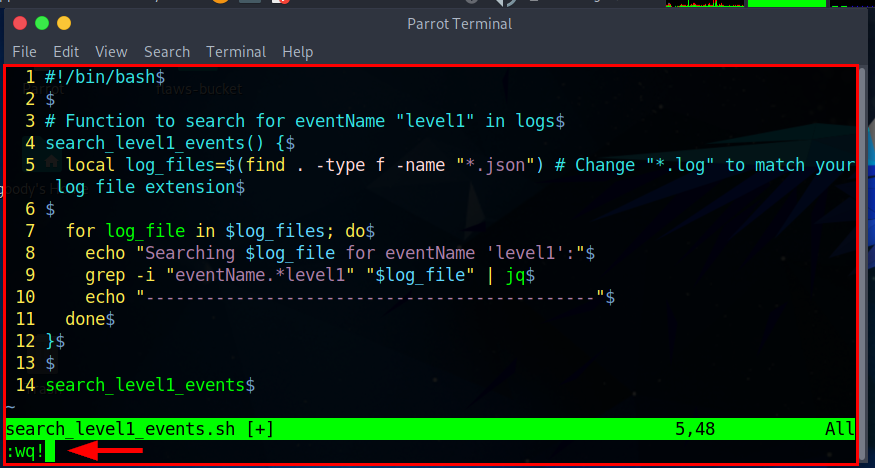
To save and exit from the Vim editor. Press
Esckey, and enter:wq!then press enter key

- Use the command to run the bash script
# Enabling executable permission on the bash file
$ chmod +x Eventscript.sh

# Running bash script
$ bash Eventscript.sh
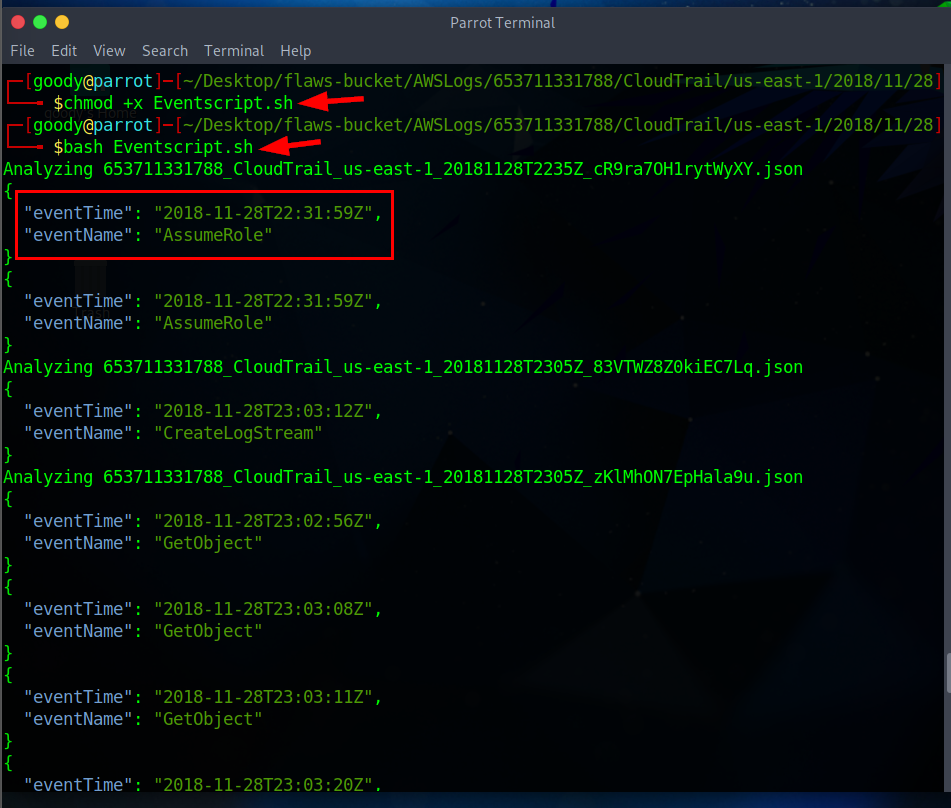
Searching for Specific date and time
- Next, let’s analyze the JSON log files for malicious source IPs by filtering with date and time.
Create a bash script using the Vim editor, and then copy and paste the code into the script.
#!/bin/bash

eventtime="2018-11-28T23:03:20"
log_files=$(find . -type f -name "*.json")  # Change "*.log" to match your log file extension

for log_file in $log_files; do
  echo "Searching $log_file for EventTime $eventtime and associated Source IP:"
  grep -E "eventTime.*$eventtime" "$log_file" | grep -oE 'sourceIPAddress.*[0-9]+\.[0-9]+\.[0-9]+\.[0-9]+' | cut -d':' -f2
  echo "---------------------------------------------"
done
# creating bash script
$vim DateandTime.sh

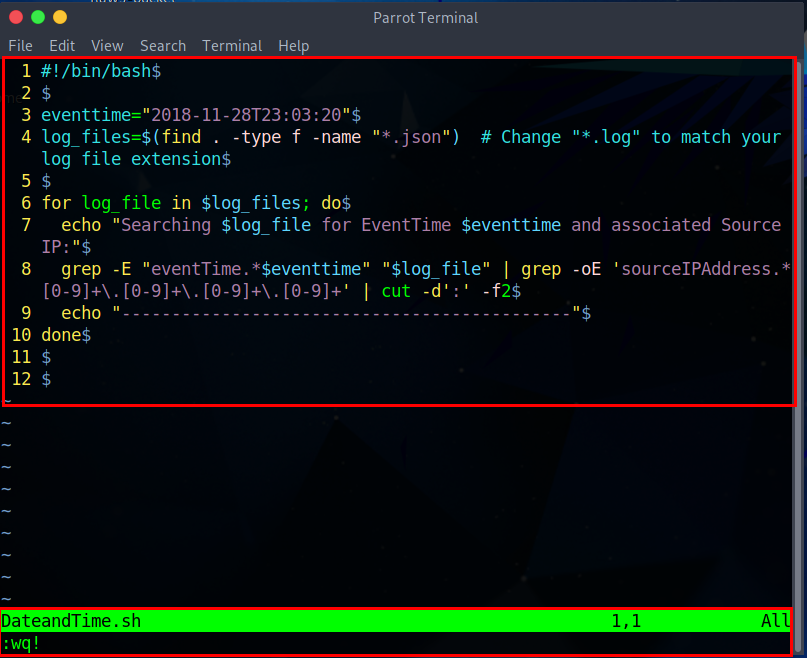
To save and exit from the Vim editor. Press
Esckey, and enter:wq!then press enter key
- Run the command below to search for malicious IPs based on Date and Time
# Run the command to enable executable permission for the bash file
$ chmod +x DateandTime.sh

# Run the command to excute the bash script
$ bash DateandTime.sh
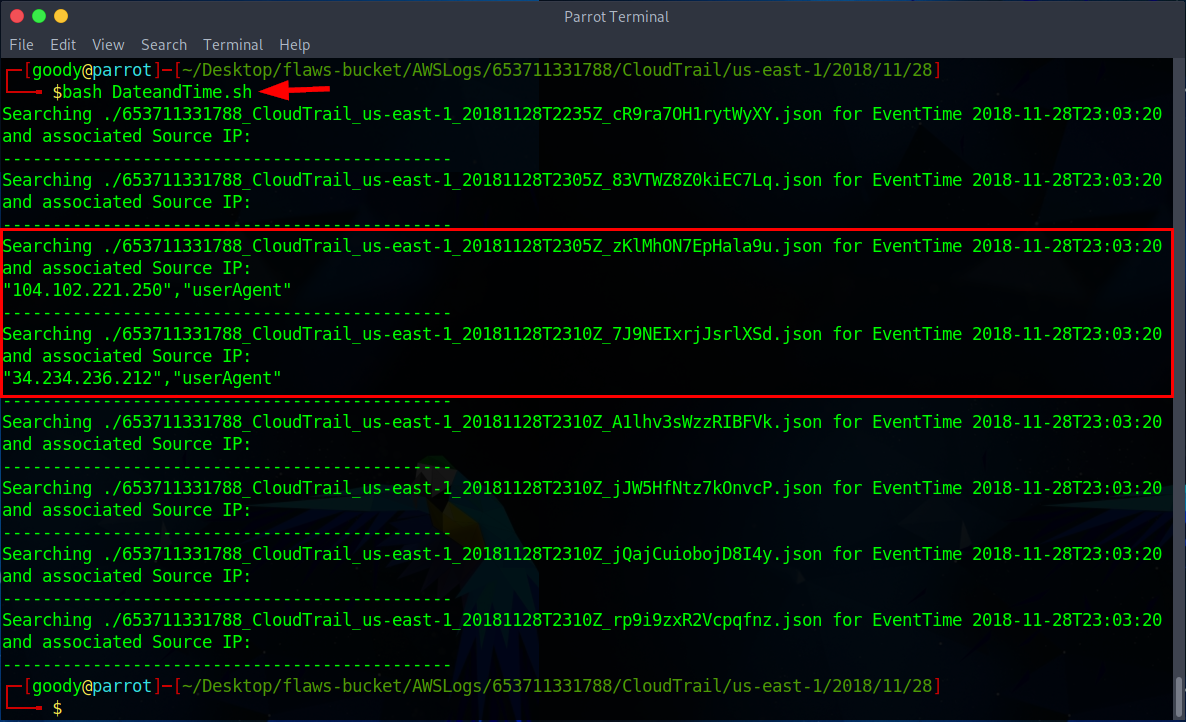
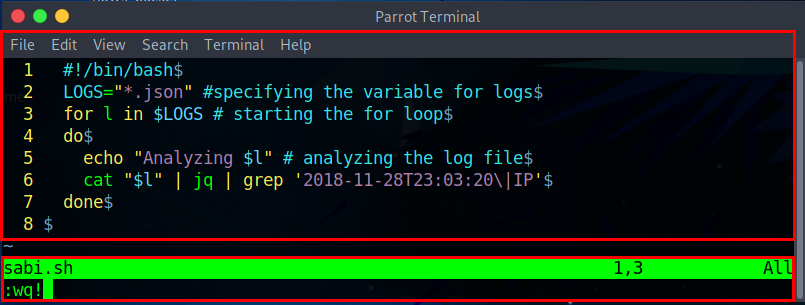
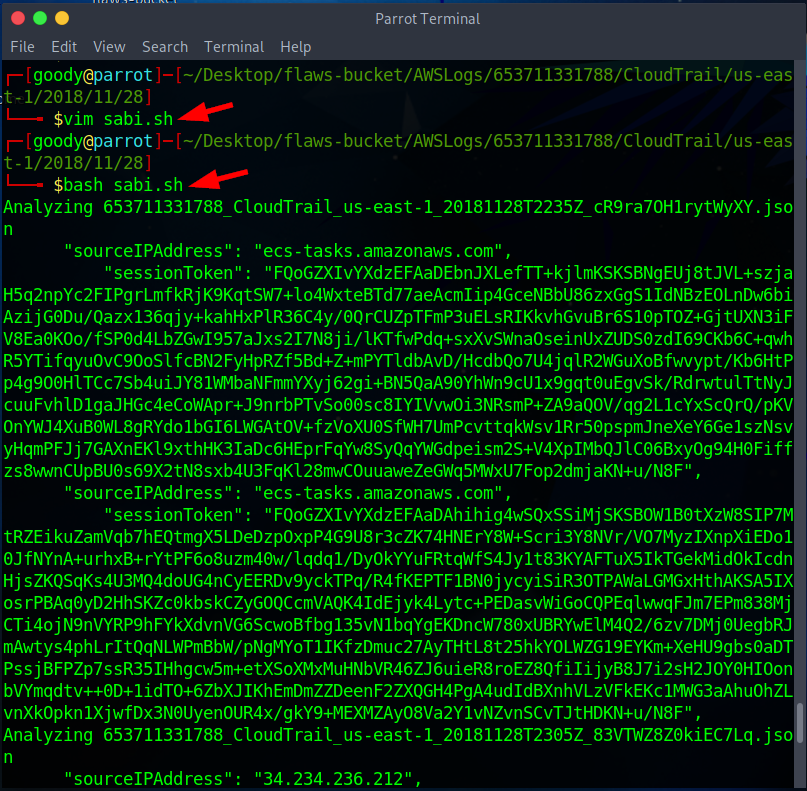
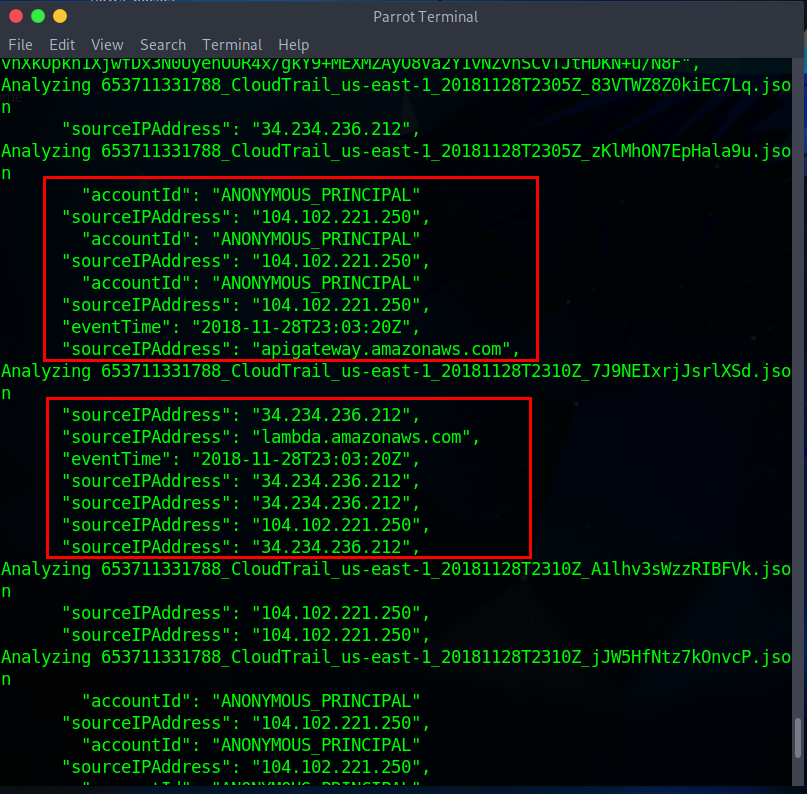
OR you can run the other script
#!/bin/bash
  LOGS="*.json" #specifying the variable for logs
  for l in $LOGS # starting the for loop
  do
    echo "Analyzing $l" # analyzing the log file
    cat "$l" | jq | grep '2018-11-28T23:03:20\|IP'
  done
Searching for IP addresses not associated with Amazon IPs
# command to create bash creapit with vim editor
$ vim search_non_amazon_ips.sh

# execute permission to the script
$ chmod +x search_non_amazon_ips.sh

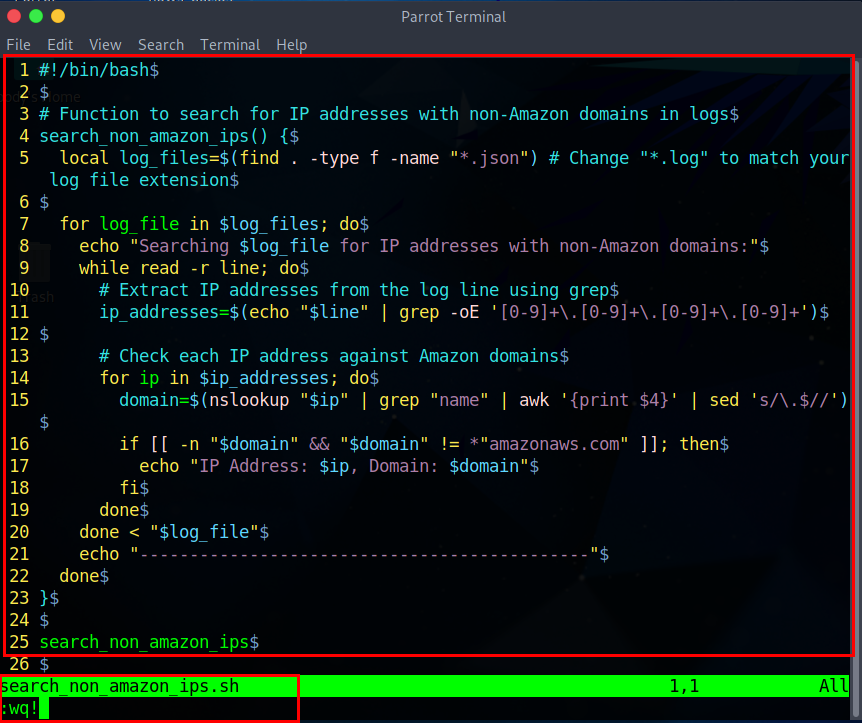
- Copy and paste code into Vim Editor
#!/bin/bash

# Function to search for IP addresses with non-Amazon domains in logs
search_non_amazon_ips() {
  local log_files=$(find . -type f -name "*.json") # Change "*.log" to match your log file extension

  for log_file in $log_files; do
    echo "Searching $log_file for IP addresses with non-Amazon domains:"
    while read -r line; do
      # Extract IP addresses from the log line using grep
      ip_addresses=$(echo "$line" | grep -oE '[0-9]+\.[0-9]+\.[0-9]+\.[0-9]+')

      # Check each IP address against Amazon domains
      for ip in $ip_addresses; do
        domain=$(nslookup "$ip" | grep "name" | awk '{print $4}' | sed 's/\.$//')
        if [[ -n "$domain" && "$domain" != *"amazonaws.com" ]]; then
          echo "IP Address: $ip, Domain: $domain"
        fi
      done
    done < "$log_file"
    echo "---------------------------------------------"
  done
}

search_non_amazon_ips
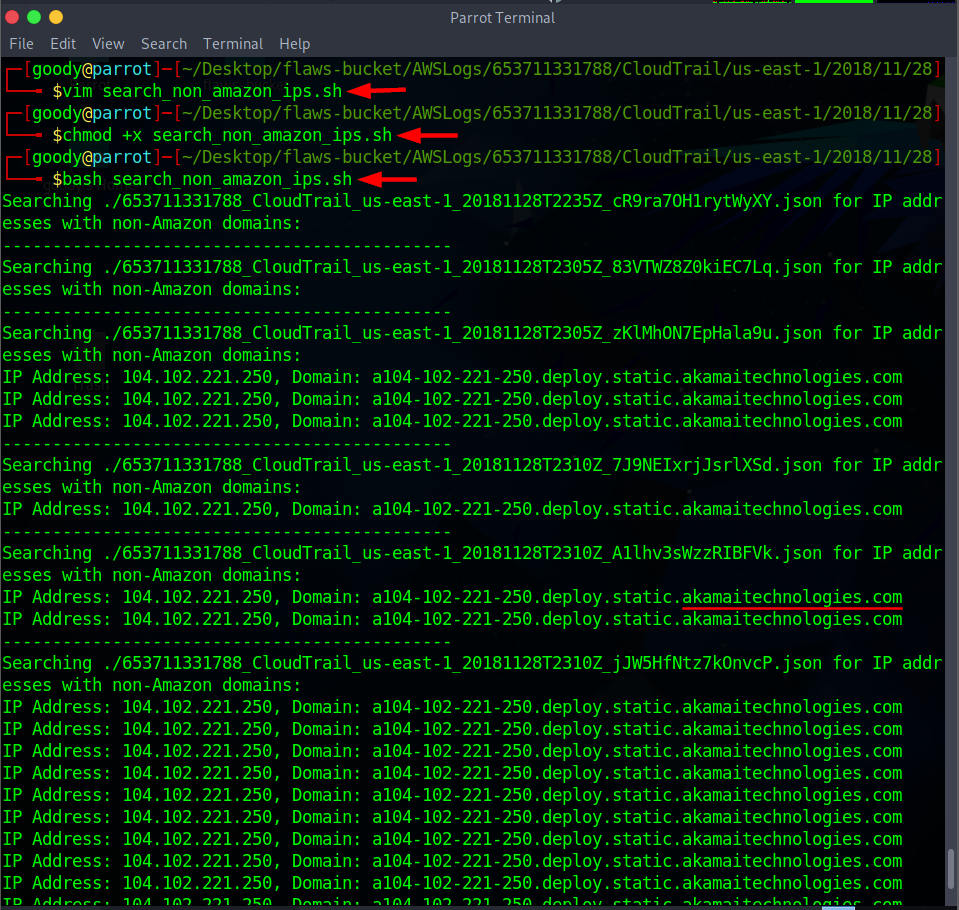
- Use the command below to run the bash script
# Command to run bash script
$ bash search_non_amazon_ips.sh

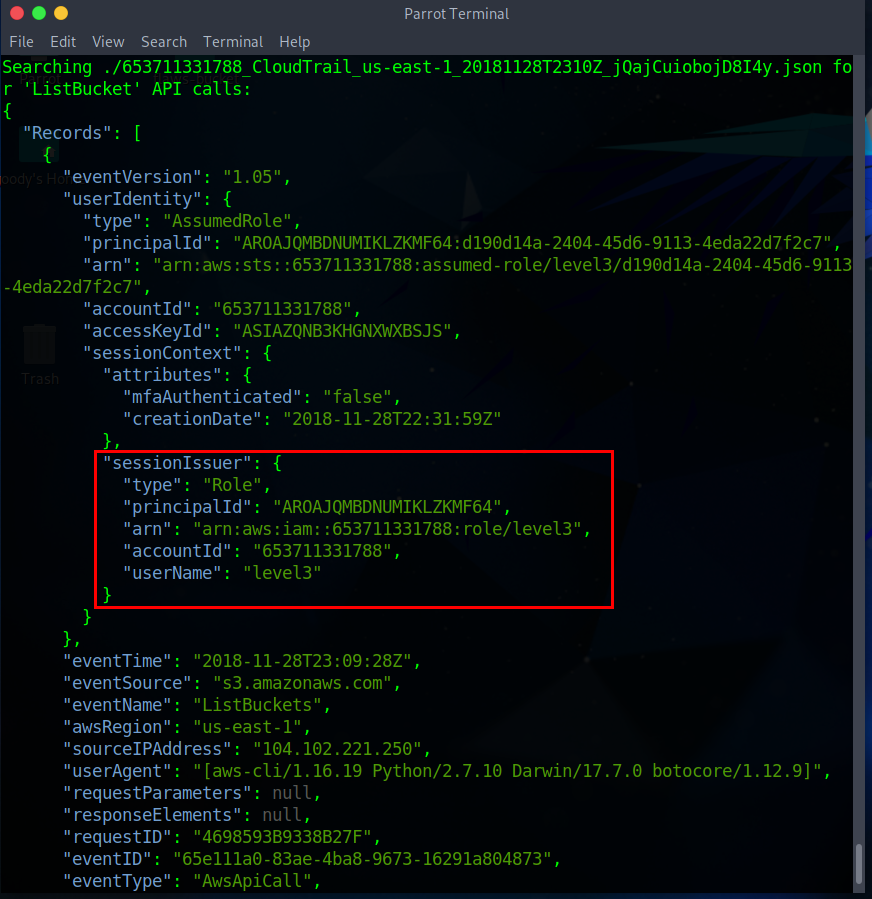
Searching for the 'ListBuckets' API request
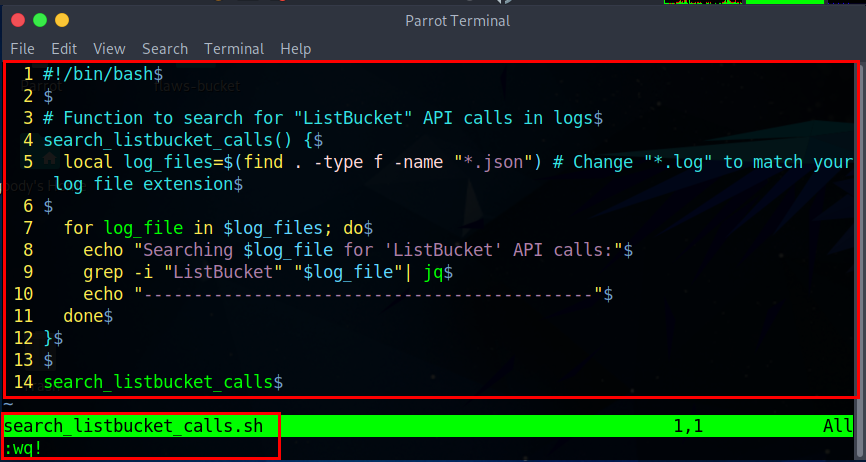
- Create a bash file using the Vim editor. Then, copy and paste the code into the Vim editor

#!/bin/bash

# Function to search for "ListBucket" API calls in logs
search_listbucket_calls() {
  local log_files=$(find . -type f -name "*.json") # Change "*.log" to match your log file extension

  for log_file in $log_files; do
    echo "Searching $log_file for 'ListBucket' API calls:"
    grep -i "ListBucket" "$log_file" | jq
    echo "---------------------------------------------"
  done
}

search_listbucket_calls
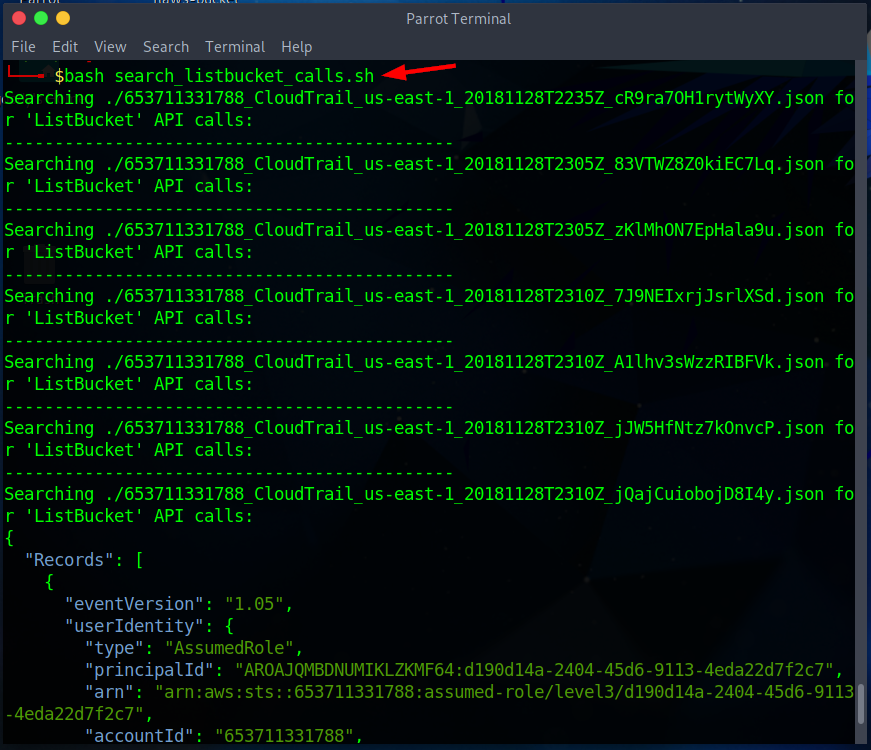
- Run the following command:
# enabling full permission to the bash script
$ chmod +x search_listbucket_calls.sh

# command to run bash script
$ bash search_listbucket_calls.sh
Searching for the first request issued by “level 1” user
- Create a bash file using the Vim editor. Then, copy and paste the code into the Vim editor.
$ vim search_level1_events.sh

#!/bin/bash

# Function to search for eventName "level1" in logs
search_level1_events() {
  local log_files=$(find . -type f -name "*.json") # Change "*.log" to match your log file extension

  for log_file in $log_files; do
    echo "Searching $log_file for eventName 'level1':"
    grep -i "eventName.*level1" "$log_file" | jq
    echo "---------------------------------------------"
  done
}

search_level1_events
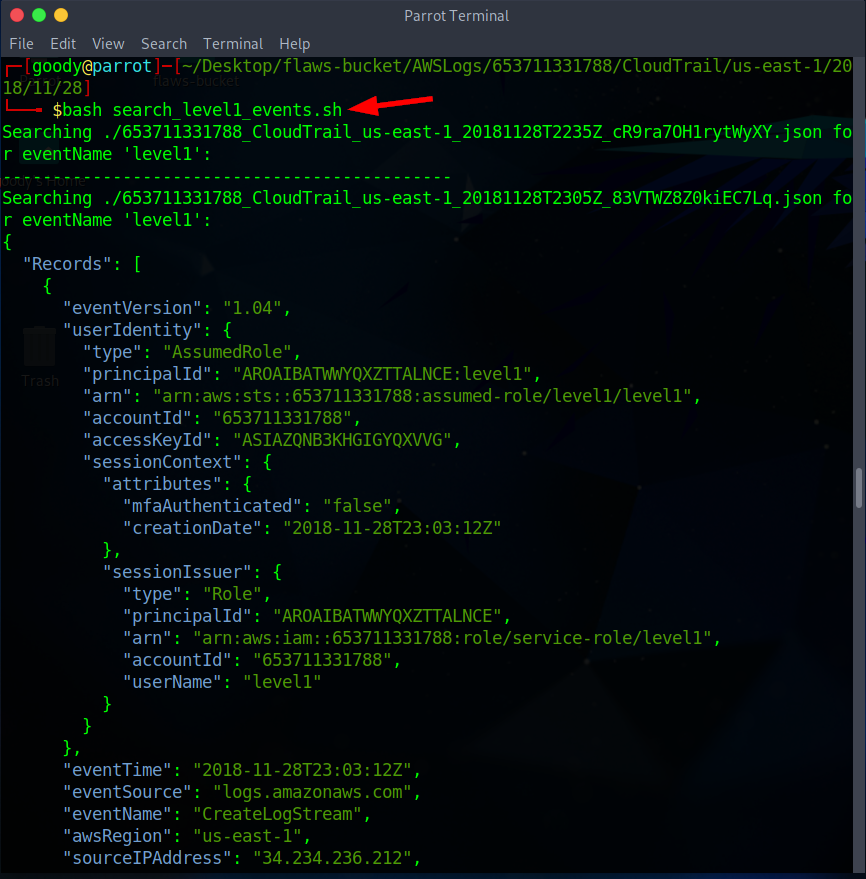
• Run the following command:
# enabling full permission to the bash script
$ chmod +x search_level1_events.sh

# command to run bash script
$ bash search_level1_events.sh

Reference
- Video by CyberWox: AWS Incident Response using CloudTrail Logs
Subscribe to my newsletter
Read articles from Goodycyb directly inside your inbox. Subscribe to the newsletter, and don't miss out.
Written by

Goodycyb
Goodycyb
Hey there! 👋🏾 I'm Goody, a Cloud Threat Researcher by Day 🌞 and a Cloud Security Content Engineer by Night🌜. Join me on my journey as I explore the realm of Threat Detection in Cloud Security.