OpenMediaVault Setup & Jellyfin Enhancement
 Pemba Tshering Tamang
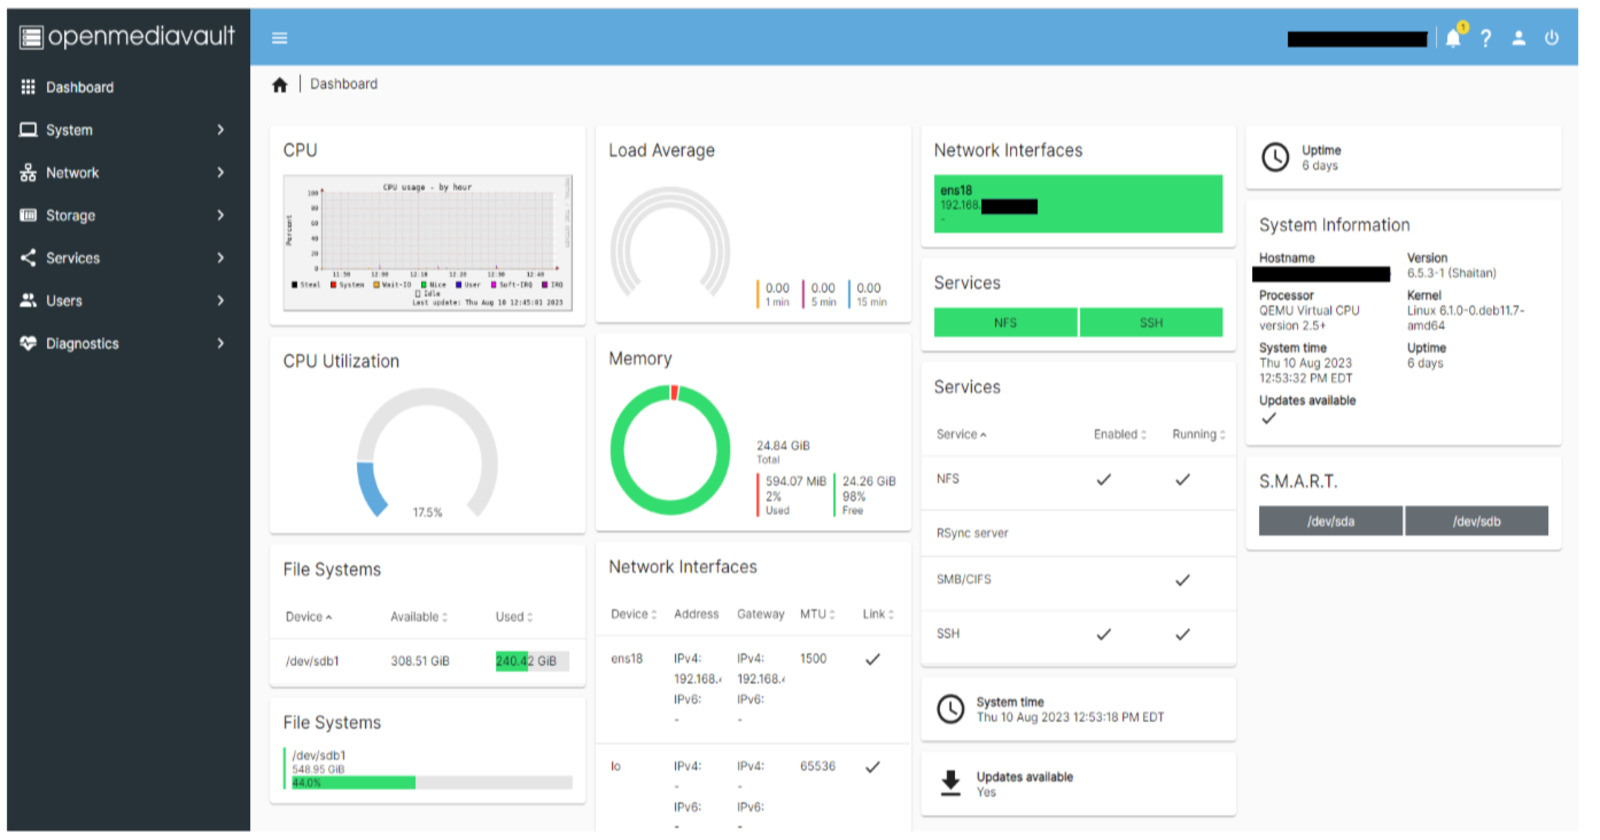
In a world where our lives are interwoven with digital content, having a robust storage solution is paramount. Whether you're navigating the terrain of Proxmox, VMware, or any other platform, this blog is your compass to creating a seamless media kingdom. Our journey begins with a foundation that transcends platforms – setting up OpenMediaVault (OMV) on a virtual machine (VM).
Hold tight, because this guide's versatility extends beyond the initial setup. It doesn't matter if you're a Proxmox enthusiast or prefer the realm of VMware – our guidance encompasses it all. And there's more – if you're already immersed in configuring your Jellyfin media server, a tailor-made guide awaits you at https://tamangpemba.hashnode.dev/home-media-server-jellyfin.
As we embark on this cross-platform journey, rest assured that the principles remain constant across different environments. From initiating a fresh VM with the OpenMediaVault ISO to the art of configuring NFS, this guide is your map. And when we talk about configuring NFS, it's not just about theory – we're putting it into practice.
As you delve into these words, you'll discover that knowledge knows no boundaries. It's time to create your own media haven, where content flows effortlessly and is accessible at your fingertips. Join us on this universal odyssey as we master OpenMediaVault, Jellyfin, and the art of crafting a media sanctuary, regardless of the platform you call home.
Let's begin this journey with an exciting twist – from downloading the OpenMediaVault ISO to creating a virtual machine (VM) using that ISO, and then diving straight into providing NFS. Let's roll up our sleeves and explore step by step:
Step 1: Downloading the OpenMediaVault ISO
Click to Access the OpenMediaVault ISO Installation Link
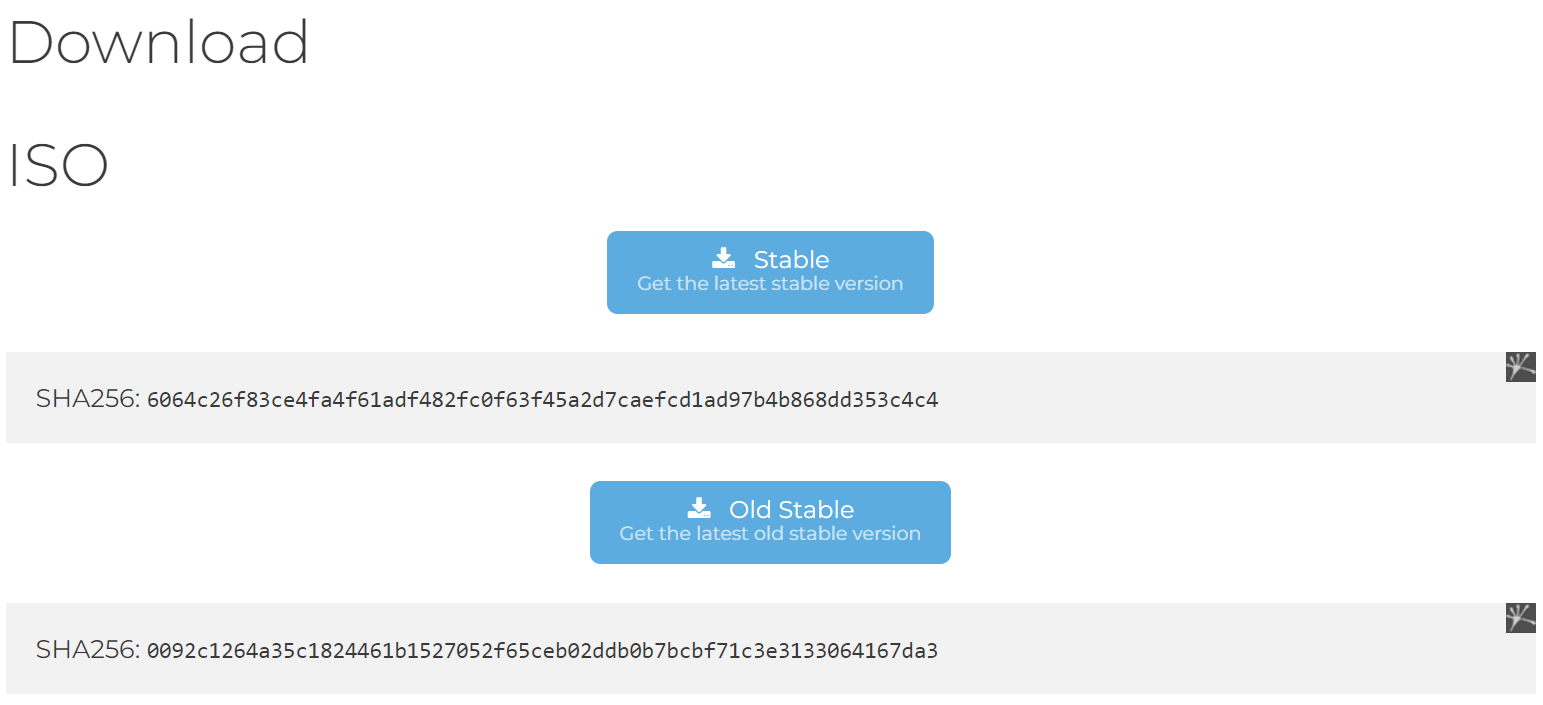
Step 2: Create a VM with the Downloaded ISO
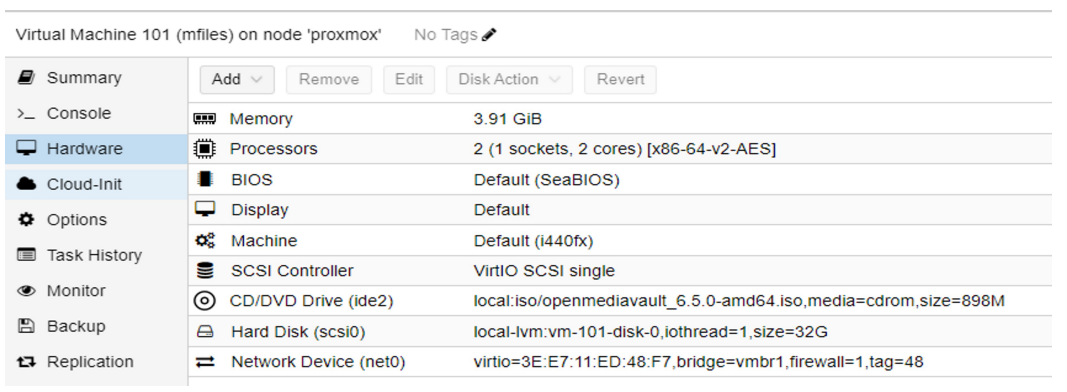
Note: When creating your VM, choose the downloaded OpenMediaVault ISO as the installation source.
Step 3: Rebooting the VM after Installation

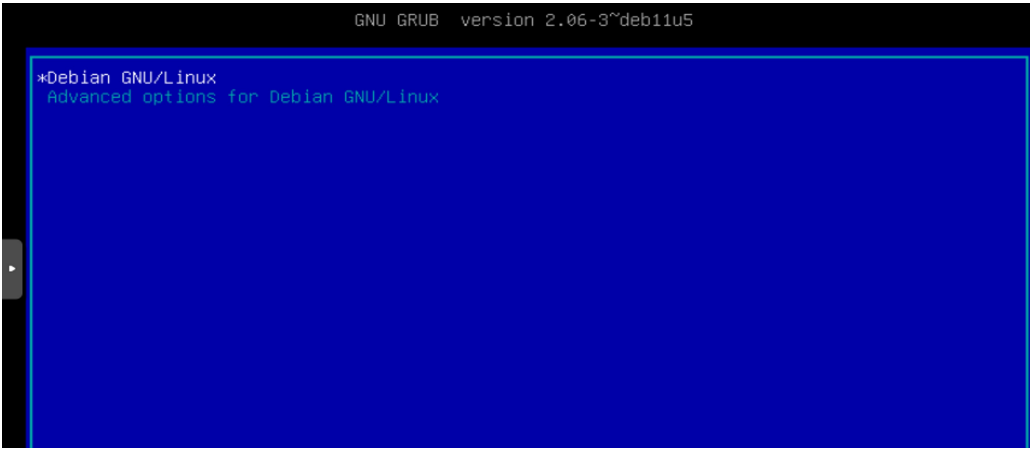
Step 4: Logging Into OpenMediaVault
Username: root, Password: The one you set during the OS installation.

Note: To access your OpenMediaVault system from a web browser,
http://your_server_IP_address E.g. http://192.168.1.100
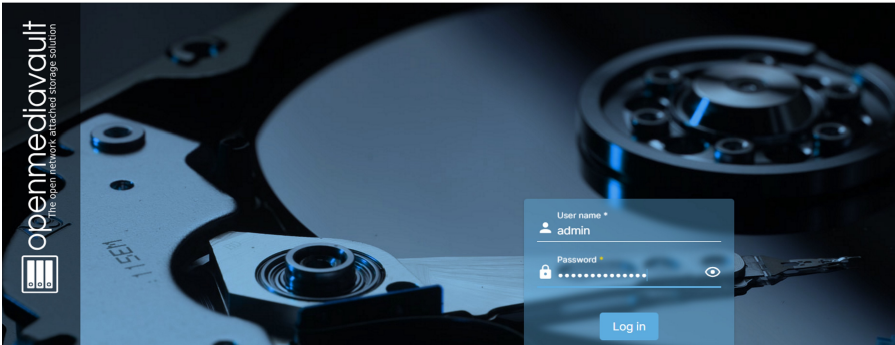
Default Username: admin and Default Password: openmediavault

To change the admin password, click on the people icon on the right side!

And there you have it – this is how OpenMediaVault is set up!
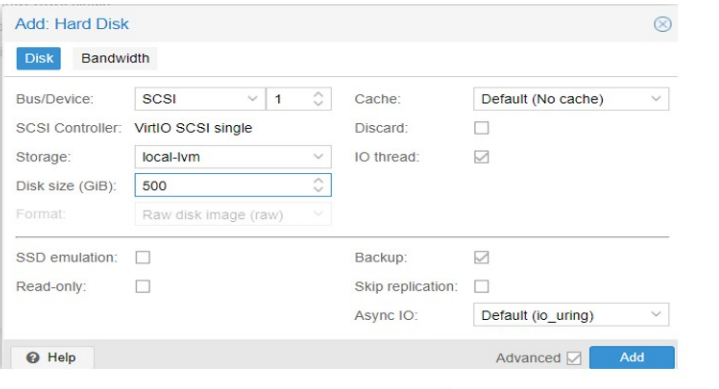
Note:- To expand your capabilities and offer services like NFS, FTP, and SSH, you'll need to introduce extra storage on your server!
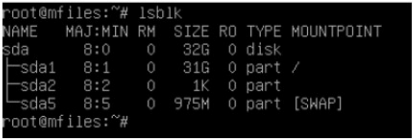
Step 5: Adding an Additional Disk
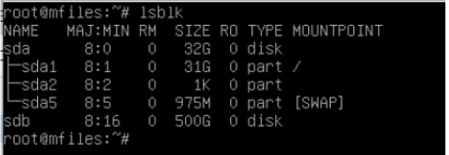
Step 6: Assigning Filesystem to Disk
To make a disk usable for storage, you need to assign a filesystem. This can be done using the command-line interface (CLI) or the OpenMediaVault GUI. Here's how I'm giving an ext4 filesystem using the GUI method:

Creating file system!

To Verify!

Here, You can give tags and set a threshold as well!

Click on Apply (Tick) bottom.


Step 7: Sharing Storage via NFS
Click on Services ---> NFS ---> Shares ---> Create (+)


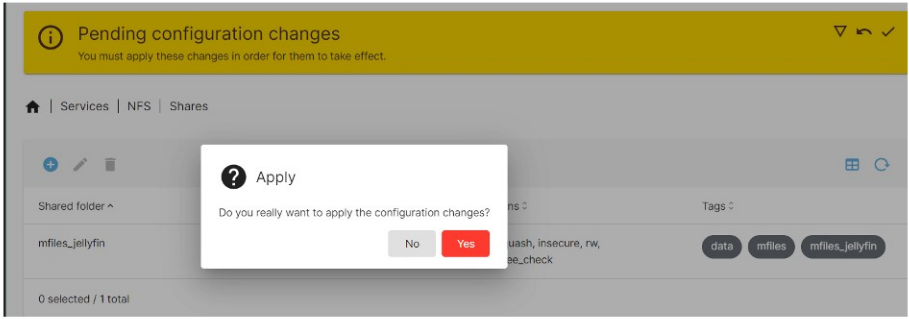
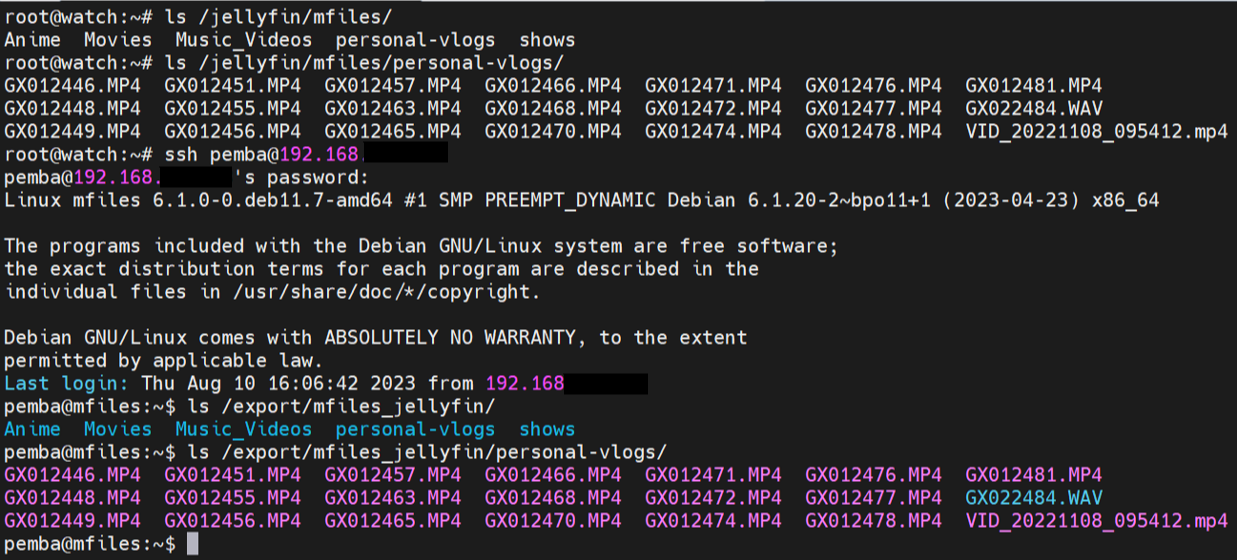
Note:- When you follow the steps to create an NFS share, OpenMediaVault will automatically generate a directory in the /export location and update the /etc/exports file accordingly. To verify these changes, you can access the console or terminal.

Here's the comprehensive guide on configuring OpenMediaVault for NFS sharing. Now, to access the shared content from a remote machine (like Jellyfin), follow these steps!
Step 8: Receiving Shared NFS from Remote Machine
From the remote server, You can verify NFS shares by: showmount -e server_IP

Step 9: Installing NFS-Common Packages (If Not Present)

Note:- If you're attempting to mount an NFS share on a Proxmox container, it's crucial to ensure that the container is privileged. View from the node, not from Container! If your container displays unprivileged:1 Power off the container and edit the file to change unprivileged: 1 to unprivileged: 0

Ensure that the mount.nfs command is owned by the root user. If it is owned by a different user, change the ownership to root for both the user and the group. This adjustment helps maintain proper permissions and functionality.

Step 10: Make NFS Mount Entry in /etc/fstab for permanent!

Step 11: Finalizing NFS Mount and Verification

Finally, the setup process is complete. You can now upload your content to the NFS server's designated location, and it will automatically be mounted on the remote server as well. This efficient sharing mechanism ensures easy access to your media files, enhancing your media server experience.
In conclusion, this guide empowers you to set up OpenMediaVault, configure NFS shares, and seamlessly integrate them with remote devices. By following these steps, you establish a versatile media-sharing infrastructure spanning platforms. Manage media, host a Jellyfin server, or collaborate remotely with OpenMediaVault and NFS. Embrace newfound flexibility, accessing your content across your network. This guide equips you with essential tools for a resilient, user-friendly media ecosystem. OpenMediaVault and NFS simplify content sharing, elevating your media experience. So go ahead, dive into your media haven and enjoy the seamless, boundaryless world you've created. Happy sharing and happy exploring!
Thank you for embarking on this journey with us!
Subscribe to my newsletter
Read articles from Pemba Tshering Tamang directly inside your inbox. Subscribe to the newsletter, and don't miss out.
Written by

Pemba Tshering Tamang
Pemba Tshering Tamang
Linux SysAdmin | Red Hat Certified | DevOps Enthusiast 🐧 Managing & Optimizing Linux Systems | 🚀 Embracing the Latest Tech Trends Passionate about efficiency, I love sharing knowledge to empower others. RHCSA, RHCE, and eager to learn. Let's connect and grow together! 💻🔧🌟 #TechEnthusiast #Linux #DevOps #KnowledgeSharing