Setting up Kubernetes using the Kubeadm tool
 Dinesh Jagdish Verma
Pre-requisites:
Two machines running on Ubuntu 20.04.
2 GiB or more of RAM per machine.
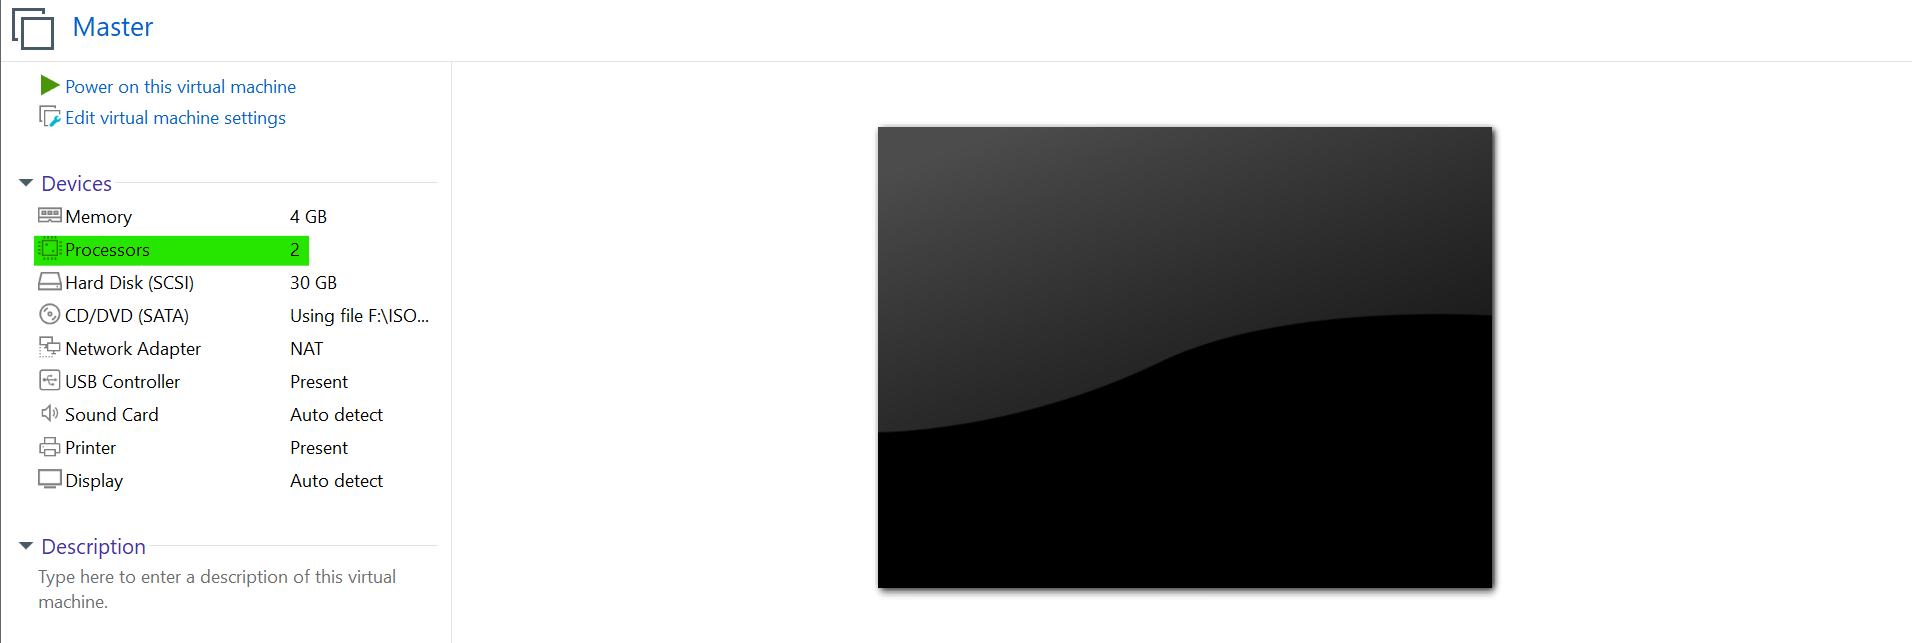
At least 2 CPUs on the machine that you use as a control-plane node.
Full network connectivity among all machines in the cluster. You can use either a public or a private network.
Turn off the swap and firewall of all nodes.
Forwarding IPv4 and letting iptables see bridged traffic
Execute the below-mentioned instructions:
cat <<EOF | sudo tee /etc/modules-load.d/k8s.conf
overlay
br_netfilter
EOF

sudo modprobe overlay
sudo modprobe br_netfilter

# sysctl params required by setup, params persist across reboots
cat <<EOF | sudo tee /etc/sysctl.d/k8s.conf
net.bridge.bridge-nf-call-iptables  = 1
net.bridge.bridge-nf-call-ip6tables = 1
net.ipv4.ip_forward                 = 1
EOF

# Apply sysctl params without reboot
sudo sysctl --system
Installing docker(CRI)
We will use containerd as container runtime so we have to install the docker first because docker uses containerd as the container runtime.
# Run as superuser/root user
apt-get update
apt install curl vim -y
curl -fsSL https://get.docker.com -o get-docker.sh
sh get-docker.sh
systemctl restart docker
systemctl enable docker
sed -i 's/disabled/enable/' /etc/containerd/config.toml #this will change the socket settings
sed -i 's/cri/containerd/' /etc/containerd/config.toml  # to use containerd as container runtime
systemctl restart docker
systemctl restart containerd
Downloading the required Kubernetes configuration
Follow the below steps on both master and worker nodes with superuser privilege
Update the apt package index and install packages needed to use the Kubernetes apt repository:
 sudo apt-get update
 sudo apt-get install -y apt-transport-https ca-certificates curl
Download the Google Cloud public signing key:
curl -fsSL https://dl.k8s.io/apt/doc/apt-key.gpg | sudo gpg --dearmor -o /etc/apt/keyrings/kubernetes-archive-keyring.gpgAdd the Kubernetes apt repository:
echo "deb [signed-by=/etc/apt/keyrings/kubernetes-archive-keyring.gpg] https://apt.kubernetes.io/ kubernetes-xenial main" | sudo tee /etc/apt/sources.list.d/kubernetes.listUpdate the apt package index, install kubelet, kubeadm and kubectl, and pin their version:
 sudo apt-get update
 sudo apt-get install -y kubelet kubeadm kubectl
Setting up Kubernetes Cluster
Control-plane configuration

Master / Control-plane node should at least have 2vcpu
Initialise kubeadm
sudo kubeadm initTo make kubectl work for your non-root user, run these commands, which are also part of the kubeadm init output:
 mkdir -p $HOME/.kube
 sudo cp -i /etc/kubernetes/admin.conf $HOME/.kube/config
 sudo chown $(id -u):$(id -g) $HOME/.kube/config
Alternatively, if you are the root user, you can run:
export KUBECONFIG=/etc/kubernetes/admin.conf
Setting up Weave Network CNI.
This step should be done on the master.
Use
kubectlto apply the Weave Network CNI configuration from the specified URL. The Weave Network CNI enables efficient communication between containers running on different nodes within the Kubernetes cluster.kubectl apply -f https://github.com/weaveworks/weave/releases/download/v2.8.1/weave-daemonset-k8s.yaml
Generate join token for worker node
Generate the token that we will use to join a worker node
kubeadm token create --print-join-commandCopy the output of this command as we will be using this command to join another node as a worker node to the cluster.
Worker node configuration
Log in as the root user and paste the copied cmd from the master node
kubeadm join 192.168.217.133:6443 --token deuivu.3n5m19cbgbjtbmvj --discovery-token-ca-cert-hash sha256:c15d409fdd80f7e91efca3205614e09ef5ec24ba1ec79d9cd29f024964f8c472
And our Kubernetes cluster is up and running
Creating a sample deployment using image docker.io/httpd
Execute the below command in the master node to create a deployment of httpd
kubectl create deployment mydep1 --image docker.io/httpd --port 80To check the running pods

Curl the output from the pod on terminal

Subscribe to my newsletter
Read articles from Dinesh Jagdish Verma directly inside your inbox. Subscribe to the newsletter, and don't miss out.
Written by

Dinesh Jagdish Verma
Dinesh Jagdish Verma
Passionate about technology and its endless possibilities, I am a BCA graduate who embarked on a journey to explore the world of IT. With a strong foundation in Linux and a keen interest in cloud computing, I delved into the realms of Docker, Podman, and AWS, honing my skills along the way. As a constant learner, I am currently immersing myself in the intricacies of Kubernetes, eager to unlock its full potential for scalable and efficient application deployment. My goal is to leverage this powerful container orchestration platform to streamline DevOps processes and drive seamless digital transformations. With a solid understanding of system administration, containerization, and cloud infrastructure, I am equipped to tackle complex challenges and deliver innovative solutions. I thrive in collaborative environments, leveraging my communication skills to effectively bridge the gap between technical complexities and business objectives. Driven by curiosity and fueled by a growth mindset, I continuously seek out new technologies and industry trends. I am excited to connect with like-minded professionals, exchange knowledge, and contribute to the ever-evolving tech landscape. If you're looking for a dedicated and adaptable IT professional who can navigate the dynamic world of containers, cloud, and beyond, let's connect and embark on a transformative journey together.