Spring Boot for Beginners: A Comprehensive Guide to Getting Started
 Sudharshan Reddy Chennupalle
Introduction:
In the landscape of Java application development, Spring Boot has emerged as a powerful and efficient framework that simplifies the process of building robust and scalable applications. For developers who are new to the world of Spring, Spring Boot embraces a "convention-over-configuration" approach, reducing the need for extensive setup and allowing you to focus on writing code that matters. This guide is your passport to understanding the core concepts of Spring Boot, empowering you to embark on your development journey with confidence.
Step 1: Understanding Spring Boot
Spring Boot is a framework within the larger Spring ecosystem that aims to simplify the development of production-ready applications. It offers a range of features, including embedded web servers, dependency management, automatic configuration, and more. Unlike the traditional Spring framework, Spring Boot eliminates much of the boilerplate code, allowing developers to jump straight into writing business logic.
Step 2: Setting Up Your Development Environment
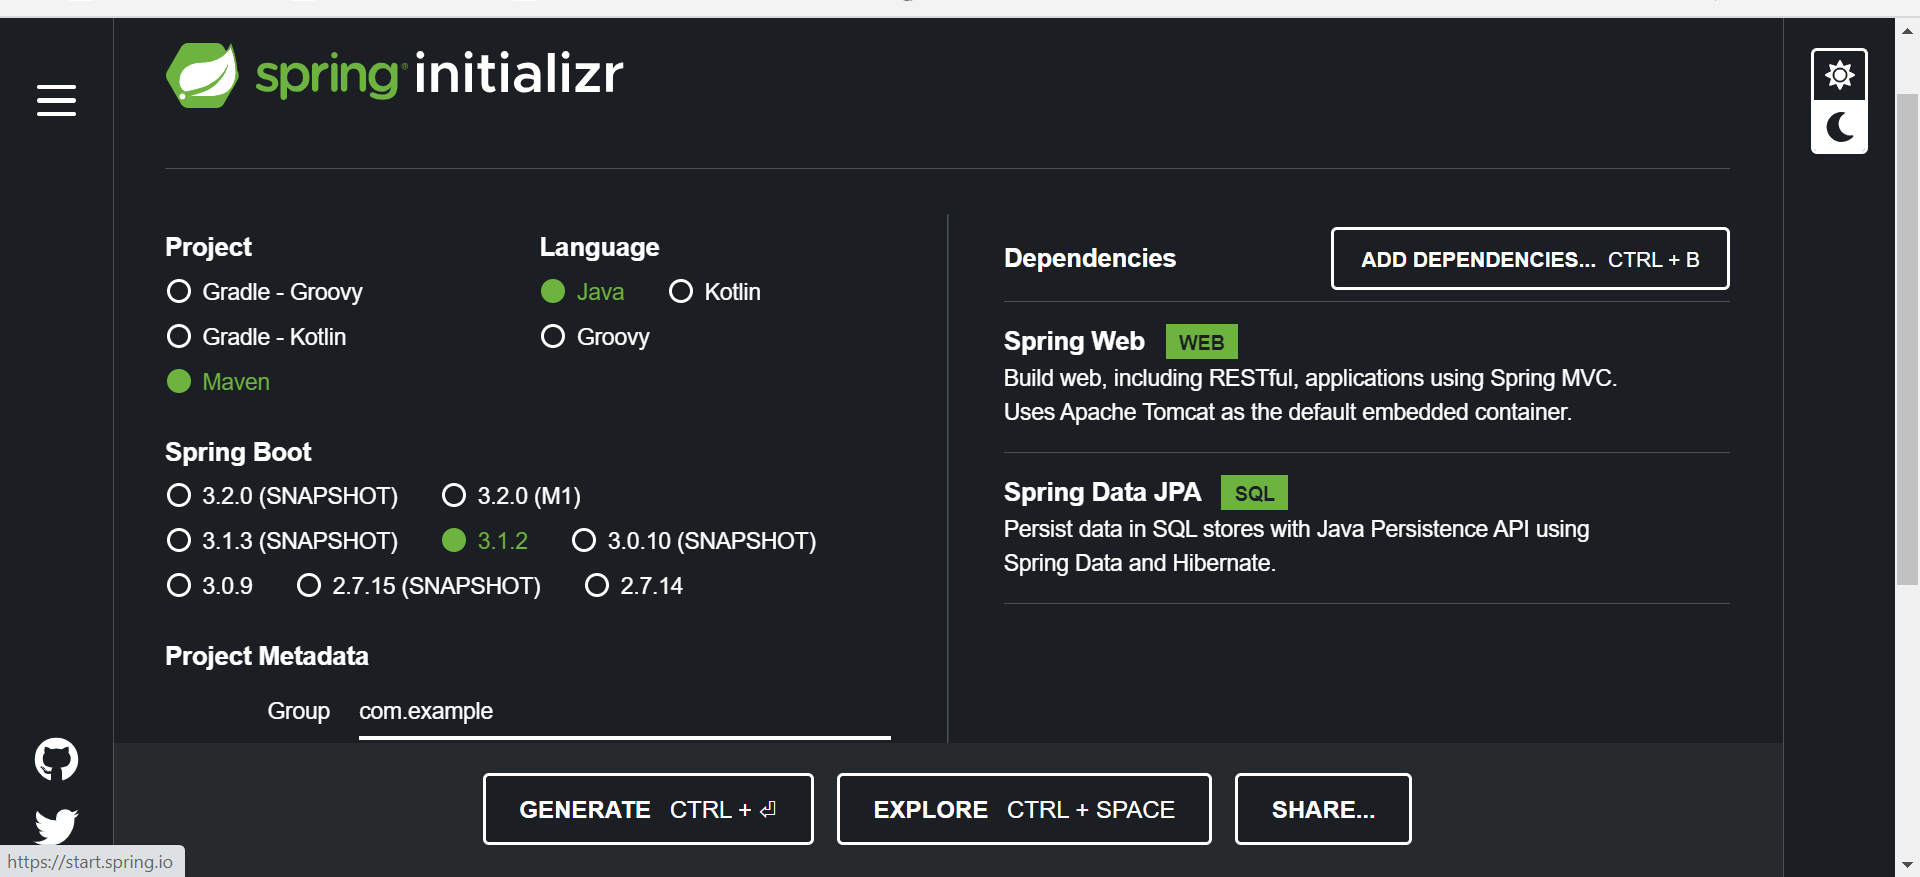
To kickstart your Spring Boot journey, ensure you have Java installed on your machine. You can also opt for an Integrated Development Environment (IDE) like Spring Tool Suite (STS) to streamline your development process. With your environment set up, create your first Spring Boot project effortlessly using Spring Initializr, a web-based tool that generates project structures with pre-configured settings.

public class HelloWorldApplication {
    public static void main(String[] args) {
        SpringApplication.run(HelloWorldApplication.class, args);
    }
}
Step 3: Creating a Simple Spring Boot Application
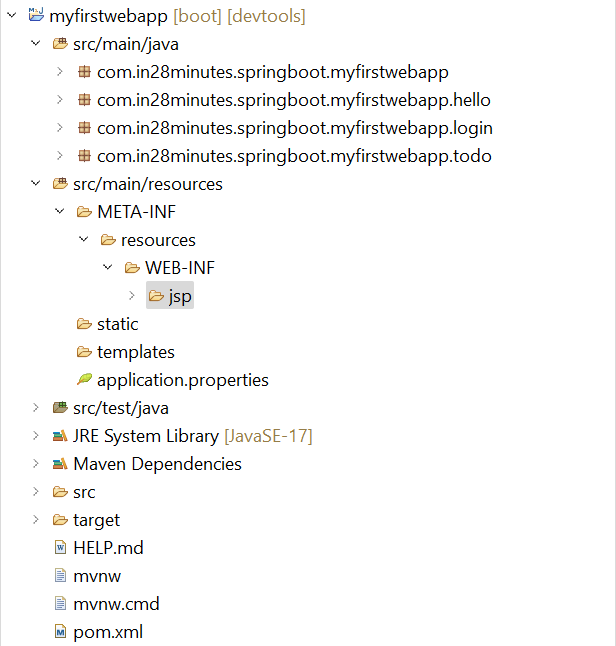
Let's get hands-on by building a "Hello, Spring Boot!" application. You'll explore the project structure, comprising the main application class, configuration files, and test classes. By using annotations like @SpringBootApplication, you'll understand how Spring Boot auto-configures essential components, making development a breeze.
Spring Boot Project Structure: 👇

@SpringBootApplication
public class HelloWorldApplication {
    public static void main(String[] args) {
        SpringApplication.run(HelloWorldApplication.class, args);
    }
}
Step 4: Dependency Management with Spring Boot
Spring Boot embraces a "starter" concept, where dependencies are managed through starter packs. These starters provide a curated set of dependencies tailored to specific use cases, such as web development or data access. Learn how to include starters in your project and use either Maven or Gradle as your build tool.
<dependency>
    <groupId>org.springframework.boot</groupId>
    <artifactId>spring-boot-starter-web</artifactId>
</dependency>
Step 5: Building RESTful Web Services
The Representational State Transfer (REST) architecture is at the heart of modern web development. Discover how to create a RESTful controller to handle HTTP requests and responses. Through annotations like @RestController and @RequestMapping, you'll construct APIs that can perform CRUD (Create, Read, Update, Delete) operations on resources.
@RestController
@RequestMapping("/api")
public class UserController {
    // Controller methods for handling REST endpoints
}
Step 6: Working with Data
Data access is a pivotal aspect of most applications. Spring Boot's integration with Spring Data JPA allows you to interact with relational databases seamlessly. Learn how to set up a database connection, define entities, and perform database operations using Spring Boot's built-in functionalities.
@Entity
public class User {
    @Id
    @GeneratedValue(strategy = GenerationType.IDENTITY)
    private Long id;

    private String username;
    private String email;

    // Getters and setters
}
Step 7: Thymeleaf Templating
While REST APIs serve as a foundation for backend development, you'll also explore Thymeleaf, a powerful templating engine for server-side rendering. Integrate Thymeleaf into your project to create dynamic web pages that seamlessly blend data with HTML templates.
<!DOCTYPE html>
<html xmlns:th="http://www.thymeleaf.org">
<head>
    <title>Thymeleaf Example</title>
</head>
<body>
    <h1 th:text="${message}">Hello, Thymeleaf!</h1>
</body>
</html>
Step 8: Handling User Authentication and Security
Security is of paramount importance in application development. Walk through the process of securing your Spring Boot application by implementing user authentication and authorization. Utilize Spring Security to manage user roles, permissions, and login functionality.
@Configuration
@EnableWebSecurity
public class SecurityConfig extends WebSecurityConfigurerAdapter {
    // Security configuration methods
}
Step 9: Logging and Debugging
Effective logging and debugging practices are essential for troubleshooting and maintaining your application. Configure logging levels, integrate logging frameworks like Log4j or SLF4J, and harness debugging tools to diagnose and resolve issues efficiently.
import org.slf4j.Logger;
import org.slf4j.LoggerFactory;

public class MyService {
    private static final Logger logger = LoggerFactory.getLogger(MyService.class);

    public void doSomething() {
        logger.debug("Doing something...");
    }
}
Step 10: Testing Your Application
Ensure the reliability of your codebase by writing comprehensive unit and integration tests. With tools like JUnit and Mockito, you'll learn how to create test cases that validate the behaviour of your application components.
import org.junit.jupiter.api.Test;
import org.mockito.Mock;
import static org.mockito.Mockito.when;

public class MyServiceTest {
    @Mock
    private MyRepository myRepository;

    @Test
    public void testSomething() {
        when(myRepository.getData()).thenReturn("Mocked Data");
        // Test your service using the mocked repository
    }
}
Step 11: Packaging and Deploying Your Application
Ready to share your masterpiece with the world? Discover how to package your Spring Boot application into an executable JAR or WAR files. Learn deployment strategies for both local environments and cloud platforms like Heroku or AWS.
$ mvn package
$ java -jar target/my-application.jar
Step 12: Monitoring and Management
Monitoring the health and performance of your application is crucial. Spring Boot Actuator offers a suite of production-ready features, including health checks, metrics, and application insights. Learn how to integrate Actuator into your project for effective monitoring.
# application.properties
management.endpoints.web.exposure.include=*
Step 13: Advanced Topics and Next Steps
As you gain proficiency, delve into advanced topics like Spring Boot Auto-Configuration, where you'll explore how Spring Boot magically configures beans based on classpath contents. Customize application properties, explore additional starters, and keep abreast of Spring Boot's evolving ecosystem.
Conclusion
Congratulations! You've embarked on an enlightening journey through the realm of Spring Boot. From setting up your environment to mastering RESTful services, data access, security, and deployment, you've gained a solid foundation in Spring Boot development. Remember, your learning doesn't stop here—continuously explore, experiment, and build to refine your skills. As you continue to unravel the endless possibilities that Spring Boot offers, you're well-equipped to shape the future of your Java applications. Happy coding!
Subscribe to my newsletter
Read articles from Sudharshan Reddy Chennupalle directly inside your inbox. Subscribe to the newsletter, and don't miss out.
Written by

Sudharshan Reddy Chennupalle
Sudharshan Reddy Chennupalle
I am Sudharshan Reddy Chennupalle, an accomplished software developer proficient in Core Java, SQL, Spring Boot and Postgresql. Join forces with me to bring your vision to fruition!