How to create a windows Virtual Machine and Access it
 Damilola Awojoodu
Create the Virtual Machine:
Below are the simple steps in setting up a virtual machine.
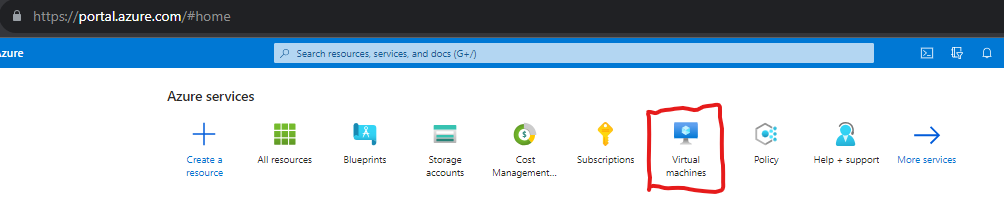
- Access the Azure portal home page and click on virtual machines.
Click on Create Virtual Machine and fill all the required tab below.
Create a resource group or use existing resource group from the drop down.
Give the Virtual machine a name and ensure it is unique.
Select a region and it is always advisable to consider region proximity and cost.
Select the image required. since we are creating a windows VM, select windows 10 pro
Select the size you require.

To set administrator account of the virtual machine, create a username and password.
Note: You need to enable inbound port RDP (Remote Desktop Protocol ) in other to be able to access the virtual machine.
Then create the VM.
Access the virtual Machine:
click connect in the virtual machine.

- Select the Native RDF file and download the file.
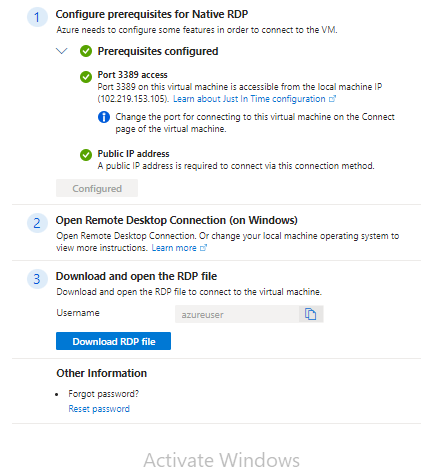
- Click on the downloaded RDP file and connect.
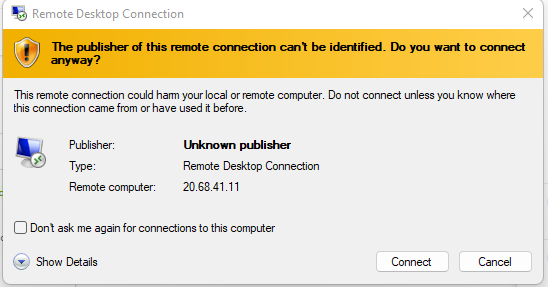
Input your username and password used when creating the VM.
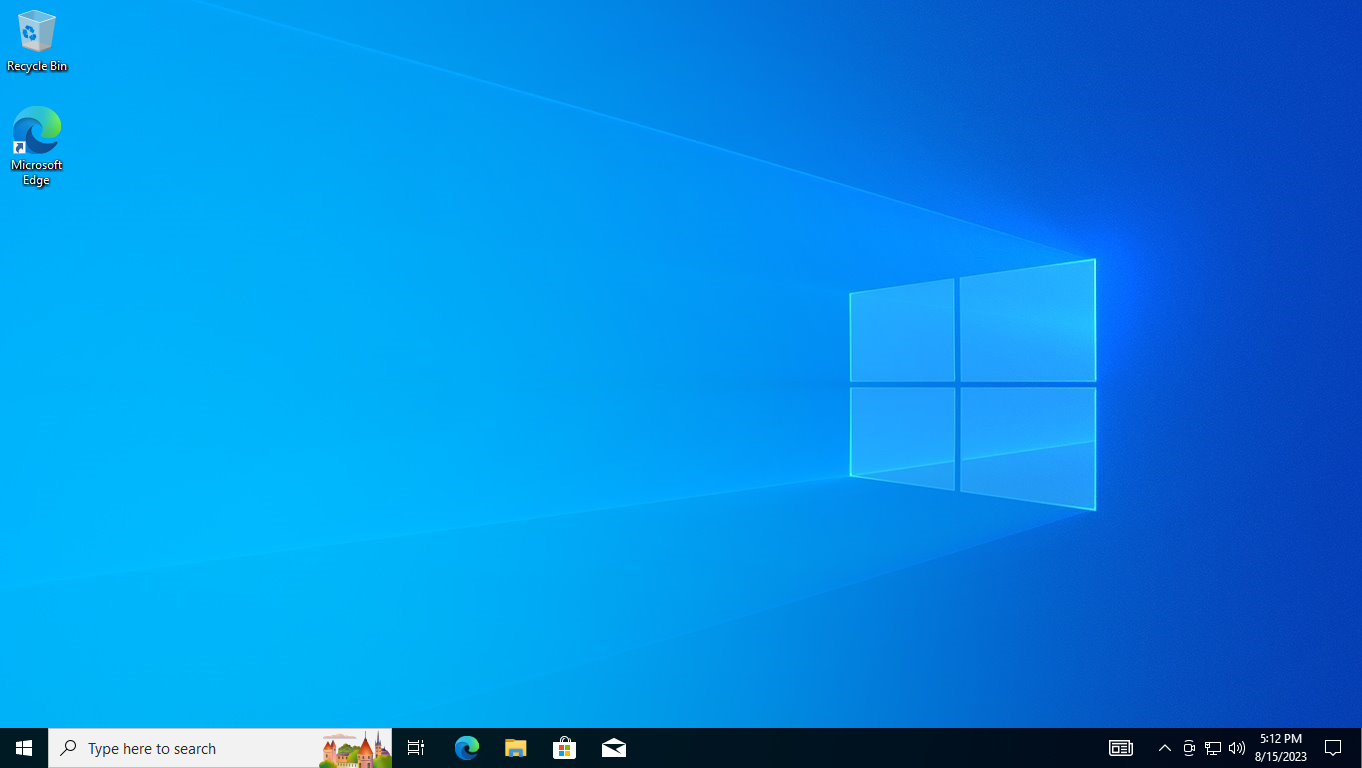
Welcome to the VM.
Subscribe to my newsletter
Read articles from Damilola Awojoodu directly inside your inbox. Subscribe to the newsletter, and don't miss out.
Written by