Exploring Docker Volumes and Networks
 Varun Margam
Welcome to my Docker series blog, where in this blog we will be understanding what are Docker volumes and networks.
📍Docker Volumes
✔Scenario
Imagine you've created a handy to-do list app to manage your daily tasks. You put this app inside a virtual container, which keeps all your tasks safe and organized.
Now, you decide to improve your app. You make changes, create a new version, and put it back in the container. But when you run the updated app, you find all your tasks are gone!
This could be a big problem for large companies that use such apps to store important information. Losing data every time you update an app is a serious issue. It's like having a puzzle that keeps losing pieces whenever you try to make it better.
✔Need for Docker Volumes
As we saw in the above scenario when a containerized program is changed and then you run this updated program inside the container all the data from the previous program is lost.
📝The data stored within the container's files system exists only until the container is running and exists. Once the container is stopped and removed using the docker stop or kill <container_id> and docker rm <container_id> commands respectively then any data stored directly in the container's filesystem will be lost.🖊
We required a method to create a backup of the stored data within the container and store it on a device. This way, if any changes are made or if the container malfunctions, a copy of the data will be available on the device. This copy can then be connected to the new container, ensuring continuity of data even in the face of updates or container issues.
Let's understand Docker volumes by creating a Django to-do web application and storing its data inside the Docker volumes.
✔Definition
Docker Volumes are a link between the container and the device that stores the data from the device to the container as well as stores the data from the container inside the device.
📍Django To-Do Web Application
Step 1: Create a directory named django-app inside docker-projects/

Step 2: Clone this django-todo-cicd GitHub Repository's HTTPS URL inside the django-app directory.

📍Containerizing Django Web App
It contains the Django To-do web application as well as Dockerfile to build and containerize the application.

You can see the content of the Dockerfile using the $cat Dockerfile command or open it in the Vim editor.
Step 3: Build the docker image and run the container from the docker image.
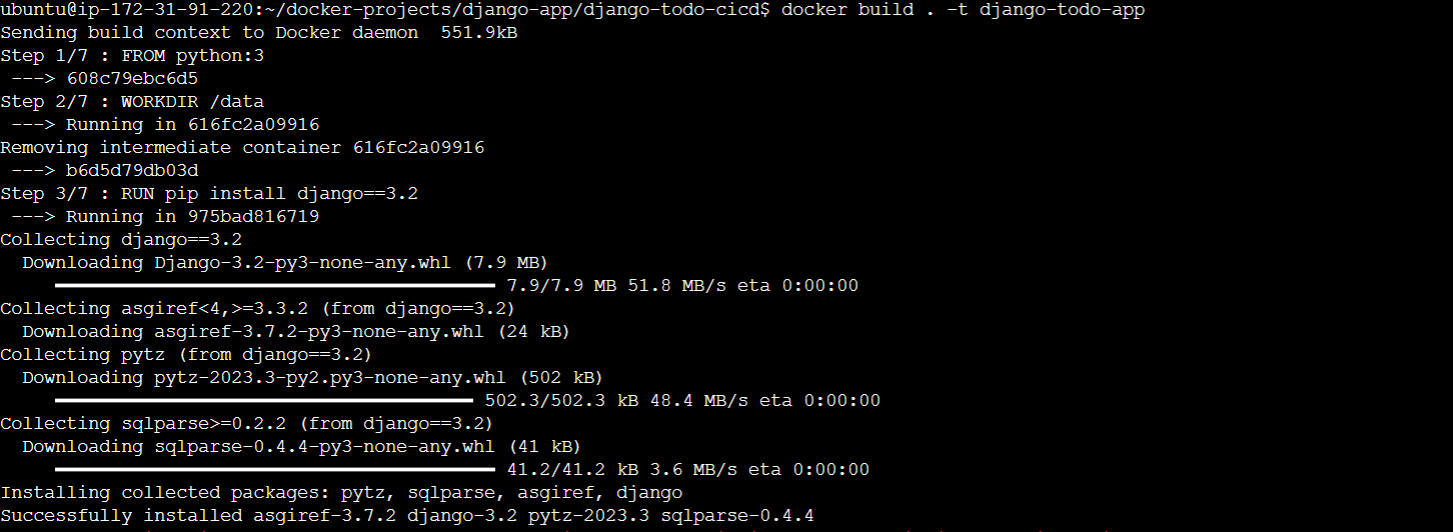
The image has been built:

Create and Run the container from the Docker image

Now, the Django web app has been deployed and is running. You can see this in your browser from the URL <ec2_instance_ip_address>:8000 or https://localhost:8000.
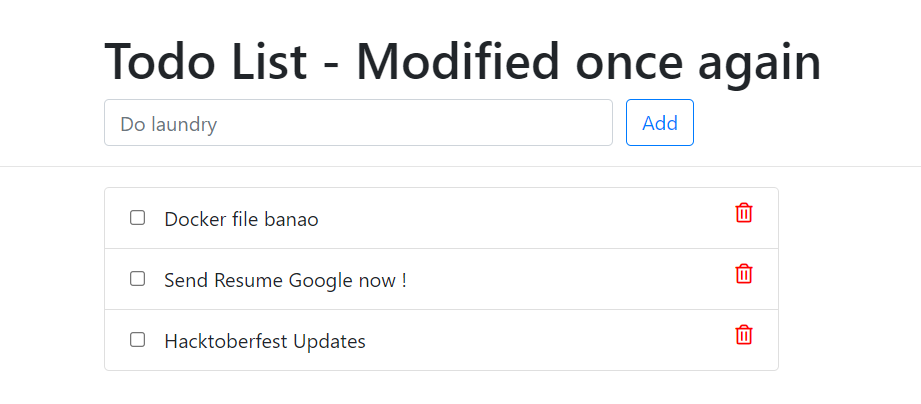
Make sure that if you are using an AWS EC2 instance then add the inbound rule to allow traffic from anywhere to port 8000:

I entered task1, task2, and task3 on my to-do list app.
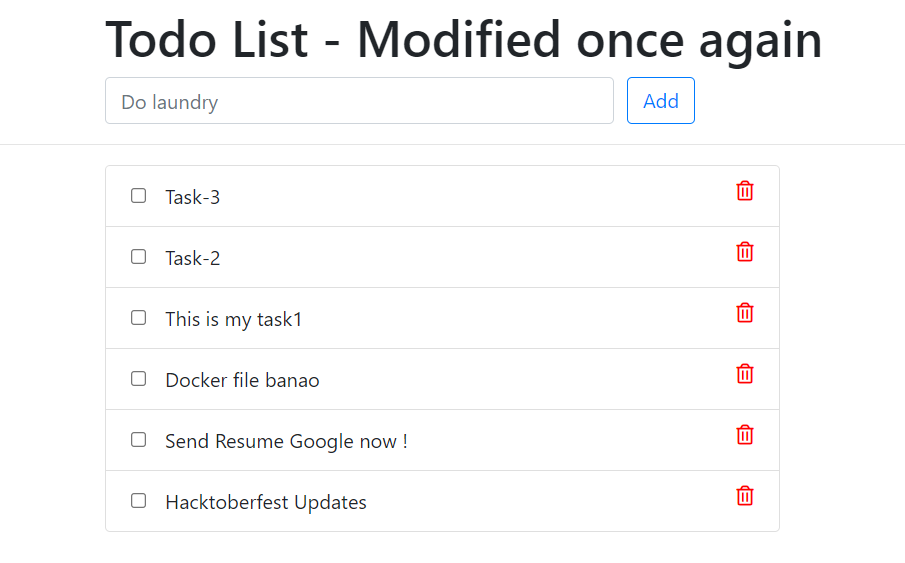
Now, I will kill this running container, remove it and then create a new container from the same image.

You can see in the above image, there are no running containers.
After this, when I see the deployed application running inside the new container the tasks that I entered which were stored inside the previous container are now gone.
Creating a new container from the same image using the command:
$docker run -d -p 8000:8000 django-todo-app:latest
The new running container:
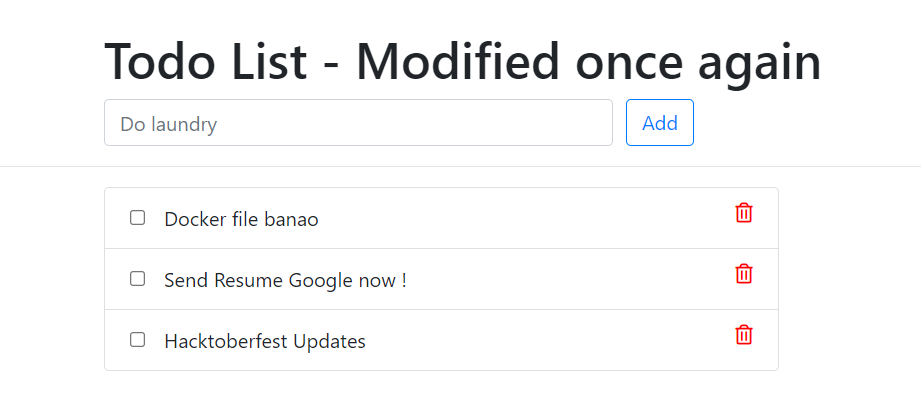
The task1, task2, and task3 that I entered are now gone.
We know that this issue can be solved using Docker volumes so let's create a Docker volume and mount it to this container.
📍Mounting Docker Volumes
Step 1: Create a volumes directory inside docker-projects/ directory:

Step 2: Create a django-todo-app-volume folder inside the volumes/

There are volumes named local that come by default with docker, they can be seen using the command:
$docker volume ls: List all the volumes present in the system.

We want the django-todo-app data to persist in this directory for that we use the command docker volume create <options>
The command to create a volume comes with some options that are necessary to execute the docker volume create command.
$docker volume create --name <volume_name> --opt type=<volume_type> --opt device=<path> --opt o=bind
o=bind: It binds the container and the device i.e. If something is added to the volume that data will also be added to the specified host directory where volume is stored and if there is anything added to the device then it will go to the container. Therefore, two-way communication is established.

After executing the above command you can see the volume for django-todo-app is created:

So now all the data inside the volume will be stored in the device at this location i.e. django-todo-app-volume and vice versa.
But when you do ls inside this django-todo-app-volume directory is empty. This is because we have not mounted this volume to the container.
We know, volume is a link that provides a passage between the container and the device where data can be transferred. We have created that link in our device but we also have to provide this link to the container.
Therefore, we will attach this volume to the container while executing the docker run command.
✔Mounting Docker Volume to the Container
Step 1: Stop/kill and remove the existing running container and then images:
(If you have a lot of images it may take a good amount of disk space)

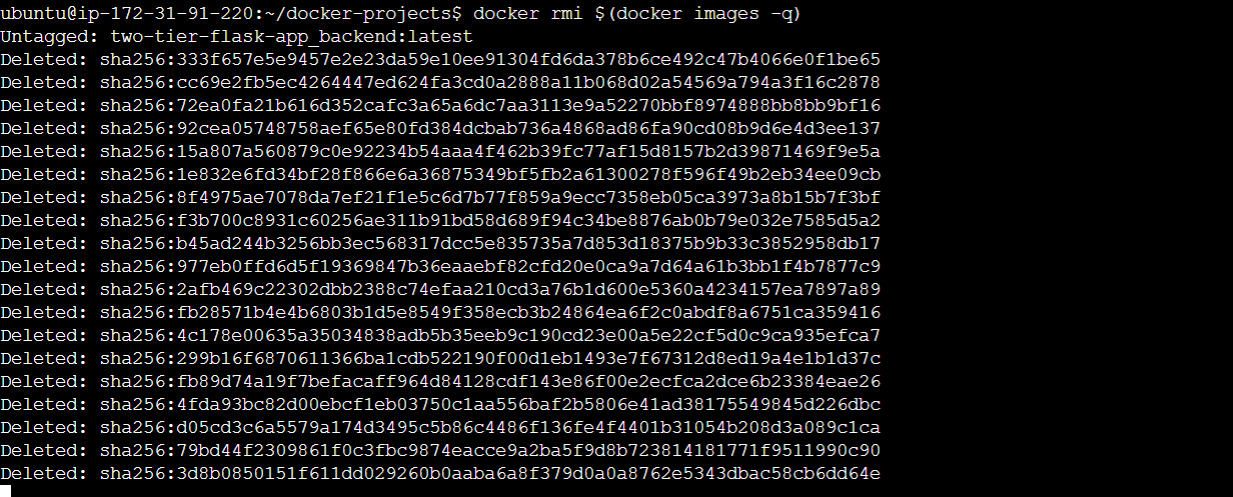
Step 2: After the command docker run -d add the option --mount source=<volume_name>, target=<Working Directory of the container> and then rest of the command as it is:

Now, you can see all the data from the container is inside the django-todo-app-volume directory:

Let's add something inside the container and verify whether that data is getting stored inside this device :
Using docker exec -it command to enter inside the container and create a newfile.txt file and add some content to it :

As you can see, the newfile.txt file that was added inside the /data working directory of the container is now also stored inside the device.
📍Docker Networks
Docker networking is a fundamental aspect of containerization that allows individual containers to communicate with each other and the outside world. Just as a well-organized road network facilitates smooth traffic flow, Docker networking ensures that containers can interact effectively, share data, and collaborate to build complex applications. Let's delve deeper into what Docker networking is, and explore the seven types of Docker networks.
✔What is Docker Networking❓
Docker networking provides a framework for containers to communicate and collaborate, regardless of whether they're running on the same host or distributed across different machines. Containers are isolated environments, and Docker networking offers a way to establish connections between these isolated entities, enabling them to exchange data, services, and information.
When you install docker in your system and see the IP addresses of your system using the command ip address show:

As you can see there is an additional network named docker0 added and the docker containers communicate via this docker0 network. This docker network contains 7 types of networks. Let's explore types of docker networks.
✔Types of Docker Networks
Default Bridge Network:
The default bridge network is created automatically when Docker is installed. Containers connected to this network can communicate with each other on the same host using internal IP addresses.
Suitable for applications where containers need to interact within the same host but need network isolation from the host machine.
Custom Bridge Network
A custom bridge network is created by users to facilitate communication between containers on the same host while maintaining network isolation.
Useful when you want to create a dedicated network for a group of containers to interact with each other
Host Network
Containers in host network mode share the host's networking stack, effectively becoming part of the host's network.
**\**Ideal for high-performance applications where network speed is a priority, but be cautious of potential security concerns.
Macvlan Network
Macvlan assigns a unique MAC address to each container, making them appear as individual devices on the physical network.
Valuable when containers need direct network access, such as running containers that require their IP address on the physical network.
None Network
The none network mode isolates containers from any networking, essentially disabling their network connectivity.
Useful when you want to ensure a container has no network access for security reasons or to prevent external communication.
Overlay Network
Overlay networks connect containers across different hosts, enabling communication between containers on different machines.
Essential for applications distributed across multiple hosts, like microservices-based systems or large-scale applications.
IPVLan Network
IPVLan is a network mode that allows containers to share the same MAC address while having unique IP addresses.
Useful when you want to isolate containers on the same host while providing each container with a distinct IP.
📍Conclusion
Thank you for reading this blog! 📖 Hope you have gained some value.
If you enjoyed this blog and found it helpful, please give it a like 👍, share it with your friends, do share your thoughts, and give me some valuable feedback.😇 Don't forget to follow me for more such blogs! 🌟
📍References
Subscribe to my newsletter
Read articles from Varun Margam directly inside your inbox. Subscribe to the newsletter, and don't miss out.
Written by
