Dockerizing a Django application with Postgres and Pipenv support
 Adeoti Ayodeji
I will walk you through setting up Docker for your applications :). First let us talk about the technologies in the title.
All the stacks...
Ik'zo :fire
Docker
In these evil days, it is imperative for developers to shift their focus to business logic rather than wasting time configuring their application to run on different environments. Members of the average software development team will use different PC brands, operating systems and different environment setup.
It makes sense to have a way to develop and test applications while removing the need for myriad configurations for each environment. This is where Docker comes in. Docker gives you the ability to "containerize" your applications as standalone so they can run anywhere regardless of their external environment, as long as Docker Engine is installed.
With Docker, you can develop on a Windows machine and deploy on an Ubuntu server without concerning yourself with the details how Psycopg2 can be installed for Postgres or how you would set up a database for both development and production.
Why Postgres?
It simply works and it is argurably the most mature, stable, and fully featured relational database out there. As the common saying goes, "You can't go wrong with Postgres", it is the database of choice for Django applications in production.
Now most people would use Sqlite in development and use Postgres in production. I do not recommend this because by using different databases for dev and prod, you run the risk of missing certain bugs that would have been caught in development such as multiple connections to the database. You also miss out on features that would have been verified to work for you, like implementing case-insensitive usernames with native DB support.
So, Postgres. Don't argue with me.
And Pipenv?
Virtual environments are great for isolating your project dependencies from the rest of your machine. Two separate projects on your machine may be using different versions of Django or Pydantic. It is important to have a way to isolate these dependencies for each project so that you can run both projects with ease. This is the work of Pipenv.
Also, as highlighted in an article, Pipenv helps load environmental variables from .env files without needing to install packages like dotenv. It just works, my friend.
Let us begin.
Create a directory for your application:
$ mkdir application && cd $_
This command creates the directory, application while the second part of the command: cd $_ enters the newly created directory.
Pipenv setup
Next, we will install Pipenv if we don't have it:
$ pip3 install pipenv
That should take approximately 12.4 eye winks to complete. With Pipenv installed, we will initialize a virtual environment with Pipenv. Peep the output:
Users-MacBook-Air:application user$ pipenv shell

Creating a virtualenv for this project...
Pipfile: /Users/user/Code/application/Pipfile
Using /opt/homebrew/bin/python3 (3.11.4) to create virtualenv...
⠴ Creating virtual environment...created virtual environment CPython3.11.4.final.0-64 in 412ms
  creator CPython3Posix(dest=/Users/user/.local/share/virtualenvs/application-ZPIAvyIh, clear=False, no_vcs_ignore=False, global=False)
  seeder FromAppData(download=False, pip=bundle, setuptools=bundle, wheel=bundle, via=copy, app_data_dir=/Users/user/Library/Application Support/virtualenv)
    added seed packages: pip==23.2.1, setuptools==68.0.0, wheel==0.40.0
  activators BashActivator,CShellActivator,FishActivator,NushellActivator,PowerShellActivator,PythonActivator

✔ Successfully created virtual environment!
Virtualenv location: /Users/user/.local/share/virtualenvs/application-ZPIAvyIh
Creating a Pipfile for this project...
Launching subshell in virtual environment...

bash-3.2$  . /Users/user/.local/share/virtualenvs/application-ZPIAvyIh/bin/activate
That, is eeet. And we get a virtual environment for free. To verify it works, you will see the directory name in braces like so:
(application) bash-3.2$
At this point, if you inspect the directory, you will see a file, Pipfile with no extensions (the creators are very proud to have not used an extension). This file will contain the name of the dependencies in your project.
With that done, we will install Django:
$ pipenv install django
That should take 3 winks to complete. After installation, you should see a new file, Pipfile.lock . While Pipfile contains the dependency list, this file holds information about the dependency tree and the actual versions of your dependencies. Without this file, on each installation of dependencies from Pipfile, you will get the latest version of the dependencies even if your app depends on a legacy version of the dependency (just like Pydantic split their package into pydantic-core and pydantic-settings).
Both Pipfile.lock and Pipfile should be committed to version control.
Application setup
With Django installed, we can create the application proper:
$ django-admin startproject config .
I know you will retch, LMAO. I will give reasons for this command.
When Django creates a project, aside from the manage.py file, it generates a folder with the same name as what was specified after startproject. This folder generally contains configuration for the application including URL patterns, settings file, wsgi and asgi configurations. It makes more sense for this folder to be named config rather than the name of your application since that would be misleading, hence my use of config.
The period after config is me telling django-admin to use the current directory as the base directory which will yield a file structure like this:
.
config/
    __init__.py
    asgi.py
    settings.py
    wsgi.py
    urls.py
manage.py
Pipfile
Pipfile.lock
Instead of creating an extra folder to house the application which is needless redirection with this file structure:
.
config/
    config/
        __init__.py
        asgi.py
        settings.py
        wsgi.py
        urls.py
    manage.py
Pipfile
Pipfile.lock
Let us confirm the setup worked with the runserver subcommand of Django
(application) bash-3.2$ python manage.py runserver
Watching for file changes with StatReloader
Performing system checks...

System check identified no issues (0 silenced).

You have 18 unapplied migration(s). Your project may not work properly until you apply the migrations for app(s): admin, auth, contenttypes, sessions.
Run 'python manage.py migrate' to apply them.
August 16, 2023 - 10:28:51
Django version 4.2.4, using settings 'config.settings'
Starting development server at http://127.0.0.1:8000/
Quit the server with CONTROL-C.

[16/Aug/2023 10:28:59] "GET / HTTP/1.1" 200 10664
Not Found: /favicon.ico
[16/Aug/2023 10:28:59] "GET /favicon.ico HTTP/1.1" 404 2110
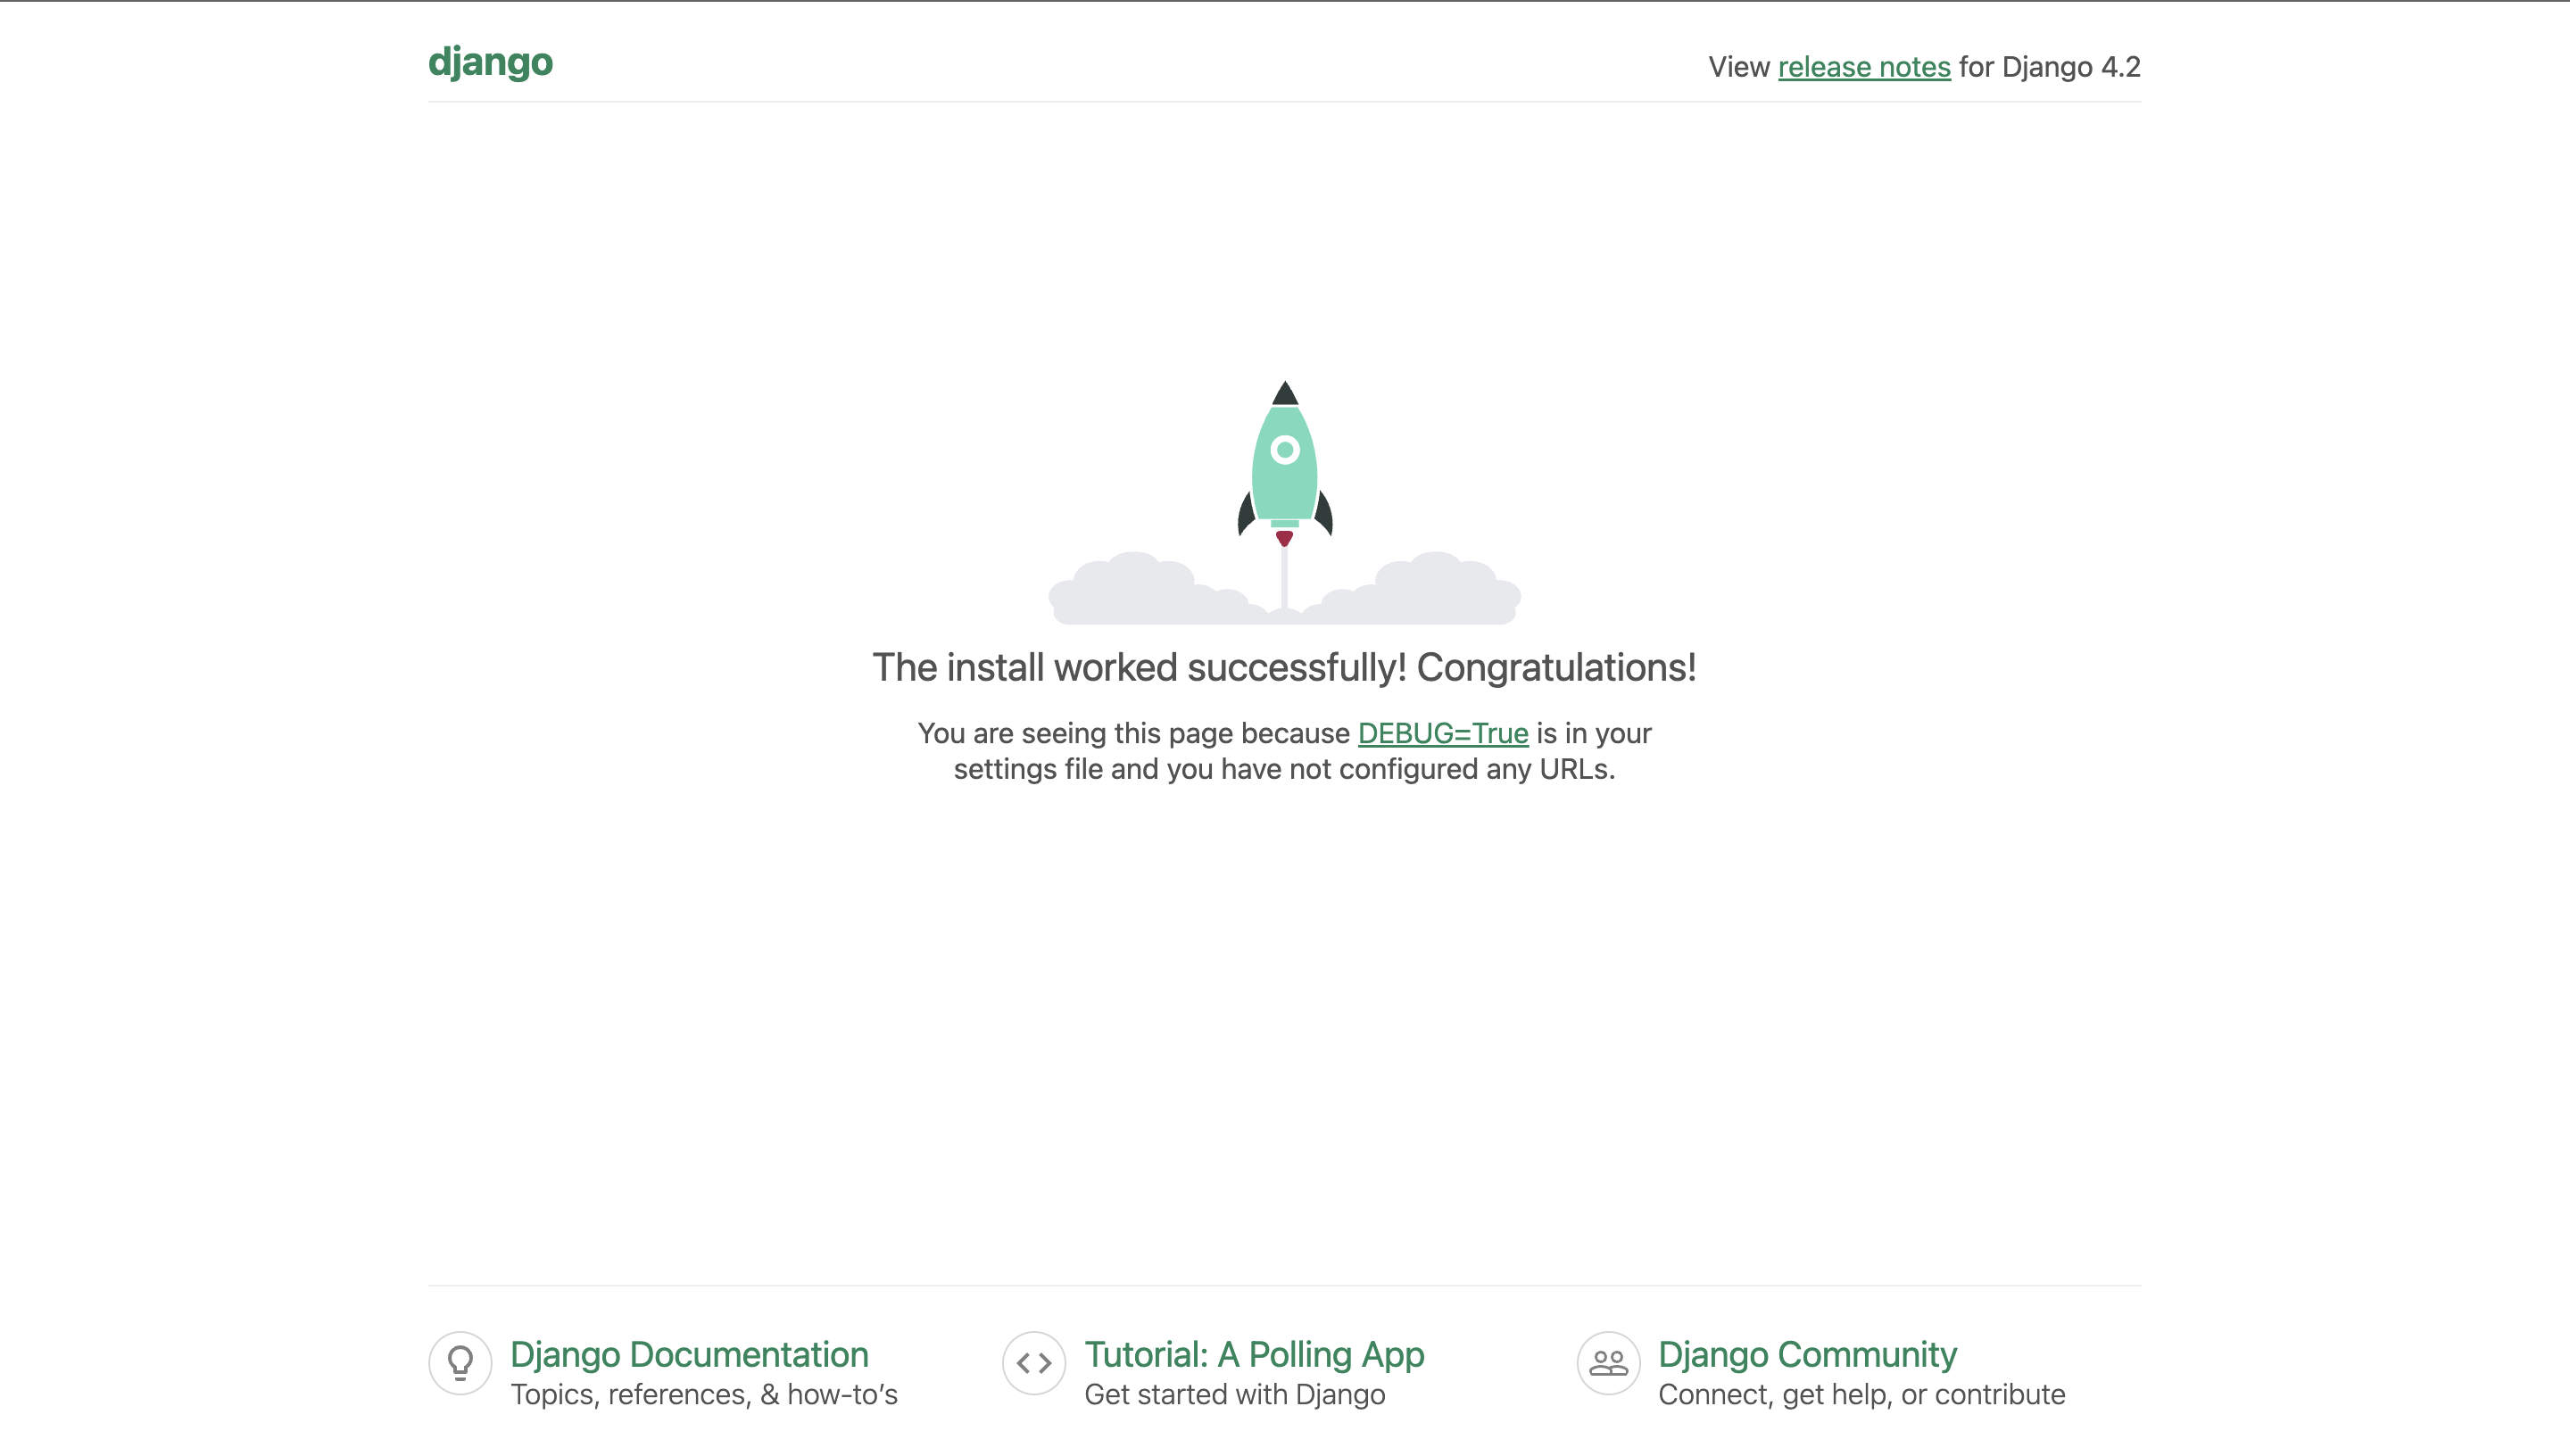
Immediately, we see a db.sqlite3 file created which is the file that serves as the database for the application.
Visit http://localhost:8000 on your browser to see that it works

Remember to stop the server with CTRL + C before moving to the next step.
Dockerrrrr!
To begin, install Docker from the official website.
Then create a file Dockerfile in the root folder:
$ touch Dockerfile
Put the following in the file:
# pull official base image
FROM python:3.11-slim-bullseye

# set work directory
WORKDIR /usr/src/app

# set environment variables
ENV PYTHONDONTWRITEBYTECODE 1
ENV PYTHONUNBUFFERED 1

# hack to fix time-sync issue on M1
RUN echo "Acquire::Check-Valid-Until \"false\";\nAcquire::Check-Date \"false\";" | cat > /etc/apt/apt.conf.d/10no--check-valid-until

# install necessary packages
RUN apt-get update
RUN apt-get -y install build-essential
RUN apt-get -y install libpq-dev gcc

# install pipenv and project dependencies
RUN pip install -U pipenv
COPY Pipfile Pipfile.lock ./
RUN pipenv install --dev --system --deploy --ignore-pipfile

COPY . .
I will explain what each line does:
FROM python:3.11-slim-bullseyeThis image (an article about Docker and images), simply contains everything that has to do with Python installation. We use
slim-bullseyebecause the smaller a Docker image, the better it is. This particular image is small enough and will make our application lightweight. You can replace3.11with the same Python version in thepython_versionsection ofPipfile.# set work directory WORKDIR /usr/src/appSince our Docker setup is basically an OS in itself, we want to select a location from which we will work from which is what the
WORKDIRdoes.# set environment variables ENV PYTHONDONTWRITEBYTECODE 1 ENV PYTHONUNBUFFERED 1Here, we set environmental variables for Python to prevent it from generating byte code with
PYTHONDONTWRITEBYTECODEand the purpose ofPYTHONUNBUFFEREDis explained in a StackOverflow answer.# hack to fix time-sync issue on M1 RUN echo "Acquire::Check-Valid-Until \"false\";\nAcquire::Check-Date \"false\";" | cat > /etc/apt/apt.conf.d/10no--check-valid-untilOn M1, an error about "Release file not valid may occur". This is a solution and the issue is explained in a StackOverflow answer.
    # install necessary packages
    RUN apt-get update
    RUN apt-get -y install build-essential
    RUN apt-get -y install libpq-dev gcc
We install all the necessary packages to ensure the application works. These packages are necessary to ensure the Postgres backend for the application works as expected.
    # install pipenv and project dependencies
    RUN pip install -U pipenv
Explains itself.
COPY Pipfile Pipfile.lock ./We copy the
Pipfile*files to the work directory we specified above. Since we have specified a work directory, we don't need to use the full path,./ti wa okay (is okay).RUN pipenv install --dev --system --deploy --ignore-pipfileNow, we install all the packages in the Pipfile directly to the system and not in a virtual environment. This is because, Docker itself is isolated and having a virtual environment inside a Docker container is rarely useful. Secondly it is really troublesome to get the application to run inside a virtual environment inside a Docker container, inside Docker, inside your PC, inside your house, inside your street... You get the point.
COPY . .Lastly, we copy the rest of the files in the entire application to the Docker directory.
But hollup! We can't just copy everything?! Remember Docker containers should be as lightweight as possible. There are some stuffs that will not be needed in the Docker container to make it work as expected. To specify the files we don't need, we create a .dockerignore file. Like .gitignore but for Docker.
$ touch .dockerignore
Then paste the following inside and don't ask any questions:
*.pyc
*.pyo
*.mo
*.db
*.css.map
*.egg-info
*.sql.gz
.cache
.project
.idea
.pydevproject
.idea/workspace.xml
.DS_Store
.git/
.github/
.env.ci
.env.example
.sass-cache
.vagrant/
__pycache__
dist
docs
env
logs
src/{{ project_name }}/settings/local.py
src/node_modules
web/media
web/static/CACHE
stats
Dockerfile
CONTRIBUTIONS/
This is enough and we can rest momentarily. Next we will set up the command to start the application proper and configure Postgres with the application.
Docker Compose and Postgres
For now, we have only specified a way to build the application but we haven't specified a way to build the requirements for a database, Postgres.
Preparing the application to use Postgres
First, we have to prepare our app to switch from db.sqlite to Postgres. Delete the db.sqlite3 file:
$ rm db.sqlite3
First, we install 4 packages:
psycopg2-binary: A binary that contains the driver for Postgres for Python
dj-database-url: Helps translate a PostgreSQL URL into appropriate settings for Django settings
pydantic: A data validation library which will help us validate data.
pydantic-settings: An extension of
pydanticthat helps enforce presence of certain environmental variables needed for our application to work.
Do:
$ pipenv install psycopg2-binary dj-database-url pydantic pydantic-settings
Then go to config/settings.py and make the following changes:
import dj_database_url
from pydantic import PostgresDsn
from pydantic_settings import BaseSettings

class GeneralSettings(BaseSettings):
    DEBUG: bool = False
    SECRET_KEY: str
    ALLOWED_HOSTS: List[str]
    DATABASE_URL: PostgresDsn


GENERAL_SETTINGS = GeneralSettings()
What we are doing is to ensure that DEBUG, SECRET_KEY, ALLOWED_HOSTS and DATABASE_URL is defined in the environment before the application can work. We also specified a default for DEBUG and set it to False in case it isn't set in the environment. We specified the type of these values also, most notable DATABASE_URL to be a Postgres URL.
Next, replace the SECRET_KEY, DEBUG, and ALLOWED_HOSTS auto generated by Django with:
SECRET_KEY = GENERAL_SETTINGS.SECRET_KEY

DEBUG = GENERAL_SETTINGS.DEBUG

ALLOWED_HOSTS = GENERAL_SETTINGS.ALLOWED_HOSTS
Then go to DATABASES section of the settings file and replace the entire setup with:
DATABASES = {
    "default": {
        **dj_database_url.config(conn_max_age=600, conn_health_checks=True),
        "TIMEZONE": "UTC",
        "ATOMIC_REQUESTS": True,
        "OPTIONS": {
            "client_encoding": "UTF8",
        },
    }
}
With this, the environmental variable, DATABASE_URL will be read and used to populate the database setting.
We are donnnne here!
Setting up Docker Compose
docker compose is a tool that comes with Docker Desktop for managing multiple containers to act as one application. Read more on their documentation. To ensure we setup our database and then manage both db and app to act as one unit, we will use docker compose.
First create a docker-compose.yml file:
$ touch docker-compose.yml
Then paste the following inside:
version: "3.9"

services:
  db:
    image: postgres:14
    volumes:
      - postgres-data:/var/lib/postgresql/data
    environment:
      - POSTGRES_USER=postgres
      - POSTGRES_PASSWORD=postgres
      - POSTGRES_DB=postgres
    ports:
      - "5433:5432"
    healthcheck:
      test: [ "CMD-SHELL", "pg_isready -U postgres" ]
      interval: 5s
      timeout: 5s
      retries: 5

  app:
    build: .
    command: python manage.py runserver 0.0.0.0:8000
    volumes:
      - .:/usr/src/app
    ports:
      - "8000:8000"
    env_file:
      - .env
    depends_on:
      db:
        condition: service_healthy

volumes:
  postgres-data:
I will only explain the important parts, my friend.
What we are doing here is specifying that we have two services: db and app. With db being our Postgres container and app being that of the main application.
An image is specified for Postgres as postgres:14. Just like the FROM python:3.11-slim-bullseye line in the Dockerfile, this line also specifies that there is an existing Postgres setup on Docker Hub (a repo for hosting Docker images) and it is to be used.
environment specifies values for the environmental variables which makes sure a default user, database and password is created with the specified values.
We specify the port mapping to be "5433:5432" which means, "Inside the Docker container, use port 5432 to run the Postgres server but expose this port as 5433 to the outside world of the system. Usually, we would have mapped it to 5432 also, but this is to prevent clashes with a Postgres installation you may have on your machine.
Lastly, since Postgres takes some time to start up, we define a condition, healthcheck that tells us whether the Postgres container is ready to be interacted with.
For the app section, we specify a command that inherently starts the server. It is the last command to be executed after everything in the Dockerfile has been executed.
The volumes part must mirror what we specified as work directory in the Dockerfile so that Docker can automatically map any change to our local files to the file in the Docker container. This way, we don't have to build the container everytime we make a change to our code.
env_file tells Docker to populate the environment variables with what is found in a .env file in our application. It is like environment in db but for a file config.
depends_on says, "don't start this container until the db service healthcheck returns positive answer".
.env file
Lastly, we create a .env file to contain our environment variables. Remember if we don't do this, the application will not start.
$ touch .env
And paste the following:
SECRET_KEY="+SV8S2ga3SgYMdJN1AOwwdZZoV5v0aM1eJh39yDxEzY="
ALLOWED_HOSTS='["localhost", "127.0.0.1", "0.0.0.0"]'
DEBUG=True

# database settings
DATABASE_URL=postgres://postgres:postgres@db:5432/postgres
For explanation, the DATABASE_URL format is simply:
postgres://<user>:<password>@<host>:<port>/<database>
Where host is db and not localhost because we are working within the context of Docker.
It is time to xqt
We will build the containers with:
$ docker compose build
This command will execute all the instructions specified in the Dockerfile . You can follow the output.
Once this is done, start the application with:
$ docker compose up
Since this is the first time we are starting the application, the Postgres image will be pulled as specified in the db service. On subsequent times, no such thing will occur, my friend.
Go to http://localhost:8000 and see what a wonder we have accomplished, child...

Press CTRL + C to stop the application when you want. The docker compose up command will start it up for you whenever you want.
Installing new packages
When you want to install a new package, use Pipenv:
$ pipenv install <package>
And rebuild the container with docker compose build so the Dockerfile instruction that installs packages with Pipenv will install this new package INSIDE the Docker container.
Bonus: Makefile
Each time we want to run or build the container, we have to type a long command. Why not make it shorter without each developer having to set up aliases on their machine?
Enter Makefile. This is a trick stolen from C codebases where commands specified in this file can be run like so:
$ make <command>
Create the Makefile:
$ touch Makefile
And add the following contents:
up:
    @docker compose up

bash:
    @docker compose run app bash

build: install
    @docker compose build

build-up:
    @docker compose up --build

createsuperuser:
    @docker compose run app python manage.py createsuperuser

down:
    @docker compose down --remove-orphans

flush-db:
    @docker compose run app python manage.py flush
    @make down

install:
    @pipenv install

migrations:
    @pipenv run python manage.py makemigrations
    @make build

migrate:
    @docker compose run app python manage.py migrate

shell:
    @docker compose run app python manage.py shell

stop:
    @docker compose stop

up-d:
    @docker compose up -d
The "@" sign at the front of each command ensures the instruction is not shown on the terminal when the command is invoked.
So, to start the application, we can just do:
$ make up
Like a laeeedaee.
Conclusion
I am done. The result of this article is hosted on Github.
If you are interested in seeing a good template for a Django project, see Djangoer, remember to star.
Subscribe to my newsletter
Read articles from Adeoti Ayodeji directly inside your inbox. Subscribe to the newsletter, and don't miss out.
Written by

Adeoti Ayodeji
Adeoti Ayodeji
Software engineer, attracted to complex things by nature; passionate about Rust.