Step-by-Step Guide: Set-up an infrastructure pipeline using Terraform in Azure DevOps to provision a virtual machine (VM) and an Azure App Service
 Edvin Dsouza
In this blog, we'll walk through the process of setting up an infrastructure pipeline using Terraform in Azure DevOps to provision both a virtual machine (VM) and an Azure App Service.
Create a Container to store Terraform State Storage:
This configuration will create a Resource Group, set up a Storage Account inside that group, and then establish a Blob Container within the Storage Account. This process provides you with an organized way to store Terraform state files.
 az group create --name teraformrg --location eastus
 az storage account create --name teraformstoragencpl --resource-group teraformrg --location eastus --sku Standard_LRS
 az storage container create --name containertf --account-name teraformstoragencpl --resource-group teraformrg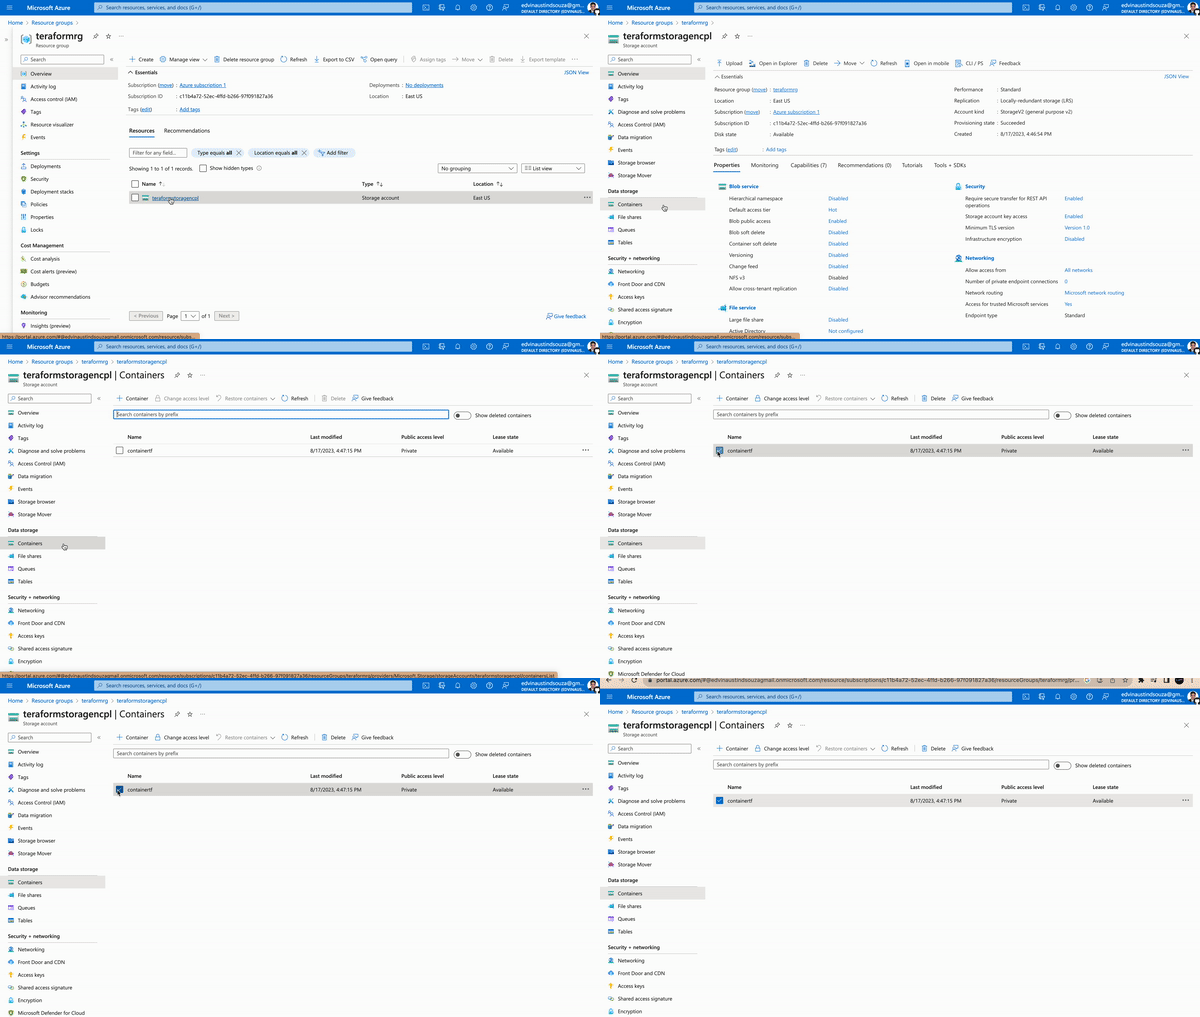
Install Terraform: If you haven't already, download and install the Terraform CLI from the official website: https://www.terraform.io/downloads.html
Azure Account Setup: Make sure you have an active Azure subscription and you're logged in using the Azure CLI. You can log in using the following command and following the instructions:
az login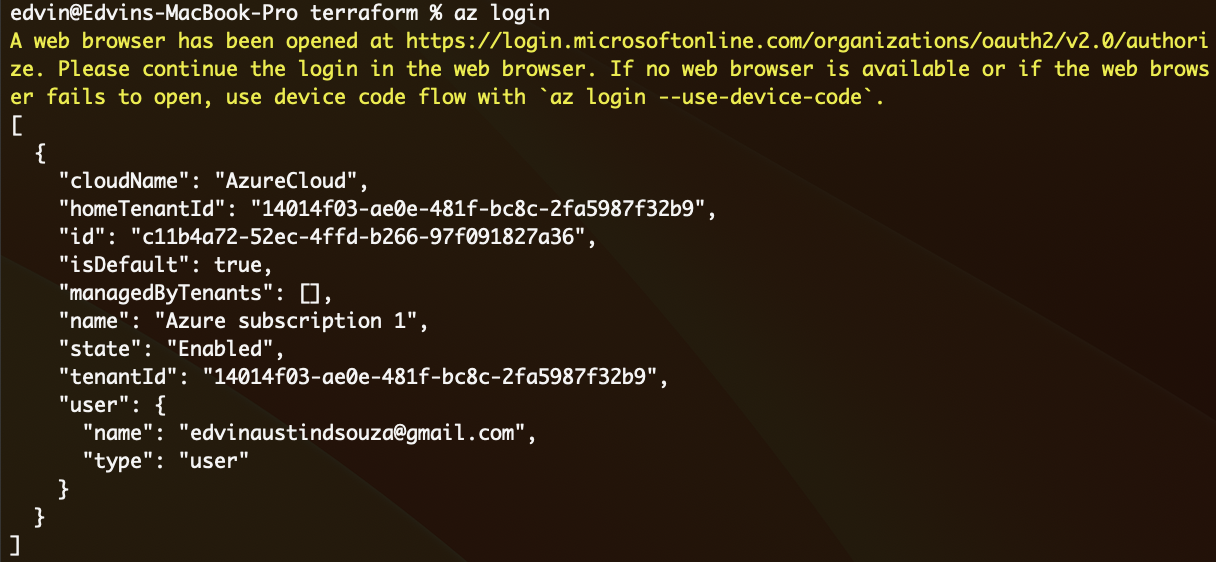
Create a Directory: Create a new directory on your local machine for your Terraform configuration files.

Create
main.tf: Inside the directory, create a file namedmain.tfand paste the Terraform configuration.Windows Virtual Machine: To create a Windows Virtual Machine using Terraform, you can refer to the following link: Windows Virtual Machine - Terraform Documentation
This documentation will provide you with detailed information on how to configure and use the
azurerm_windows_virtual_machineresource in Terraform to create a Windows VM in Azure.Linux Web App: To create a Linux Web App using Terraform, you can refer to the following link: Linux Web App - Terraform Documentation
This documentation will guide you through the process of using the
azurerm_linux_web_appresource in Terraform to set up a Linux-based web application in Azure.Here is my configuration. Feel free to make changes based on your preferences.
 provider "azurerm" {
   features {}
 }

 resource "azurerm_resource_group" "RG" {
   name     = "NCPL"
   location = "East US"
   tags = {
     Owner = "Edvin"
   }
 }
 resource "azurerm_virtual_network" "vnet" {
   name                = "ncpl-network"
   address_space       = ["10.0.0.0/16"]
   location            = azurerm_resource_group.RG.location
   resource_group_name = azurerm_resource_group.RG.name
 }

 resource "azurerm_subnet" "subnet" {
   name                 = "vmsubnet"
   resource_group_name  = azurerm_resource_group.RG.name
   virtual_network_name = azurerm_virtual_network.vnet.name
   address_prefixes     = ["10.0.2.0/24"]
 }

 resource "azurerm_network_interface" "NIC" {
   name                = "example-nic"
   location            = azurerm_resource_group.RG.location
   resource_group_name = azurerm_resource_group.RG.name

   ip_configuration {
     name                          = "internal"
     subnet_id                     = azurerm_subnet.subnet.id
     private_ip_address_allocation = "Dynamic"
   }
 }

 resource "azurerm_windows_virtual_machine" "VM" {
   name                = "TFVM"
   resource_group_name = azurerm_resource_group.RG.name
   location            = azurerm_resource_group.RG.location
   size                = "Standard_F2"
   admin_username      = "adminuser"
   admin_password      = "P@$$w0rd1234!"
   network_interface_ids = [
     azurerm_network_interface.NIC.id,
   ]

   os_disk {
     caching              = "ReadWrite"
     storage_account_type = "Standard_LRS"
   }

   source_image_reference {
     publisher = "MicrosoftWindowsServer"
     offer     = "WindowsServer"
     sku       = "2016-Datacenter"
     version   = "latest"
   }
 }

 //creating app service
 resource "azurerm_service_plan" "app_service_plan" {
   name                = "NCPL-APP"
   resource_group_name = azurerm_resource_group.RG.name
   location            = azurerm_resource_group.RG.location
   os_type             = "Linux"
   sku_name            = "P1v2"
 }

 resource "azurerm_linux_web_app" "app-service" {
   name                = "NCPL-app-service"
   resource_group_name = azurerm_resource_group.RG.name
   location            = azurerm_service_plan.app_service_plan.location
   service_plan_id     = azurerm_service_plan.app_service_plan.id

   site_config {}
 }
Initialize Terraform: Open a terminal or command prompt, navigate to the directory containing your
main.tffile, and run the following command to initialize the Terraform working directory:terraform init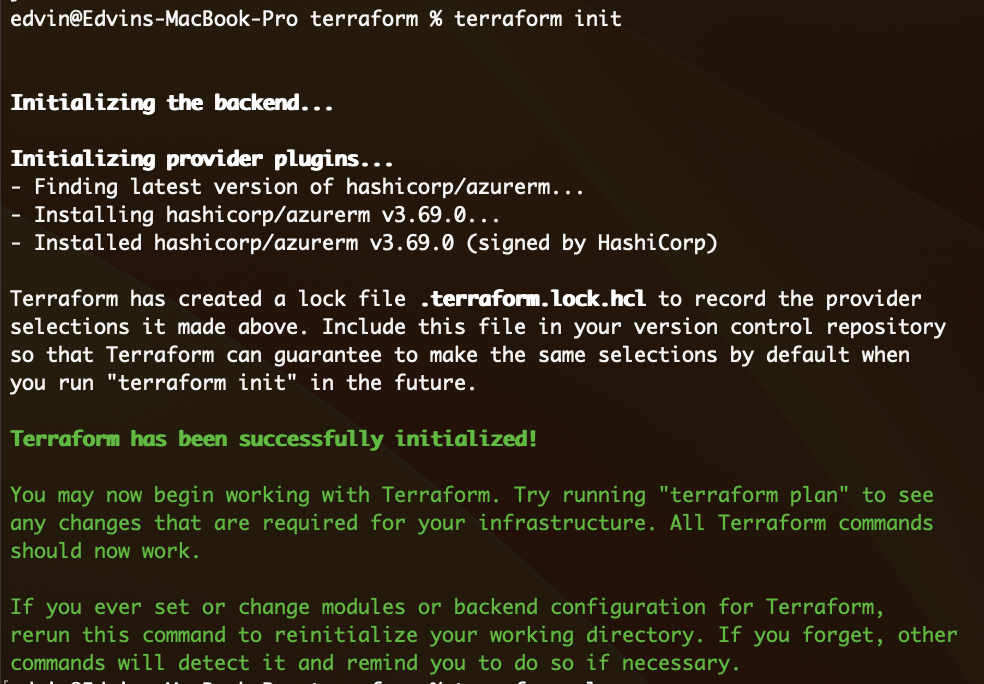
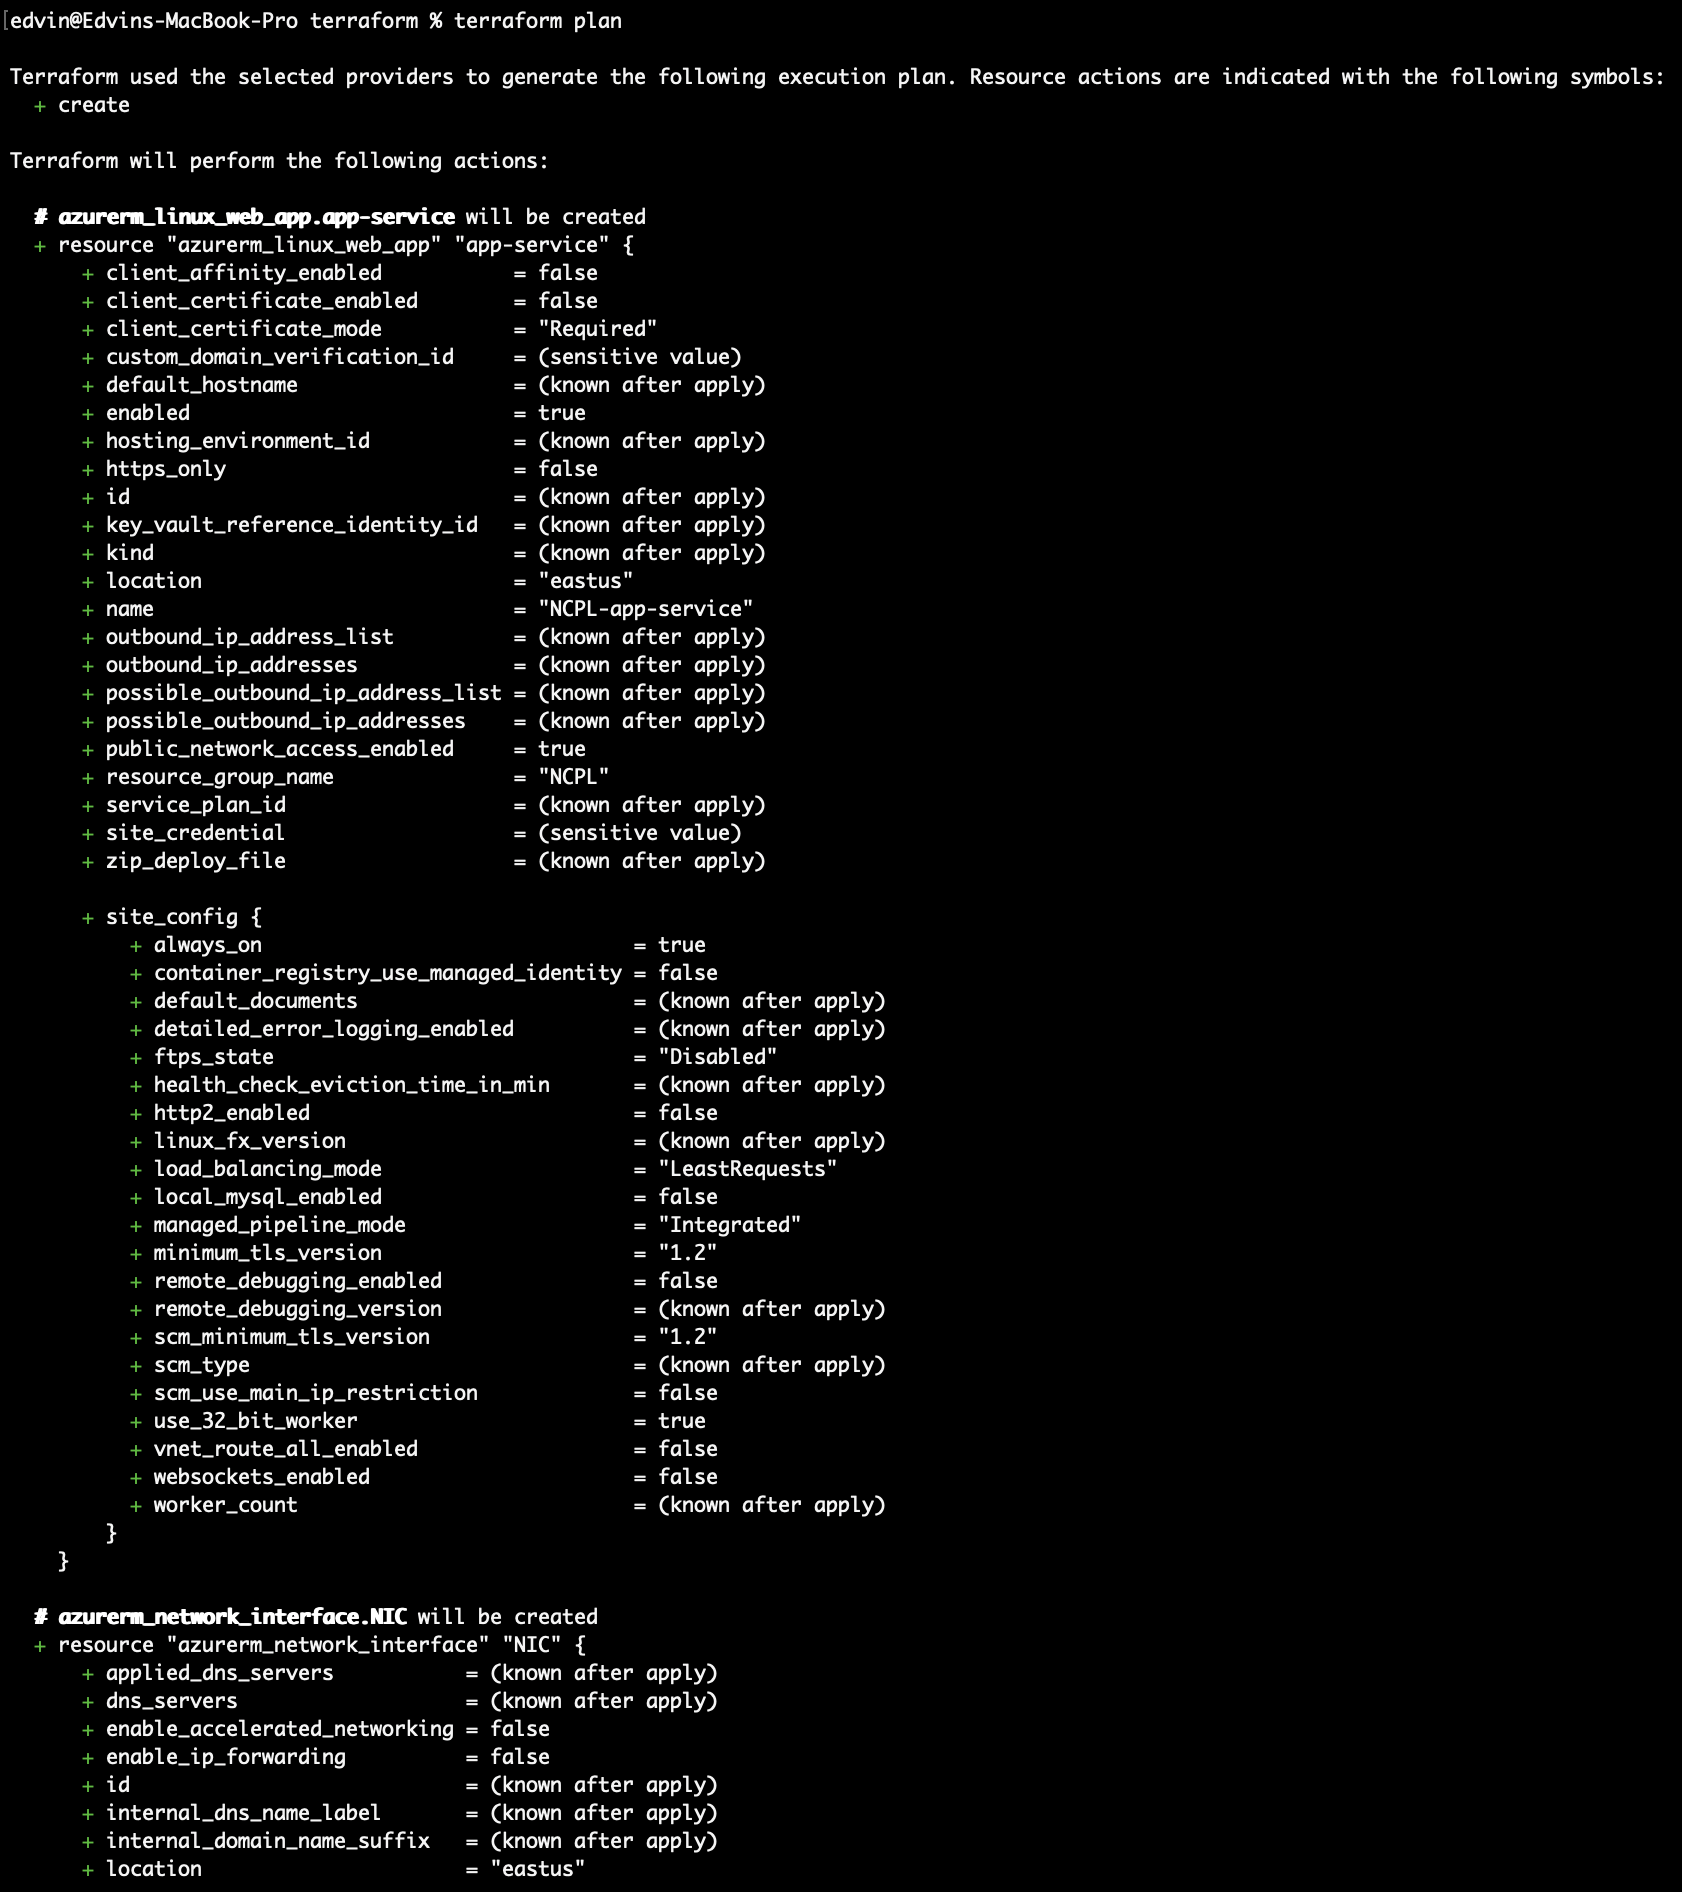
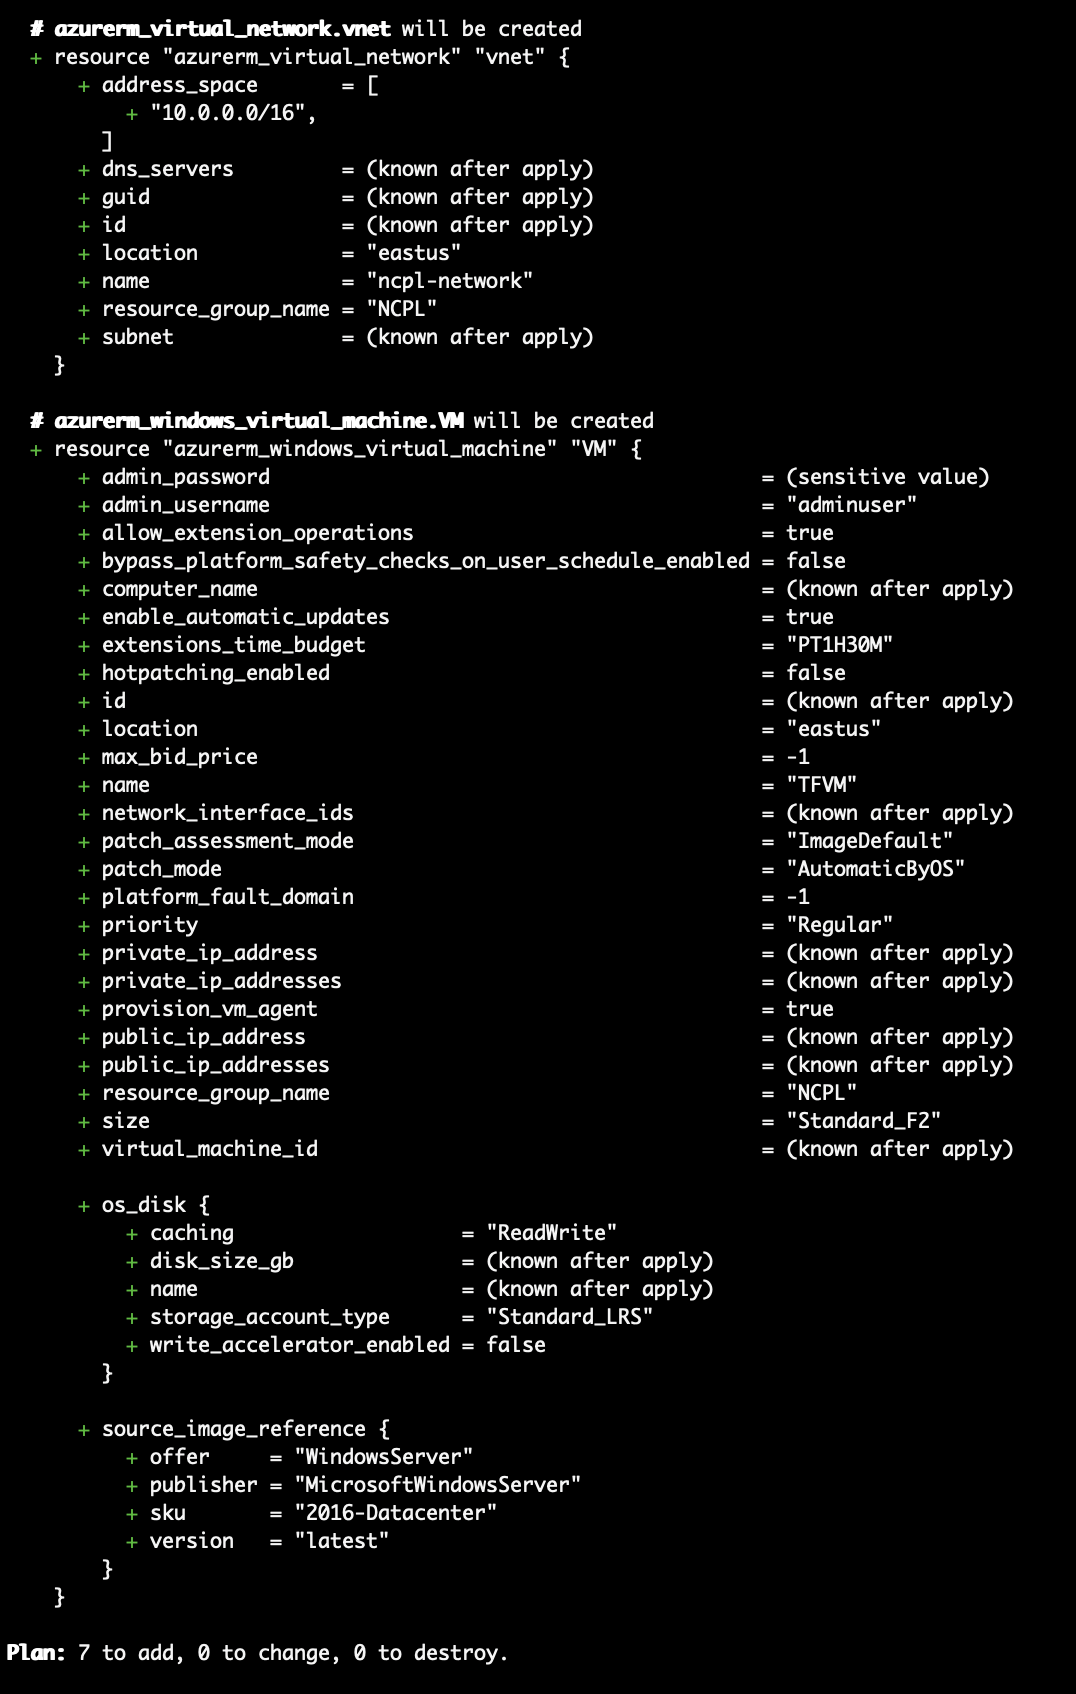
Review Plan: Run the following command to see what changes Terraform will make without actually applying them:
terraform planThis will show you a preview of the resources that Terraform will create or modify based on your configuration.
Step-by-Step Guide to Apply Configuration using Azure Devops:
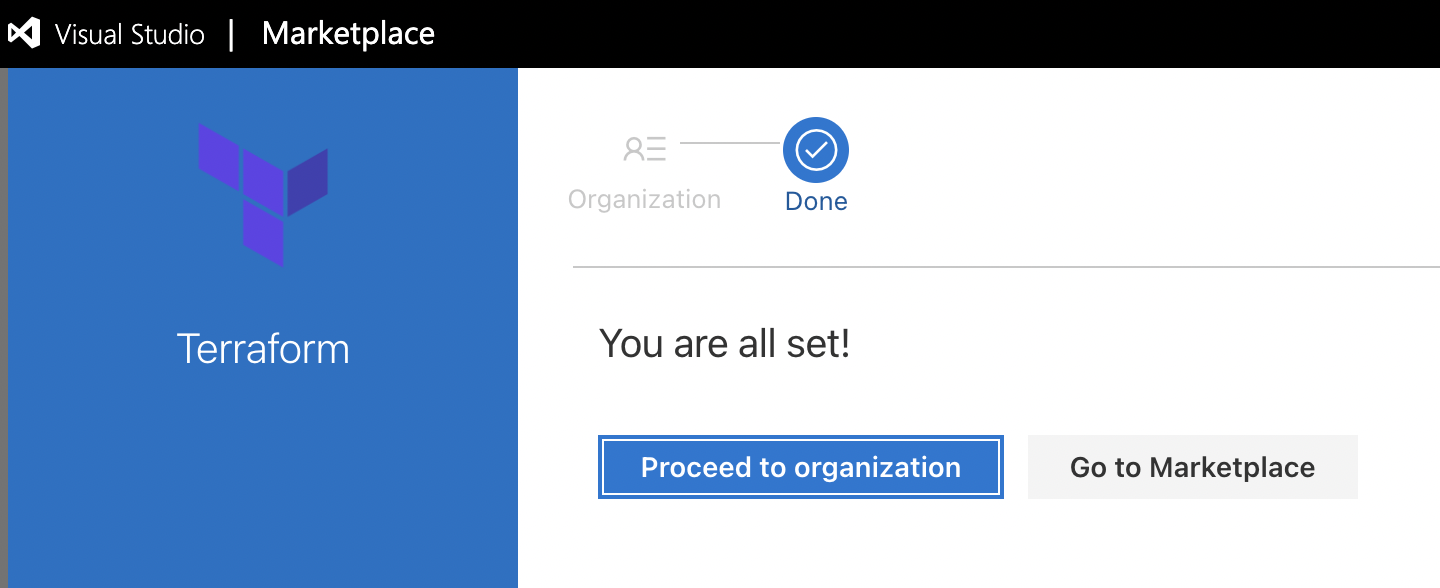
Install the Terraform extension in Azure DevOps:
Log in to your Azure DevOps organization.
Click on the gear icon in the bottom left to access the organization settings.
Under the "Extensions" tab, click on "Browse marketplace".

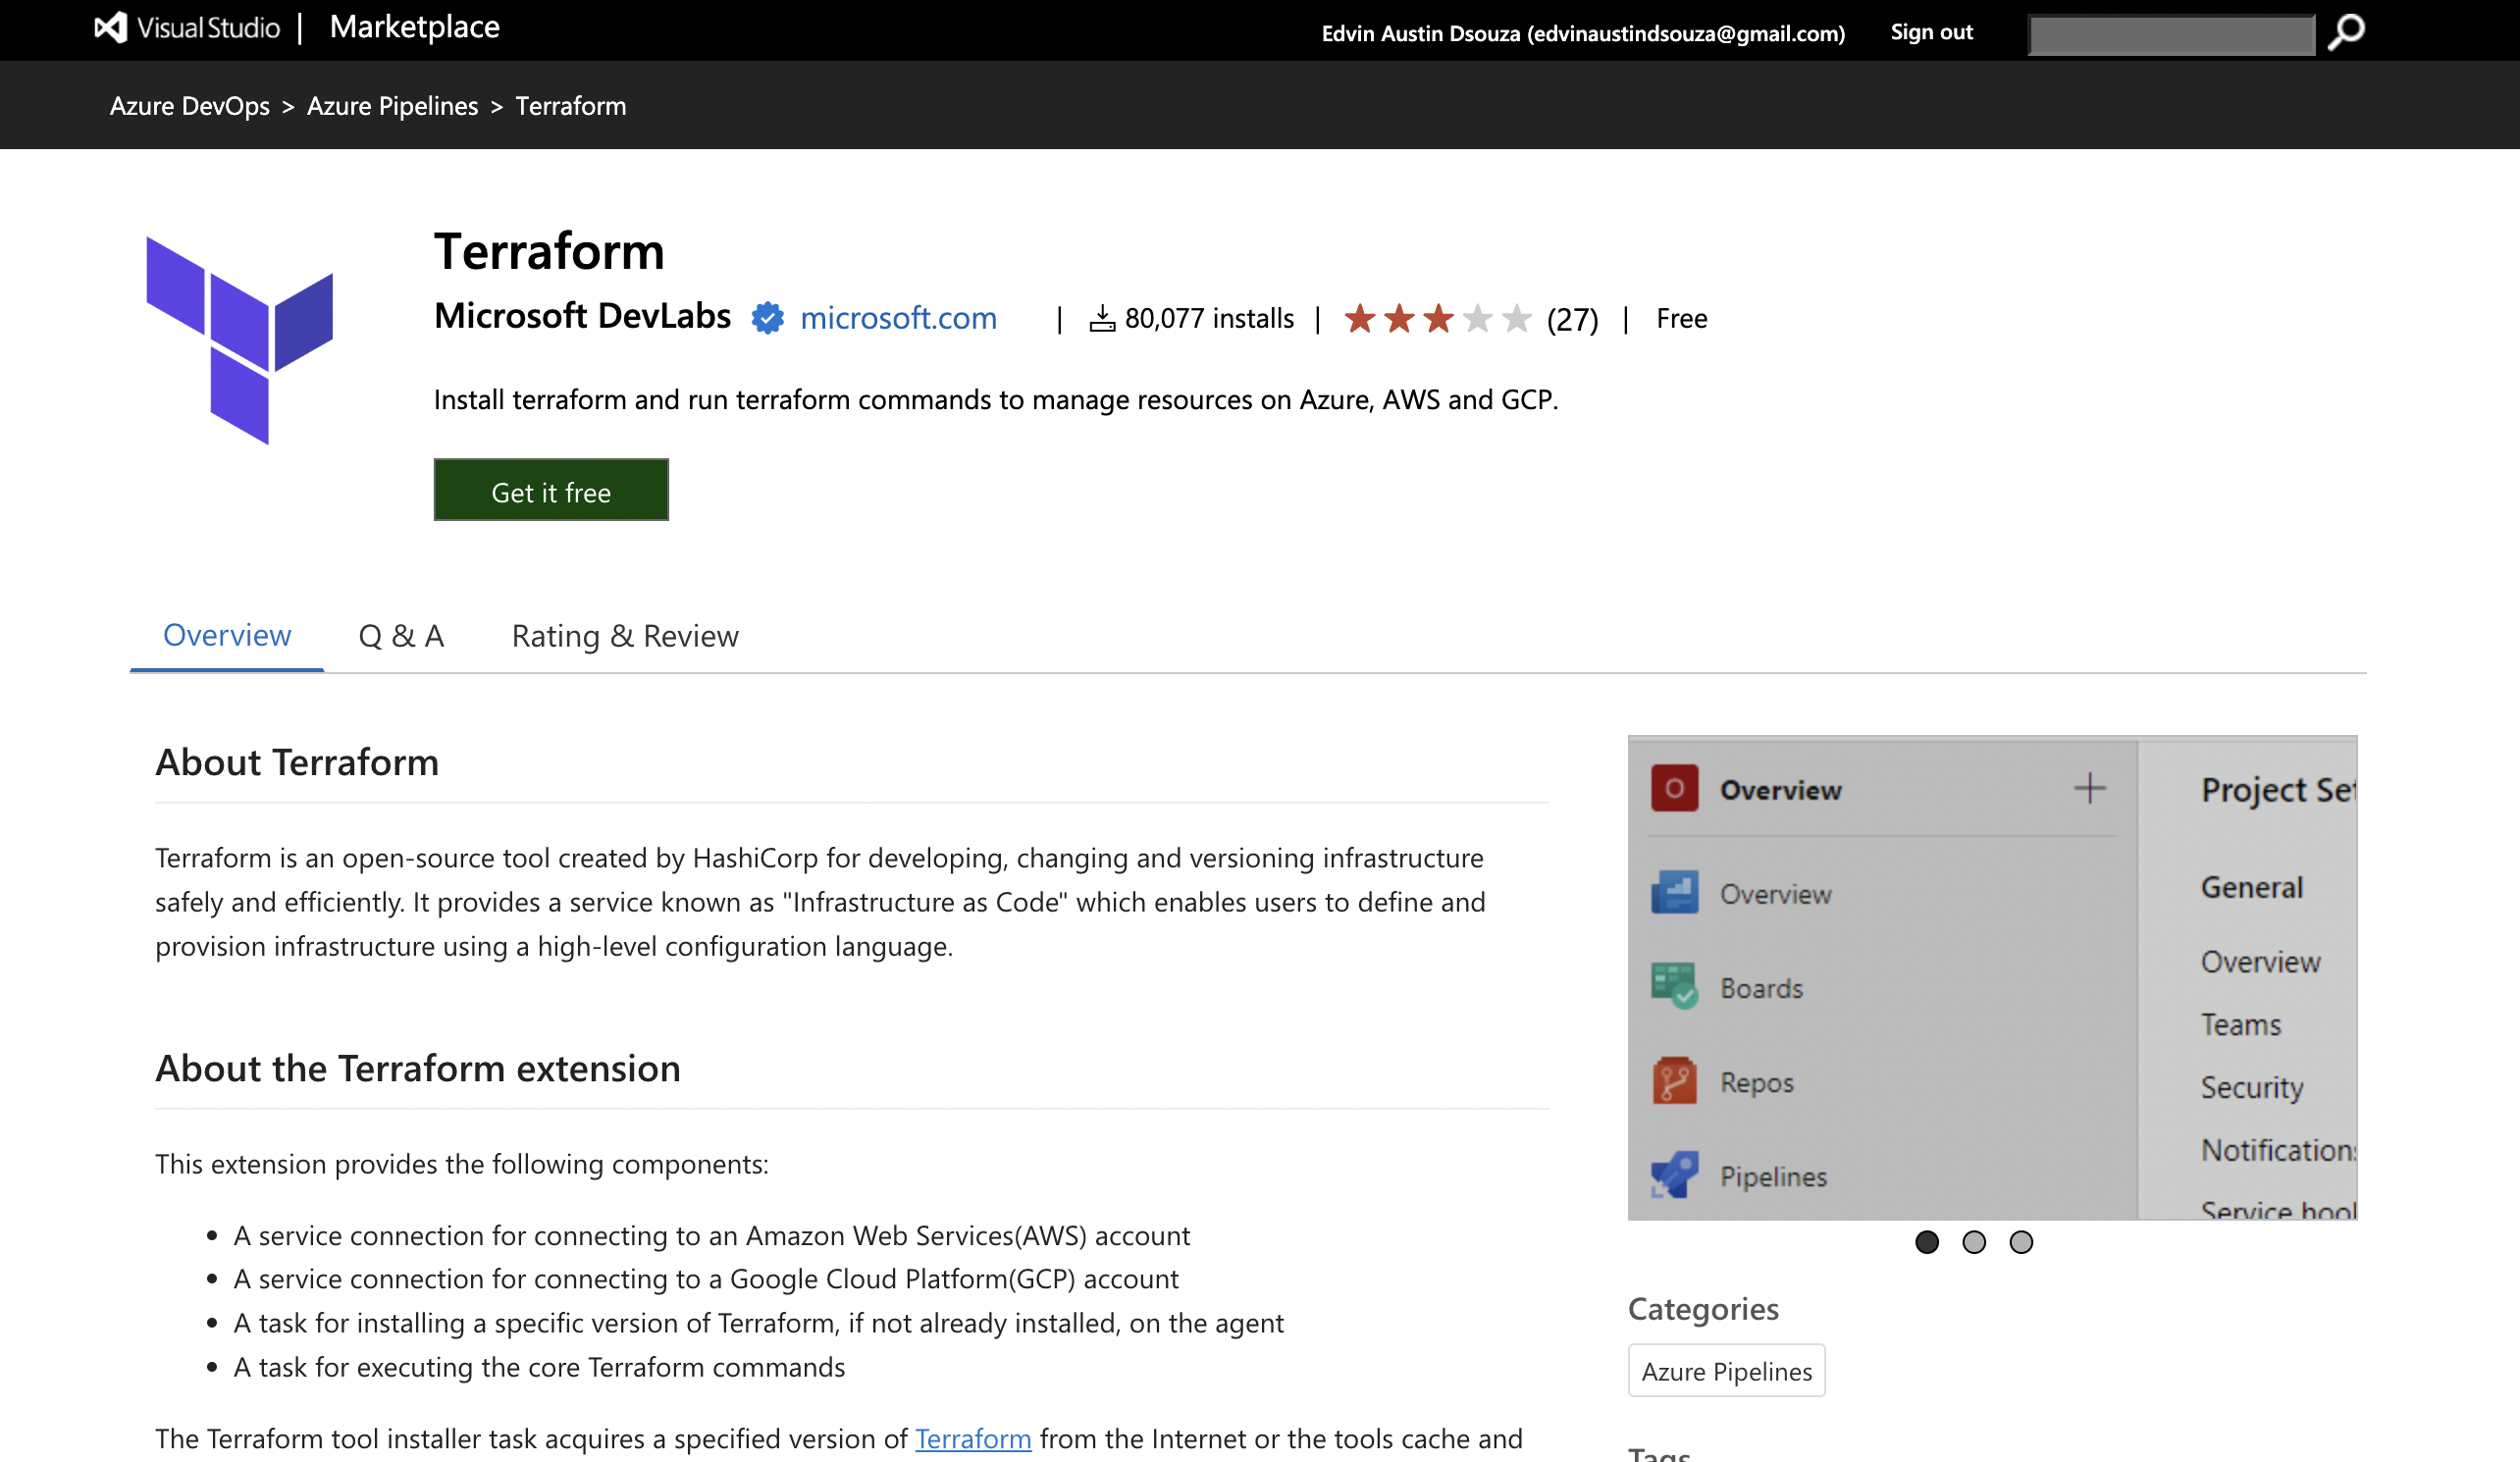
Search for "Terraform" and locate the "Terraform" extension published by Microsoft.
Click on "Get it free" to install the extension to your organization.
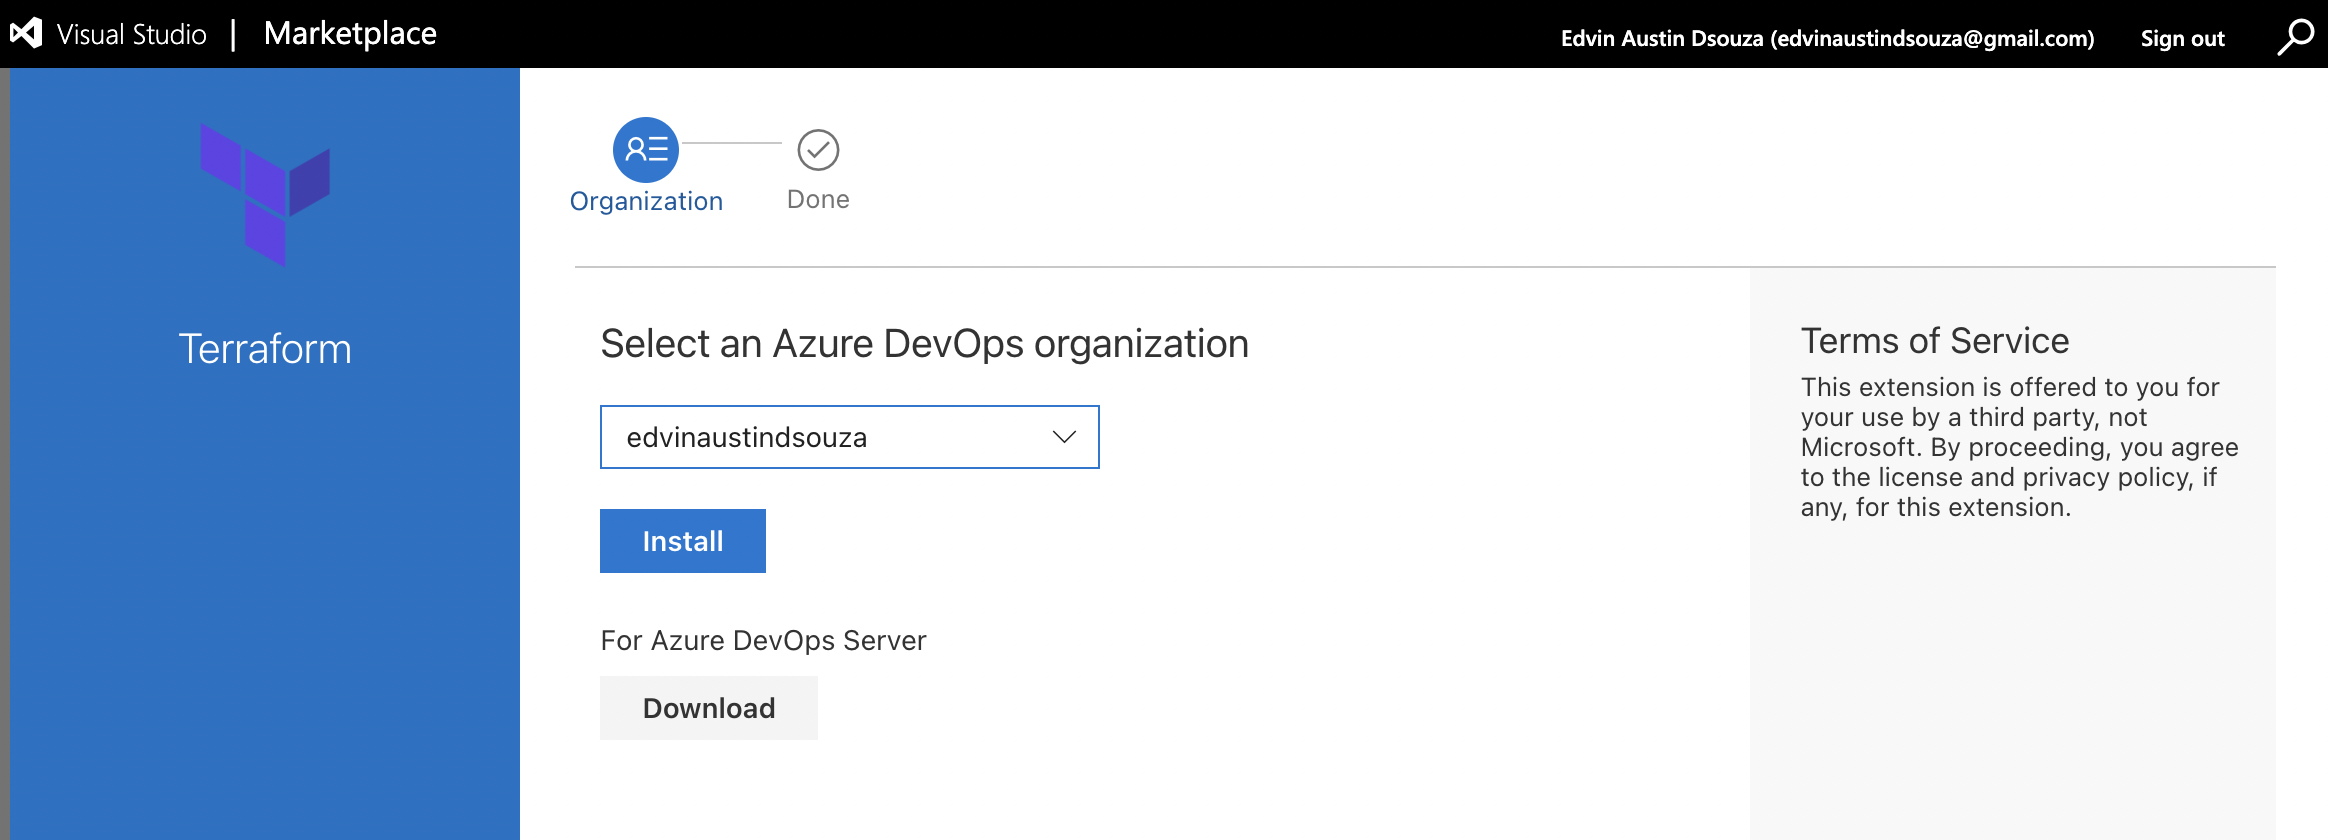
Select the project you want to install it on. The extension will now be installed.
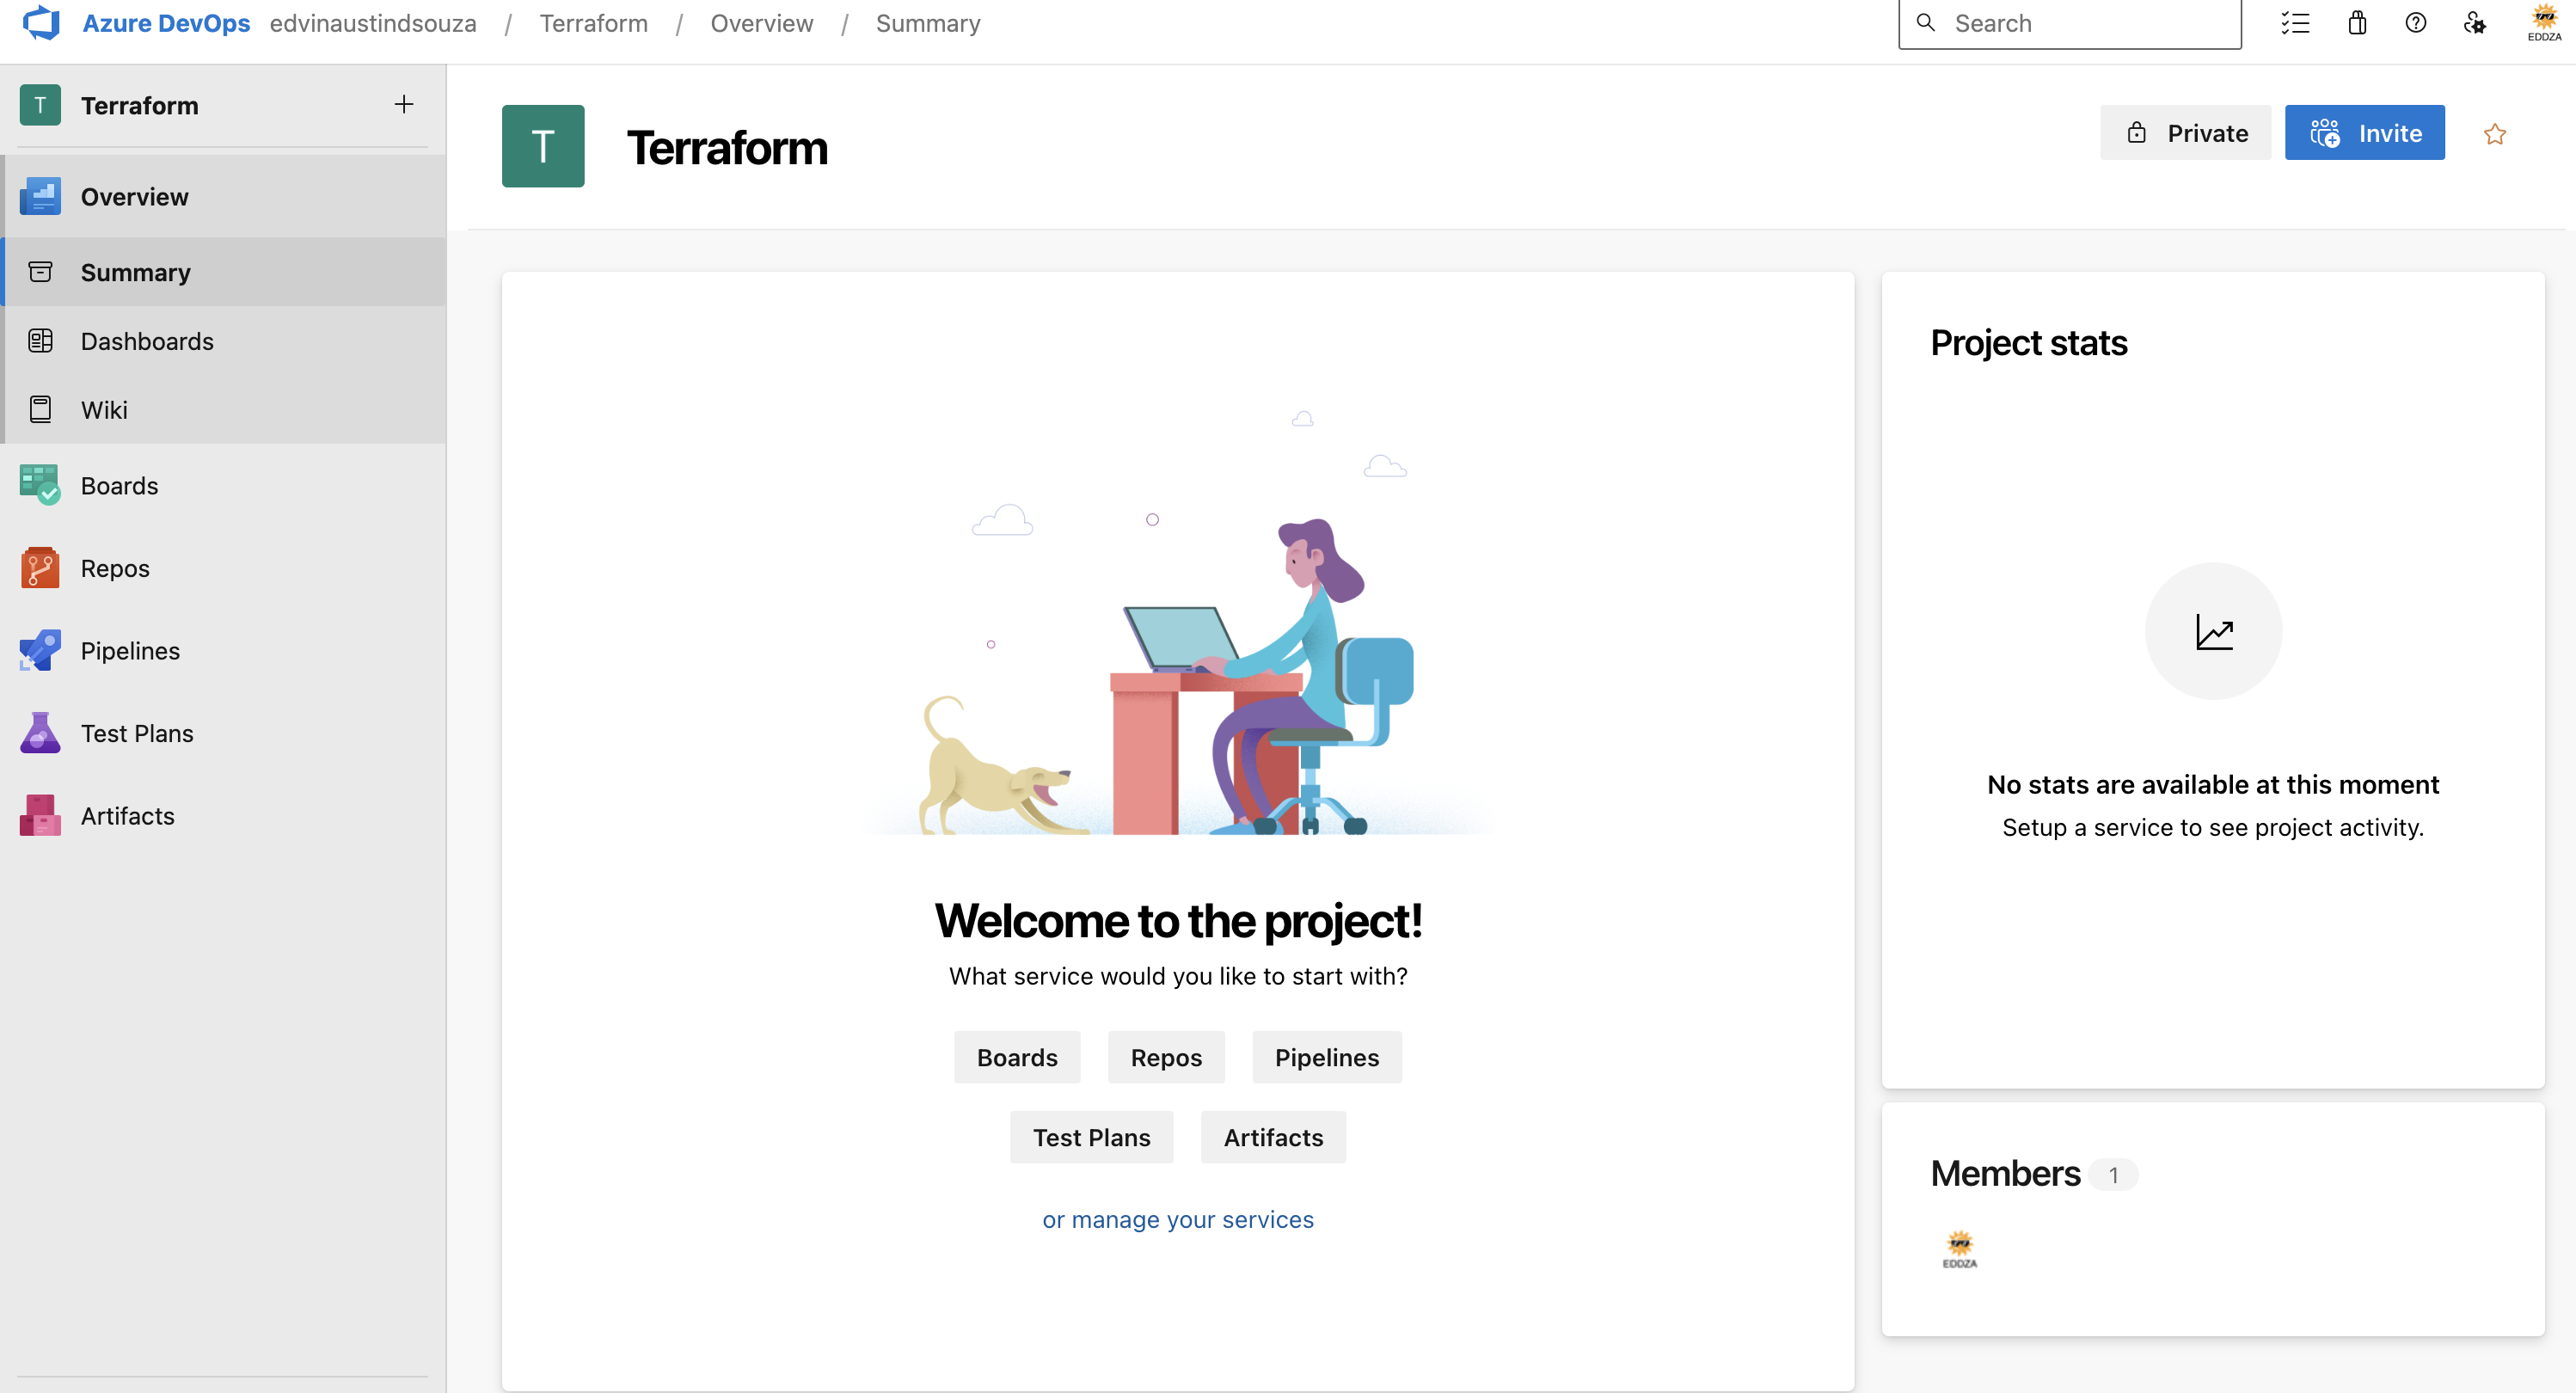
Set up Azure DevOps: Create a new project in your Azure DevOps account and set up a repository to store your Terraform configuration files.
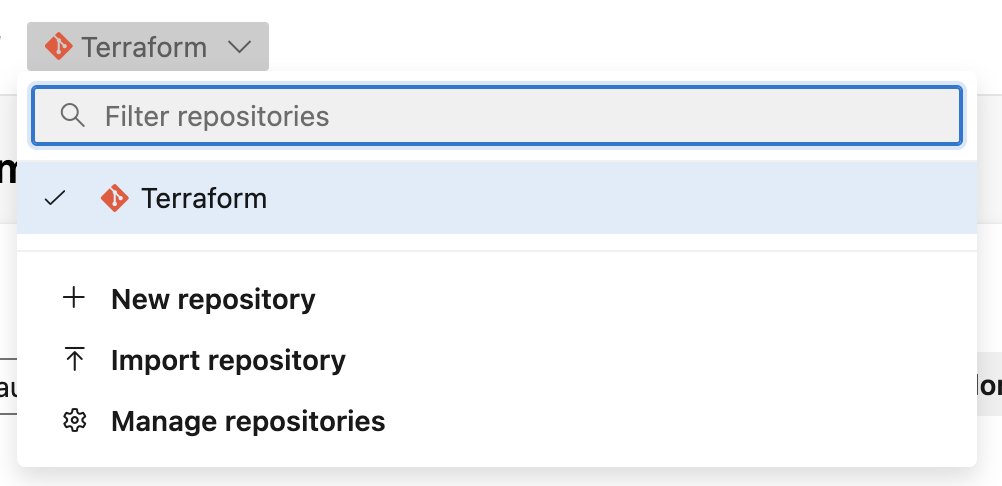
Create a New Git Repository
In your newly created project, navigate to the "Repos" tab.
Click on "New repository" and provide a name for your Git repositorY
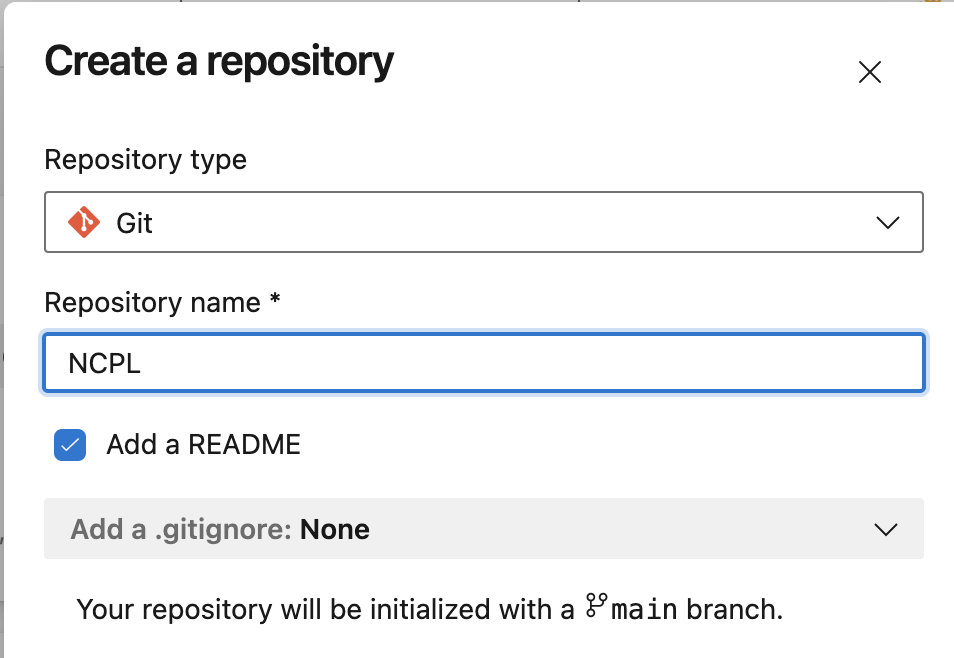
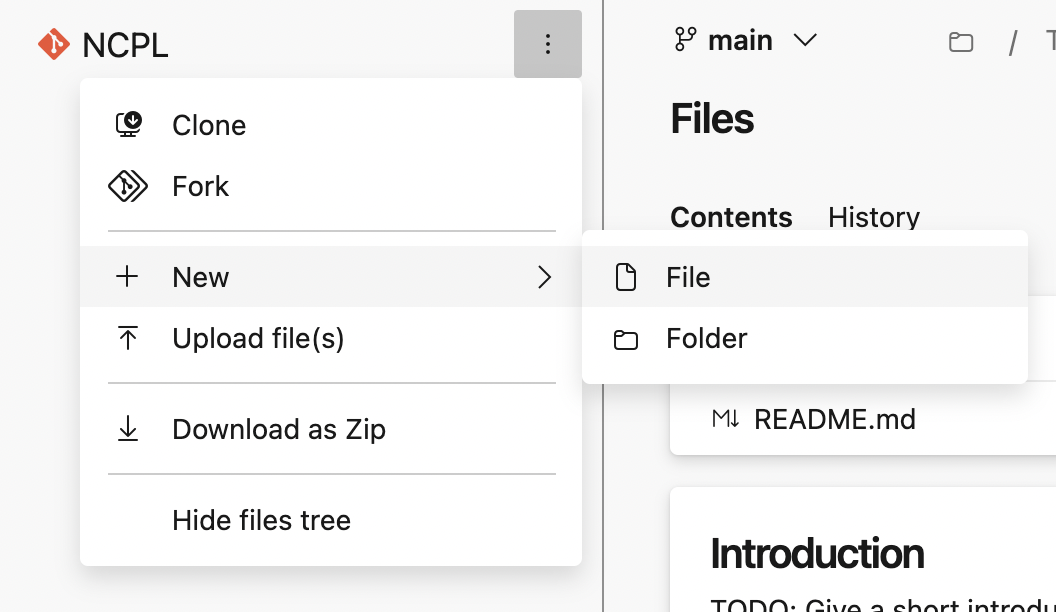

To proceed with the deployment, please copy the contents of the
main.tffile and save it in your Azure DevOps portal repository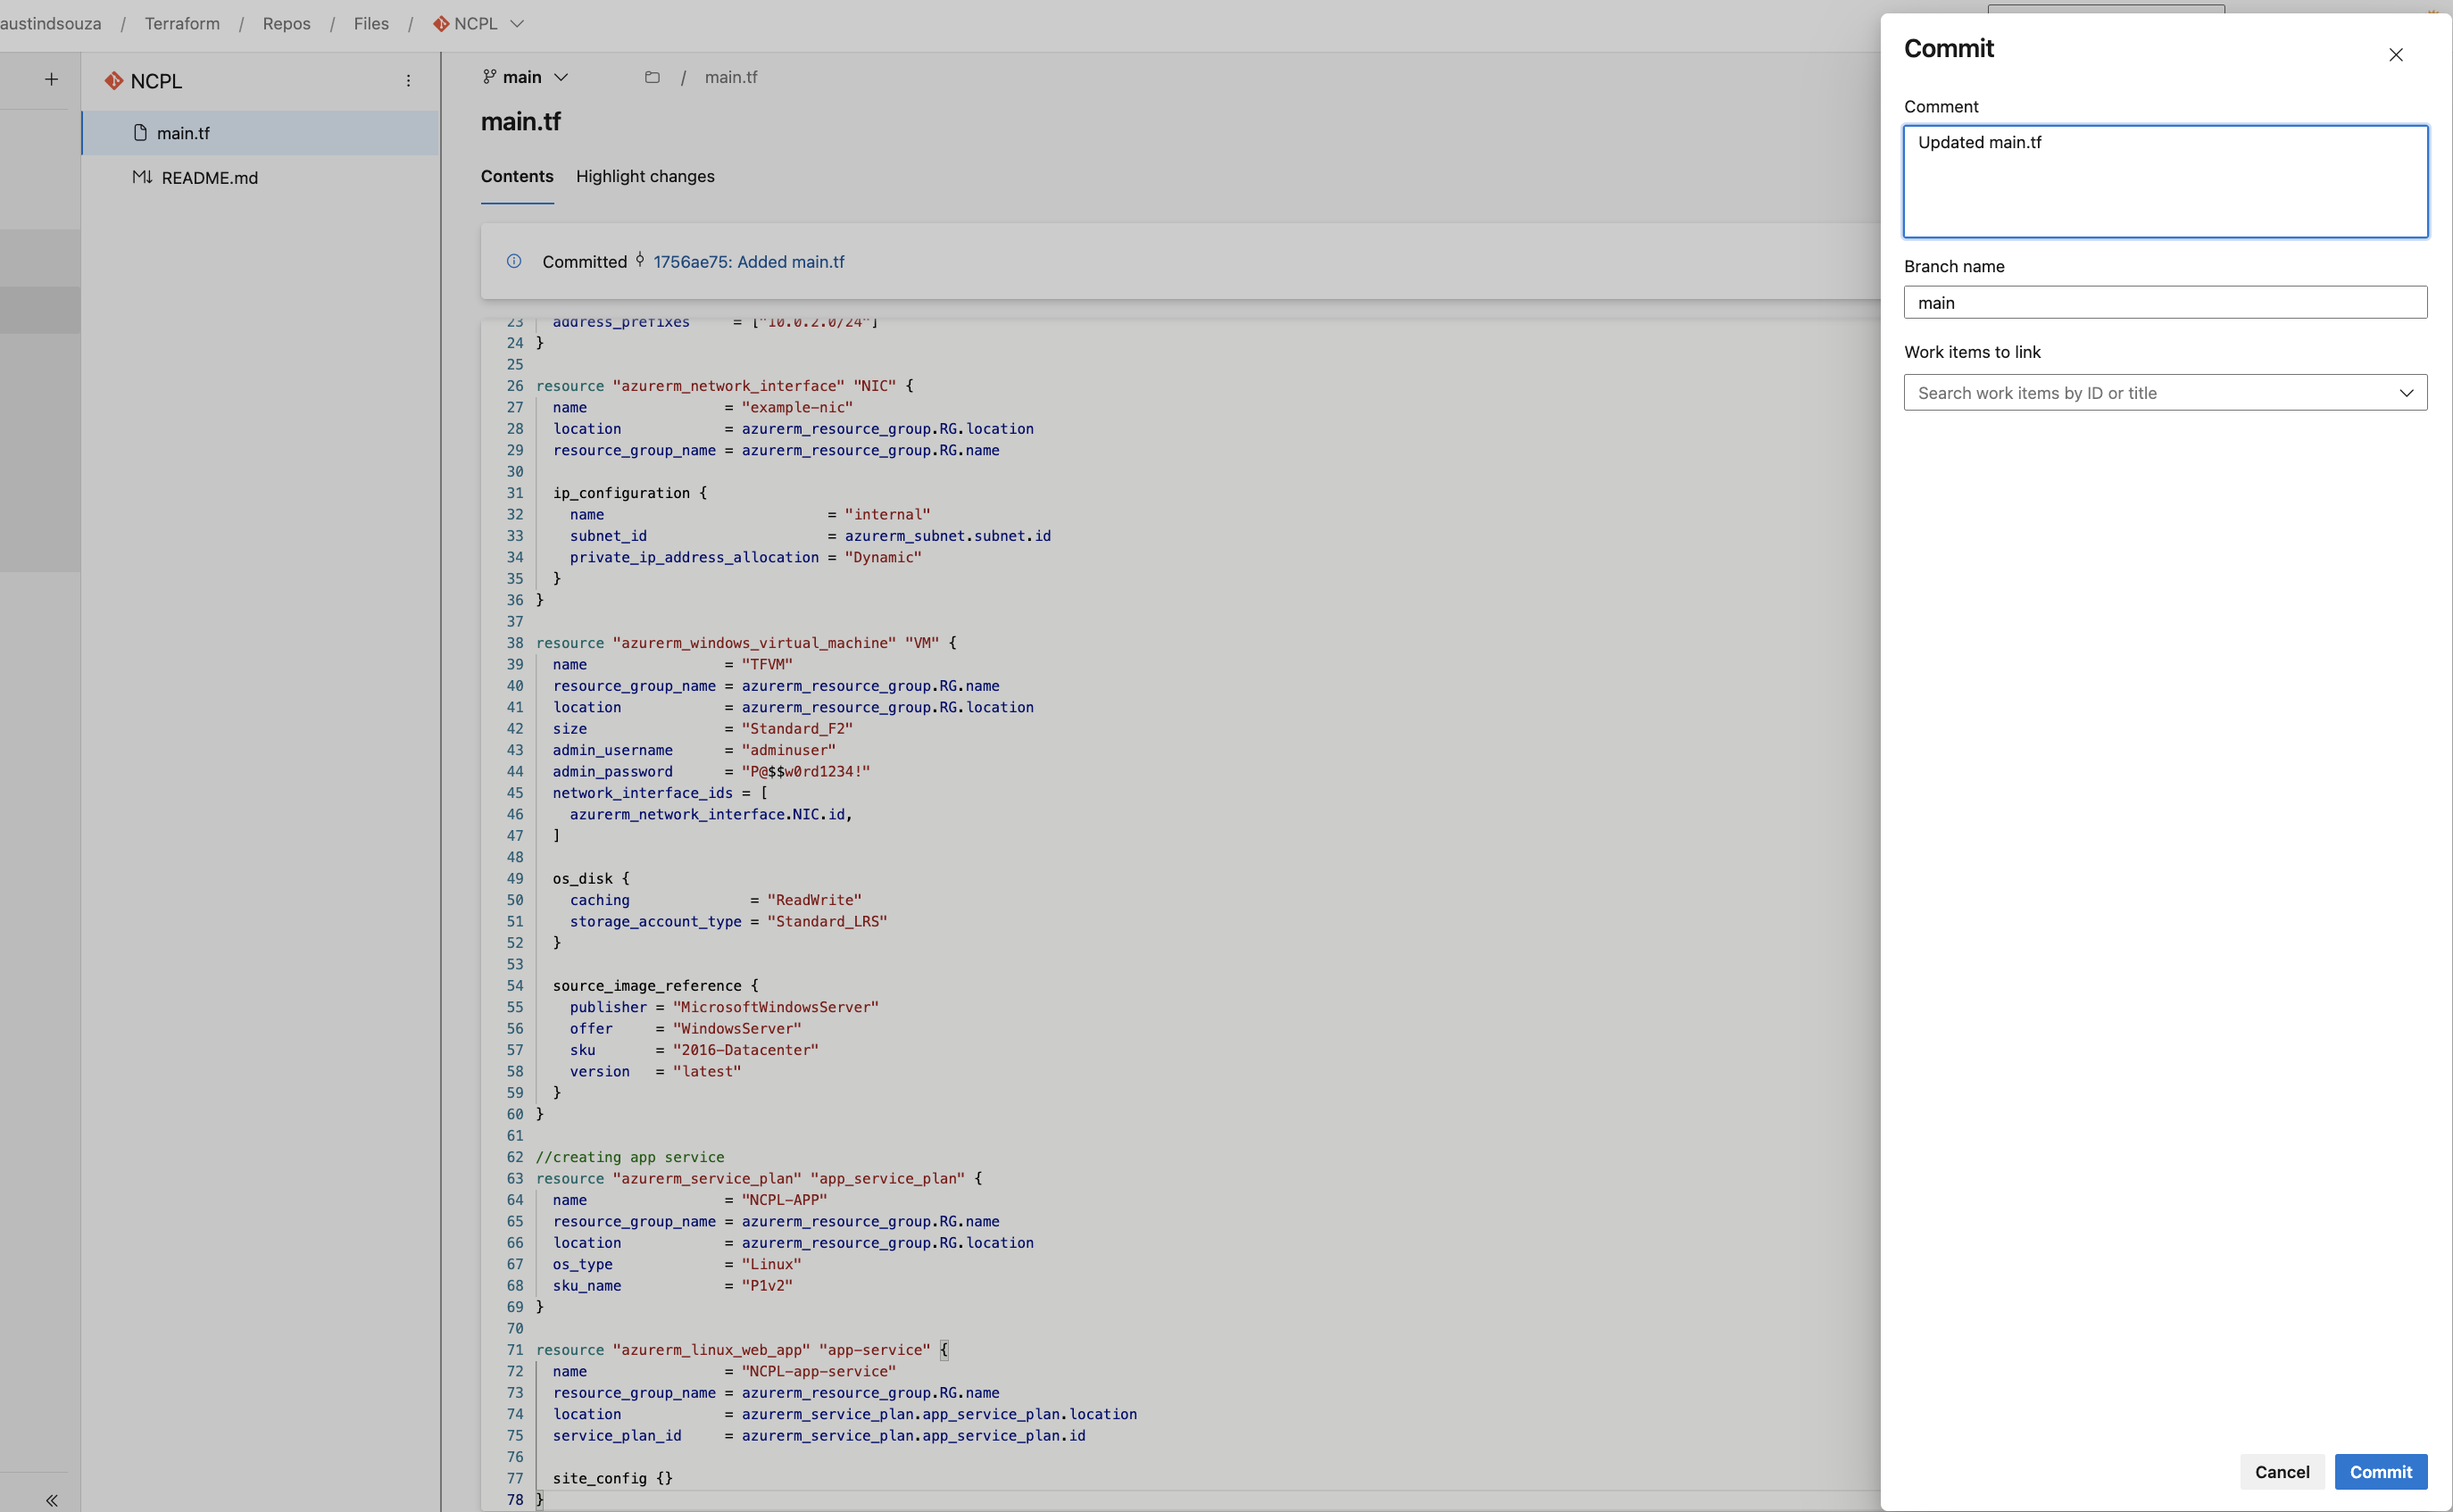
Create a new build pipeline:
Go to your Azure DevOps project, navigate to "Pipelines" and click on "New Pipeline."
Select the Azure Repos Git repository where the code is located.
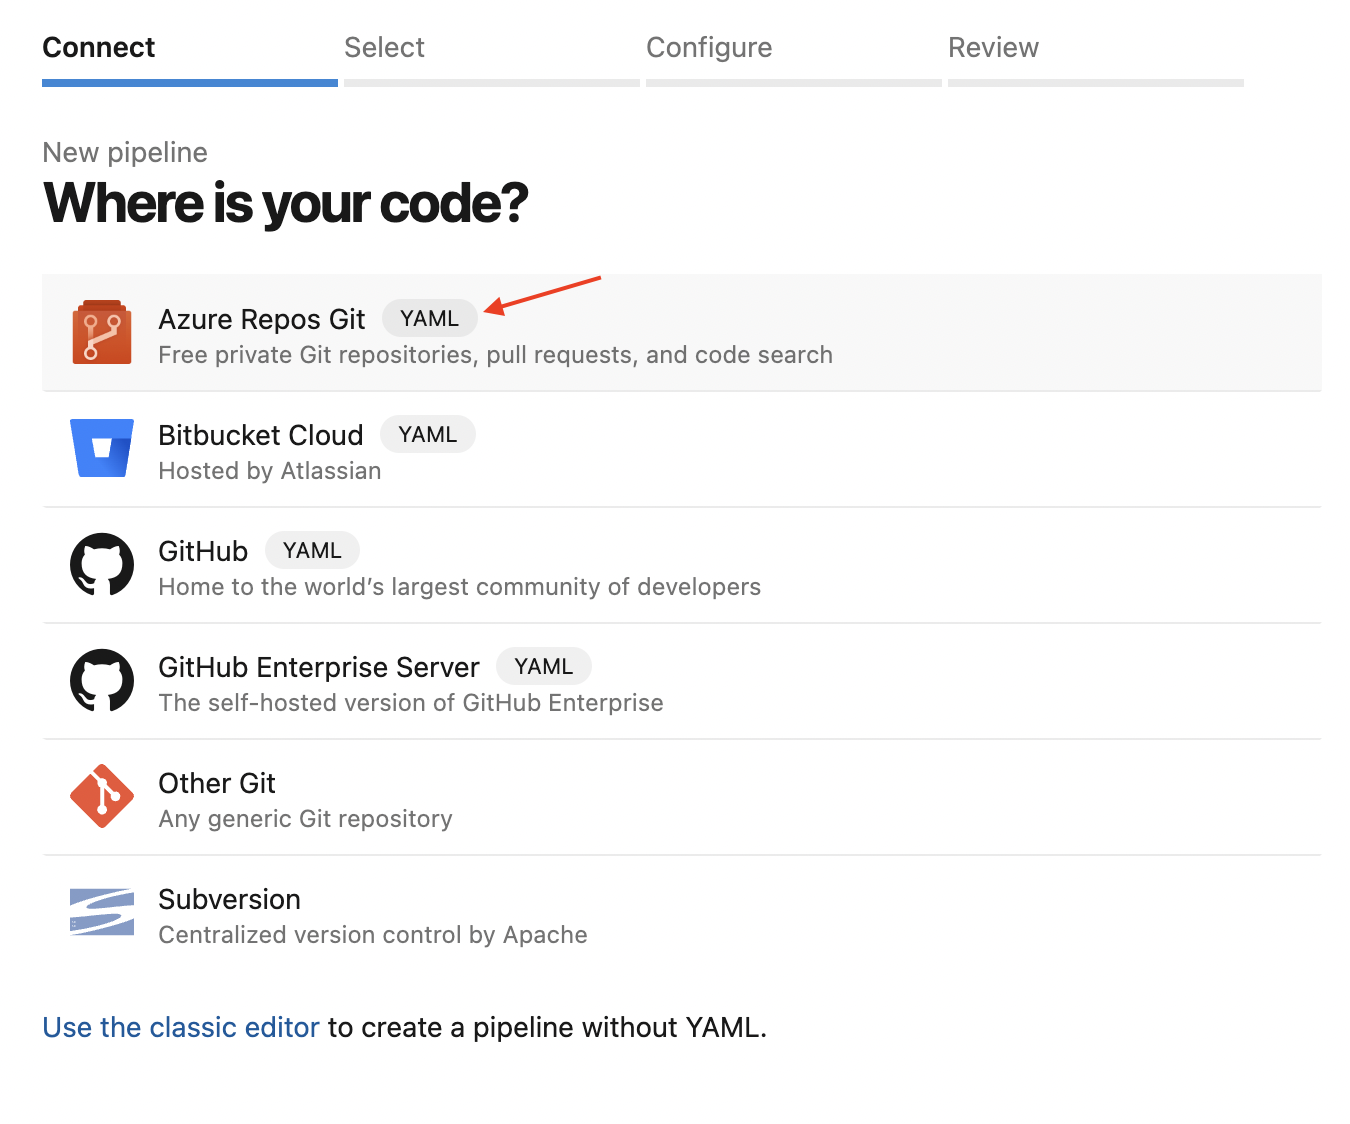
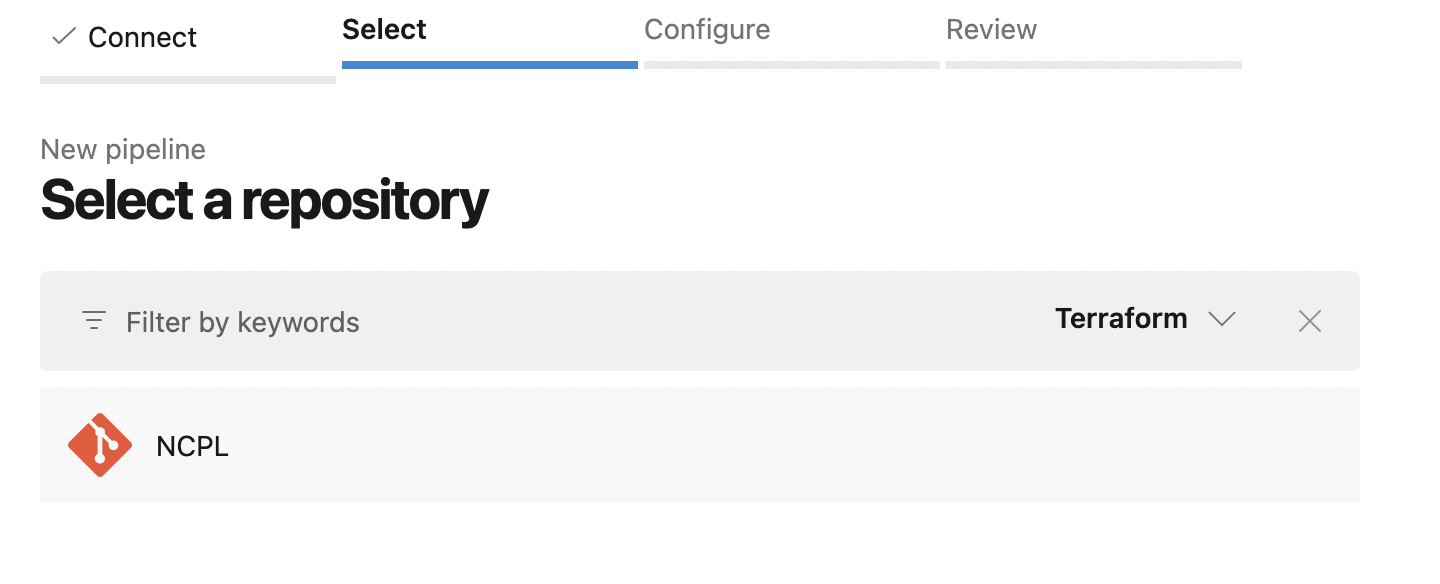
Choose the Stater Pipeline template.
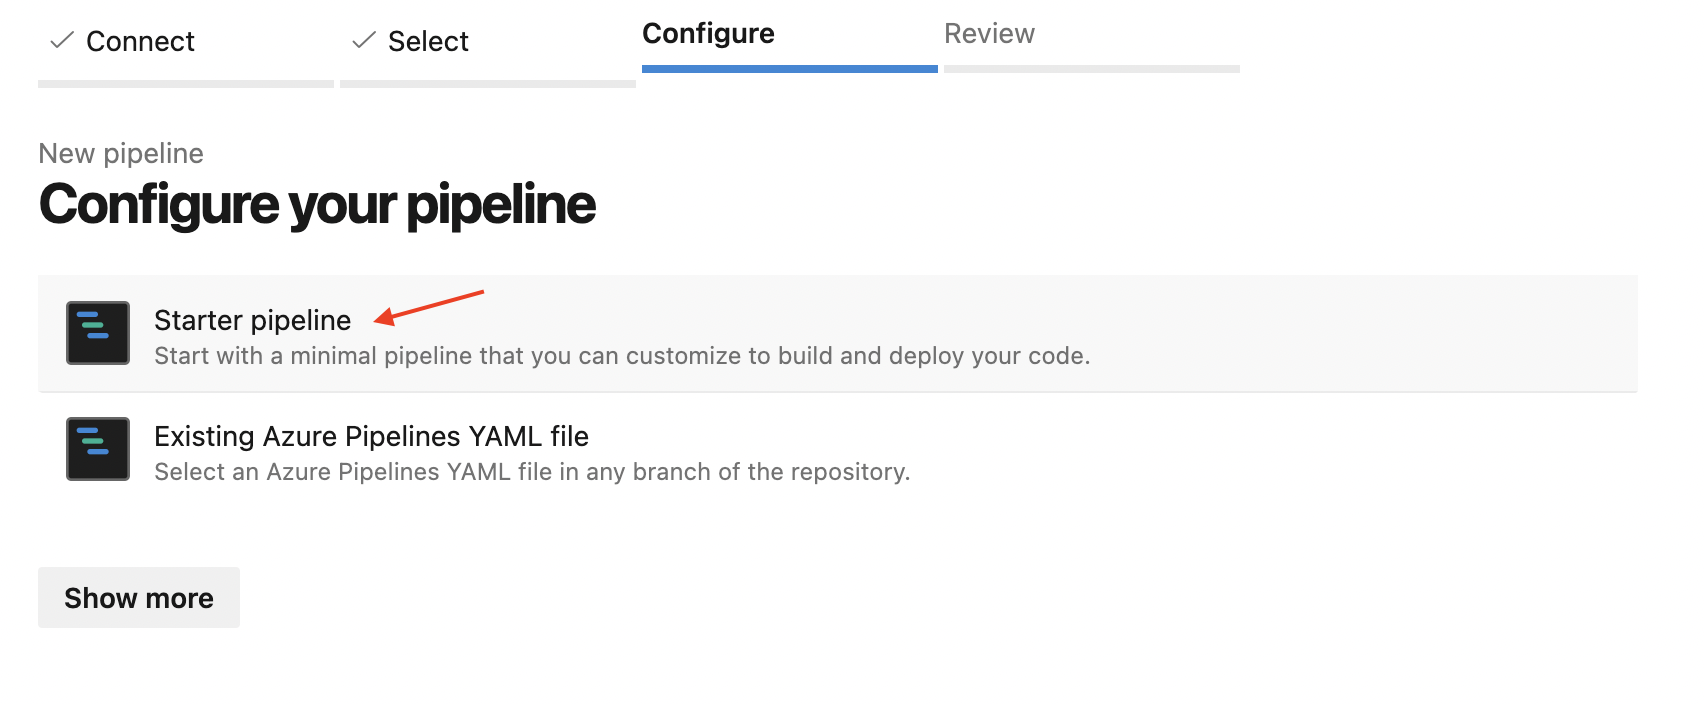
Configure the pipeline to the following:
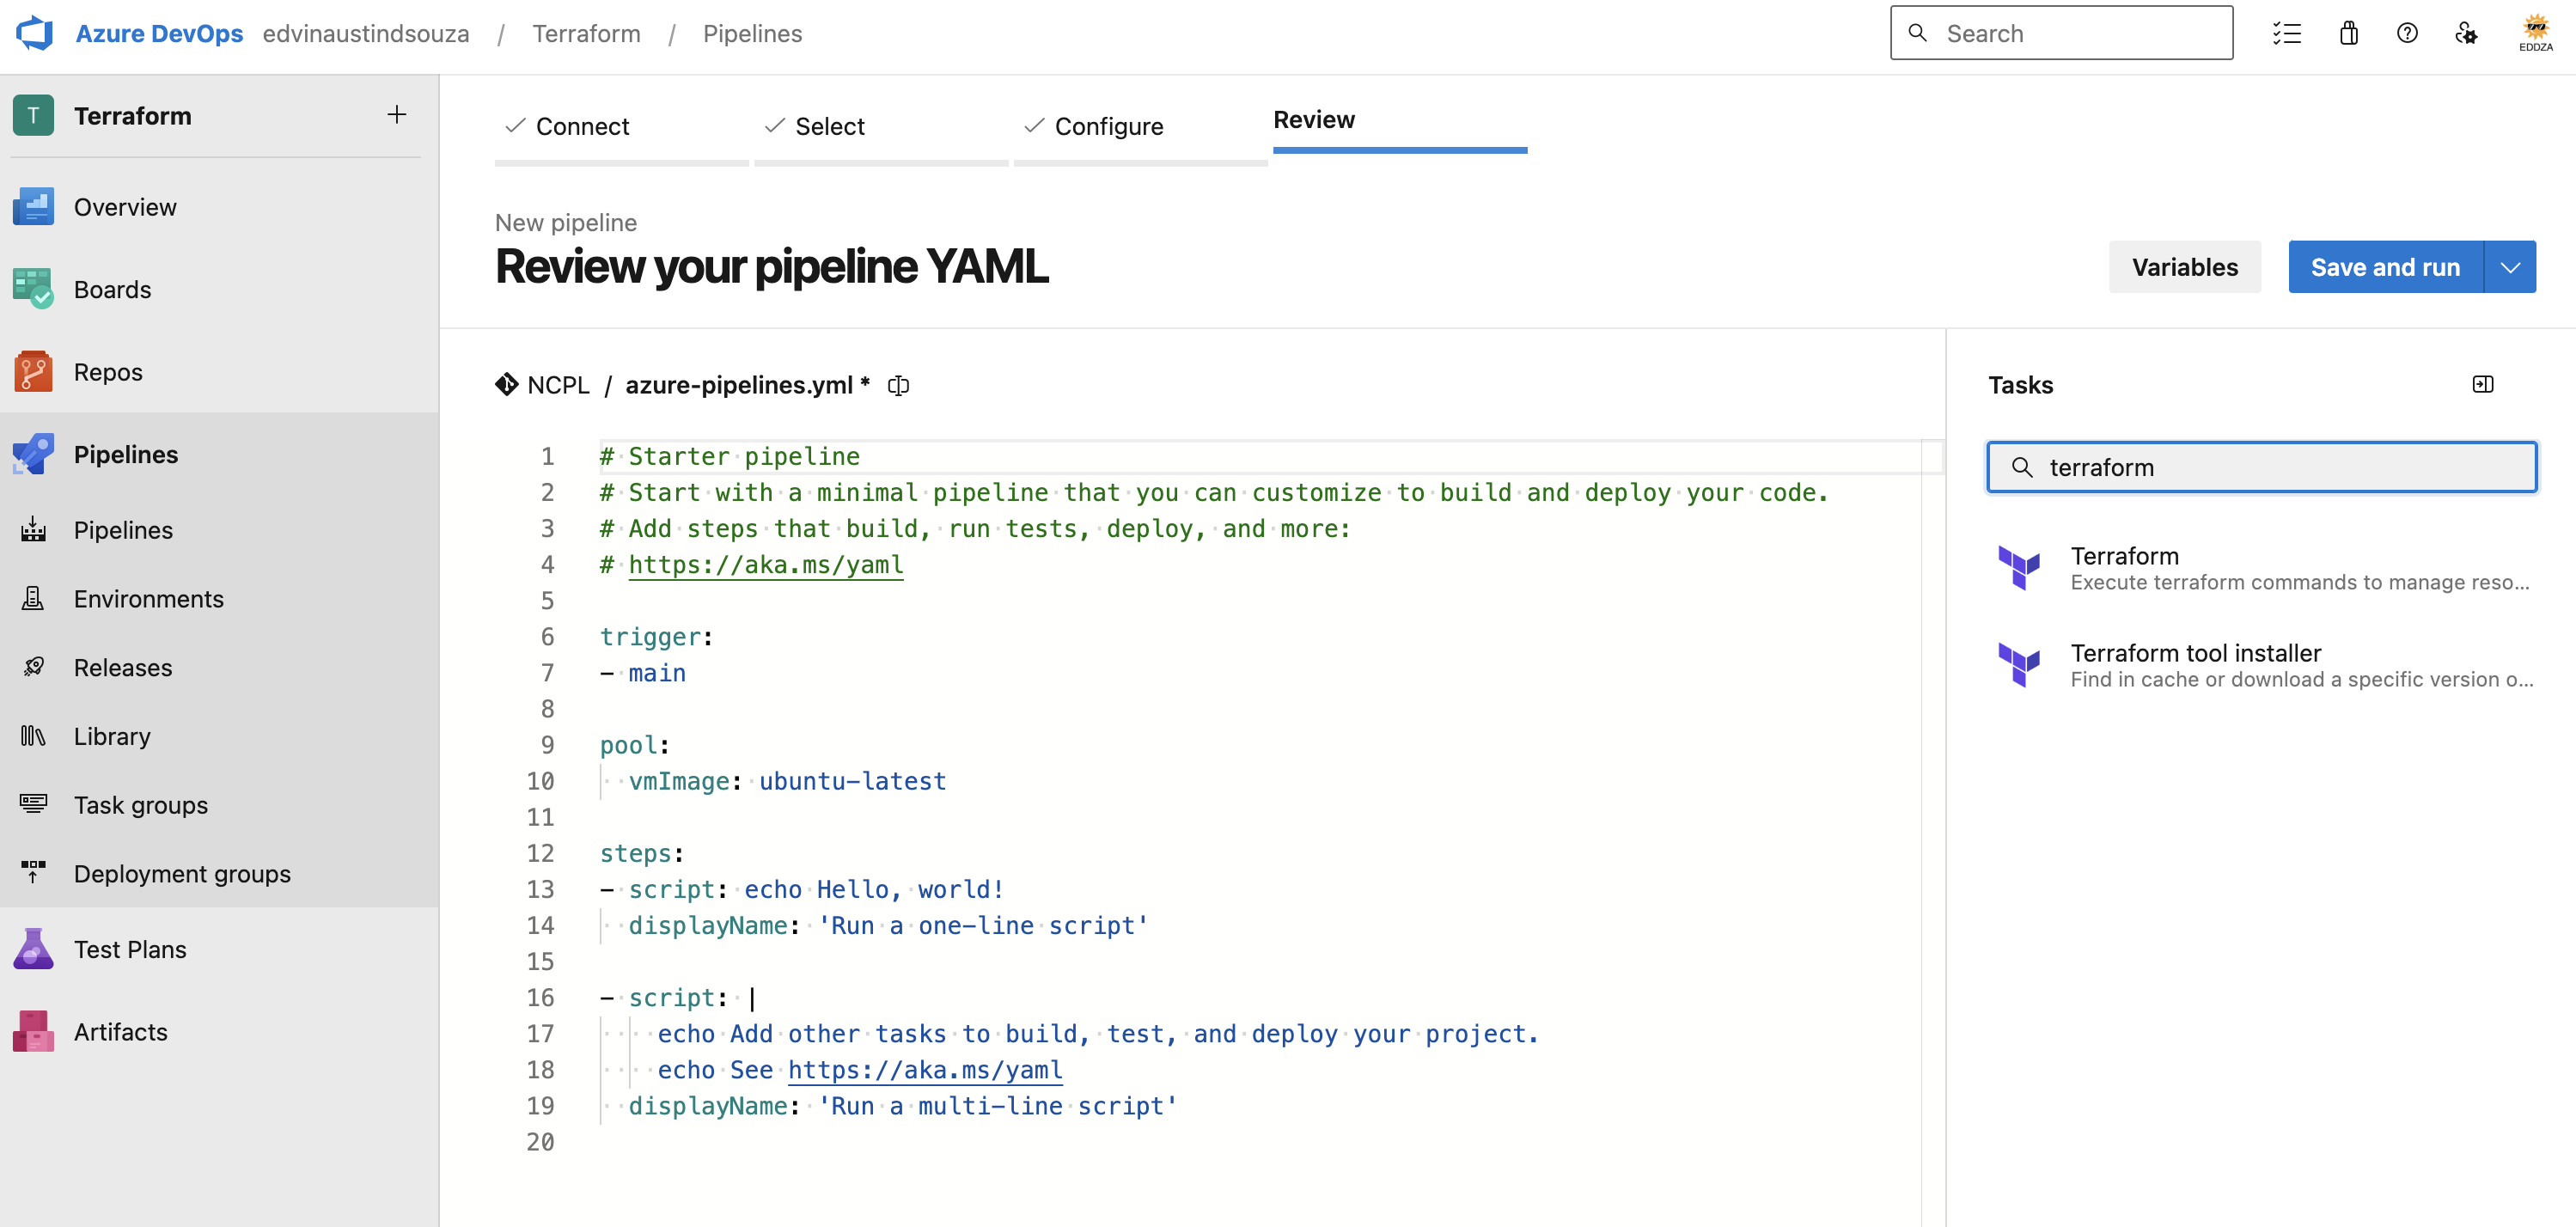
Add a "Terraform Tool Installer" task to install Terraform. Specify the version of Terraform to install.
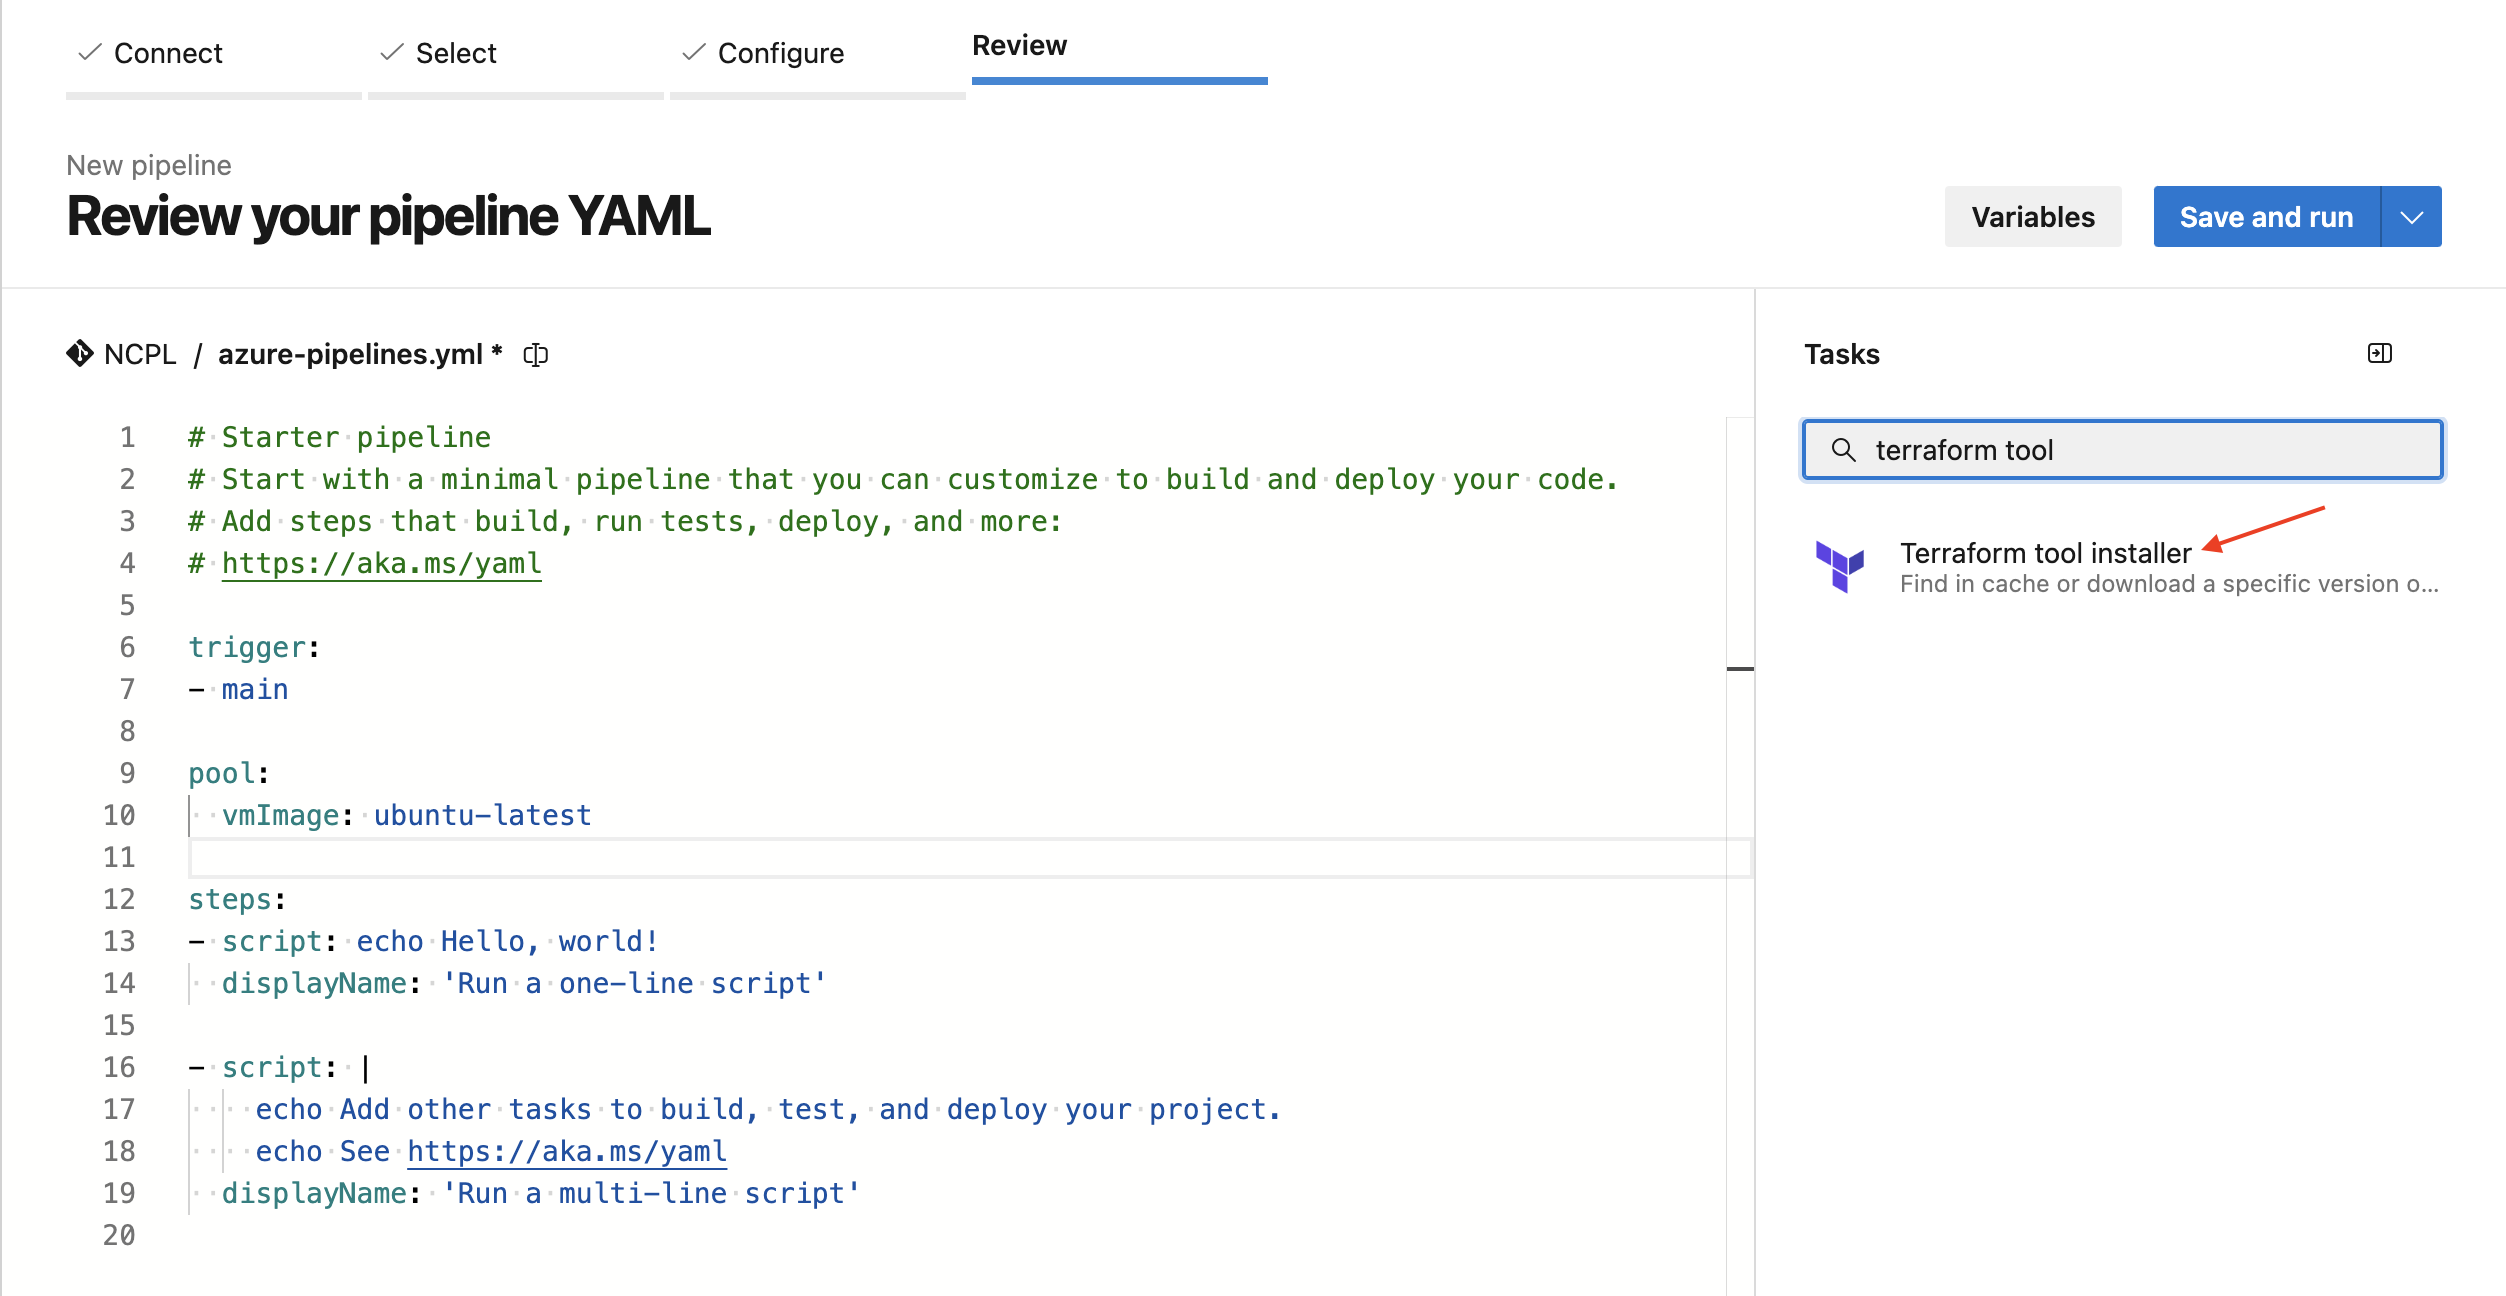
Search for "Terraform" and select the "Terraform Init" task and specify the AzureRM configuration:
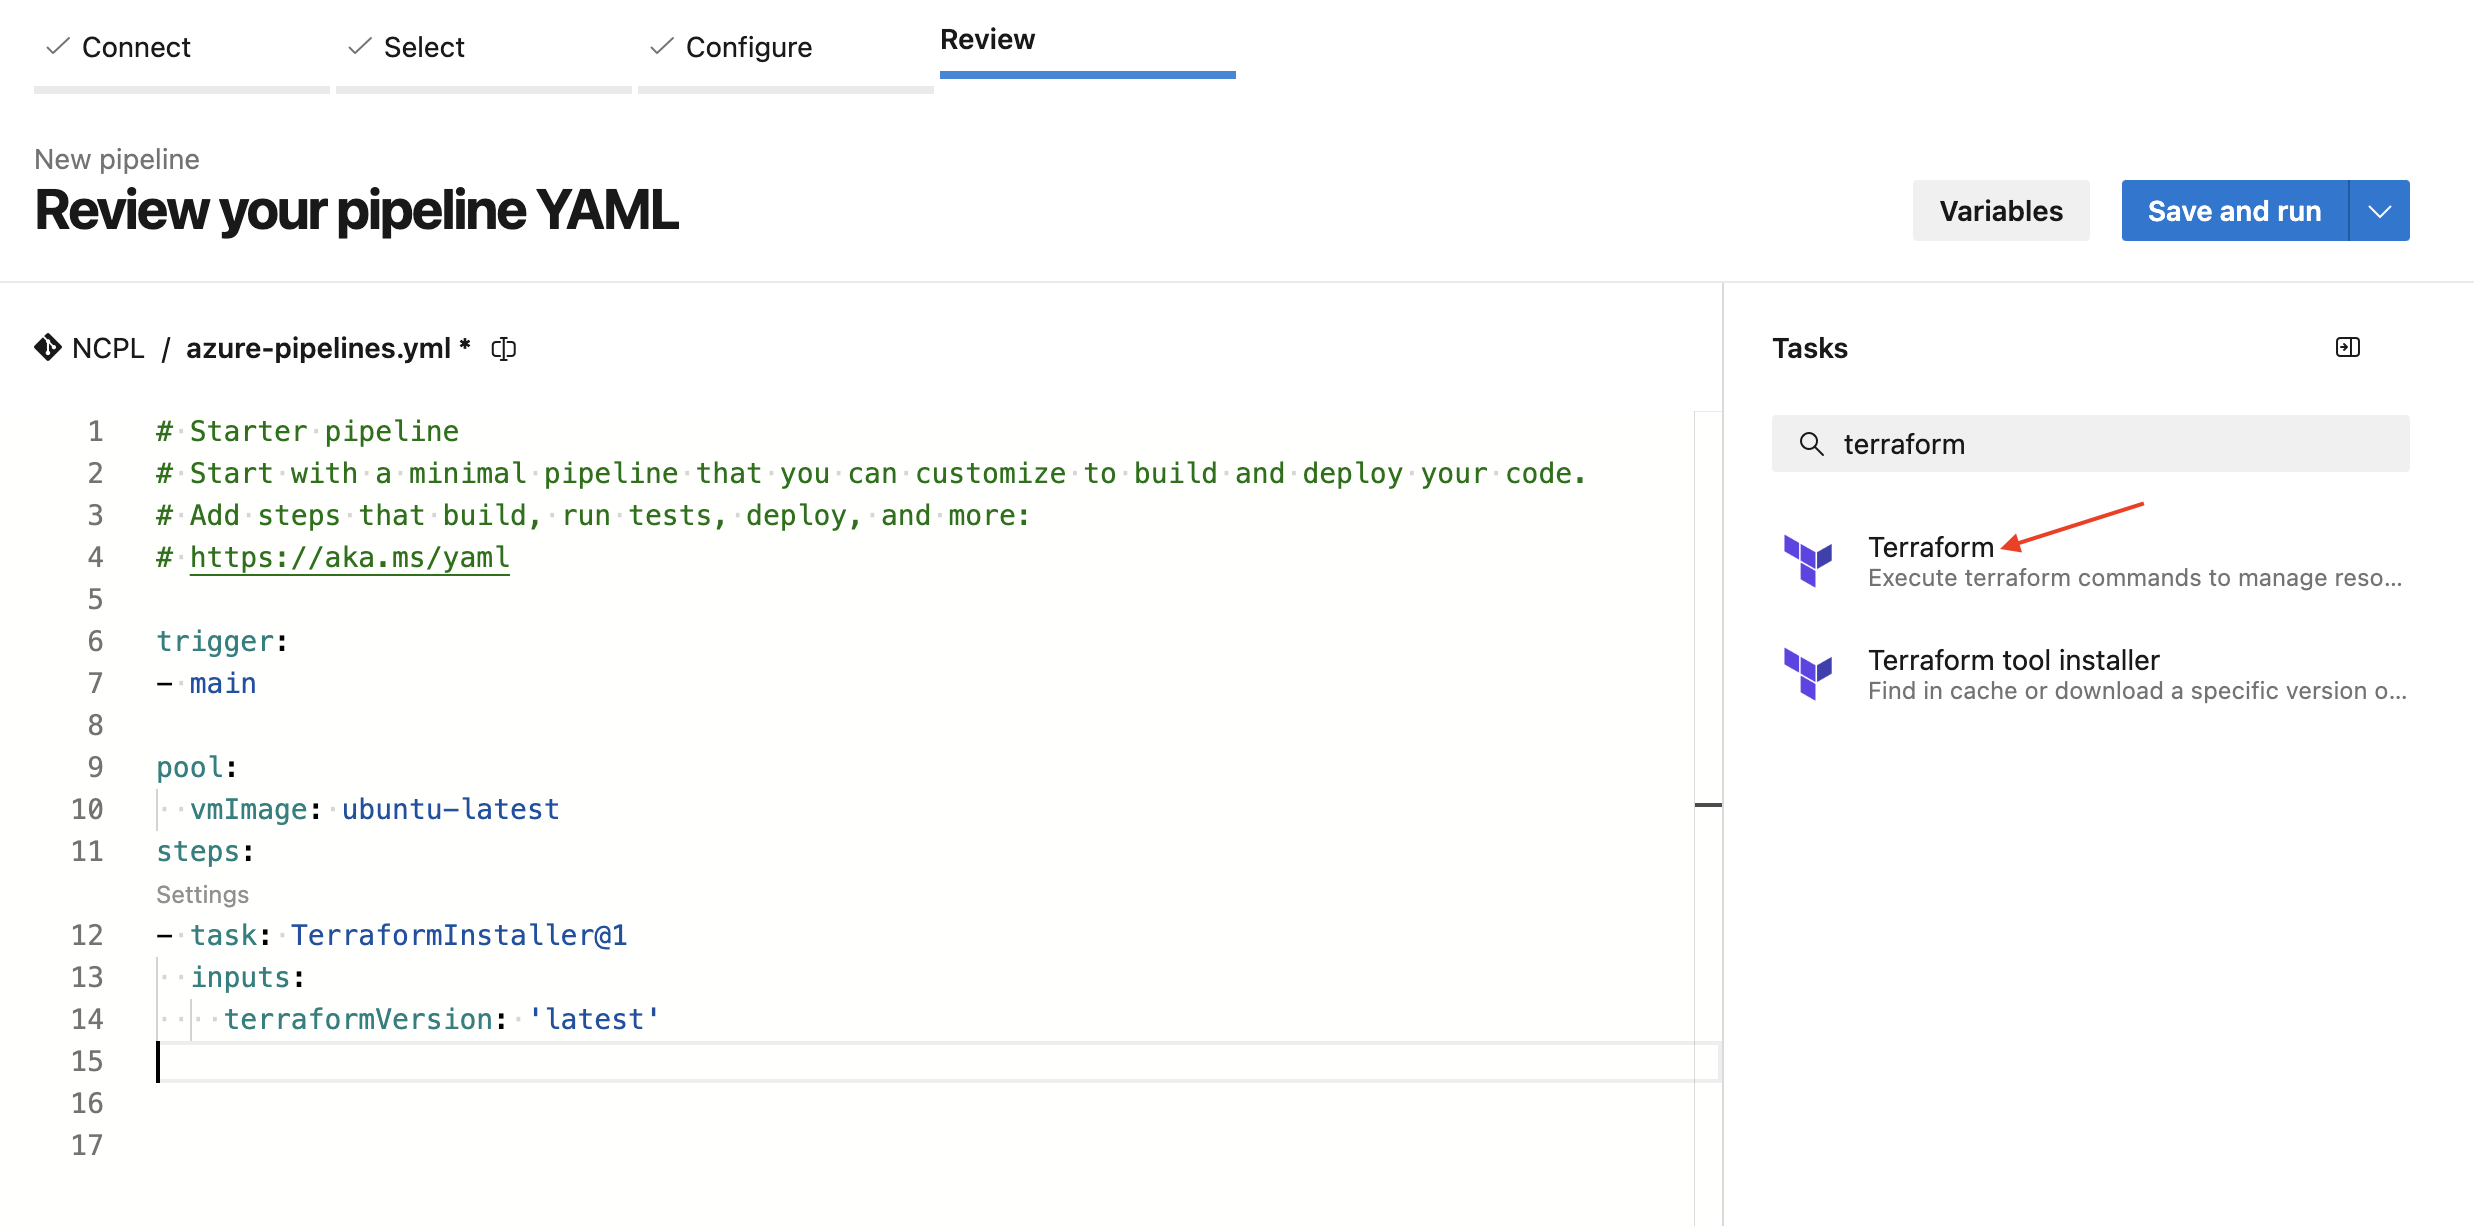
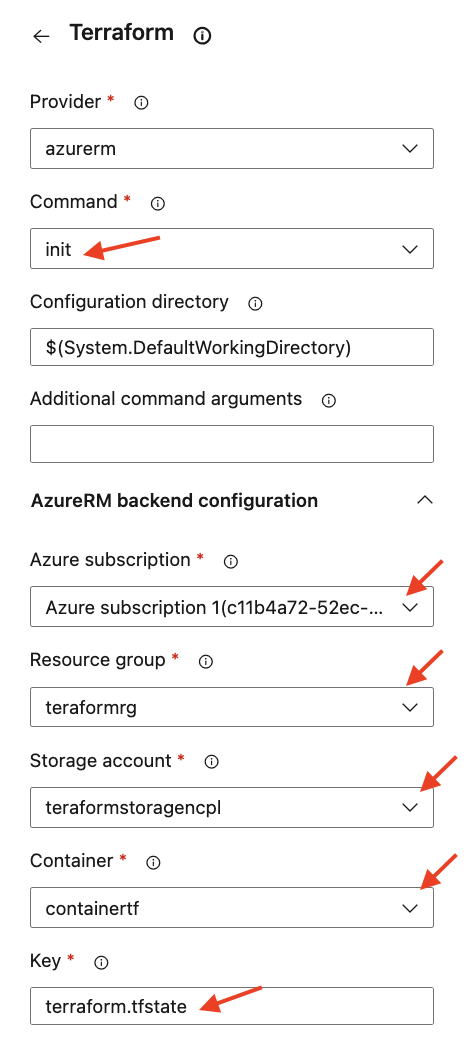
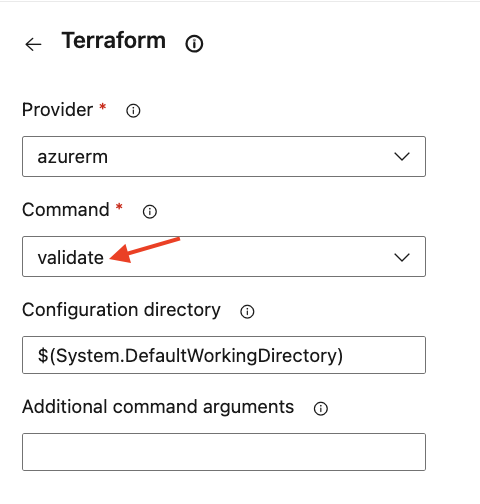
Add a "Terraform Validate" task to validate your Terraform code.
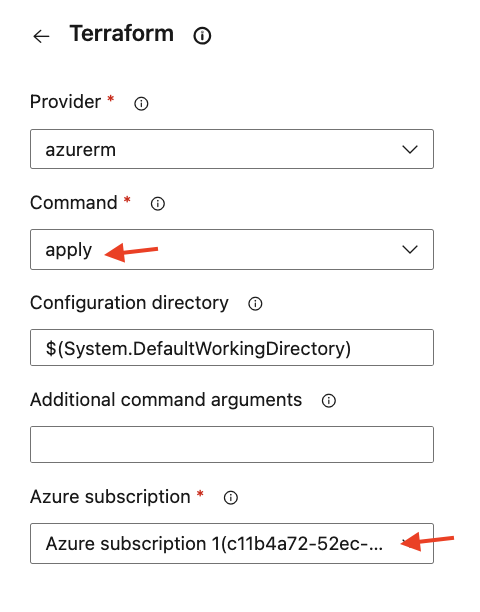
Add a "Terraform Apply" task to apply your Terraform configuration. And select subscription.
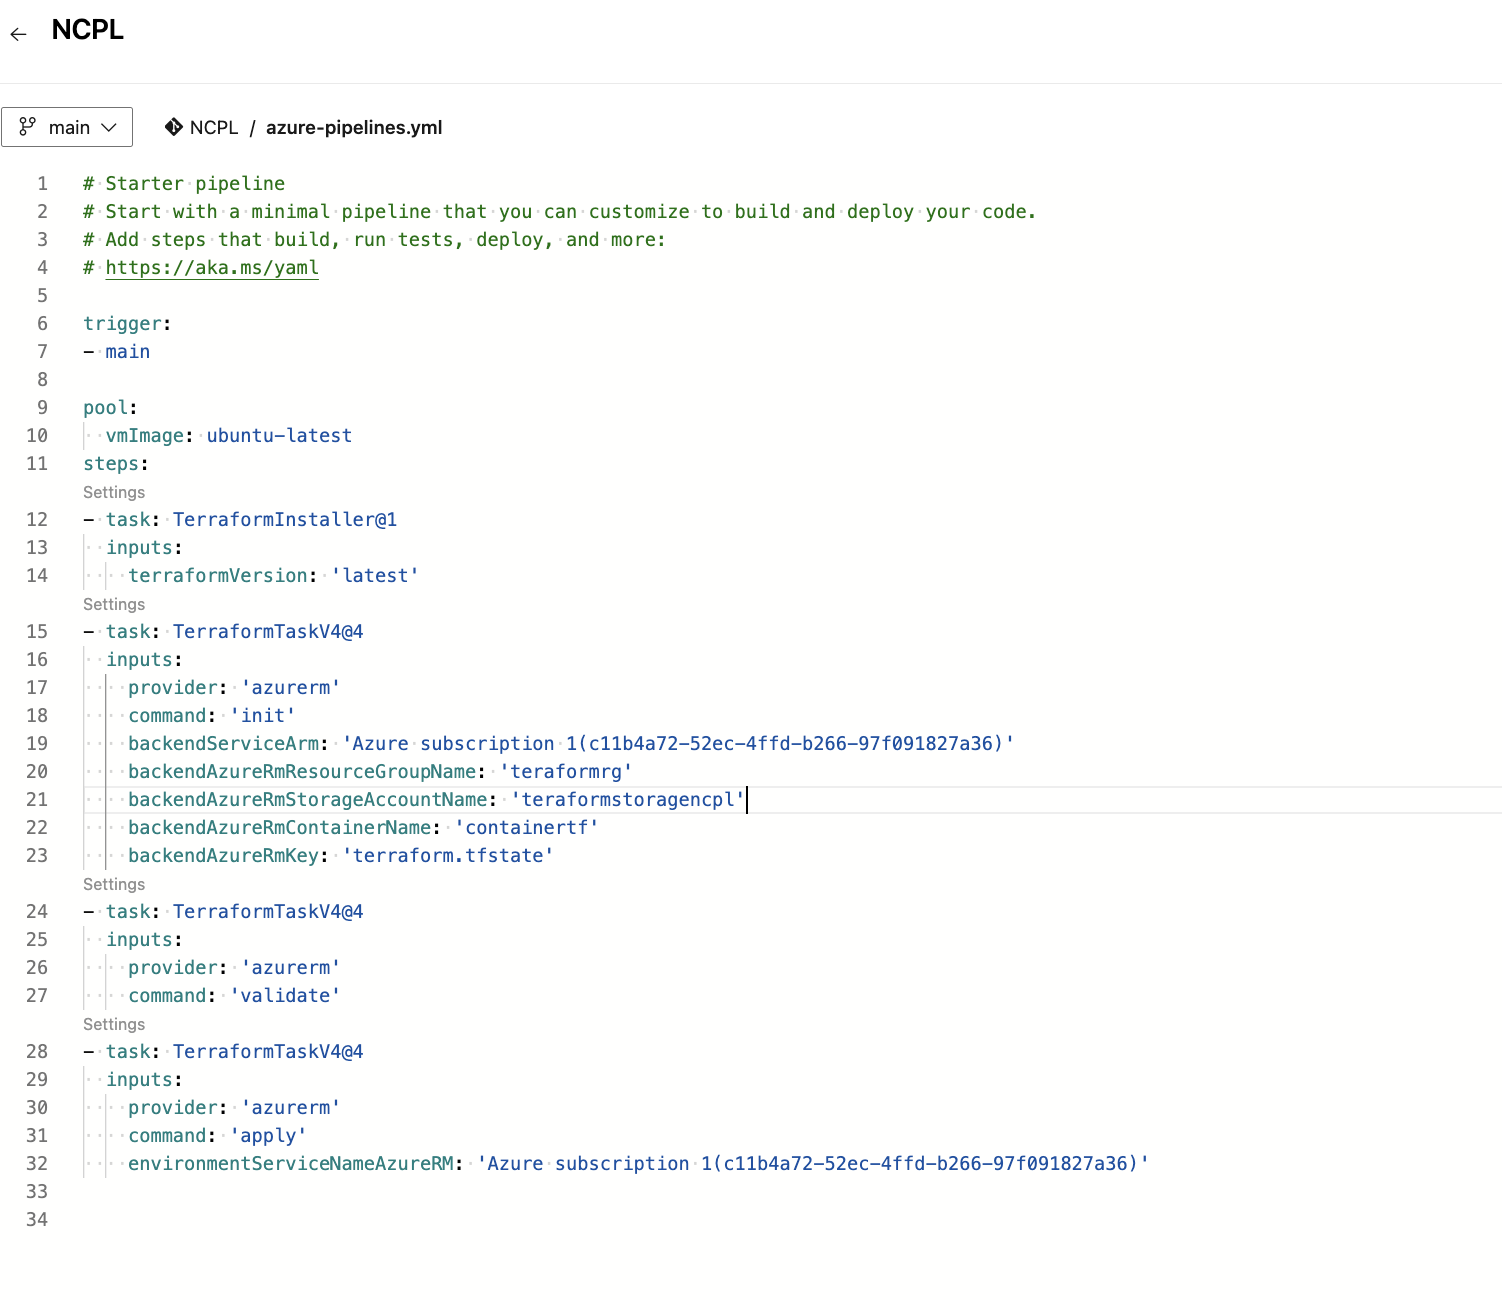
Here is how the pipeline code would look with configuration:
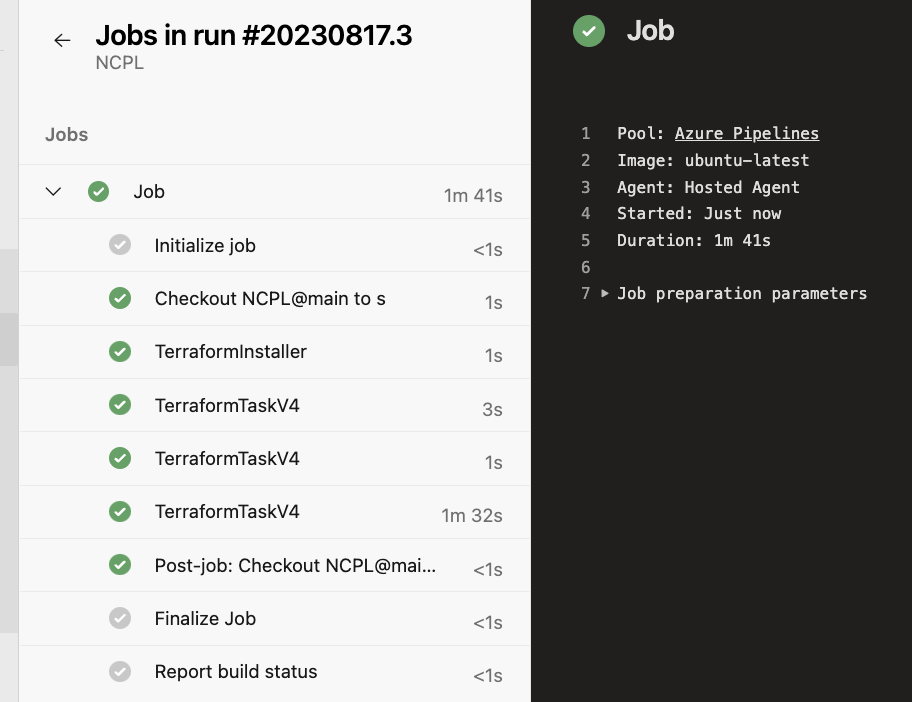
Save and Run the configuration Pipeline
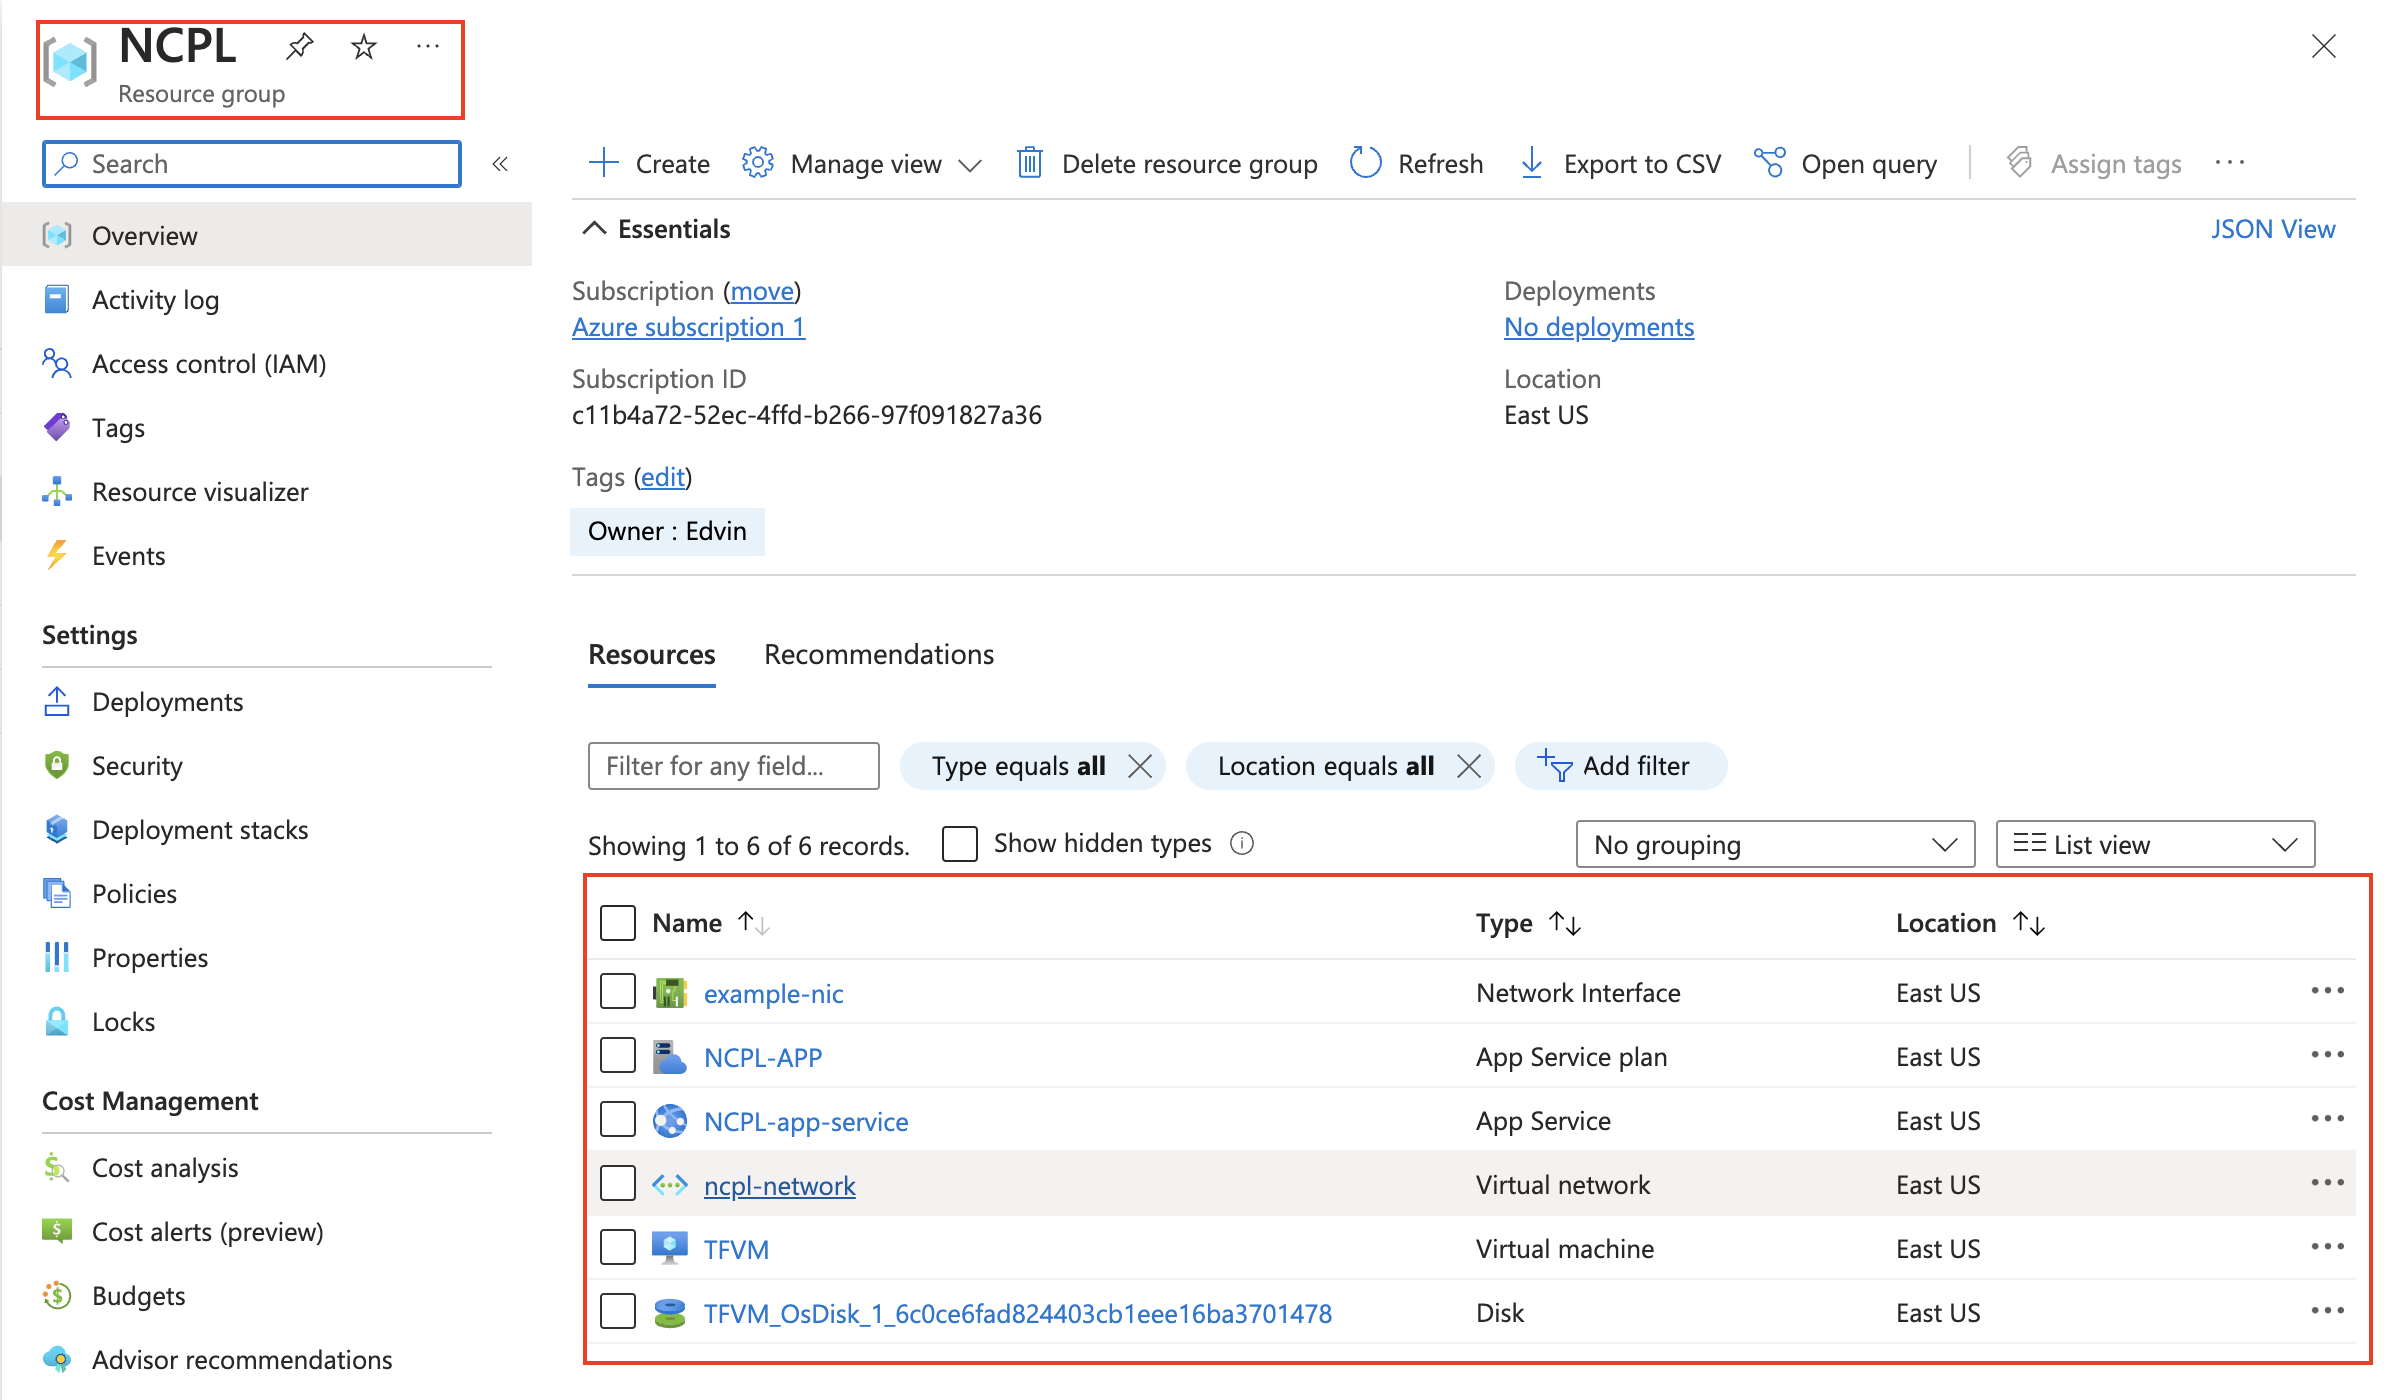
In the Azure Portal, you will find resources that have been provisioned through the Terraform pipeline, including a virtual machine (VM) and an Azure App Service.
Conclusion
Setting up an infrastructure pipeline using Terraform in Azure DevOps streamlines the process of provisioning resources like VMs and Azure App Services. This approach promotes best practices in infrastructure management, version control, and automation. By following these steps, you can efficiently manage your infrastructure while maintaining a high level of consistency and reliability.
In the end, it's not just code – it's a cloud artistry 🌈 that shapes the digital landscape. Embrace Terraform and Azure DevOps, and watch your cloud dreams become reality. 🌟🌤️
Subscribe to my newsletter
Read articles from Edvin Dsouza directly inside your inbox. Subscribe to the newsletter, and don't miss out.
Written by

Edvin Dsouza
Edvin Dsouza
👩💻 DevOps engineer 🚀 | Automation enthusiast ⚙️ | Infrastructure as code | CI/CD 🌟 Let's build awesome things together!