Introduction to Jenkins Pipelines: Streamlining Your Development Workflow
 Varun Margam
📍Introduction
Welcome to my Jenkins blog series, where we'll delve into the heart of continuous integration and continuous delivery (CI/CD), Jenkins pipelines. And learn how pipelines streamline software development processes. Let's get started!🚀
Prerequisite: You should be familiar with Jenkins and Jenkins Web Interface, if not you can refer to my blog:
📍What is a Pipeline?
A pipeline is a series of automated steps and processes interlinked in a sequence.
These 4 stages of the software development cycle.

Code, Test, Build, and Deploy steps are done manually by the Developers and Operations department. This causes frequent errors and a longer time for software development. These stages can grow more complex and arise challenges like:
Manual and Error-Prone Processes: Manual execution of tasks leads to inconsistencies and errors that can impact application quality and deployment reliability.
Lack of Standardization: Different team members might follow different processes, leading to confusion and inefficiency.
Long Build and Test Cycles: Without automation, build and test cycles can be time-consuming, delaying the development and feedback loop.
Deployment Bottlenecks: Manual deployment processes can lead to bottlenecks, where deployments are held up by a single person or at a specific time.
Visibility and Traceability: It's hard to keep track of what happened when and why during the development cycle.
Pipeline helps to overcome these challenges by automating this software development process. Since automation plays a pivotal role in modern software development due to the increasing complexity of applications, the demand for faster delivery, and the need for maintaining high-quality code.
📍Jenkins Pipeline
Jenkins is used as a tool to build pipelines that can automate and streamline various stages by defining them.
Pipelines can be built/created using:
Jenkins User Interface (GUI): Similar to the process of crafting a Jenkins Job, you can design pipelines using the Jenkins interface.
Jenkinsfile: Here, the build pipeline can be scripted within a configuration file known as a "Jenkinsfile". This Jenkinsfile is called "Pipeline as a Code" which is part of this whole "Infrastructure as a Code" concept. Therefore, you create Jenkinsfile in your repository with your code.
The Jenkinsfile is scripted in "Groovy" syntax which helps us to define the pipeline's structure and the tasks to perform across each stage.
📍Jenkinsfile: Defining Pipelines with Groovy
Jenkinsfile is a crucial component in achieving your continuous integration and continuous deployment (CI/CD) processes using Jenkins. It serves as a blueprint for constructing automated workflows that encompass building, testing, and deploying software applications. The Jenkinsfile is written in Groovy, a versatile scripting language that operates within the Java Virtual Machine (JVM) environment.
Jenkinsfile offers two primary syntax options:
Scripted Pipeline
Declarative Pipeline
Groovy is used to define both Declarative and Scripted Pipelines in Jenkinsfile.
✔Scripted Pipeline: Flexibility and Control
This was the traditionally used syntax of the Jenkinsfile.
Utilizes extensive Groovy scripting for pipeline logic.
It provides more flexibility and advanced scripting capabilities.
Useful for complex scenarios that might require conditional statements or custom logic that is not easily achievable with declarative syntax.
But can also become more challenging to maintain as they grow in complexity.
✔Declarative Pipeline: Simplified Structuring
Provides a higher-level, more human-readable syntax for defining pipelines.
They are simpler and more structured, making them easier to understand, maintain, and visualize.
Simplifies pipeline definition through predefined constructs.
Abstracts complexity by offering a set structure and encapsulates common CI/CD patterns.
Ideal for scenarios where readability and standardization are important.
📍Jenkinsfile Syntax
✔Directives
In Jenkins pipelines and scripting, a directive is a keyword or statement that instructs the pipeline engine (or Jenkins) on how to execute pipeline stages, steps, and actions. Directives shape the pipeline's structure and behavior, guiding Jenkins on tasks like stage execution locations, error handling, user notifications, and more.
in a Jenkins Declarative Pipeline, some common directives include:
pipeline: Defines the start of the pipeline.agent: Specifies where the pipeline should run.stages: Defines the different stages of the pipeline.steps: Lists the individual steps within a stage.post: Specifies actions to take after the pipeline completes.
These directives help you define a structured and automated workflow for building, testing, and deploying your software.
✔Scripted Pipeline Structure
node {
    // Define environment variables if needed
    def myVariable = "some value"

    stage('Clone') {
        // Clone source code from version control
        echo "Code cloned"
    }

    stage('Build') {
        // Run build commands or scripts
        echo "Code Built"
    }

    stage('Test') {
        // Run tests
        echo "Code Tested"
    }

    stage('Deploy') {
        // Deploy to production or other environments
        echo "Code Deployed"
    }

    // Additional stages and steps can be added
    // ...
}
✔Declarative Pipeline Structure
pipeline {
    agent any // Use any available agent

    environment {
        // Define environment variables if needed
        MY_VARIABLE = "some value"
    }

    stages {
        stage('Clone') {
            steps {
                // Checkout source code from version control
                echo "Code cloned"
            }
        }

        stage('Build') {
            steps {
                // Run build commands or scripts
                echo "Code Built"
            }
        }

        stage('Test') {
            steps {
                // Run tests
                echo "Code Tested"
            }
        }

        stage('Deploy') {
            steps {
                // Deploy to production or other environments
                echo "Code Deployed"
            }
        }

        // Additional stages can be added
        // ...
    }

    // Post-build actions can be defined here
    post {
// In this block you define expressions of build status or build status changes.
        always{
            // Actions to perform irrespective of build success or fail

        }
        success {
            // Actions to perform on successful build
            echo 'Build succeeded!'
        }
        failure {
            // Actions to perform on build failure
            echo 'Build failed!'
        }
    }
}
The
agentdirective specifies where the pipeline should run (on any available agent in this case).The
stagesblock defines a sequence of stages in the pipeline.Each
stageblock represents a distinct phase of the pipeline, such as checking out code, building, testing, and deploying.Inside each
stage, you definestepsthat represent individual actions to be executed, such as running shell commands, executing scripts, or calling plugins.
Looking at both structures a question may arise:🤔
✔Q) IfScripted and Declarative both offers predefined structure then how are they different❓
Ans:
Declarative Pipelines prioritize simplicity and readability. They enforce a certain structure by providing predefined sections like agent, stages, and post. While these sections give you a structured outline for your pipeline, they abstract away some of the lower-level scripting complexity.
Scripted Pipelines, on the other hand, provide a more powerful and flexible scripting approach. While they do follow a structure similar to Declarative Pipelines, Scripted Pipelines allow you to write Groovy code directly within each stage's steps. This means you have greater control over the logic within each step, allowing for more complex conditional statements, loops, variable assignments, and integration with external scripts or tools. Scripted Pipelines are better suited for scenarios that demand custom scripting or more advanced logic.
In the declarative pipeline, we saw the agent directive which is closely related to the master-slave concept in Jenkins. Let's understand the "master-slave architecture".
📍Master-Slave Architecture
In a master-slave setup, the Jenkins master (central server) manages the distribution of tasks to one or more Jenkins agents (slaves). These agents can be on different machines or even in cloud environments. The agents are responsible for executing the tasks assigned to them by the master.
Agent directive: The agent directive in Jenkins pipelines allows you to specify where a pipeline's stages and steps should be executed. This directive lets you choose which agent (or agents) should perform the tasks defined in your pipeline.
Labels: Jenkins agents can be labeled based on their capabilities (e.g., "Linux", "Windows", "docker"). When you use the label attribute in the agent directive, you're telling Jenkins to select an agent with a specific label to run the pipeline stages.
Node Blocks: In Scripted Pipelines, you often use node blocks to specify the agent where the enclosed steps should be executed. This allows you to control which agent is used for specific tasks within the pipeline.
✔Scenario
Imagine you're developing a web application that needs to be built, tested, and deployed. You have a Jenkins setup with multiple agents: one labeled as "Linux" and another labeled as "Docker". You want to take advantage of these agents to run your pipeline tasks efficiently.
Let's consider a Declarative Pipeline example:
pipeline {
    agent {
        label 'Linux' // Use an agent labeled as 'Linux'
    }
    stages {
        stage('Build') {
            steps {
                echo "Code Built"
            }
        }
        stage('Test') {
            steps {
                echo "Code Tested"
            }
        }
        // ...
    }
}
In this example, the pipeline stages (Build, Test, etc.) will run on an agent labeled as "Linux"
Node Blocks in Scripted Pipelines:
In a Scripted Pipeline, you can use node blocks to specify the agent for a specific set of steps:
node('Docker') {
    stage('Deploy in Docker') {
        // steps and code to deploy in Docker
    }
}
📝Note*: This is a Groovy syntax I was unable to find the section to write a Groovy code.*
📍Creating a Simple Declarative Pipeline
We will be creating a declarative pipeline since it is the most widely used. We will create this pipeline in Jenkins GUI.
Step 1: Create an AWS t2.micro ubuntu EC2 instance and make sure it should have Docker and Jenkins installed in it.
Refer to these blogs for the installation:
Skip this step if you are running on your local machine but make sure you have Docker and Jenkins installed in it.
Step 2: Log in to your Jenkins Web Interface and click on "New Item" to create a Jenkins job.
Step 3: Name it as "Simple-declarative", select "Pipeline", and click "Ok".
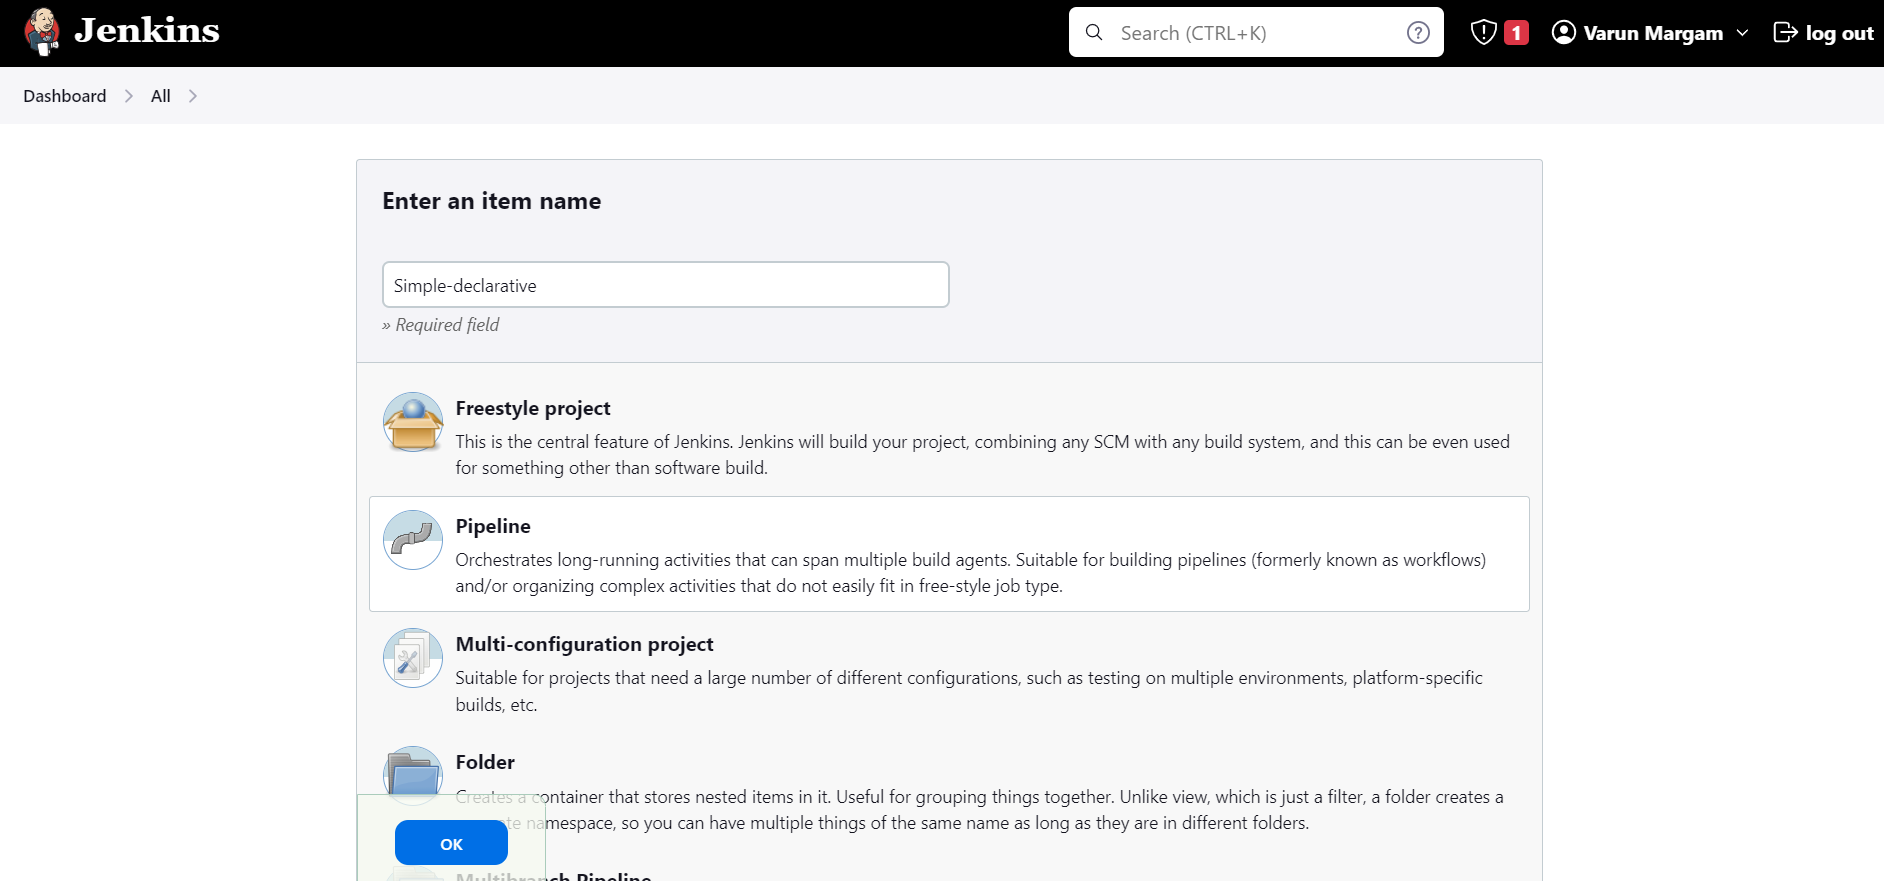
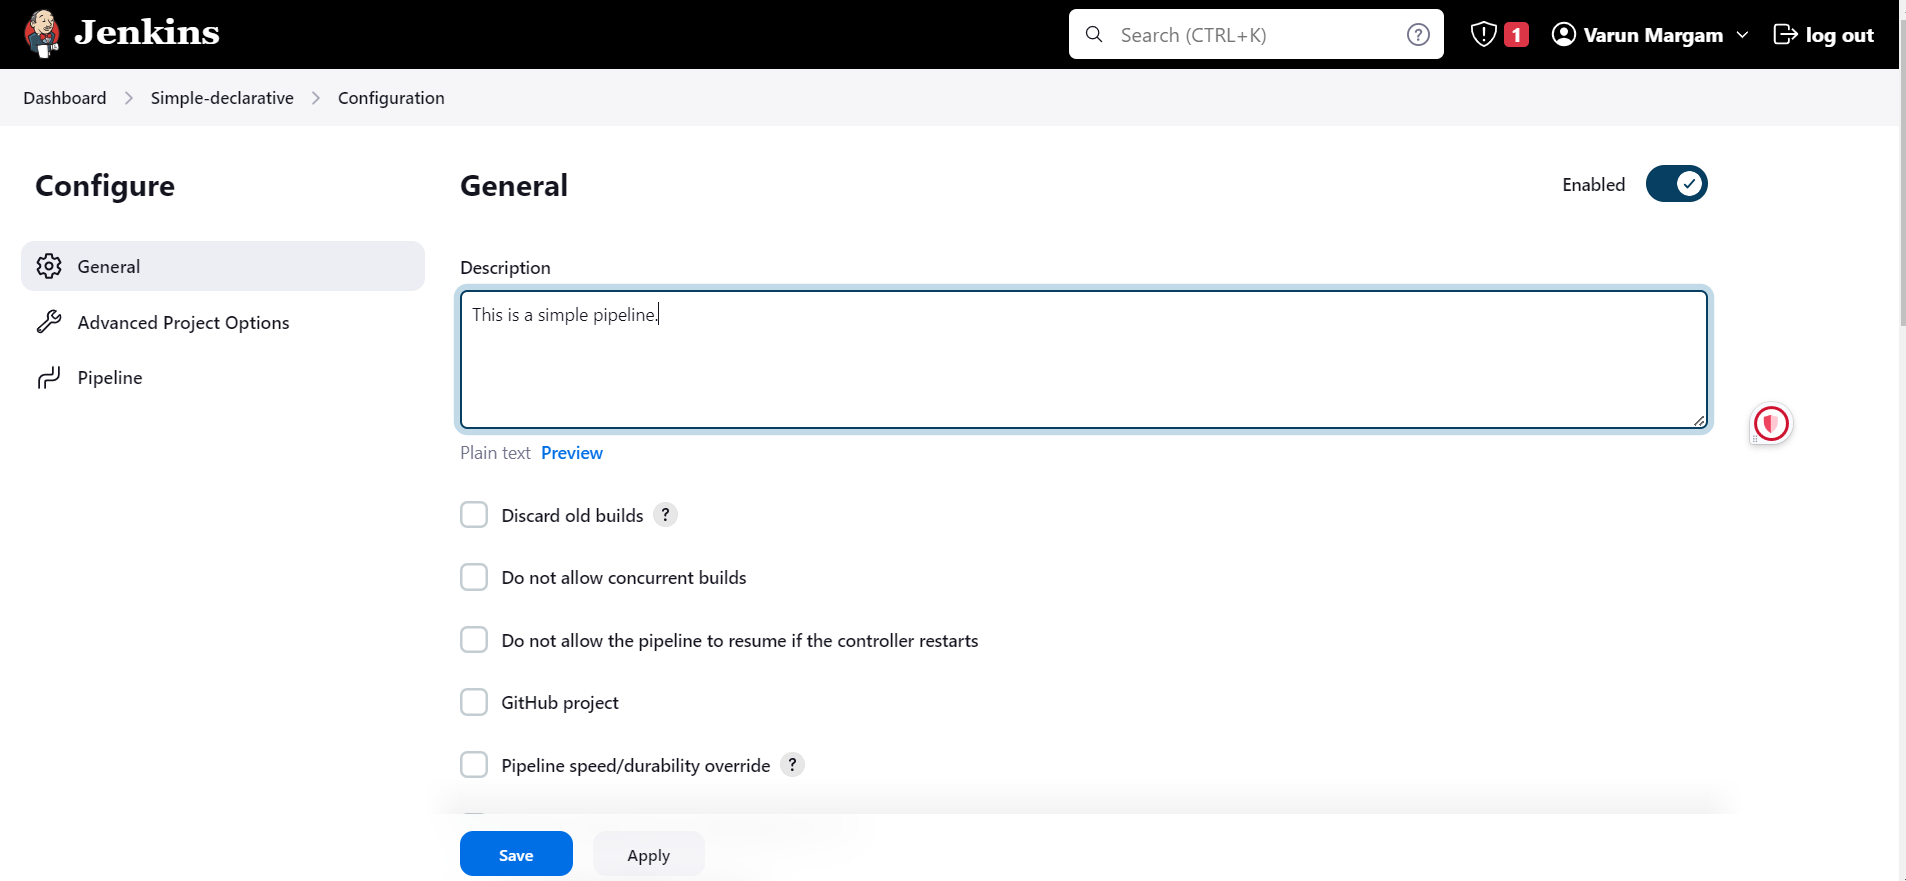
Step 4: Provide Description:
Step 5: Scroll down to the "Pipeline" section, select "Pipeline script" in the "Definition" where we will define our pipeline, and click "Save".
pipeline{
    agent any
    stages{
        stage("Code"){
            steps{
                echo "Code Cloned"  // echo can be used in Groovy Syntax
            }
        }
        stage("Build"){
            steps{
                echo "Code Built"
            }
        }
        stage("Test"){
            steps{
                echo "Code Tested"
            }
        } // If your pipeline runs successfully till this stage, you can say
        // that your pipeline has passed Continuous Integration.
        stage("Deploy"){
            steps{
                echo "Code Deployed"
            }
        }
    }
}
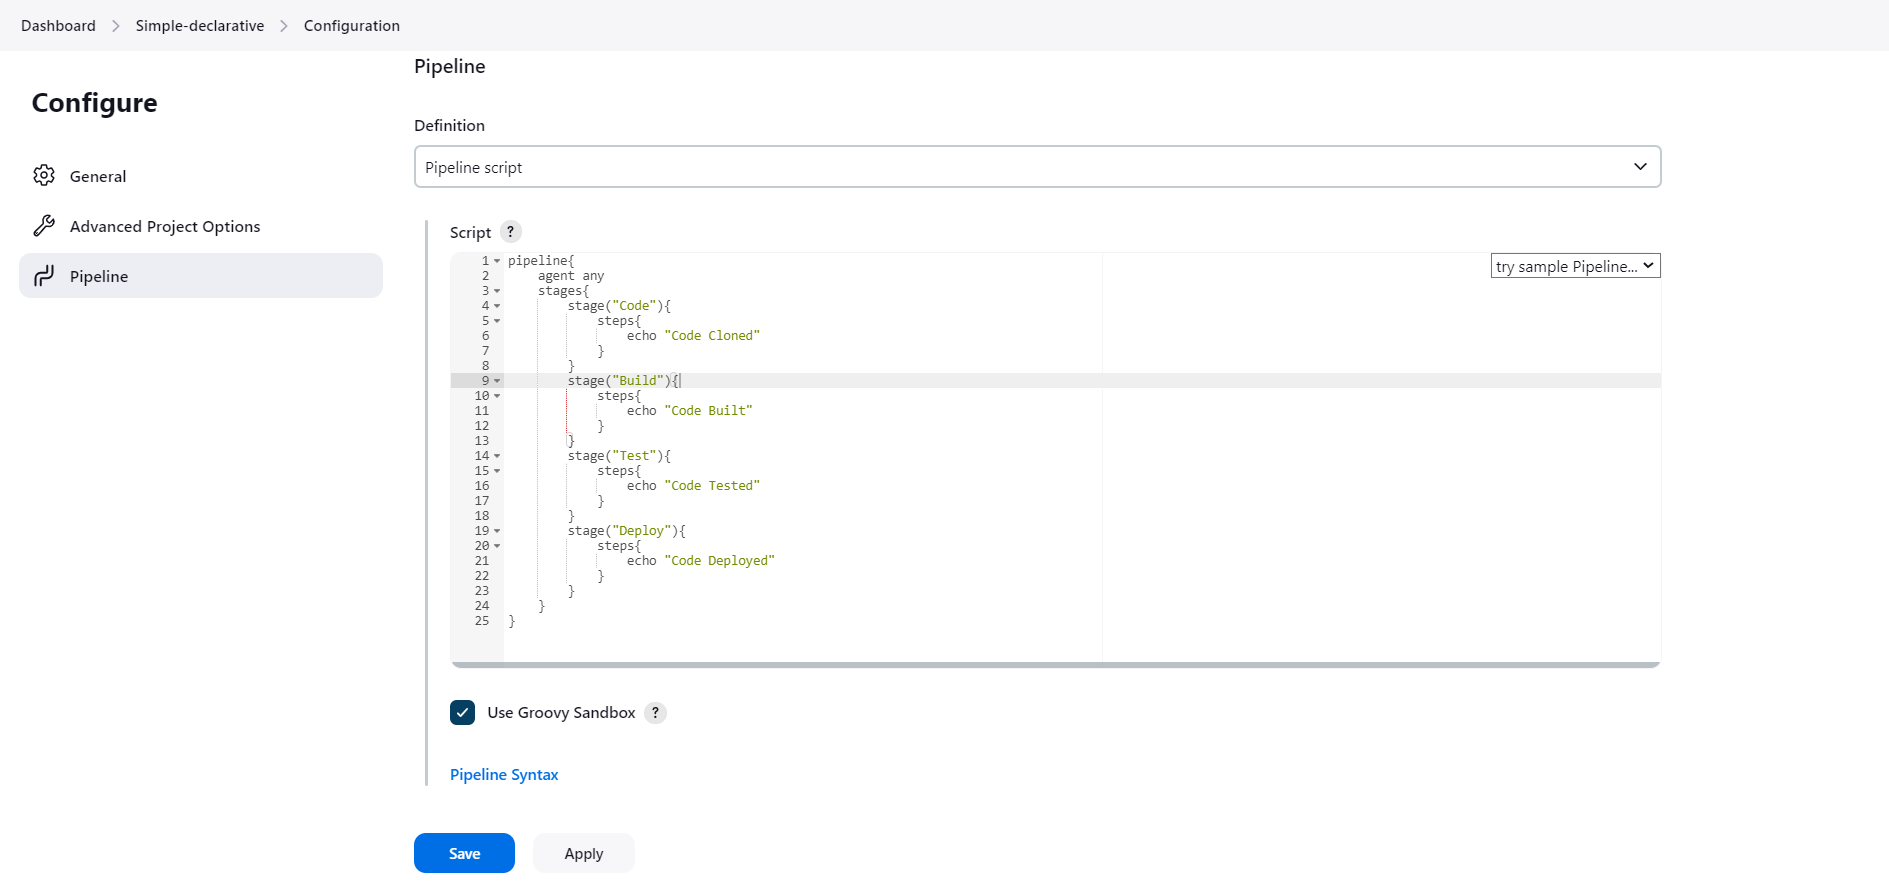
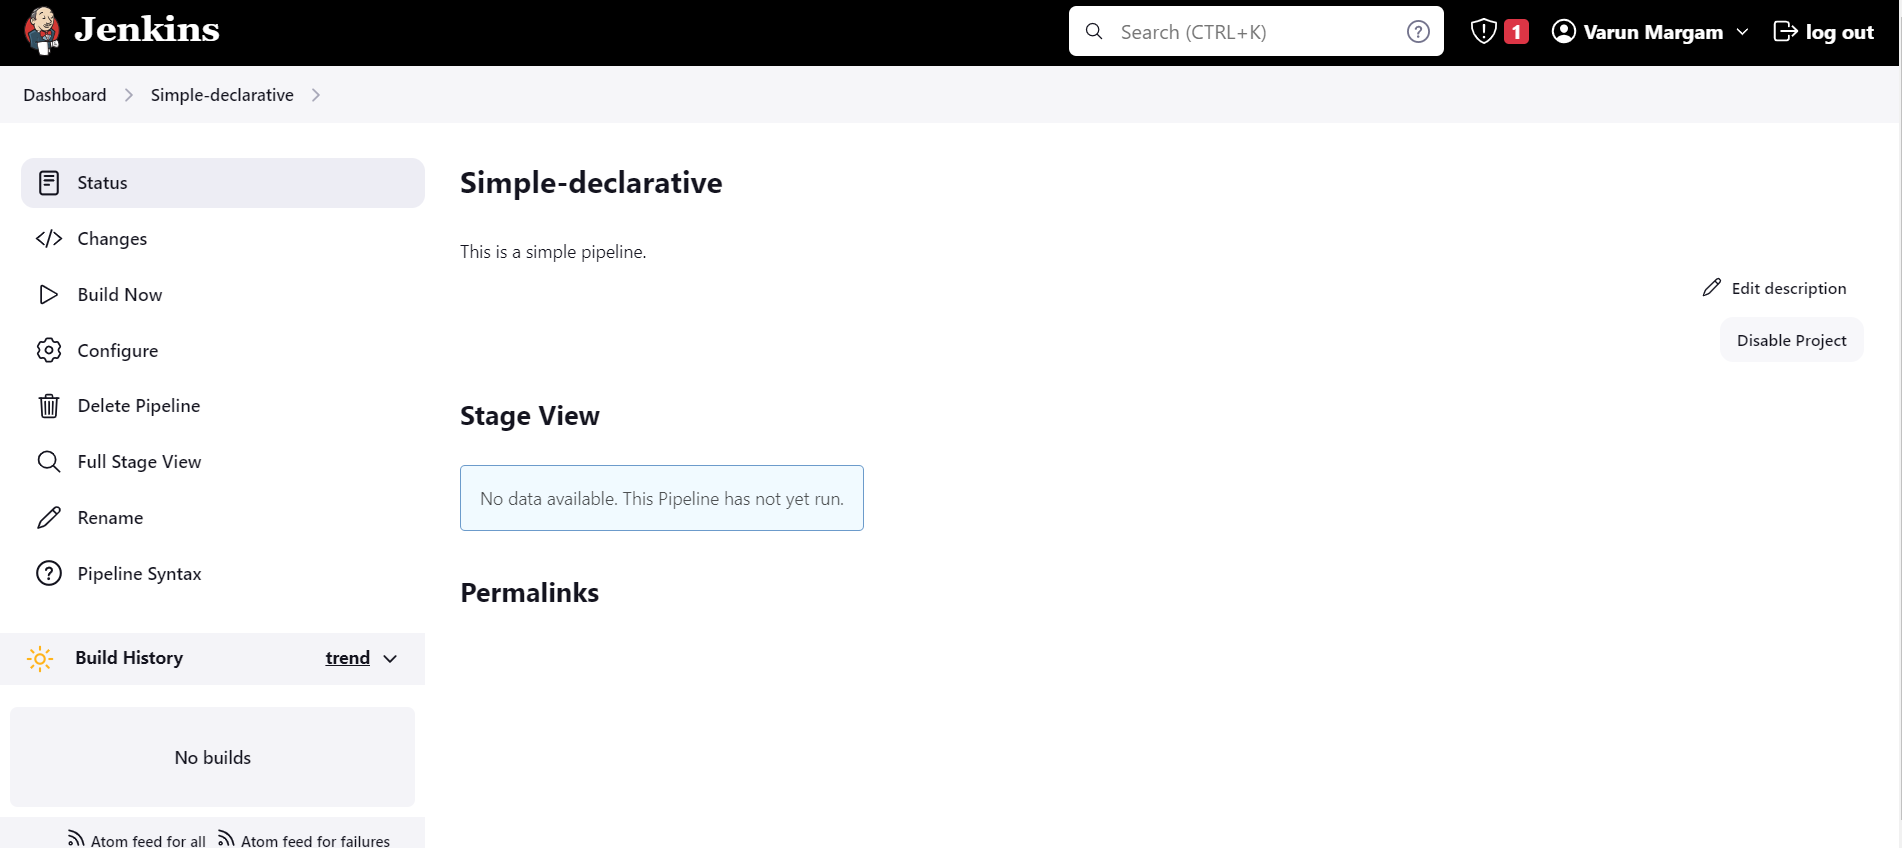
Step 6: Jenkins pipeline has been created:
Step 7: Click on "Build Now" The Jenkins job will start the build process and execute the pipeline:
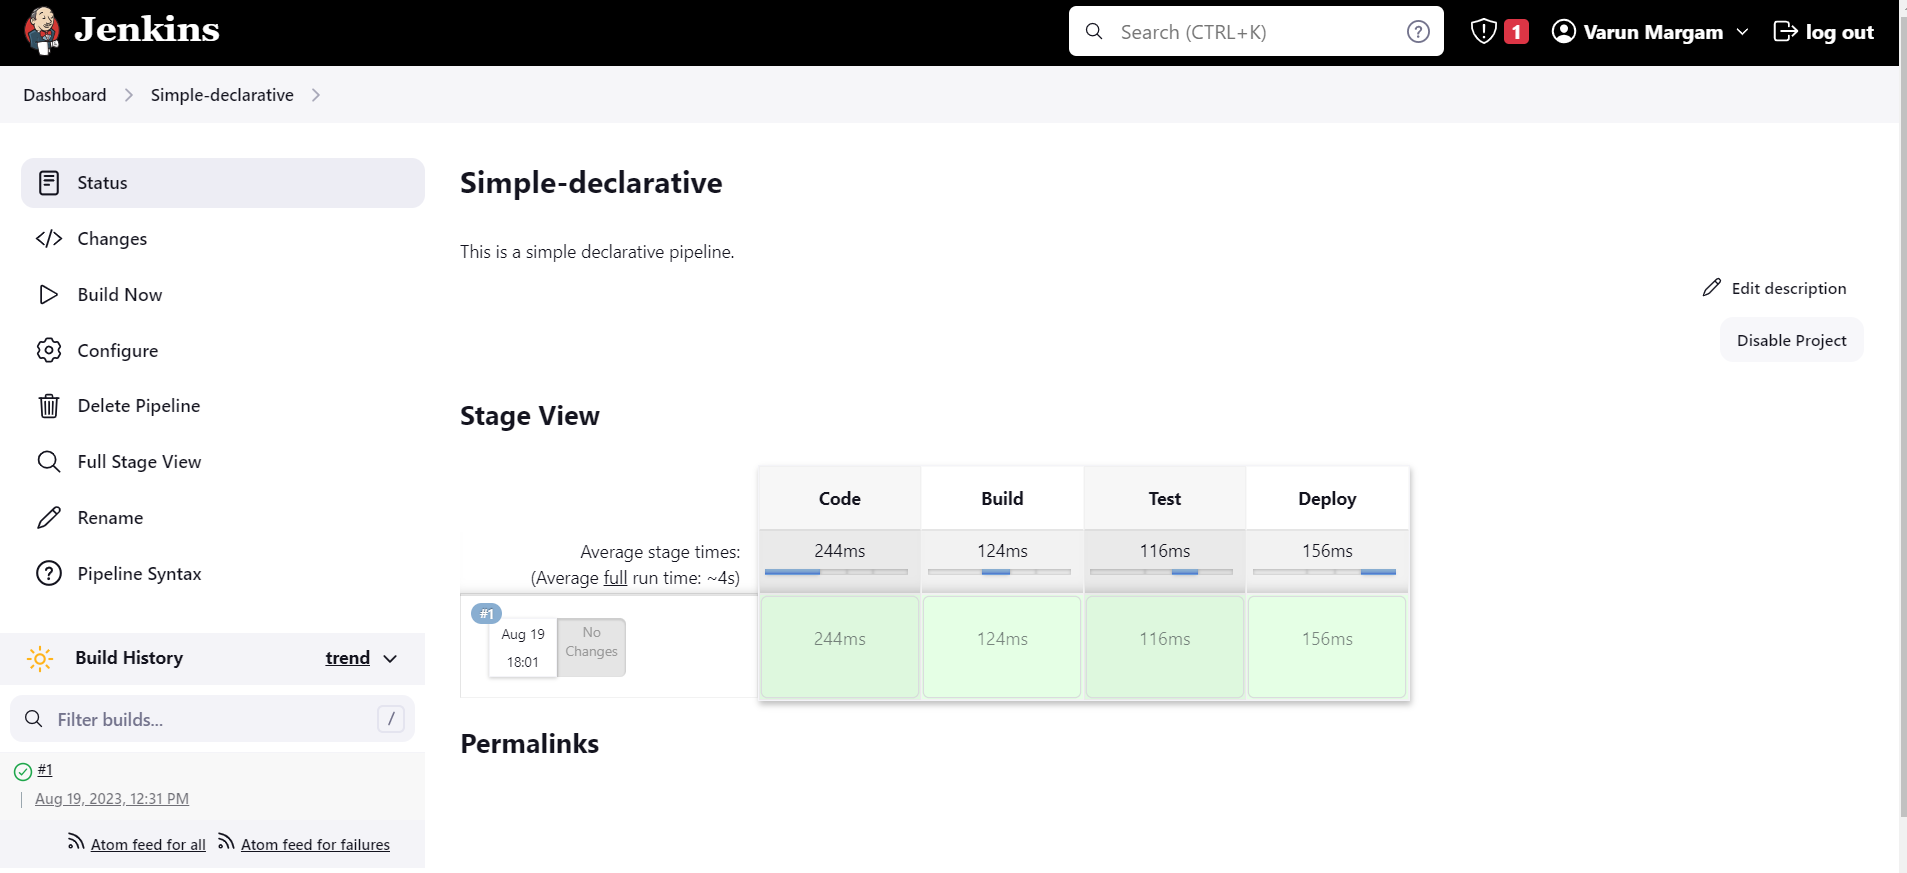
You can see that all the stages of the pipeline have been executed successfully. You can see the "Console Output" by clicking on #1.
You can just make a quick Google search for any Groovy syntax to write a command.
Or
You can also execute shell commands in the Groovy syntax:
stage("Code"){
    steps{
        sh 'git clone <url>'
        echo "Code Cloned"  // echo can be used in Groovy Syntax
    }
}
For different or more complex projects the stages increase depending on the workflow of the organization.
📍Conclusion
Explore the comprehensive Jenkins Documentation to uncover more insights and tap into the power of automation.
Thank you for reading this blog! 📖 Hope you have gained some value. In the future blog, we will be creating and exploring Jenkins pipelines.
If you enjoyed this blog and found it helpful, please give it a like 👍, share it with your friends, share your thoughts, and give me some valuable feedback.😇 Don't forget to follow me for more such blogs! 🌟
📍Reference
Subscribe to my newsletter
Read articles from Varun Margam directly inside your inbox. Subscribe to the newsletter, and don't miss out.
Written by
