Manage your Azure virtual machines from your mobile device using Microsoft Azure mobile app
 Elinathan Olotu
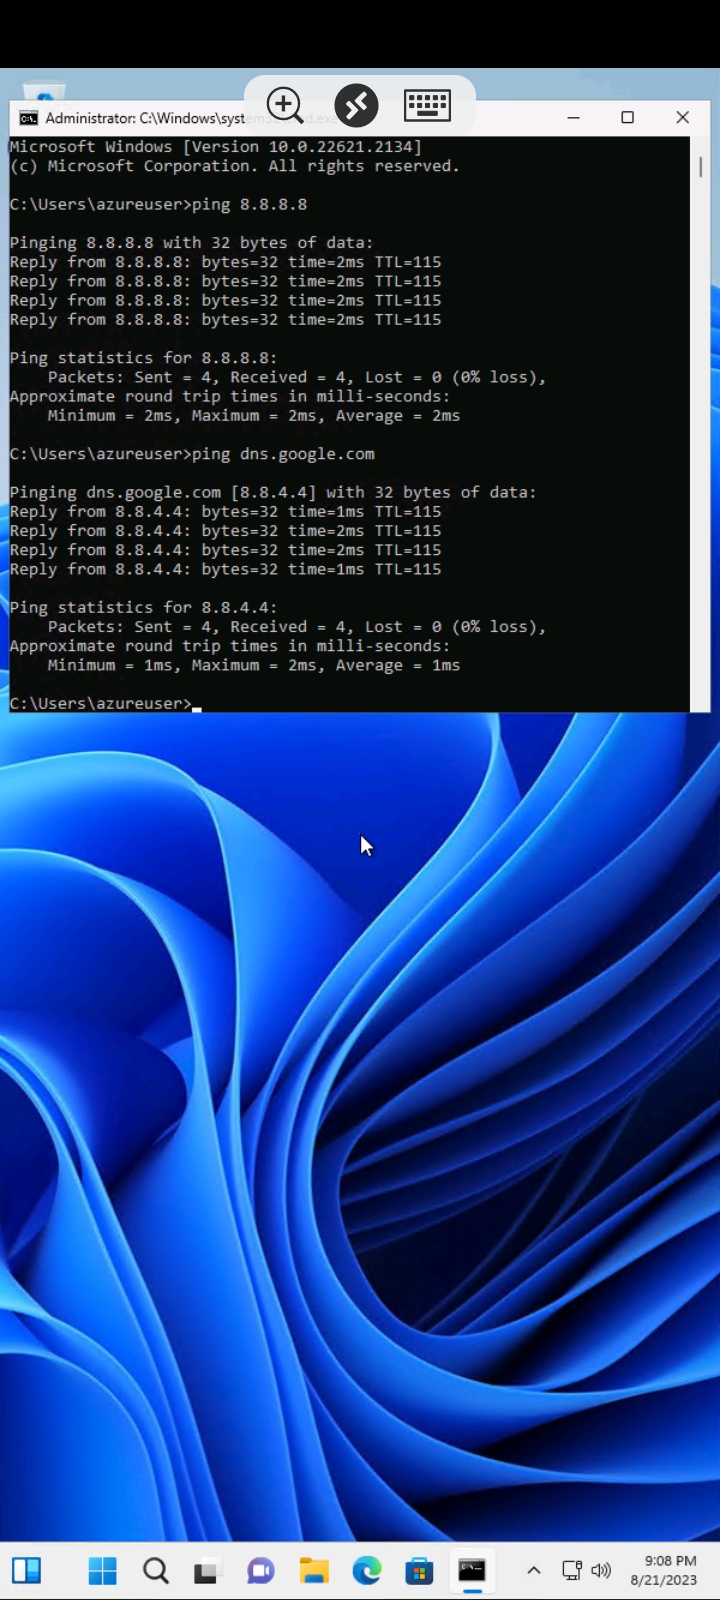
Azure Mobile Apps is a service that allows you to build, deploy, and manage mobile apps on Azure. In this article, I am going to be using VMware to manage the Virtual Machines I created, which are Windows 11 Pro and Ubuntu 20.04 LTS.
In the screenshot below, I clicked on Open in Mobile, but then I went to the Google Play Store on my phone to download the app.
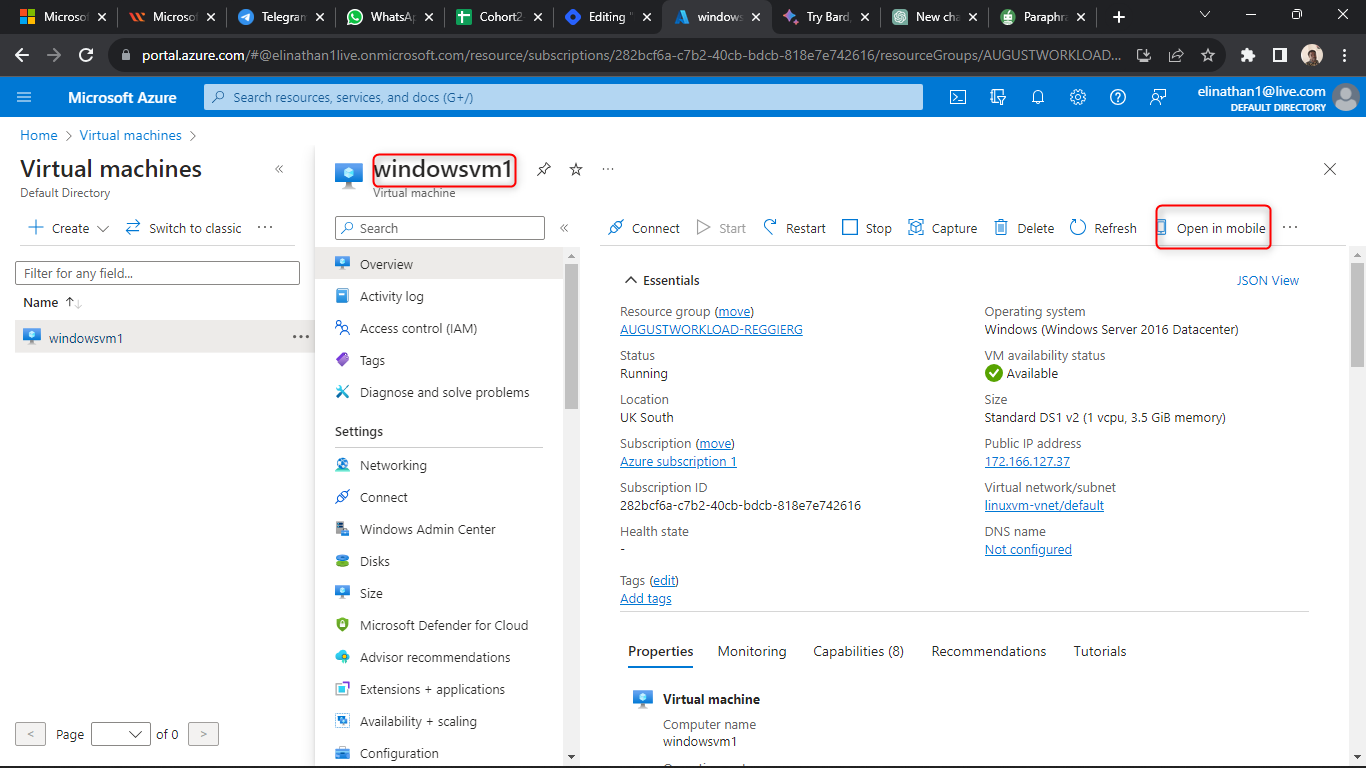
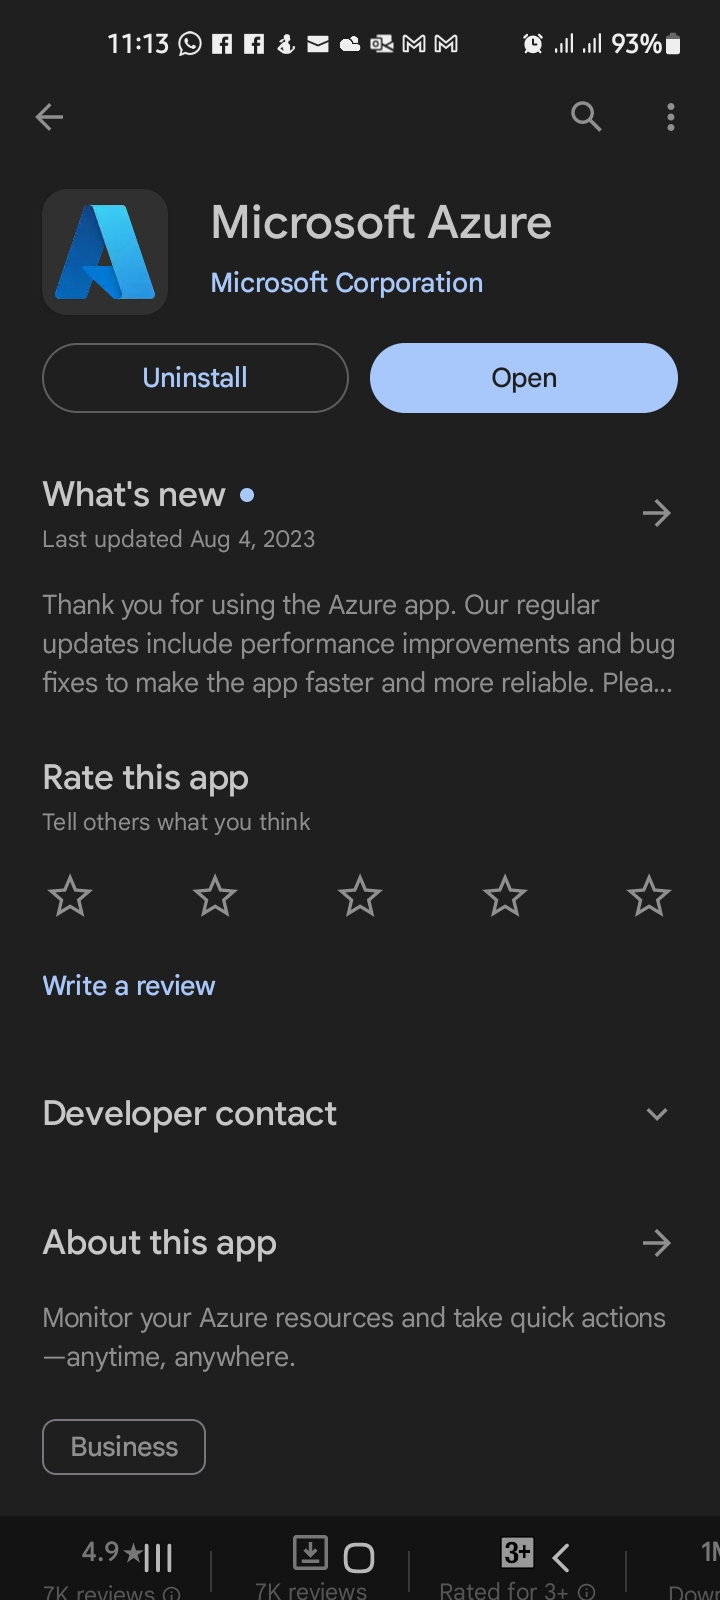
As shown in the screenshot below. Here is the app I downloaded:
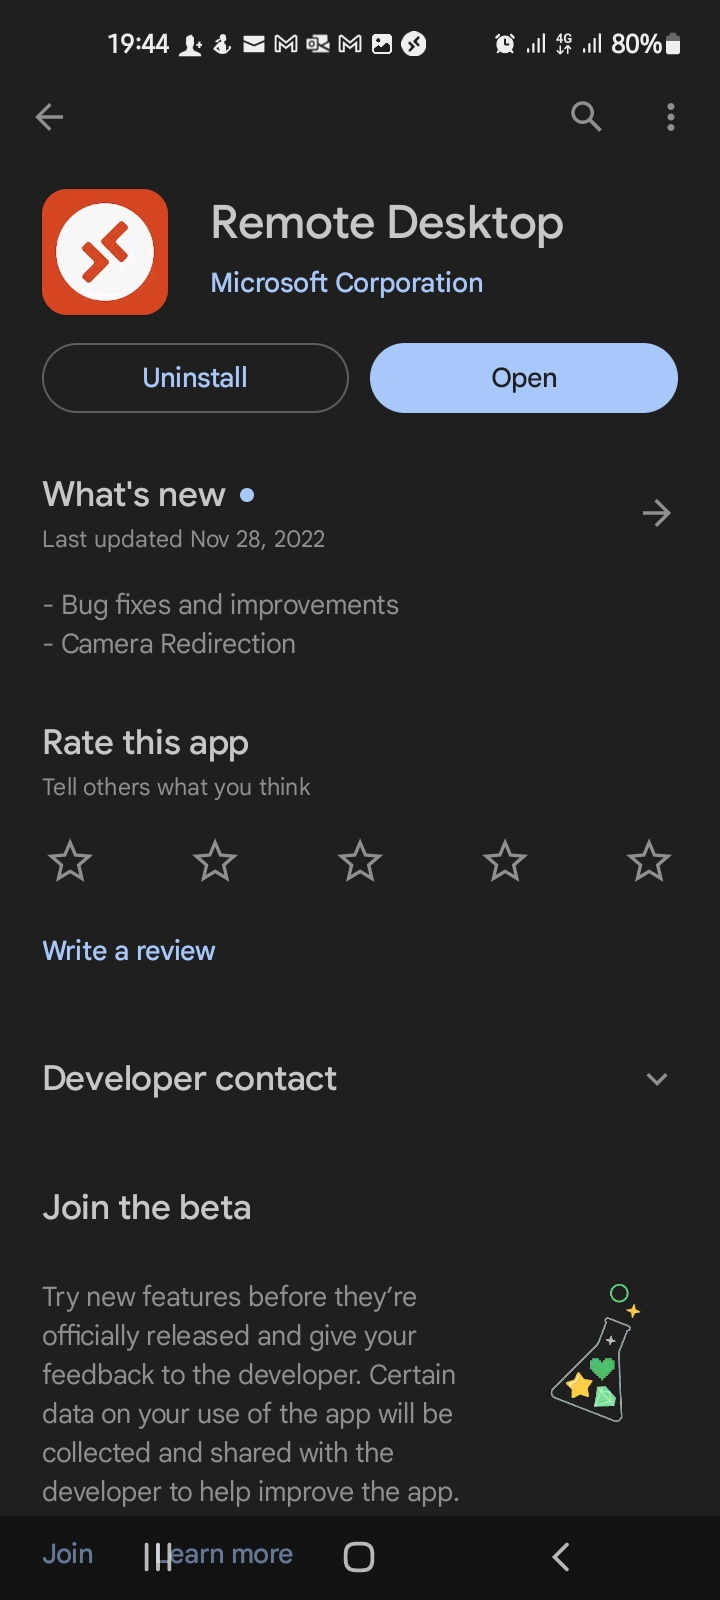
Now I need other tools to complement it to have an exciting experience, such as a remote desktop app to remotely connect to Windows virtual machines, which I also downloaded, as shown in the diagram below.
And also, I need another app to remotely connect to the Linux virtual machines on my phone, which I downloaded as shown in the diagram below.
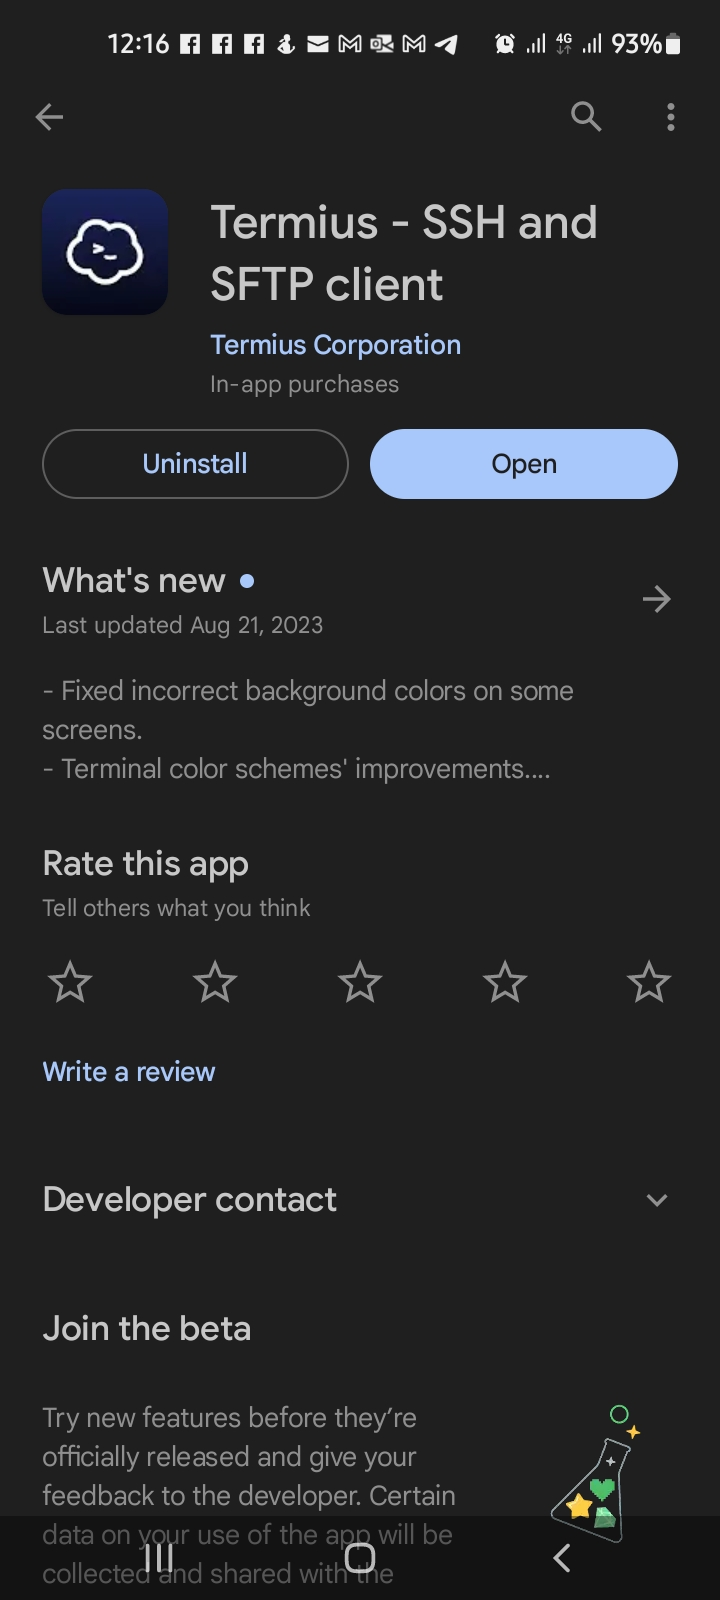
Note: These are all the tools needed to use your Azure mobile app seamlessly on your phone, so you can manage and monitor your virtual machines from your mobile device. As you can see from the above diagrams, I am using Android, and my phone is currently running Android 12.
After installing the above tools on my phone and then creating the Windows VM as shown in my previous article, creating a Windows VM step-by-step, In the screenshot, you will see the home screen of the Microsoft mobile app.
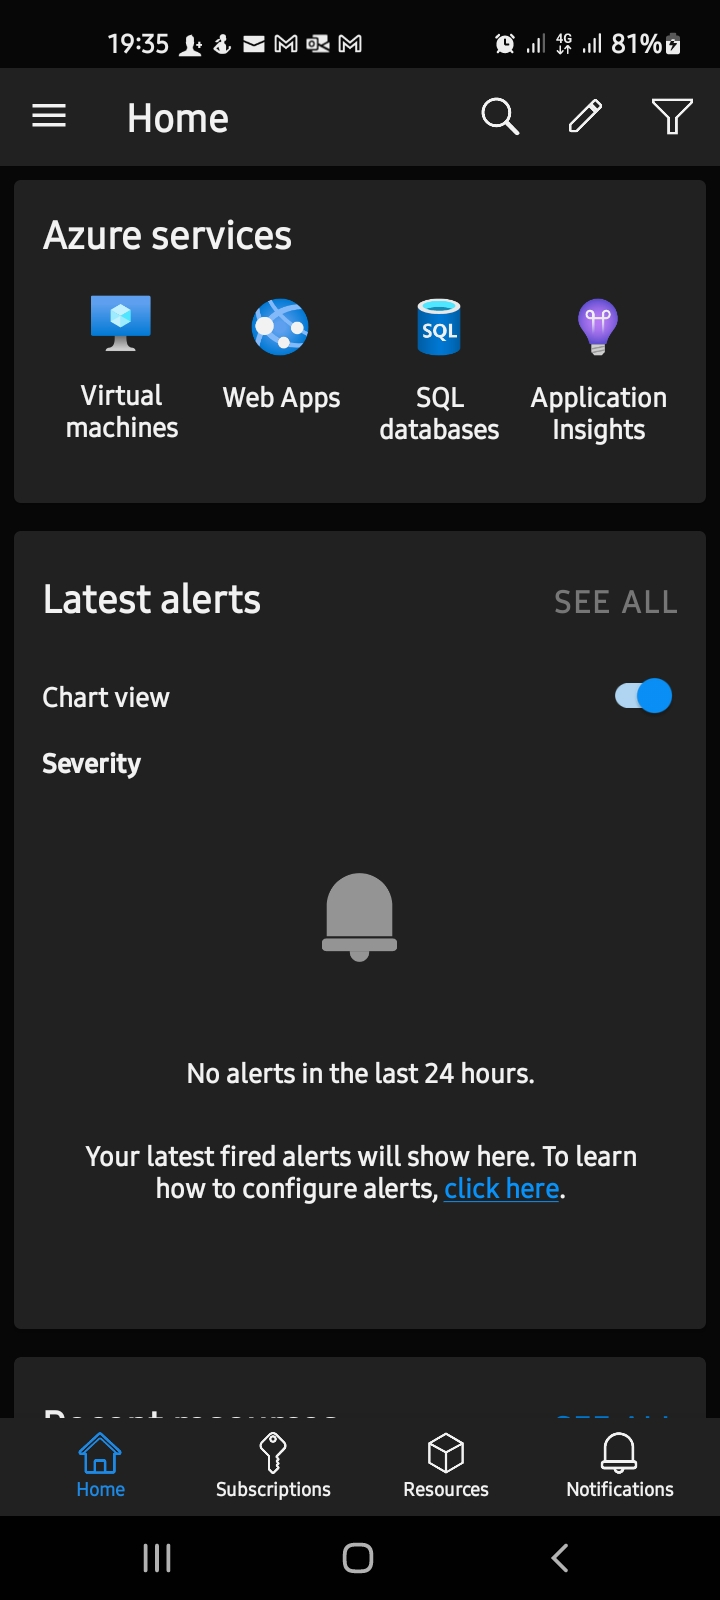
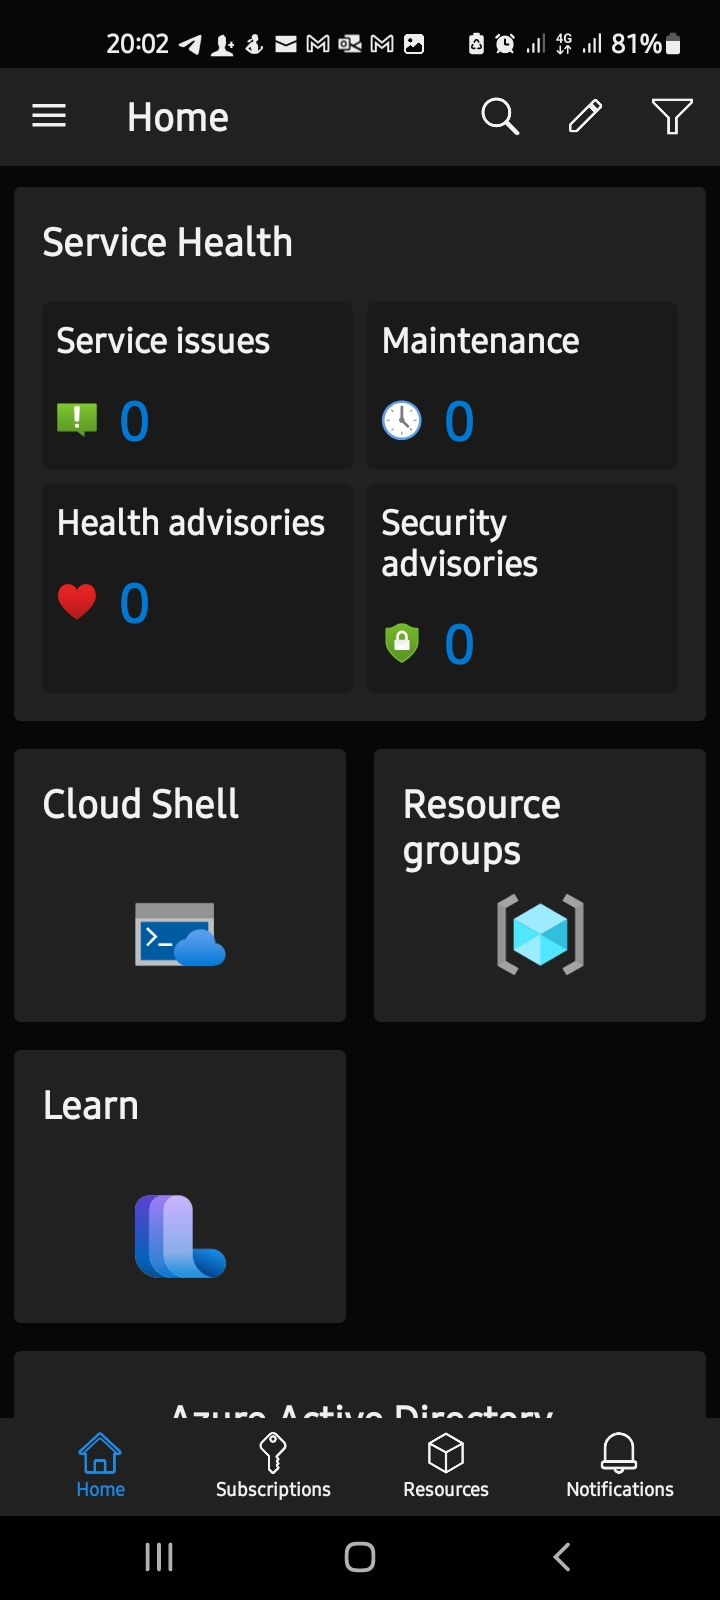
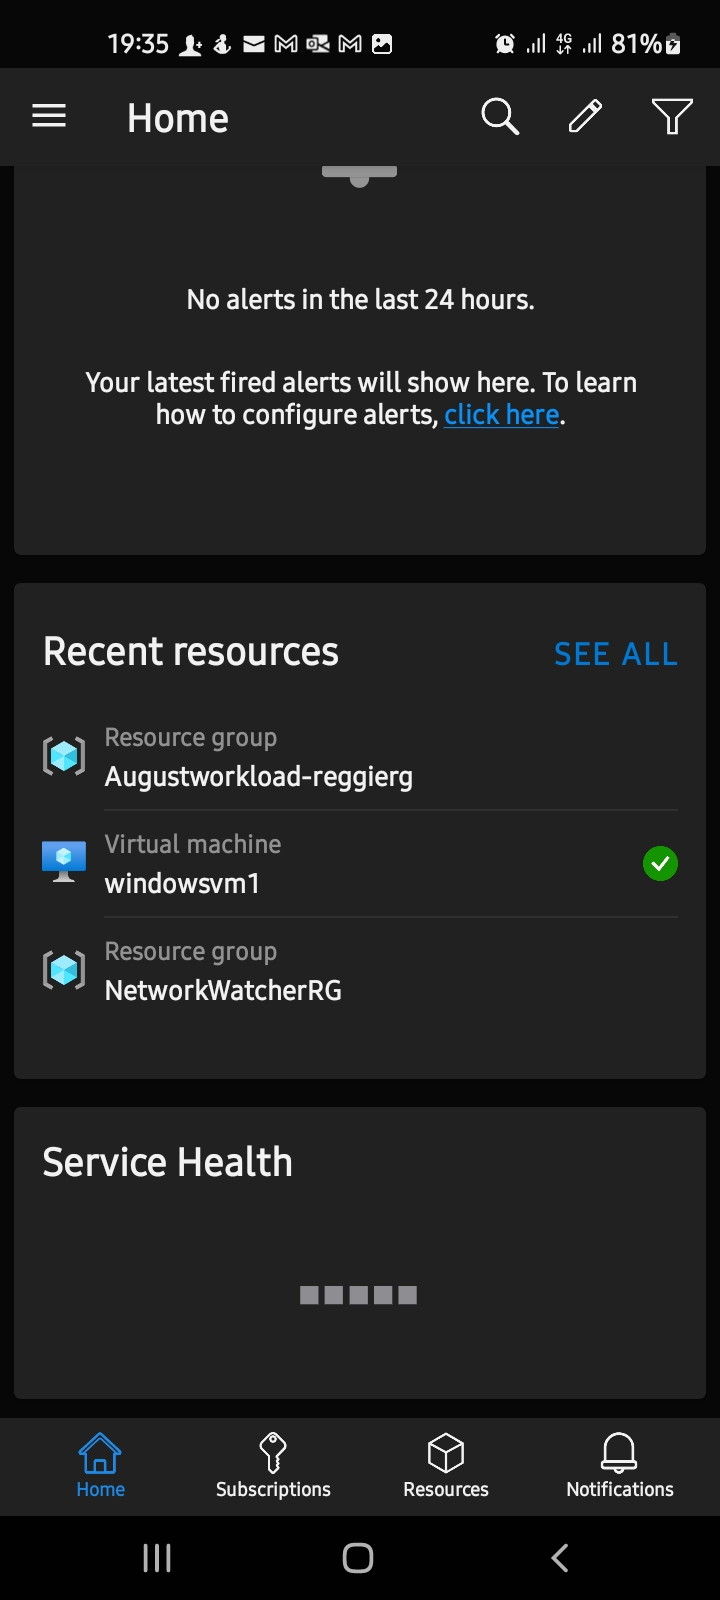
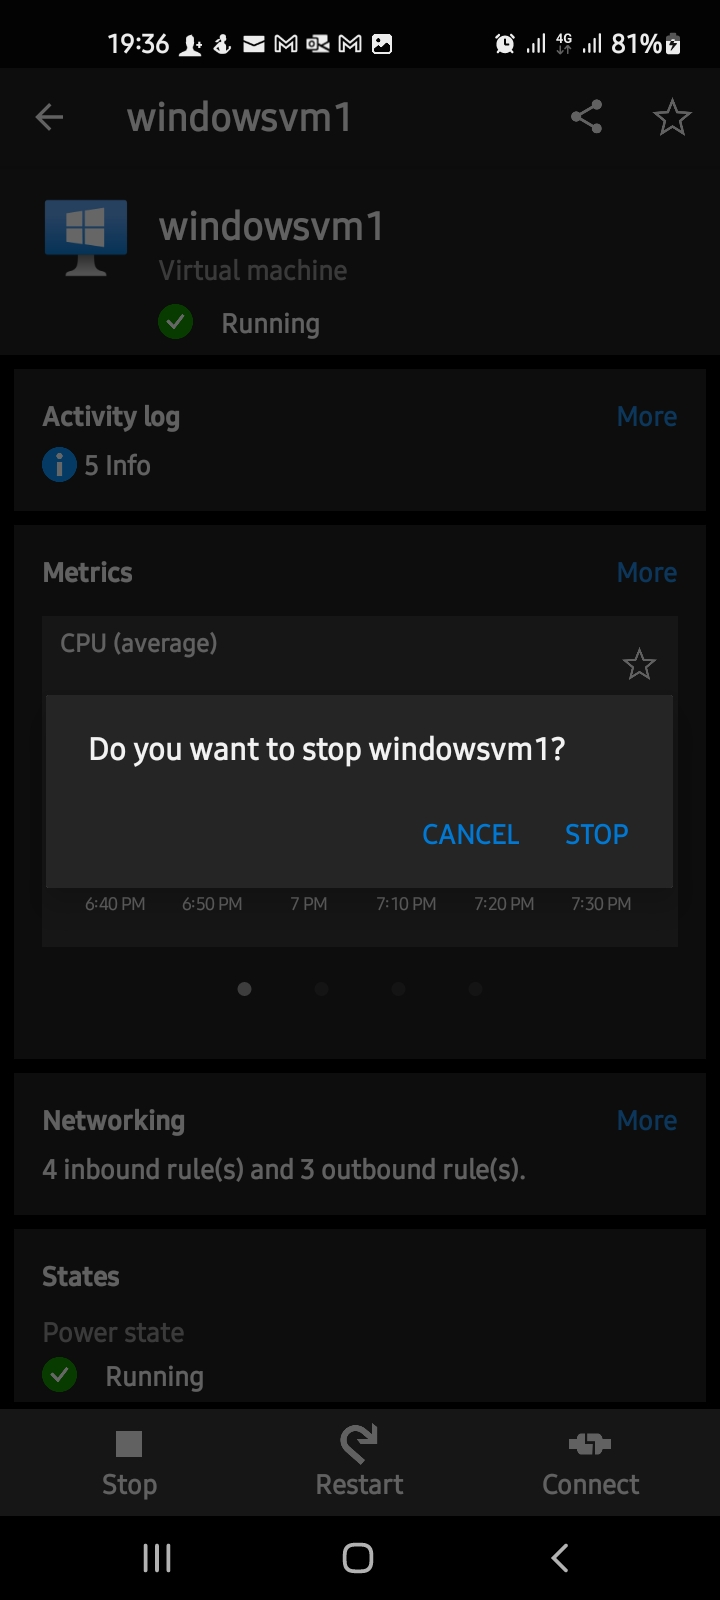
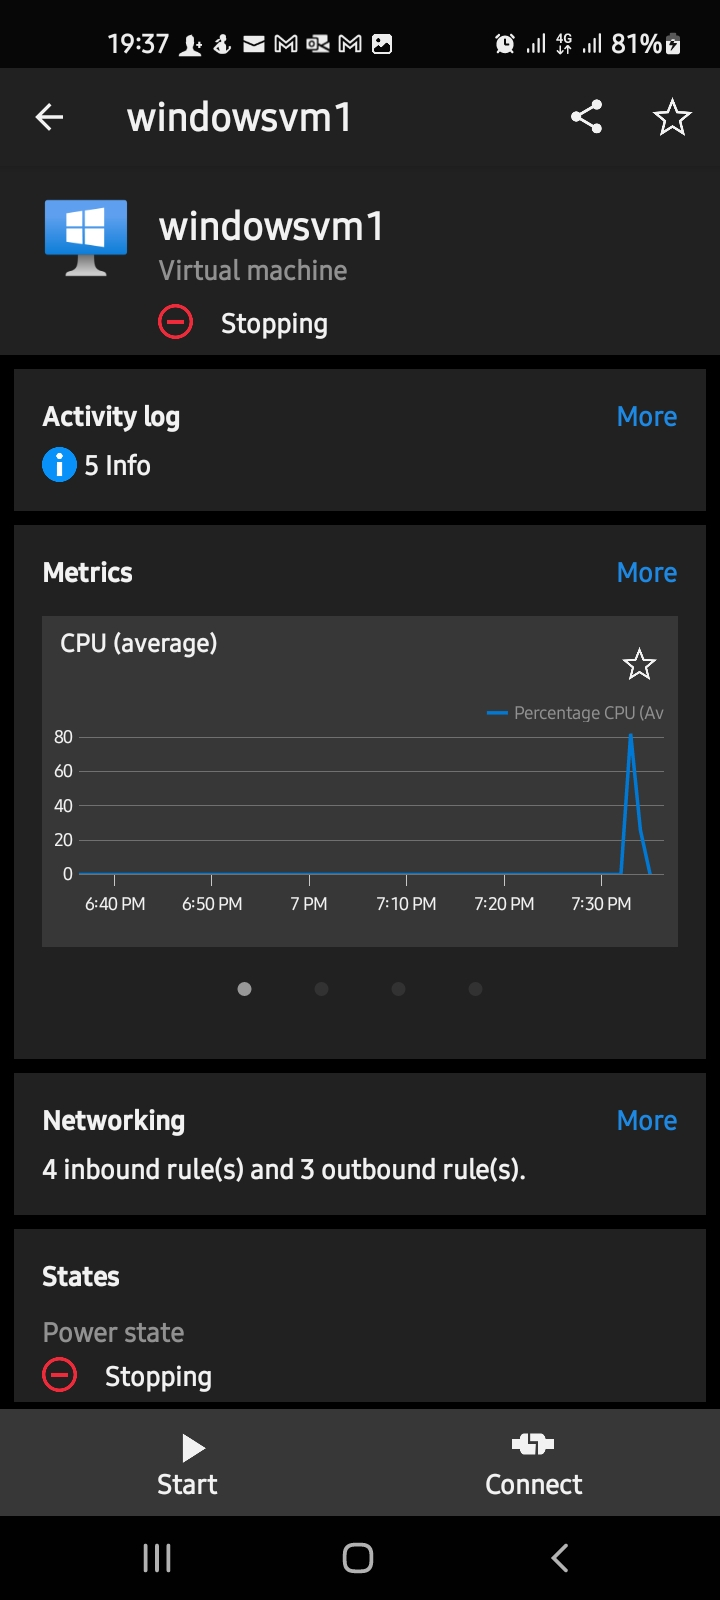
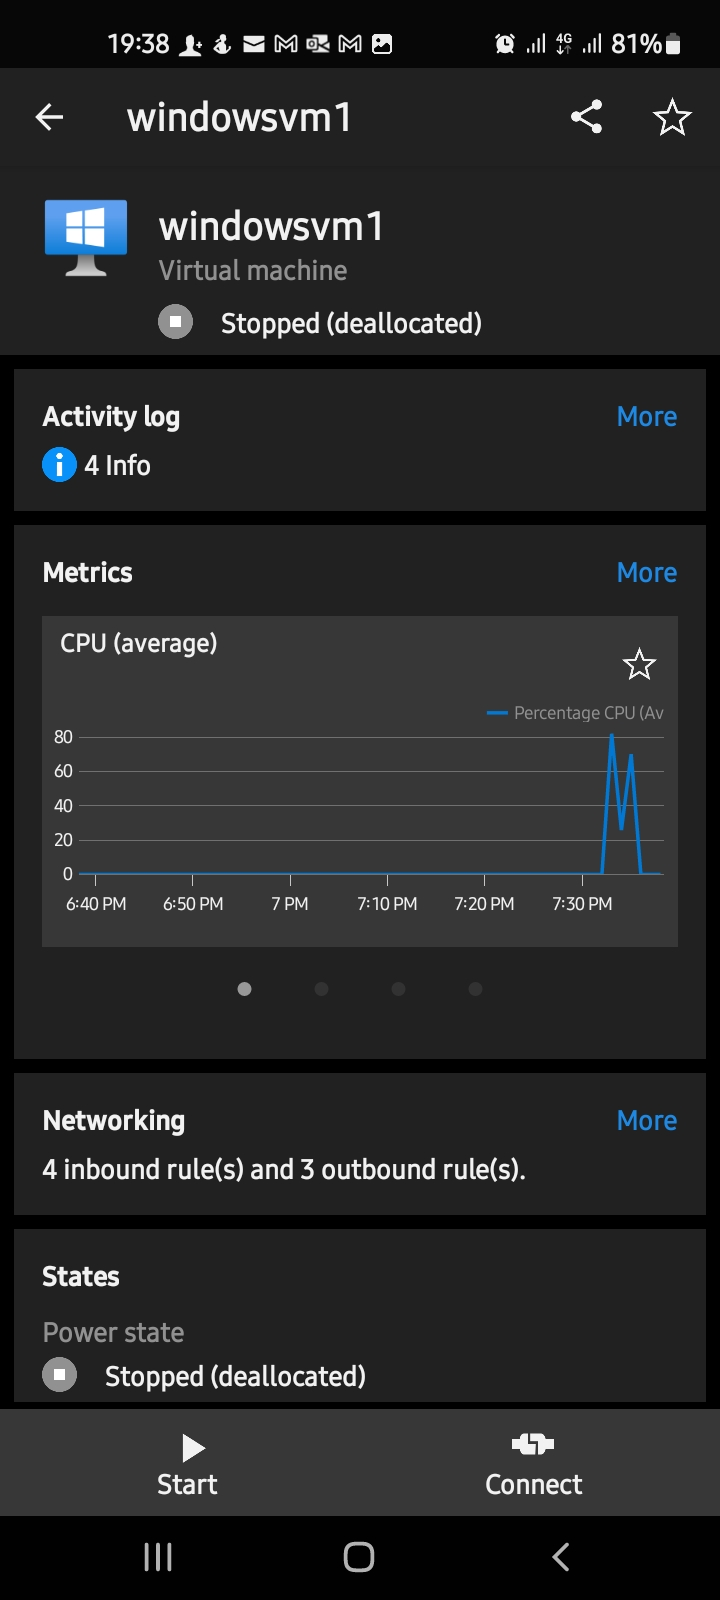
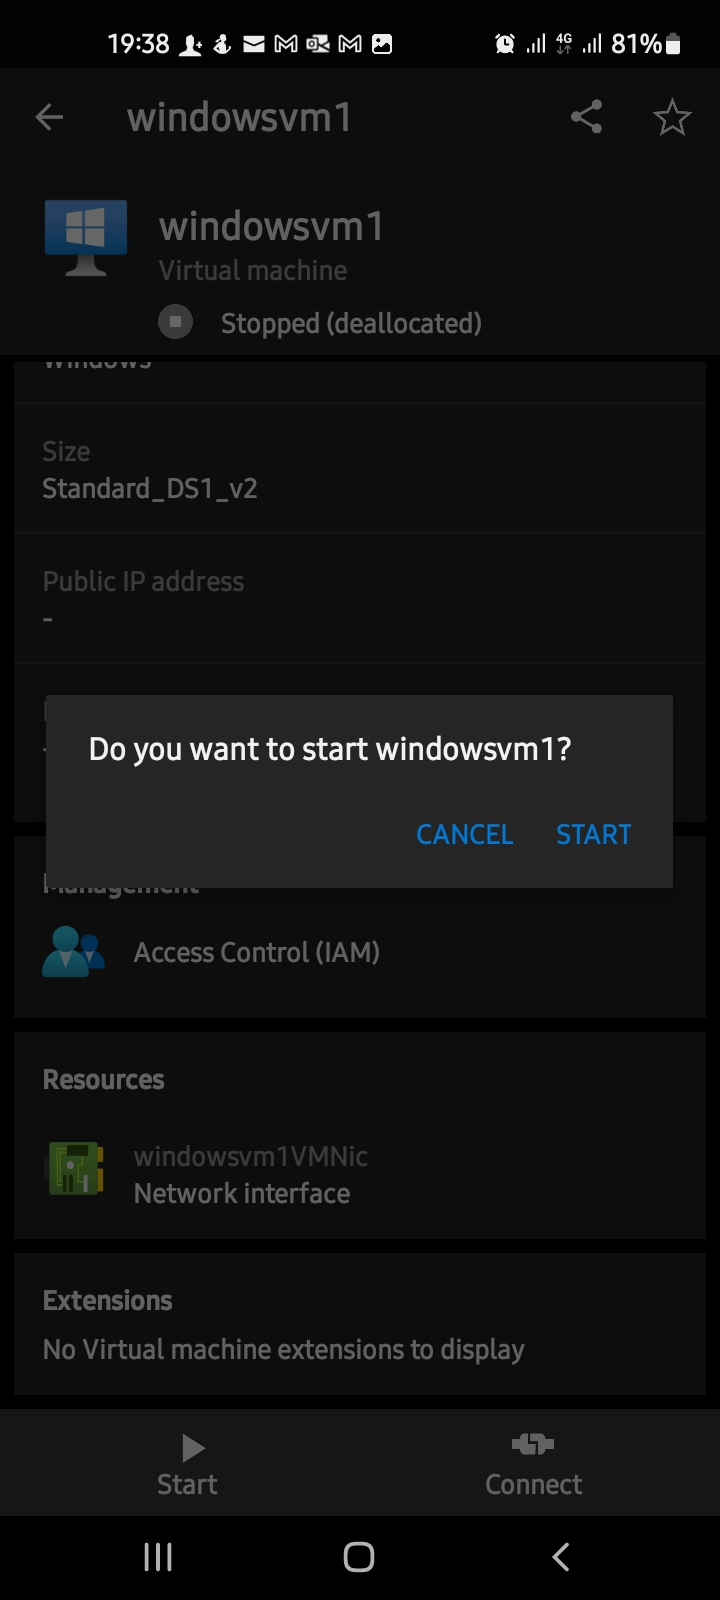
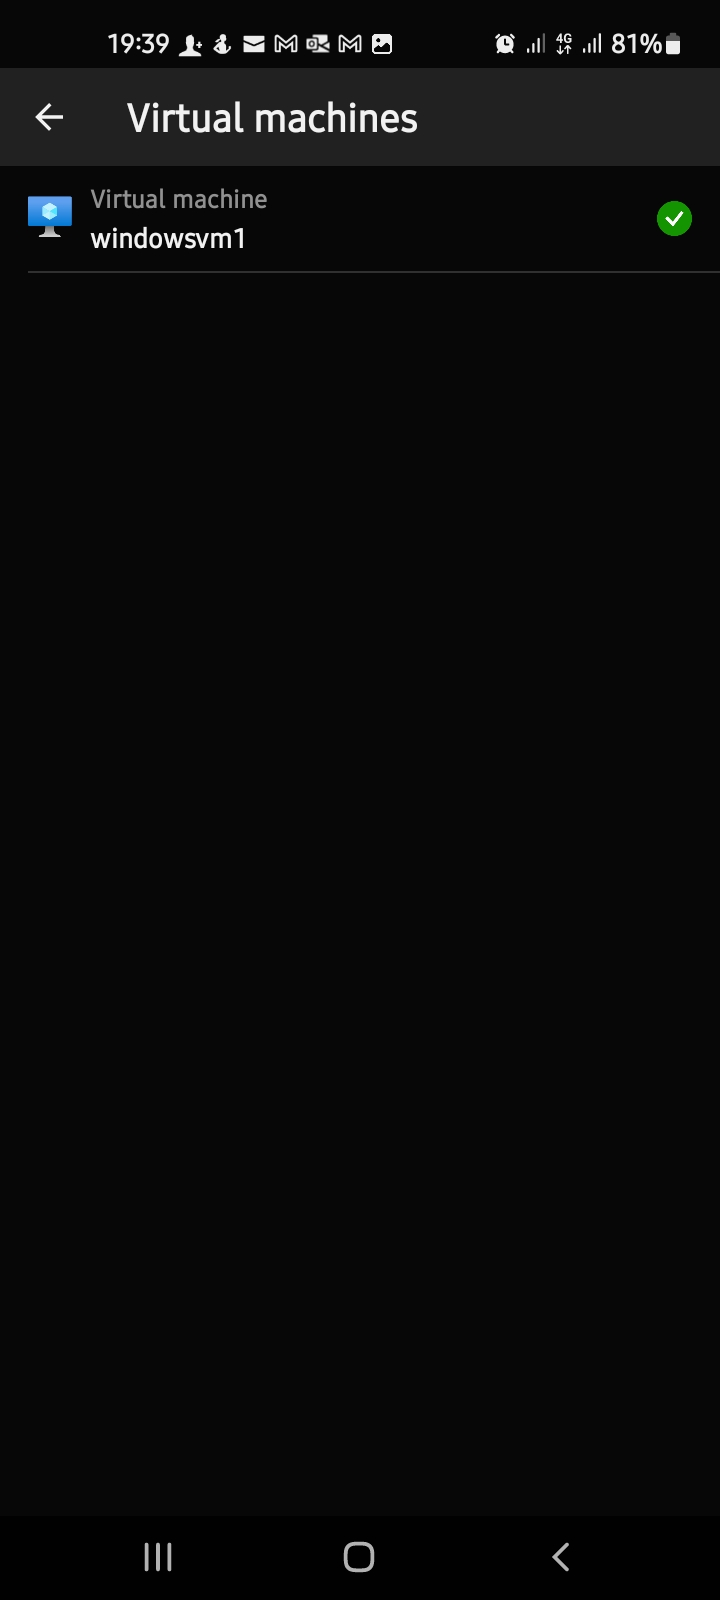
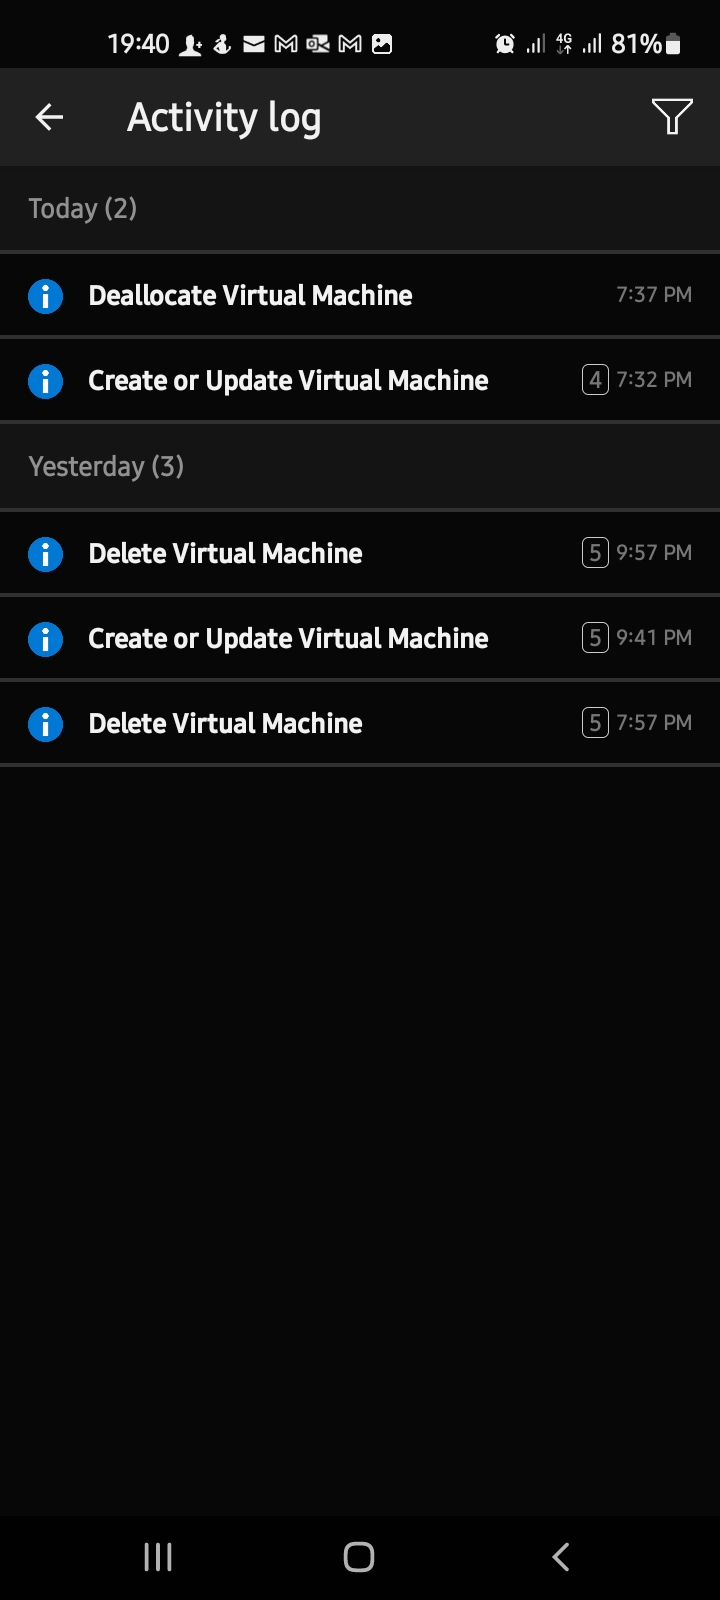
Here you will find the virtual machine that I installed through the Azure portal, as shown in the screenshot below. I can start, stop, and connect to the virtual machine directly from my phone since I have already installed the tools I mentioned in this article.
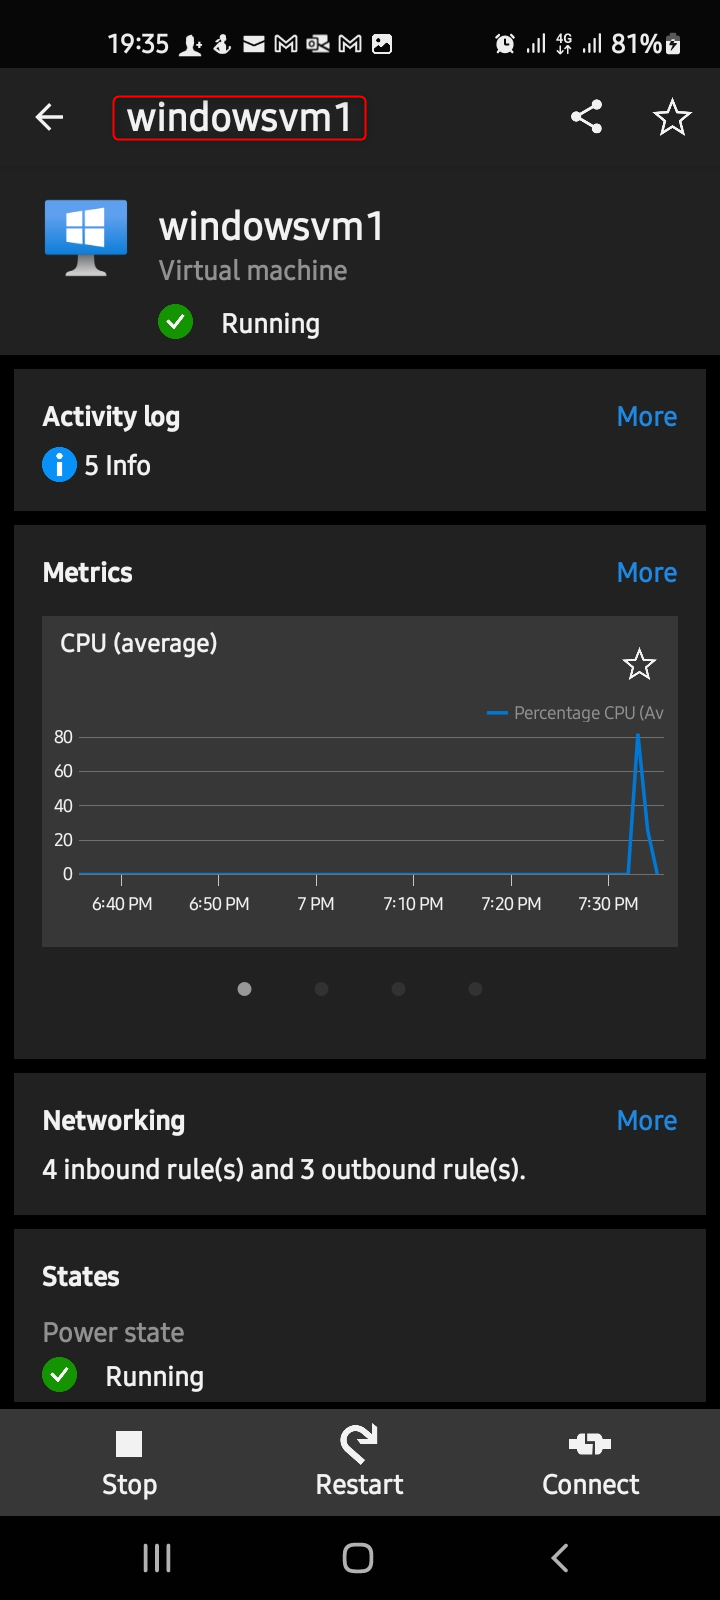
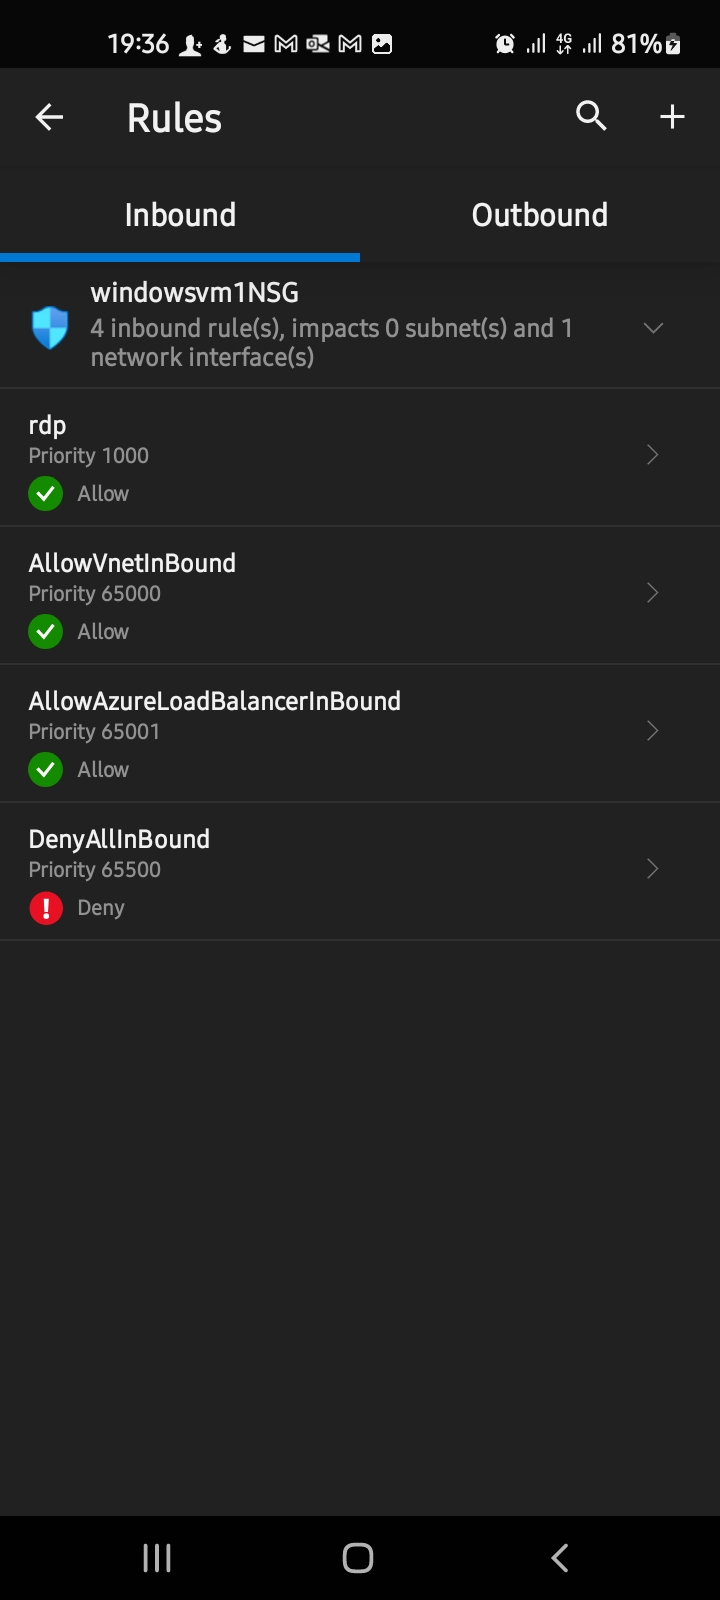
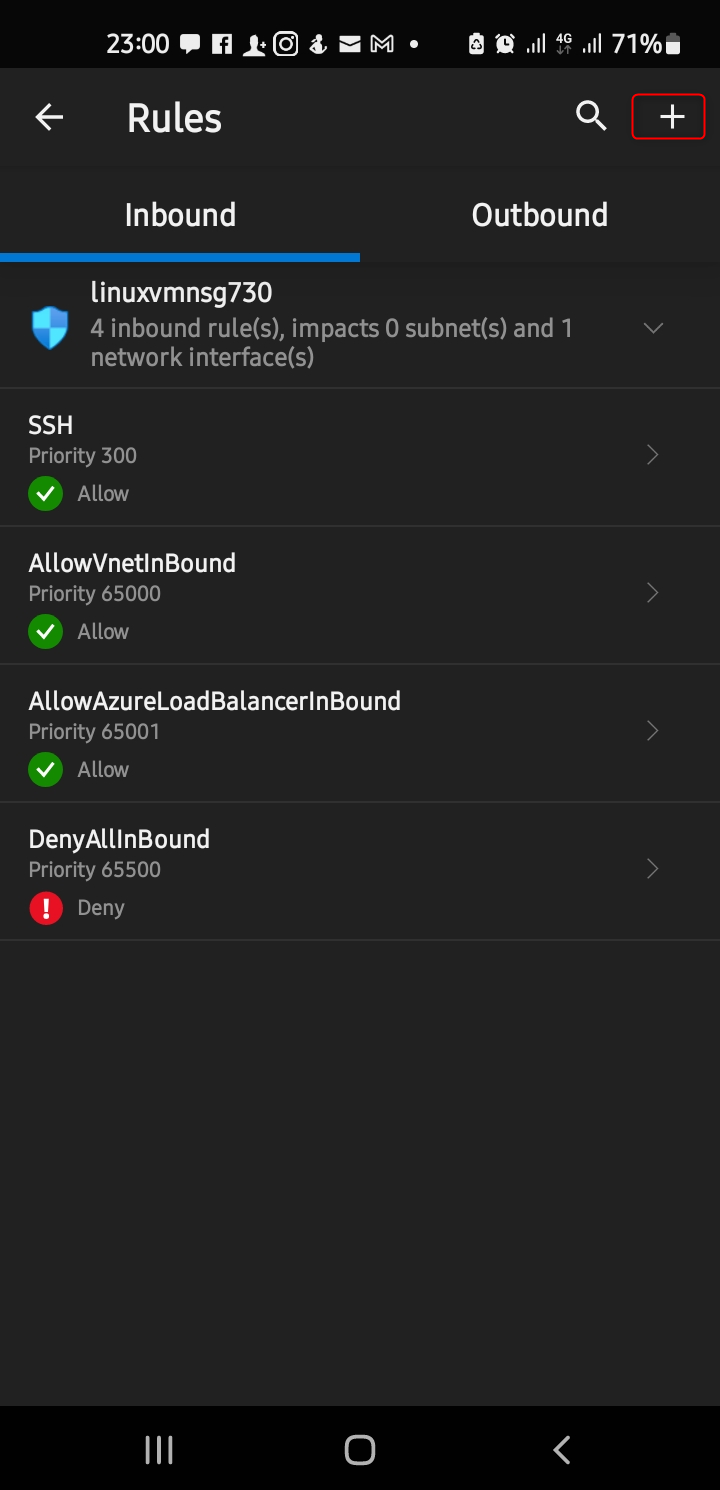
You can also view the network security group rules.
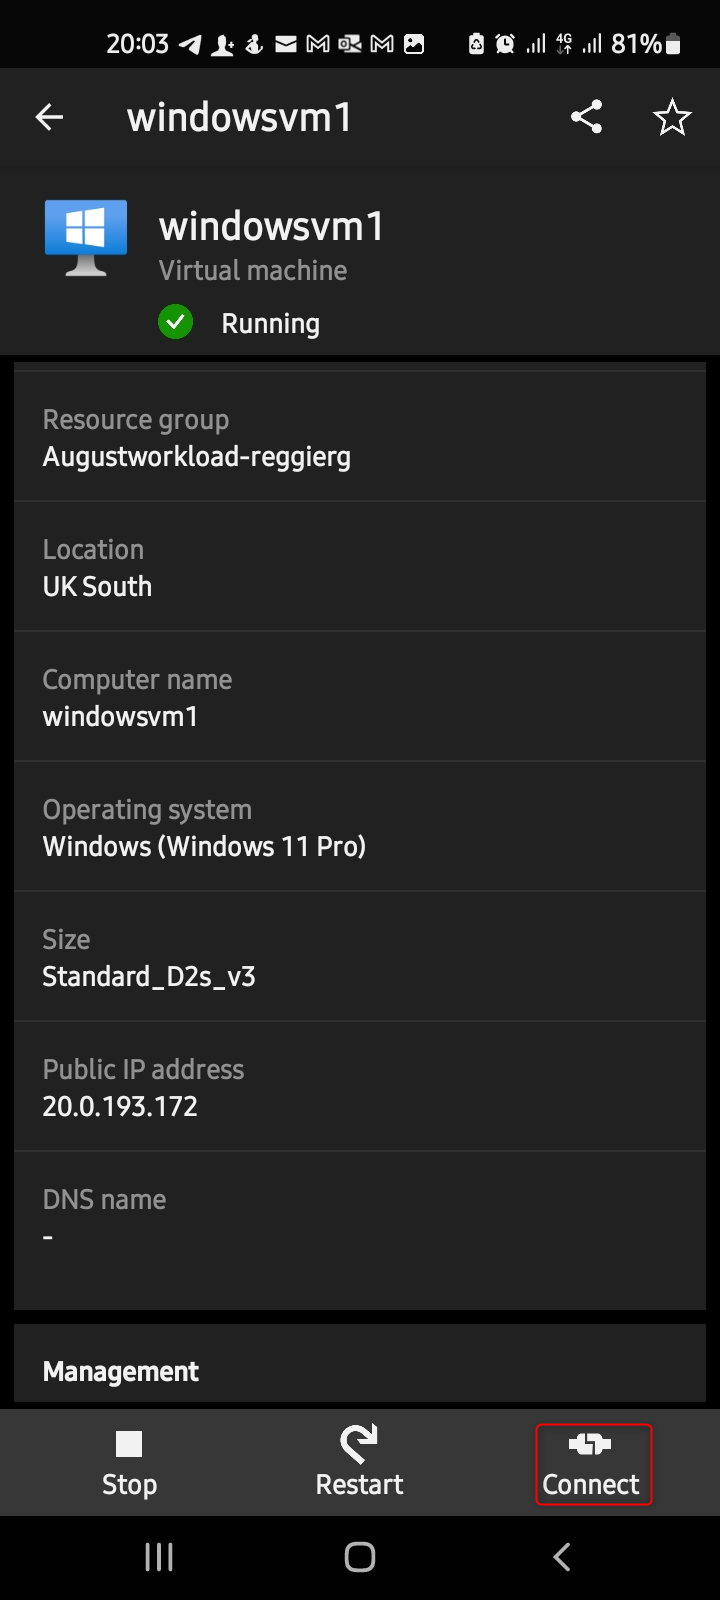
For you to connect remotely to your Windows virtual machine on your mobile, click on Connect as shown in the diagram below.
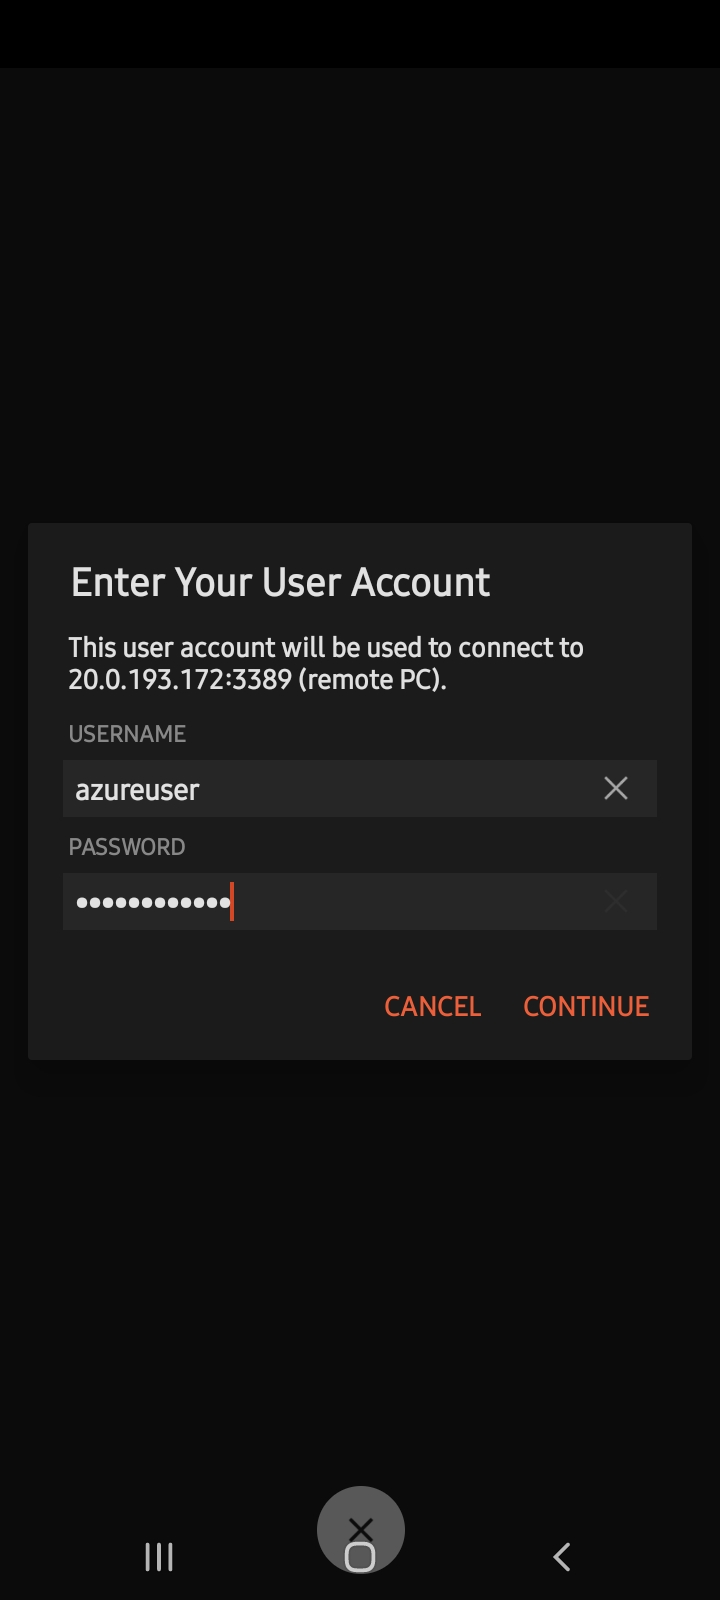
Since you have the remote desktop for mobile installed, it will automatically redirect to it, as shown in the diagram below.
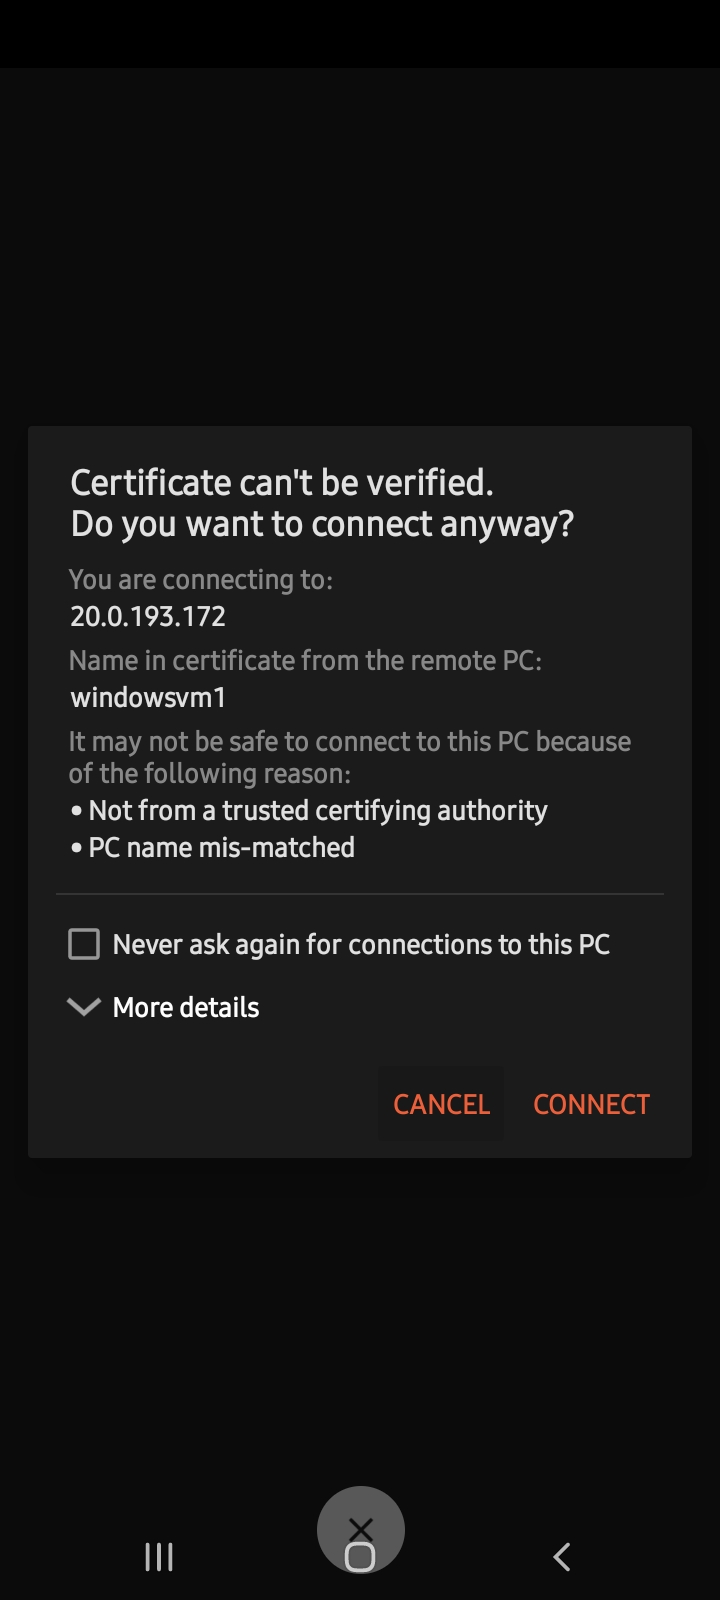
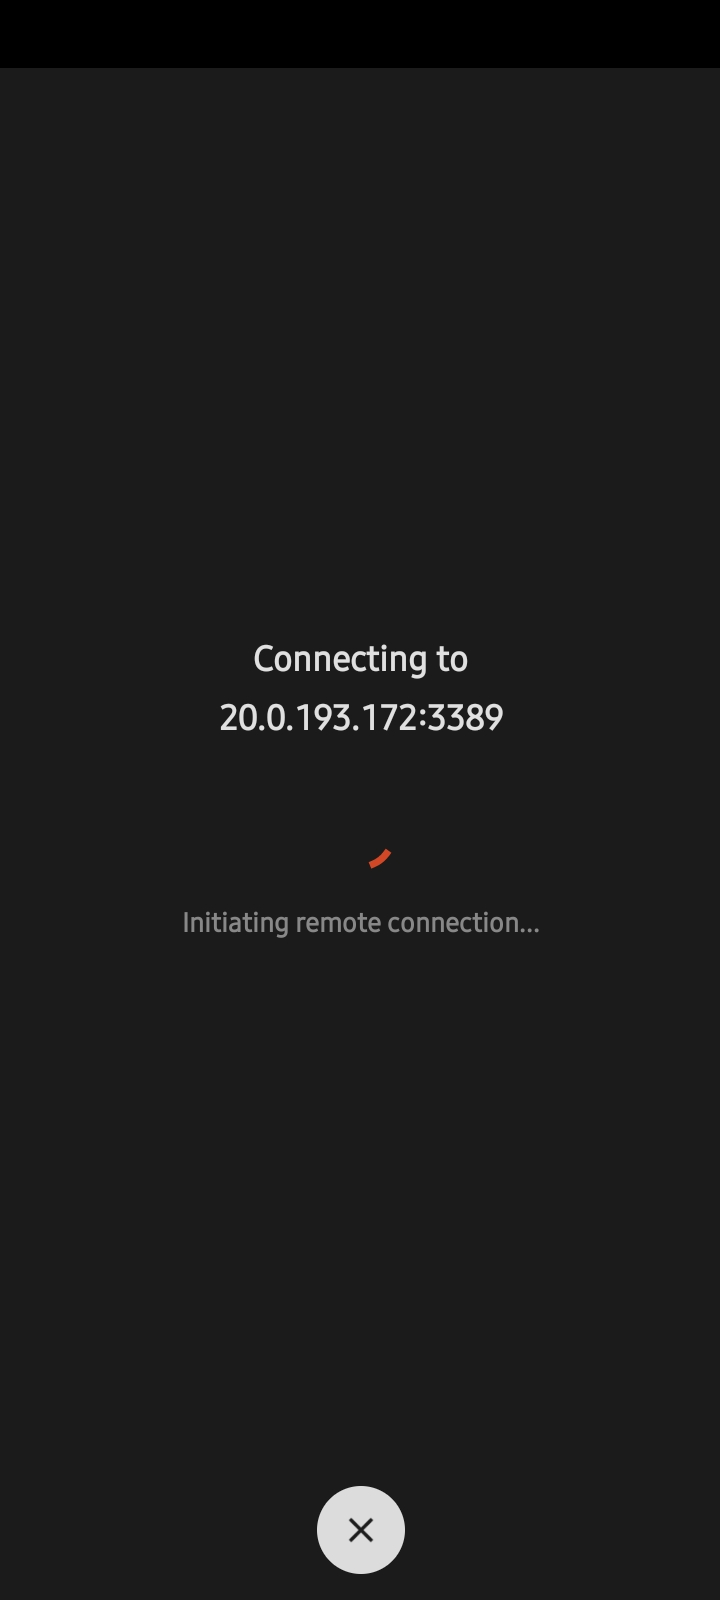
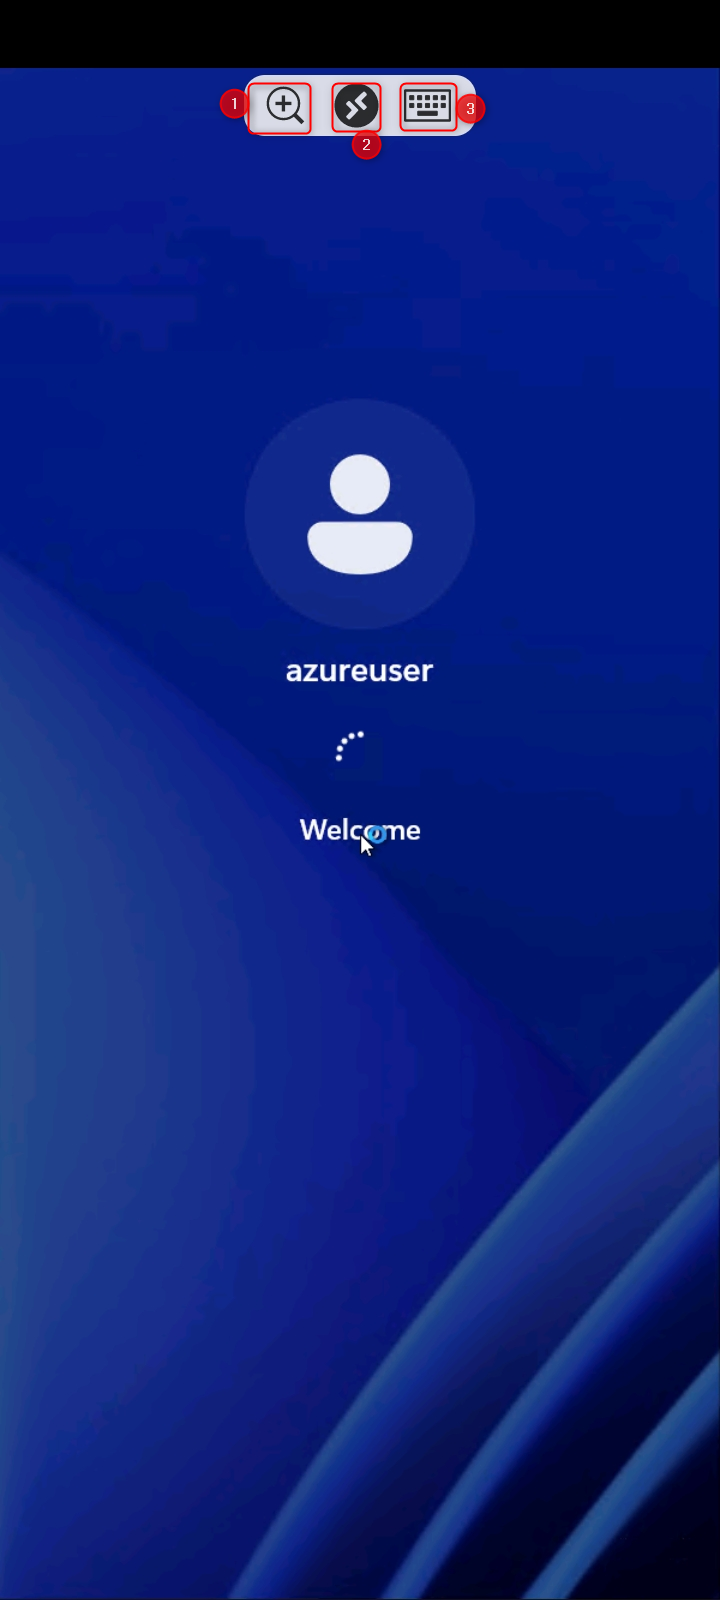
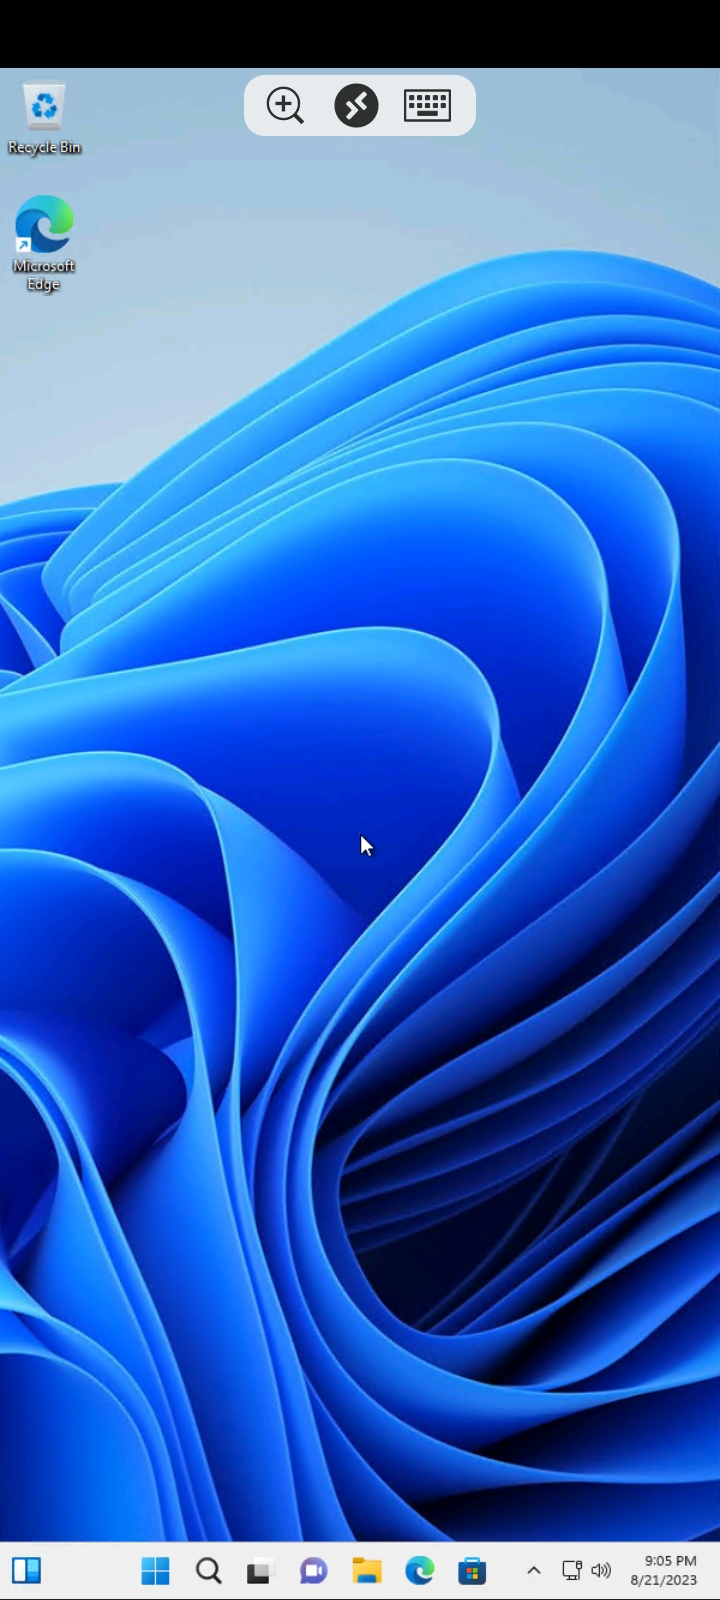
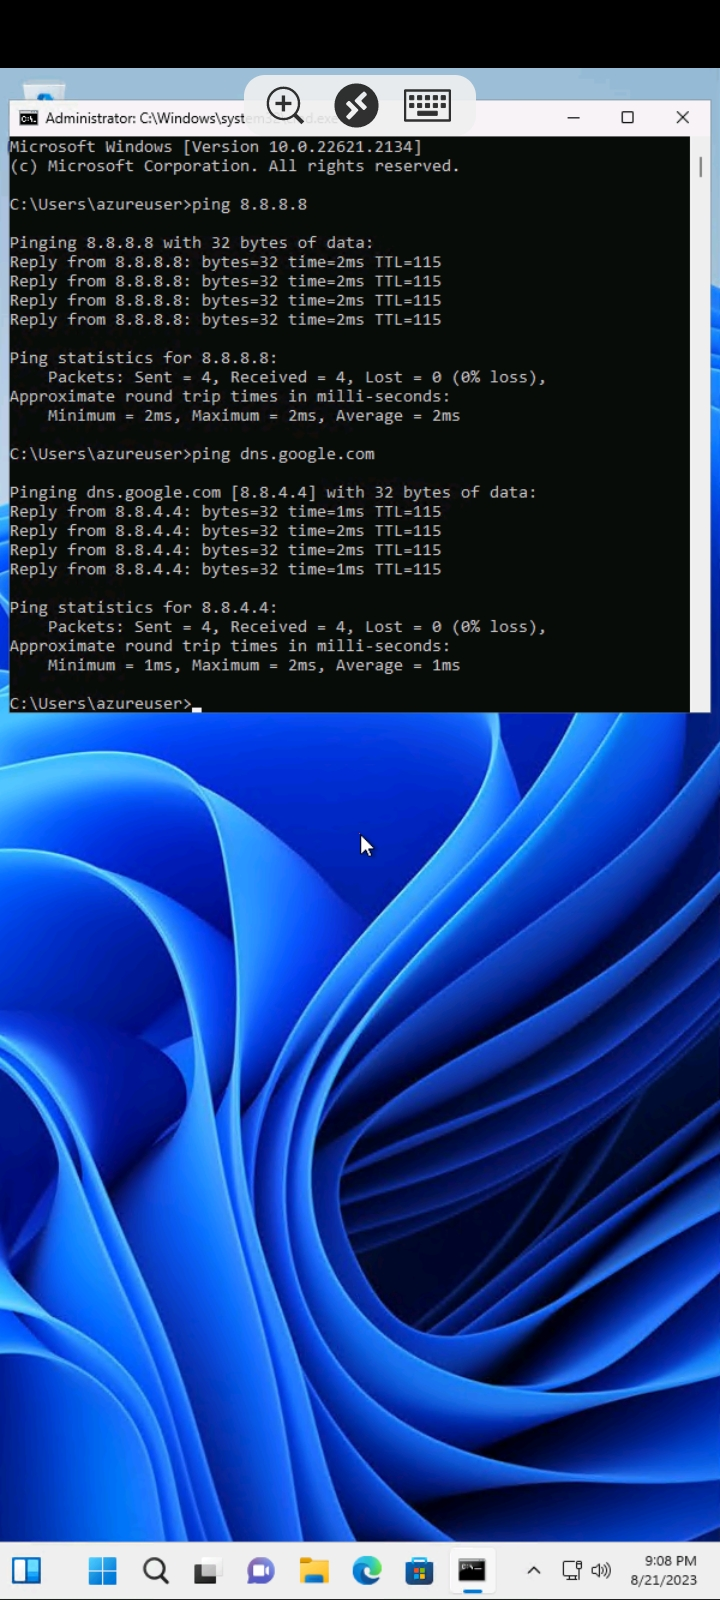
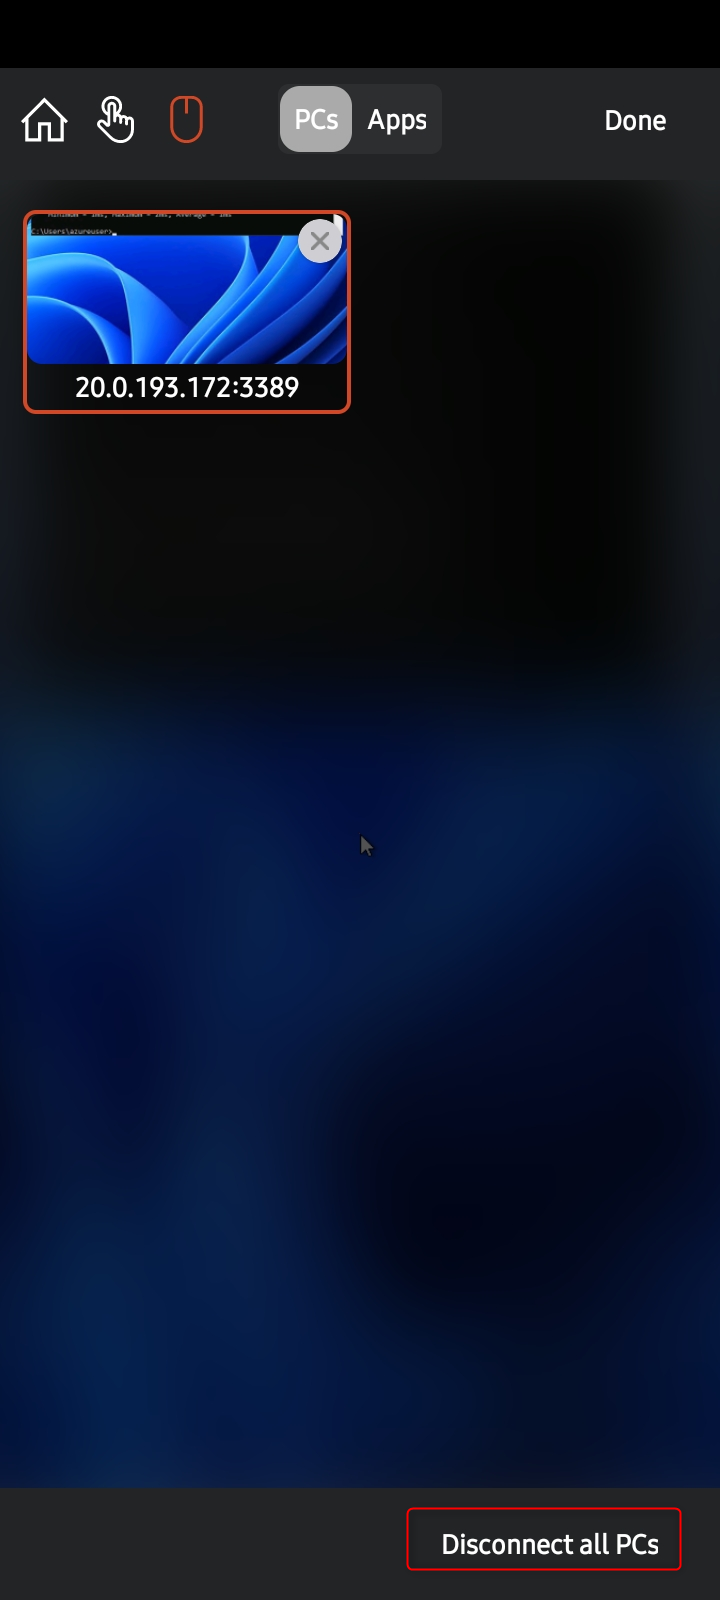
As shown in the diagram, we are already in the virtual machine. It is highlighted in the diagram below that 1. is for zooming out or in, 2. is for disconnecting from the remote desktop mobile app, and 3. is the keyboard for typing in the virtual machine.
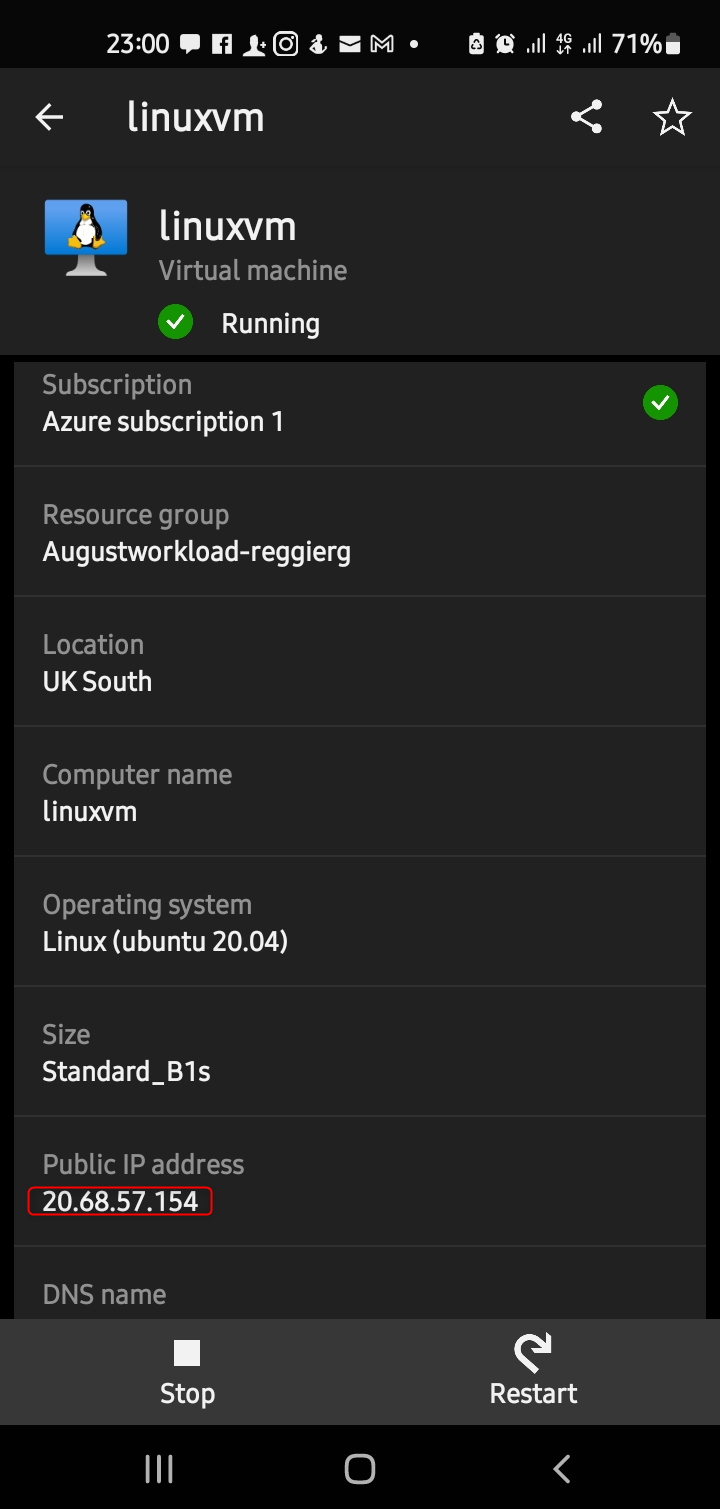
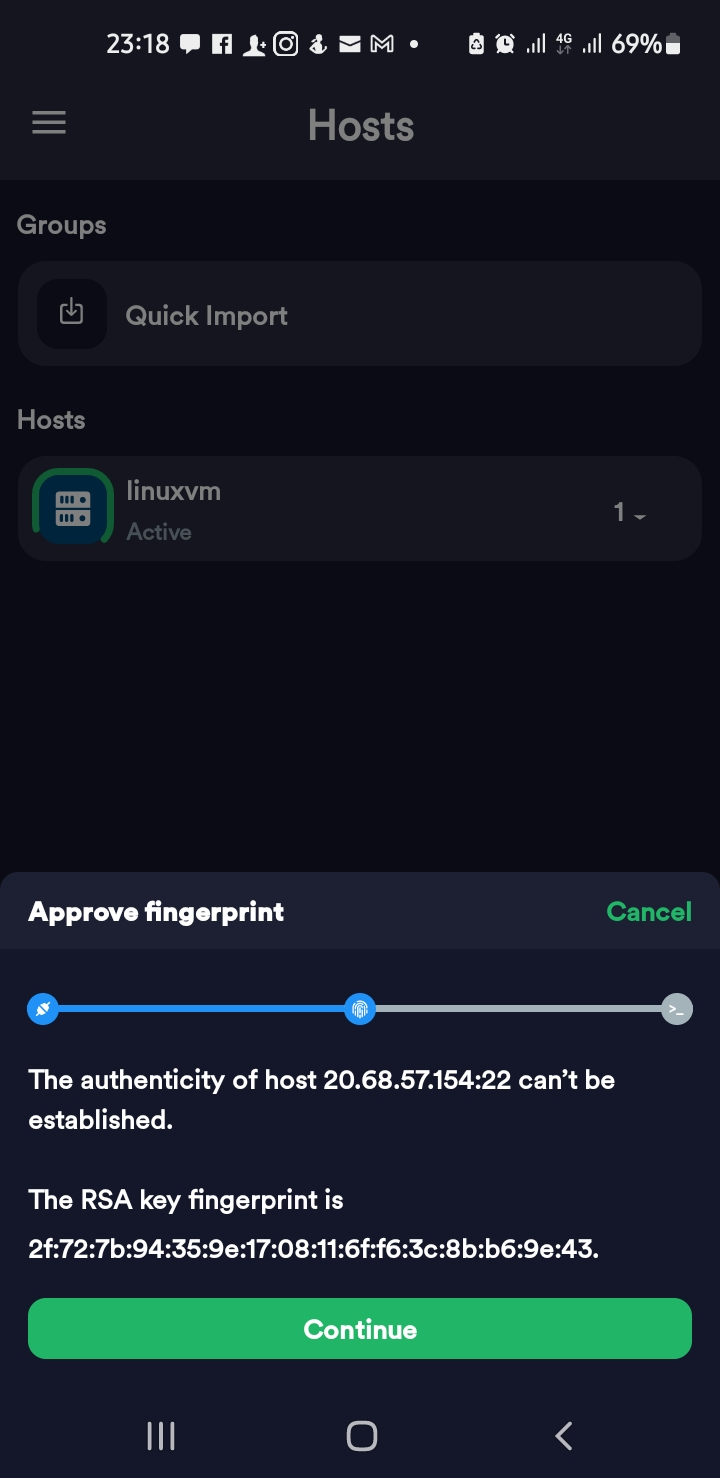
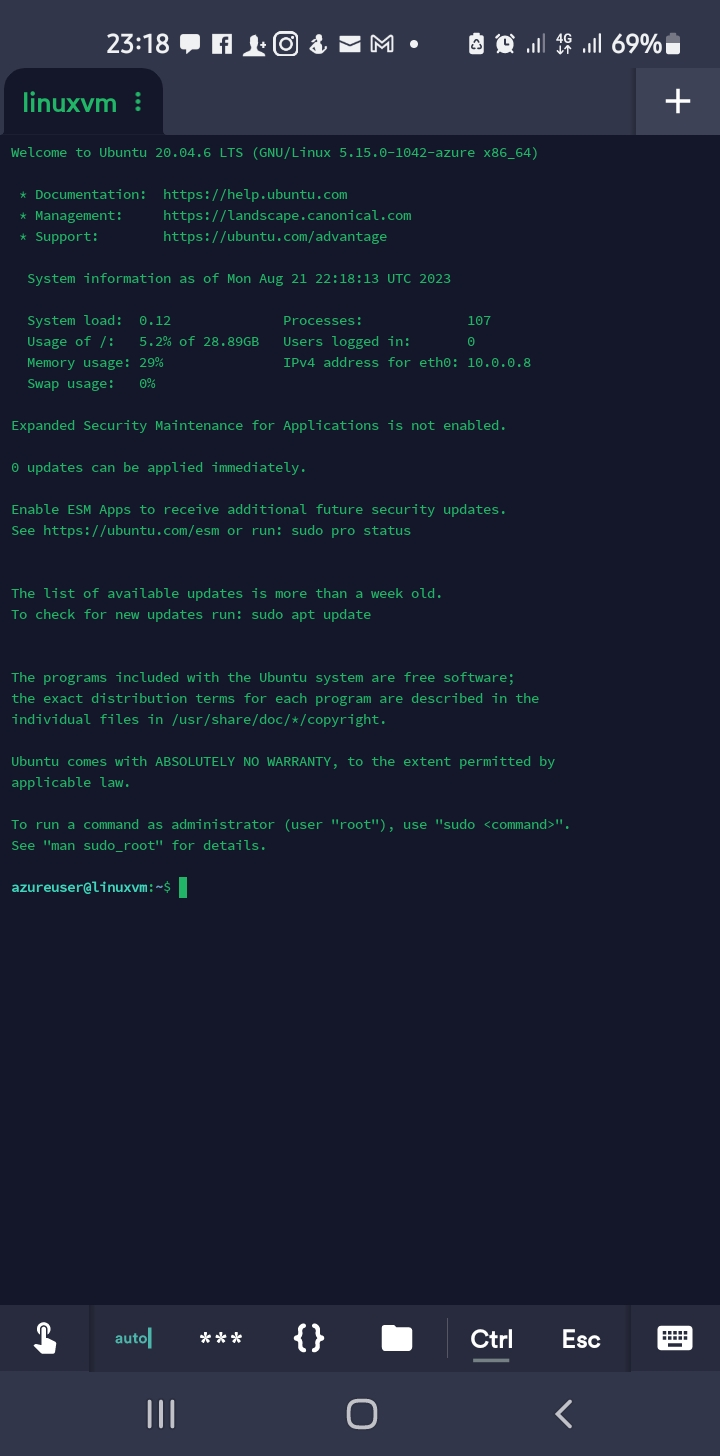
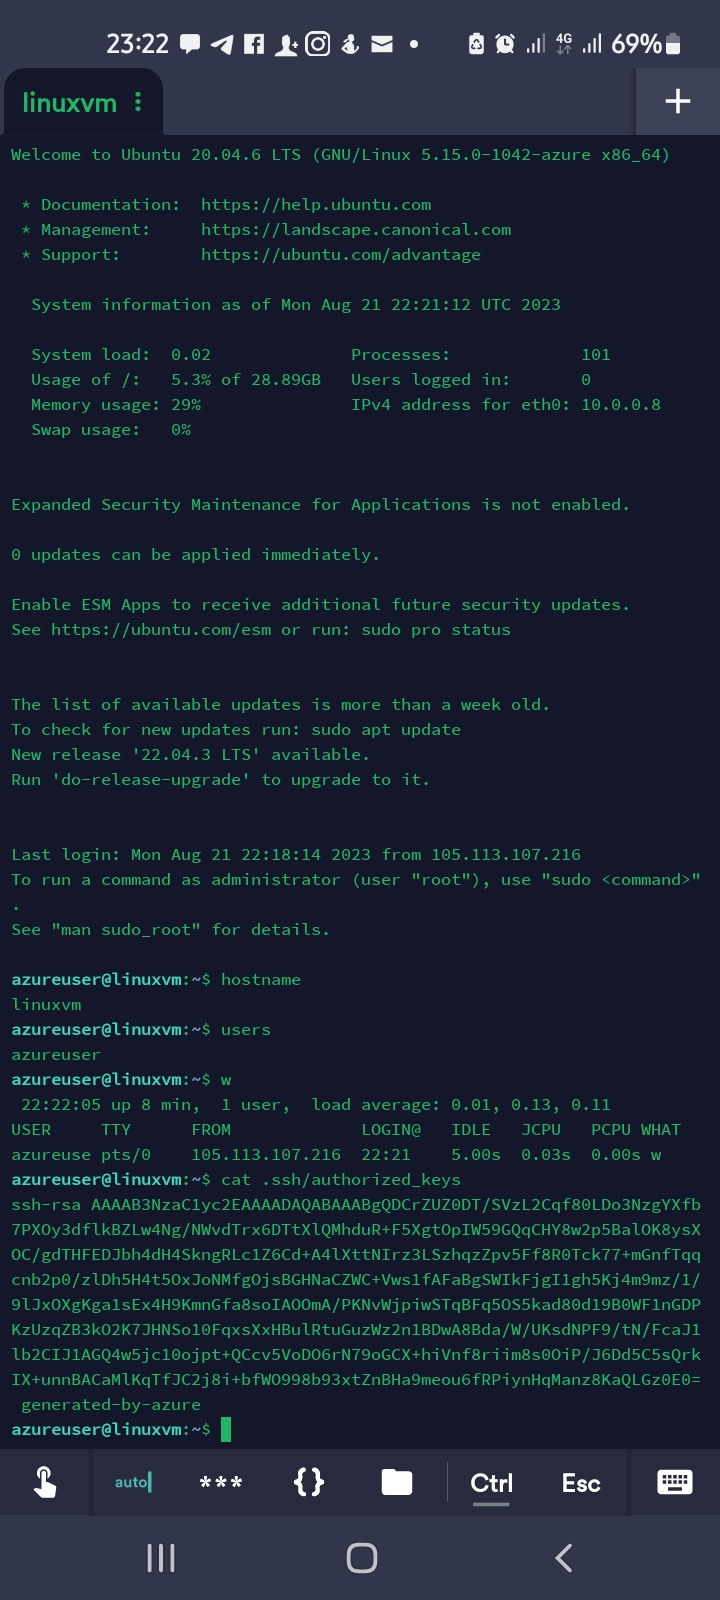
This is for the other virtual machine I created, which does not use a remote desktop. As far as I know, this virtual machine is a Linux server and uses ssh, which is why I had to install Termius earlier in the article. To follow, read my previous article on creating a Linux virtual machine step-by-step. I copied the public ip address for use later in the article, as shown in the article below
As shown in the diagram below, you add rules by clicking the + sign.
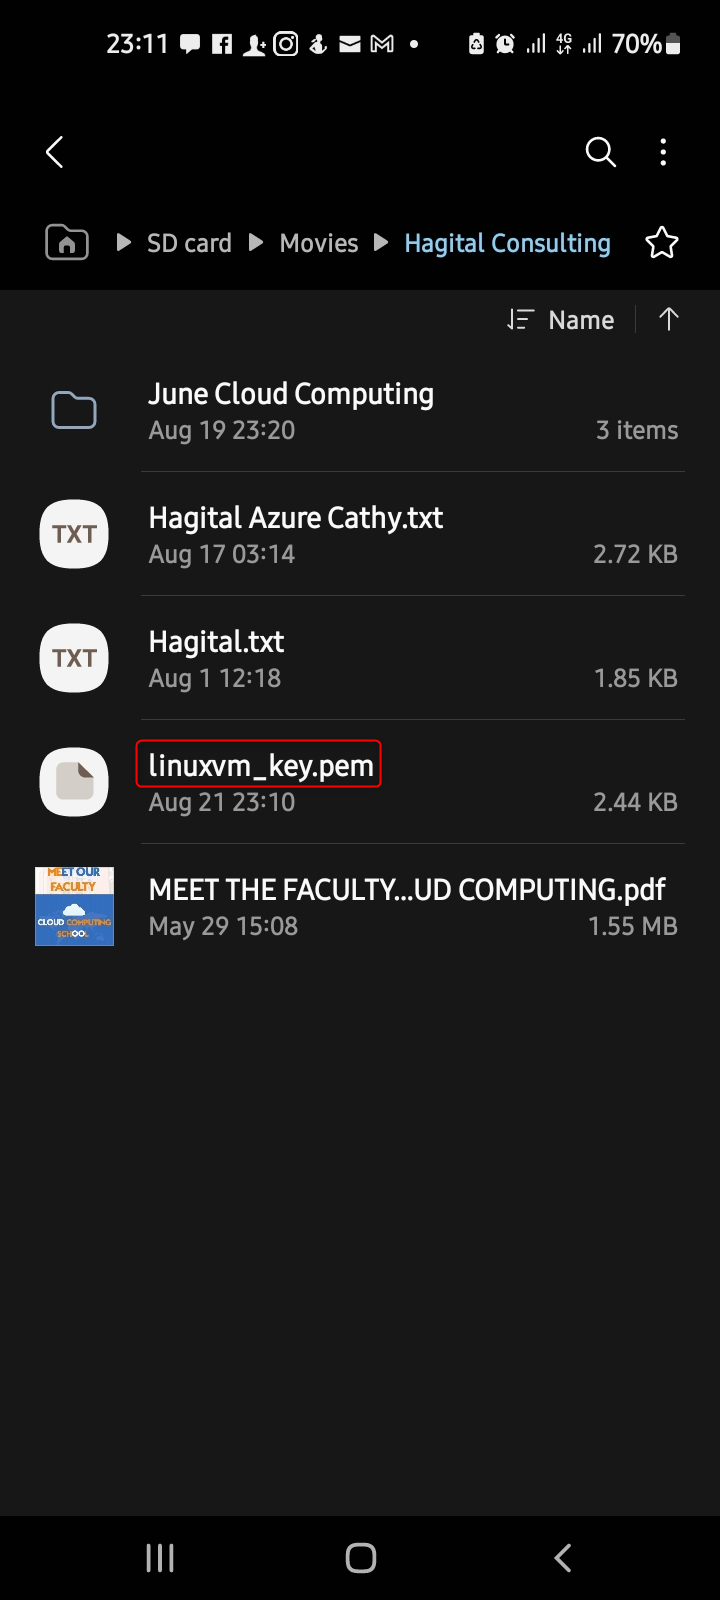
I copied the private key from my laptop to my phone; the location of the private key on my phone is shown in the diagram below.
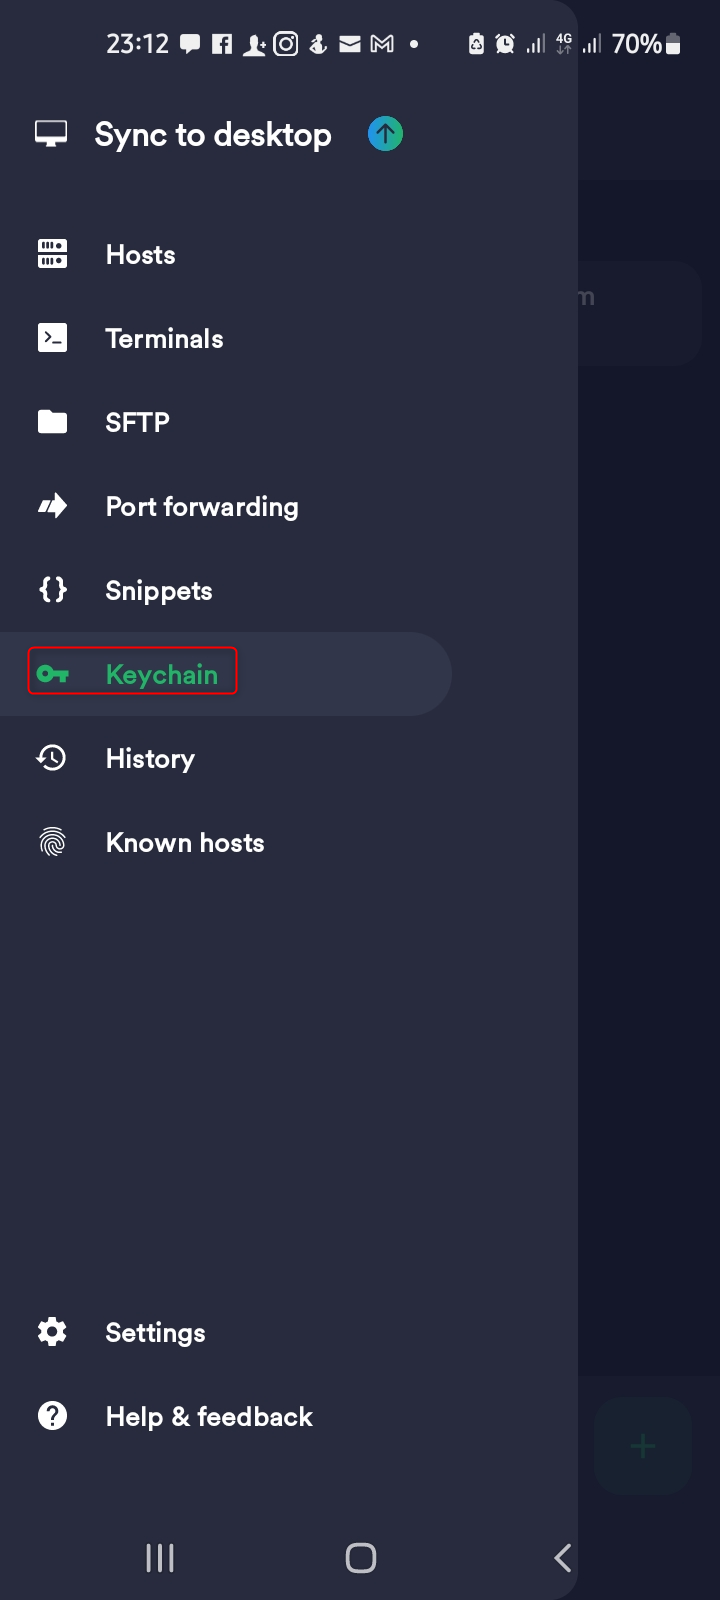
Here I opened the Termius mobile app and then click on the key chain as shown in the diagram below
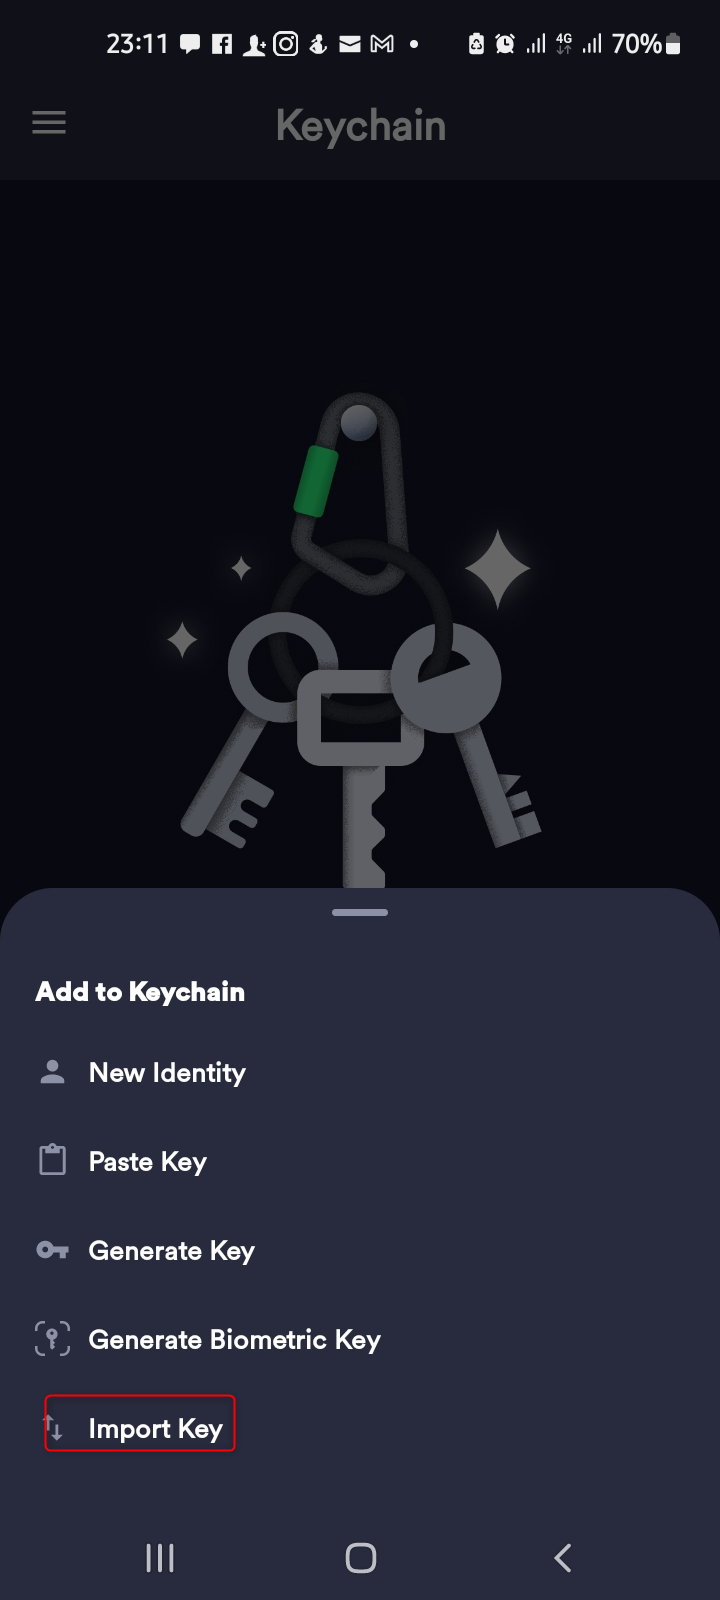
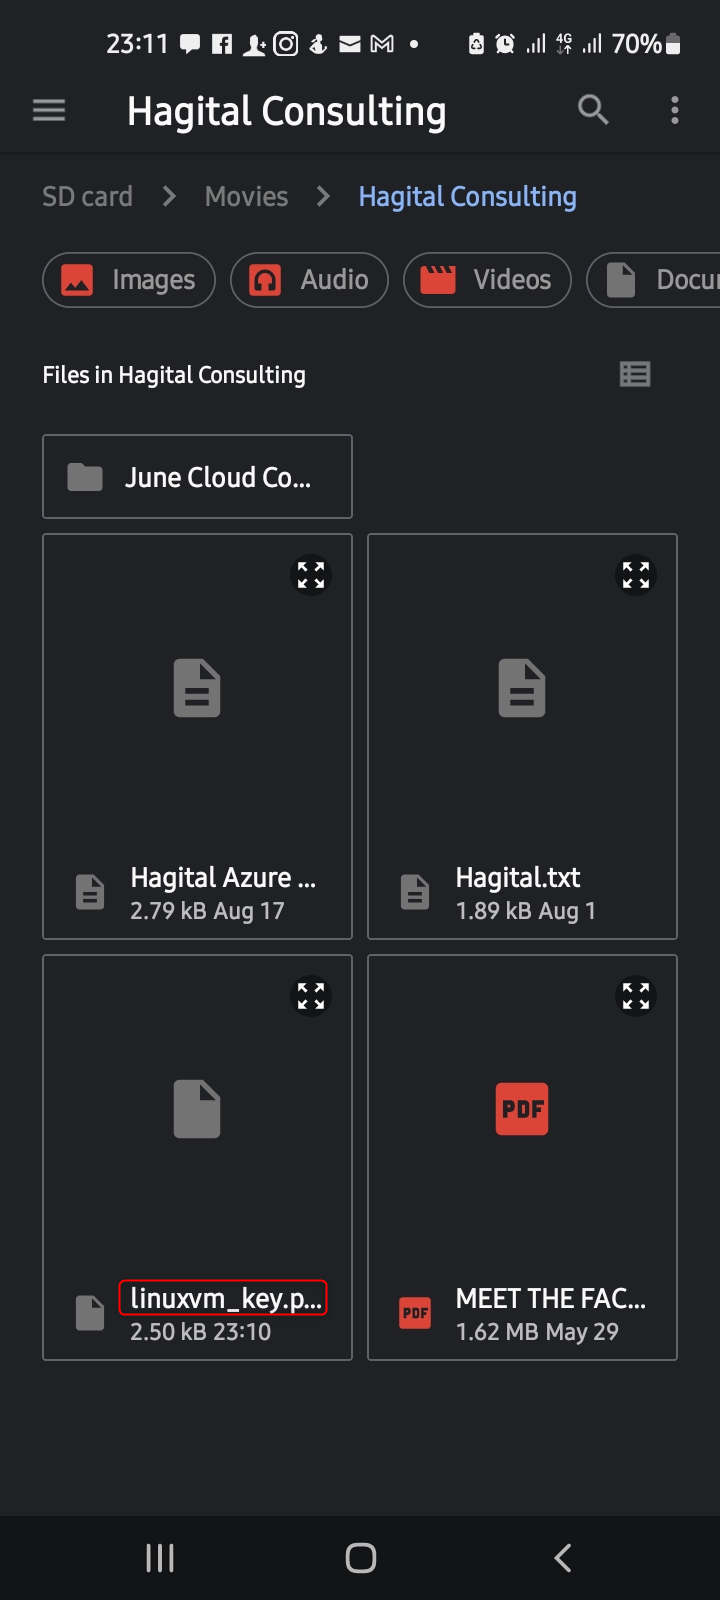
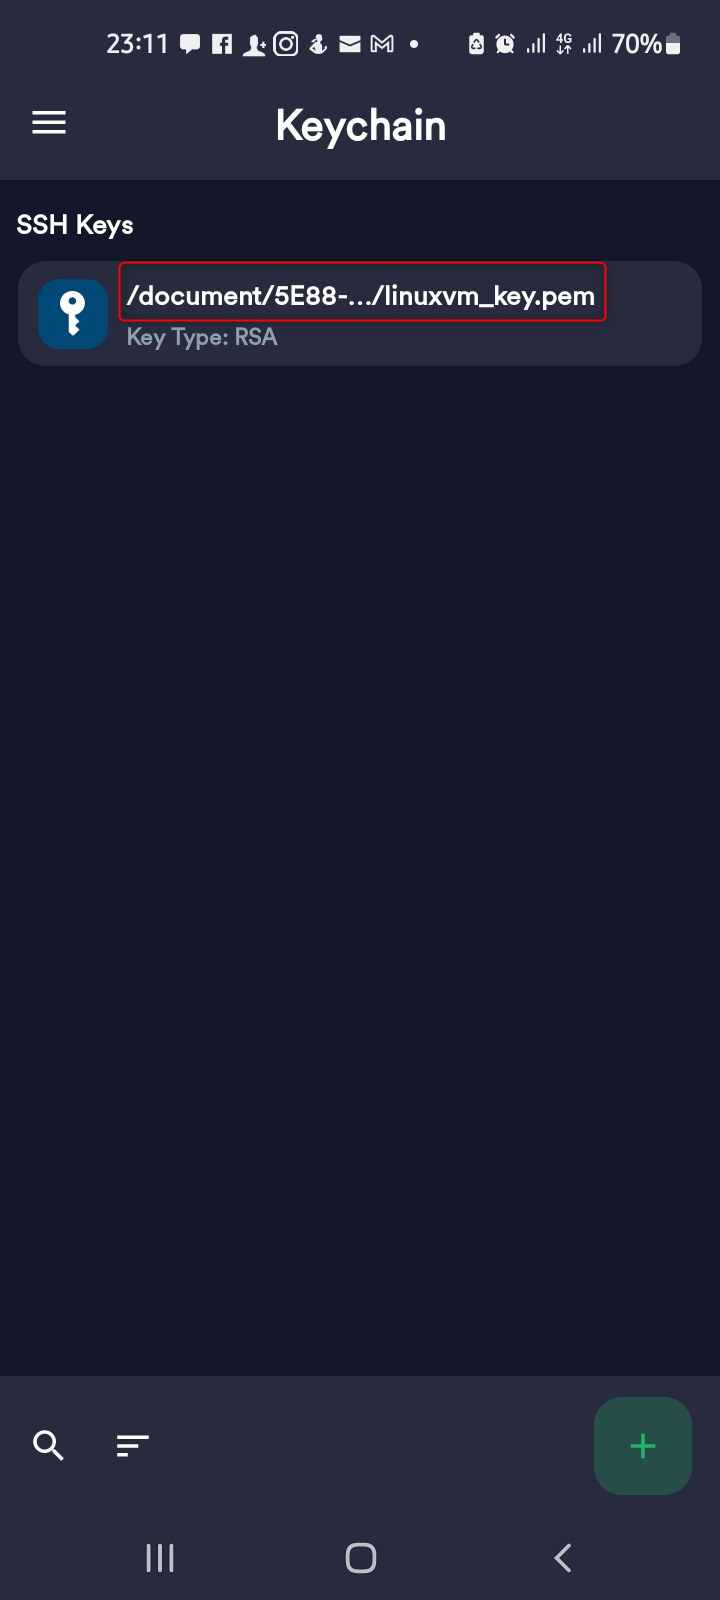
Here I clicked on hosts and then entered the public ip address into the
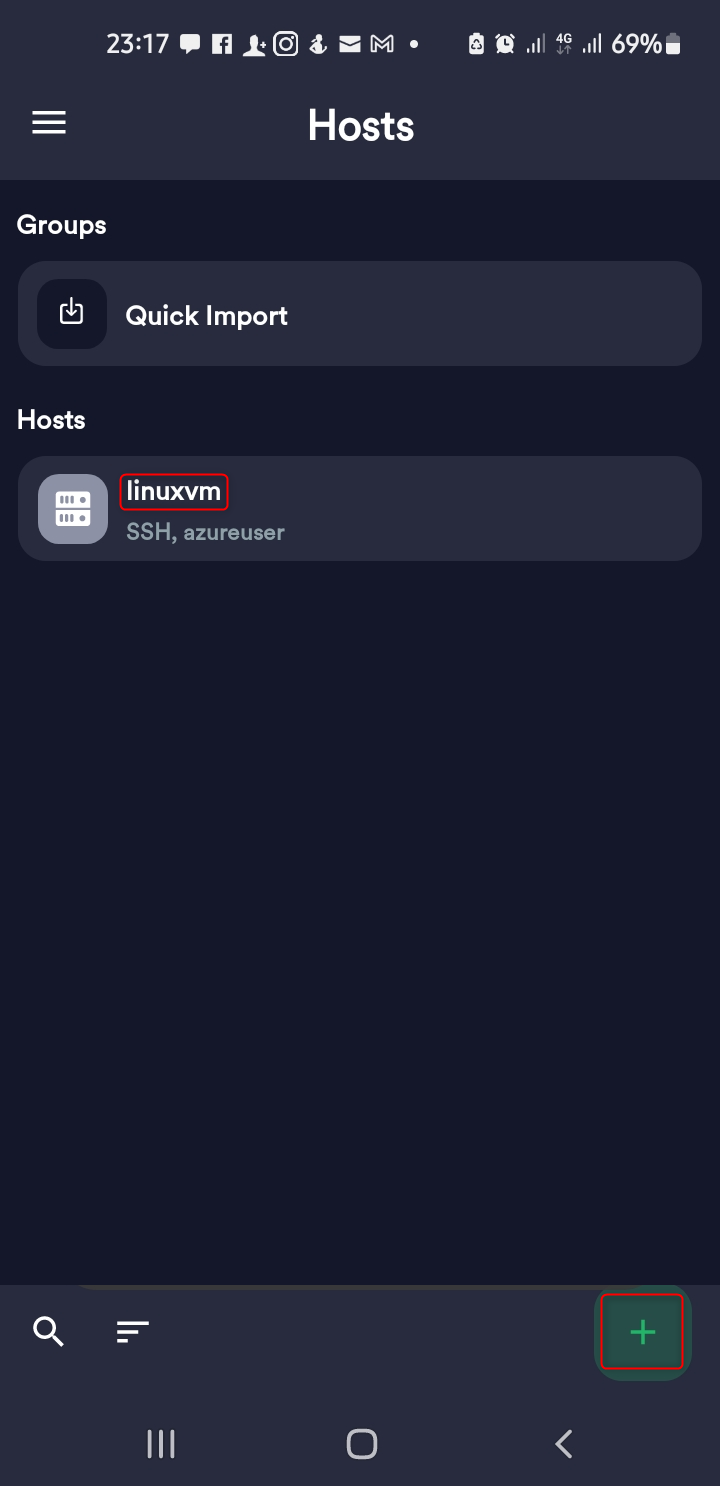
If you find it helpful, please like, share, and subscribe.
Subscribe to my newsletter
Read articles from Elinathan Olotu directly inside your inbox. Subscribe to the newsletter, and don't miss out.
Written by

Elinathan Olotu
Elinathan Olotu
I am a Cloud Engineer with a strong foundation in multi-cloud environments, specializing in AWS and Azure with hands-on experience in Google Cloud Platform (GCP). Skilled in architecting and optimizing secure, scalable cloud infrastructures, I bring a robust background in Cisco networking to enhance connectivity and reliability. Passionate about leveraging cloud technologies to solve complex challenges, streamline operations, and drive innovation.