Jinja HTML Templates With Dart Frog
 Eghosa Osayande
Introduction
HTML templates are a foundational concept in web development that involve creating reusable structures for generating dynamic HTML content. HTML templates offer several benefits in web development such as allowing dynamic data integration, enabling modular development, and facilitating collaboration between front-end and back-end developers.
In this tutorial, we explore how to use the Jinja Dart package (a port of Python's Jinja template rendering engine) to build rich templates that will power the front end of your web applications built with Dart.
Prerequisite
This tutorial assumes you have a working knowledge of writing and running basic Dart programs and some familiarity with making web applications with Dart Frog.
Creating a new app
To begin this project we will need to install dart_frog. Dart Frog is the dart backend web framework we will be using to run our server. Open a terminal and run the command
dart pub global activate dart_frog_cli
Once dart frog has been successfully installed, we will use the dart_frog create command to create a new project
dart_frog create jinja_project
Running the development server
You should now have a directory called jinja_project. You can now open this directory in any code editor of your choice. In the terminal at the root directory of the project run the following command
dart_frog dev
This will start the development server on port 8080. You should see an output similar to this:
✓ Running on http://localhost:8080 (1.3s)
The Dart VM service is listening on http://127.0.0.1:8181/YKEF_nbwOpM=/
The Dart DevTools debugger and profiler is available at: http://127.0.0.1:8181/YKEF_nbwOpM=/devtools/#/?uri=ws%3A%2F%2F127.0.0.1%3A8181%2FYKEF_nbwOpM%3D%2Fws
[hotreload] Hot reload is enabled.
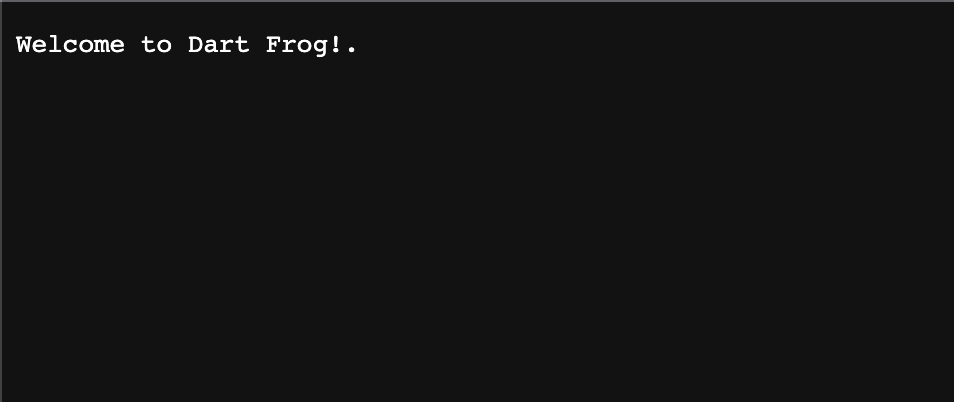
Make sure it's working by opening http://localhost:8080 in your browser. If everything succeeded, you should see

Updating the root route to return HTML contents
Now that we have a running application, let's start by updating the root route at routes/index.dart to return some HTML content:
import 'package:dart_frog/dart_frog.dart';

Response onRequest(RequestContext context) {
  const htmlString = '''

      <!DOCTYPE html>

      <html lang="en">

      <head>

        <meta charset="utf-8">

        <title>Dart Frog Tutorials</title>

      </head>

      <body>

        Dart Frog Tutorials

        <ul>

          <li>Jinja Templates Tutorial </li>

        </ul>

      </body>

      </html>

''';

  return Response(
    body: htmlString,
    headers: {
      'Content-Type': 'text/html'
    },
  );
}
Save the changes and hot reload should kick in. You should see something like this in your terminal.
[hotreload] - Application reloaded.
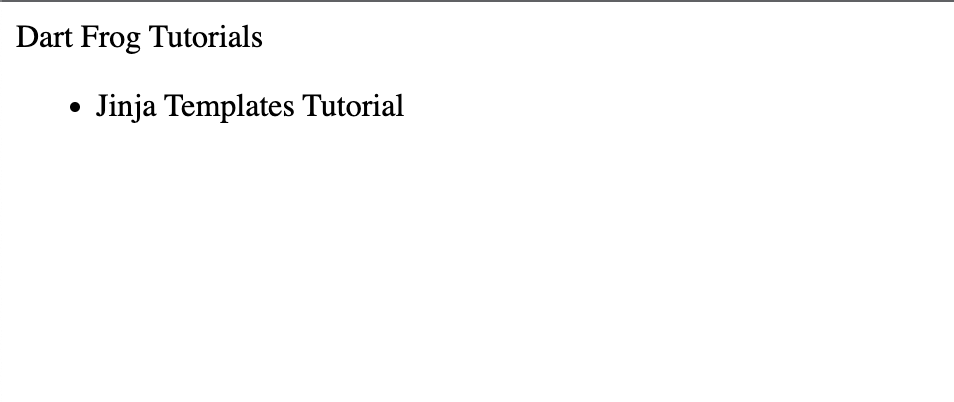
Now if we visit http://localhost:8080 in the browser we should see something similar to this:

Sending HTML in Our Response
In the root directory of your project create a new directory and name it templates. It is in this directory we are going to create and keep all the HTML templates that we will be using in this project. After that, we would also create a new HTML file in the empty templates directory and name it base.html. We are going to copy the value of the htmlString string variable in our index.dart and paste it in the new base.html file. Having done that, refactor index.dart as shown below
import 'dart:io';

import 'package:dart_frog/dart_frog.dart';

Response onRequest(RequestContext context) {
  final file = File(
    [
      Directory.current.path,
      'templates',
      'base.html',
    ].join(Platform.pathSeparator),
  );

  if (!file.existsSync()) {
    return Response(body: 'Index Not found');
  }

  final htmlString = file.readAsStringSync();

  return Response(
    body: htmlString,
    headers: {
      'Content-Type': 'text/html'
    },
  );
}
Here we are simply reading the contents of the base.html file as a string, assigning it to the htmlString variable and returning it as we did before. This is very much the same this as to what we had done earlier. If we visit http://localhost:8080 in the browser we would see nothing has changed. Now we are going to install the jinja package which we are going to be using to parse our HTML templates. Add the following dependency to your pubspec.yaml
dependencies:
    ...
    jinja: ^0.5.0
And run dart pub get.
We are going to refactor the index.dart file to use the jinja package to read and return the contents of our base.html file. Our index.dart will now look like this:
import 'package:dart_frog/dart_frog.dart';

import 'package:jinja/jinja.dart';

import 'package:jinja/loaders.dart';

Response onRequest(RequestContext context) {
  final environment = Environment(
    loader: FileSystemLoader(
      paths: [
        'templates'
      ],
    ),
  );

  final template = environment.getTemplate(
    'base.html',
  );

  return Response(
    body: template.render(),
    headers: {
      'Content-Type': 'text/html'
    },
  );
}
The core component of Jinja is the Environment() class. Here, we create a Jinja Environment that uses the FileSytemLoader class to load all the templates in our templates directory. You could also choose to not pass the paths parameter in the Environment constructor because it defaults to [ 'templates' ] by default. If you wanted to keep your templates in different directories (eg; [ 'templates','public/templates ]), you will have to include them in the path parameter.
Once again, when we refresh our browser we see nothing has changed yet. This means nothing has broken in our code base.
Passing Arguments to our HTML Templates
Now here is where we will really appreciate the benefits of Jinja. The HMTL code we have been returning in our response has been hardcoded. If we had fetched a list of tutorials from a database and we needed to display this in the HTML response for our client, the current approach will not work as the data to be displayed is now dynamic. However, we can fix this by passing this list of tutorials to our HTML template. We shall modify our index.dart as follows
import 'package:dart_frog/dart_frog.dart';

import 'package:jinja/jinja.dart';

import 'package:jinja/loaders.dart';

Response onRequest(RequestContext context) {
  final environment = Environment(
    loader: FileSystemLoader(
      paths: [
        'templates'
      ],
    ),
  );

  final template = environment.getTemplate(
    'base.html',
  );

  final tutorials = [
    'Jinja Templates Tutorial',
    'Flutter Tutorials',
    'Dart Fundamentals',
  ];

  return Response(
    body: template.render({
      'title': 'Home',
      'tutorials': tutorials,
    }),
    headers: {
      'Content-Type': 'text/html'
    },
  );
}
The template.render method takes an option positional parameter of type Map<String, Object?> and we have passed a map containing the title and the list of tutorials. Next, we are going to handle the parameters in our template file. Open the base.html and make the following changes
<html lang="en">

<head>

  <meta charset="utf-8">

  <title>{{ title }}</title>

</head>

<body>

  <h1>Welcome to {{ title }}!</h1>

  {% for tutorial in tutorials %}

  <ul>

    <li>

      {{ tutorial }}</em>

    </li>

  </ul>

  {% endfor %}

</body>

</html>
This template uses the Jinja syntax to generate dynamic HTML content. The {{ title }} syntax places the value of the title variable into the title tag. The {% for tutorial in tutorials %} loop iterates over the tutorials list, adding each value as a list item. Inside the loop, {{ tutorial }} displays each tutorial item. The template combines HTML and Jinja's placeholders and control structures to create a dynamic web page.
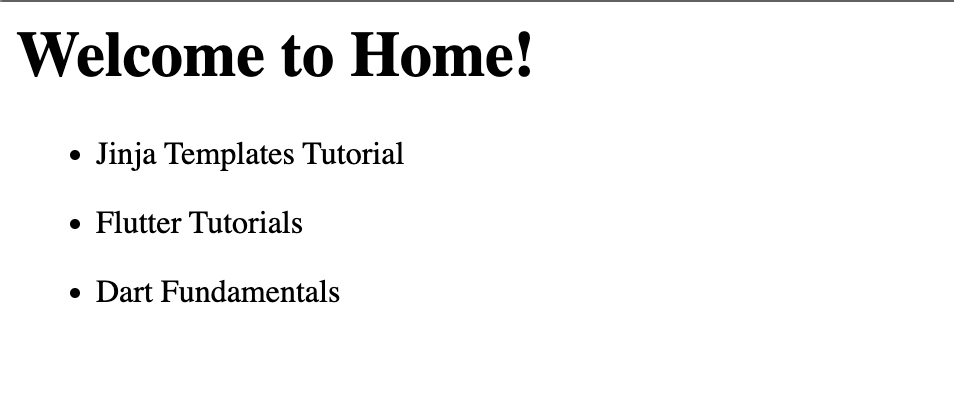
When you refresh your web browser you will be able to see the new changes

What next?
HTML templates offer several benefits in web development such as allowing dynamic data integration, enabling modular development, and facilitating collaboration between front-end and back-end developers.
To learn more on how to use the Jinja syntax to create dynamic HTML content check the official documentation. Also, read the documentation on the jinja dart package to know which features have not yet been implemented.
Subscribe to my newsletter
Read articles from Eghosa Osayande directly inside your inbox. Subscribe to the newsletter, and don't miss out.
Written by
