Building a Search and Select Field in Flutter
 Arun
Arun
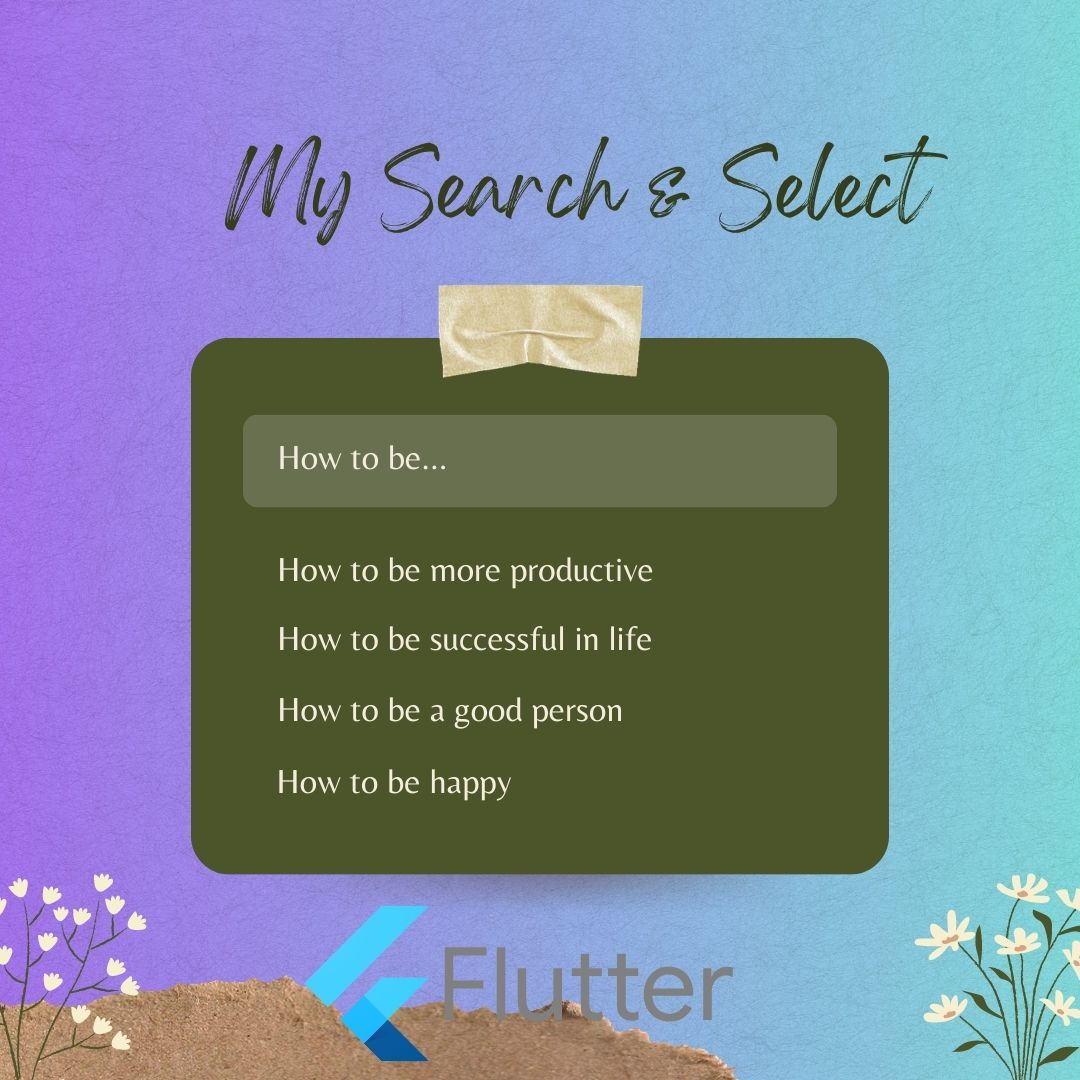
Are you looking to implement a smooth and user-friendly search and select field in your Flutter app? Look no further! In this tutorial, we'll guide you through the steps of creating a search field that automatically suggests options as you type, and allows you to select the desired option.
The Challenge
Imagine you have a long list of options, such as city names, and you want users to be able to quickly find and select an option using a search field. Additionally, you'd like the dropdown of suggestions to appear only after the user has entered at least 4 characters. This helps users quickly filter through a large list without overwhelming them.
Solution
- Setup Your Project
Make sure you have Flutter and the getX package installed in your project. If you haven't already, you can add getX to your pubspec.yaml:
dependencies:
  flutter:
    sdk: flutter
  get: ^4.1.4
Then, run flutter pub get to fetch the package.
- Create Your Model
Create a model to represent the data you'll be working with. For this example, let's assume you're working with a list of cities.
class City {
  final String name;

  City(this.name);
}
- GetX Controller:
Create a controller using GetX to manage the state of your search and selected items. This controller will handle the logic for searching and filtering the options based on the entered text.
import 'package:flutter/cupertino.dart';
import 'package:get/get.dart';
import 'package:searchandselect/searchSelectModel.dart';

class SearchSelectController extends GetxController {
  final searchText = ''.obs;
  final TextEditingController searchTextController = TextEditingController();
  final Rx<City?> selectedCity = Rx<City?>(null);
  final cities = <City>[
    City('New York'),
    City('Los Angeles'),
    City('Chicago'),
    City('Houston'),
    City('Phoenix'),
    City('Philadelphia'),
    City('San Antonio'),
    City('San Diego'),
    City('Dallas'),
    City('San Jose'),
    City('Austin'),
    City('Jacksonville'),
    City('Fort Worth'),
    City('Columbus'),
    City('Charlotte'),
    City('San Francisco'),
    City('Indianapolis'),
    City('Seattle'),
    City('Denver'),
    City('Washington'),
    City('Boston'),
    City('El Paso'),
    City('Nashville'),
    City('Detroit'),
  ];
  List<City> get filteredCities {
    return searchText.value.length >= 4
        ? cities.where((city) {
      return city.name.toLowerCase().contains(searchText.value.toLowerCase());
    }).toList()
        : [];
  }
  void selectCity(City city) {
    selectedCity.value = city;
    searchTextController.text = city.name;
    Get.back();
  }
}
- UI Implementation:
Now, let's create the UI using a TextField and a dropdown menu to display the filtered options.
import 'package:flutter/material.dart';
import 'package:get/get.dart';
import 'package:searchandselect/searchSelectModel.dart';
import 'package:searchandselect/search_select_controller.dart';

class SearchSelect extends StatelessWidget {
  final controller = Get.put(SearchSelectController());
  @override
  Widget build(BuildContext context) {
    return Scaffold(
      appBar: AppBar(title: Text('Search and Select')),
      body: Padding(
        padding: const EdgeInsets.all(16.0),
        child: Column(
          children: [
            TextField(
              controller: controller.searchTextController,
              onChanged: (value) {
                controller.searchText.value = value;
              },
              decoration: InputDecoration(
                labelText: 'Search City',
                border: OutlineInputBorder(),
              ),
            ),
            Obx(() {
              final filteredCities = controller.filteredCities;
              return filteredCities.isNotEmpty
                  ? Column(
                      children: [
                        SizedBox(height: 8),
                        Container(
                          color: Colors.grey[200],
                          child: Column(
                            children: filteredCities.map((City city) {
                              return ListTile(
                                title: Text(city.name),
                                onTap: () {
                                  controller.selectCity(city);
                                  FocusScope.of(context)
                                      .unfocus(); // Close keyboard
                                },
                              );
                            }).toList(),
                          ),
                        ),
                      ],
                    )
                  : SizedBox.shrink();
            }),
          ],
        ),
      ),
    );
  }
}
- Navigate to the Page:
Finally, you can navigate to the SearchSelect from your main app or any other relevant widget.
import 'package:flutter/material.dart';
import 'package:searchandselect/search_select.dart';

void main() {
  runApp(const MyApp());
}
class MyApp extends StatelessWidget {
  const MyApp({super.key});
  @override
  Widget build(BuildContext context) {
    return MaterialApp(
      debugShowCheckedModeBanner: false,
      title: 'Flutter Demo',
      theme: ThemeData(
        colorScheme: ColorScheme.fromSeed(seedColor: Colors.deepPurple),
        appBarTheme: AppBarTheme(
          iconTheme: IconThemeData(color: Colors.black),
          color: Colors.deepPurpleAccent, //<-- SEE HERE
        ),
        useMaterial3: true,
      ),
      home: SearchSelect(),
    );
  }
}
Finally, run your app

Subscribe to my newsletter
Read articles from Arun directly inside your inbox. Subscribe to the newsletter, and don't miss out.
Written by
