Day24 of #90daysofdevops | Complete Jenkins CI/CD Project
 Rahul T
In this blog, We are going to do a project for node-todo-cicd application using Jenkins webhook.
So from Day 23, we have Jenkins setup ready. You can follow along below steps.
Fork this repo - https://github.com/LondheShubham153/node-todo-cicd
Create a new item in the Jenkins dashboard and provide all details.
Add project description and tick GitHub project and add GitHub URL

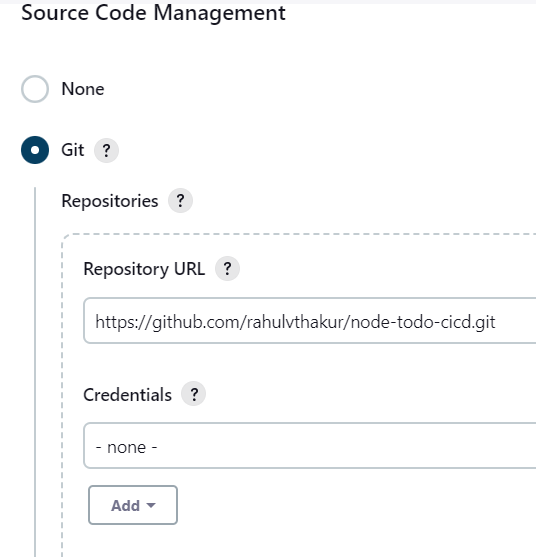
Now we will add the Git repo URL where the node-todo-cicd files are placed.

Now changes that we are going to make are going to merge in master hence we select it as master. You can make another branch such as dev or test and add it here too.

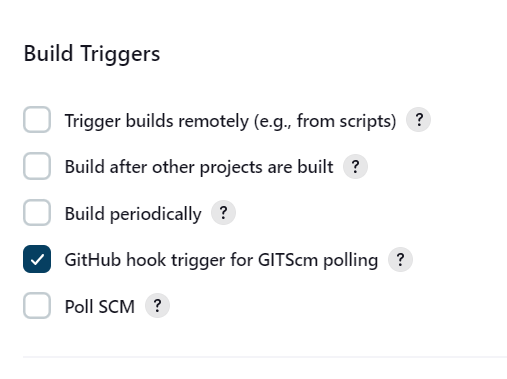
Now we come to the webhook part where we are going to add a webhook but let's understand what a webhook is in simple words.
What is a Webhook?
Imagine you have a friend who loves sending you messages whenever they do something interesting. A webhook in Jenkins is like setting up a special kind of messenger between Jenkins (your computerized assistant for tasks) and another service, like GitHub or Bitbucket (where your code is stored).
Here's how it works:
Triggered Actions: You tell Jenkins that whenever something specific happens in your code repository (like pushing new code or merging a branch), it should let you know.
Setting Up the Messenger: You give Jenkins the address of your webhook (kind of like your friend's phone number).
Message Content: Whenever the event you specified happens (like a code push), Jenkins sends a short message (webhook payload) to the address you provided.
Instant Notification: Just like your friend messaging you right away, the service (like GitHub) receives this message and tells Jenkins, "Hey, something happened!"
Jenkins Reacts: Jenkins then takes a look at the message to understand what happened (like new code being added), and it can perform actions based on that information, like building and testing the new code automatically.
So, a webhook in Jenkins is like setting up an automatic notification system. It helps Jenkins stay informed about changes in your code repository, so it can take immediate actions without you having to manually tell it every time something changes.

We will find our webhook in repository settings and there we can add our URL with public IP and port number.

Now that we have set our webhook from GitHub, we will write shell commands to execute.

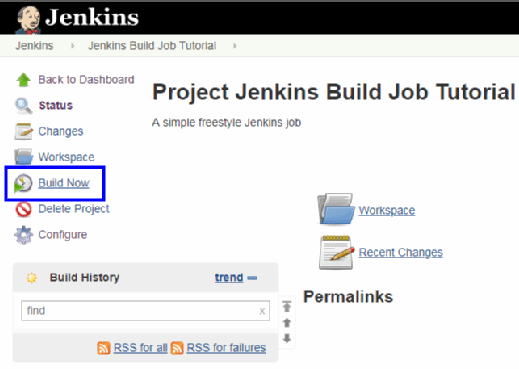
And once we build the job - we can go ahead and check the console output.

Now if we add something to our file and push/commit to the master of our repo, it will automatically make a connection through webhook setup and send a message to Jenkins to make some necessary changes and build the job again.
We can now see our application running on the public IP with the exposed port running fine.

We can make changes to the application through the index file anytime we want.
Thanks for reading the blog & do share them with someone in need :)
Please share your views and suggestions, they are always welcome.
See you then in the next blog.
Happy learning :)
Subscribe to my newsletter
Read articles from Rahul T directly inside your inbox. Subscribe to the newsletter, and don't miss out.
Written by

Rahul T
Rahul T
In the exciting realm of DevOps, I am enthusiastic about embracing the culture, methodologies, and technologies that drive successful software delivery. With a commitment to lifelong learning and a passion for problem-solving, I am ready to embark on this journey as an aspiring DevOps engineer, making a positive impact and helping organizations achieve their technological goals.