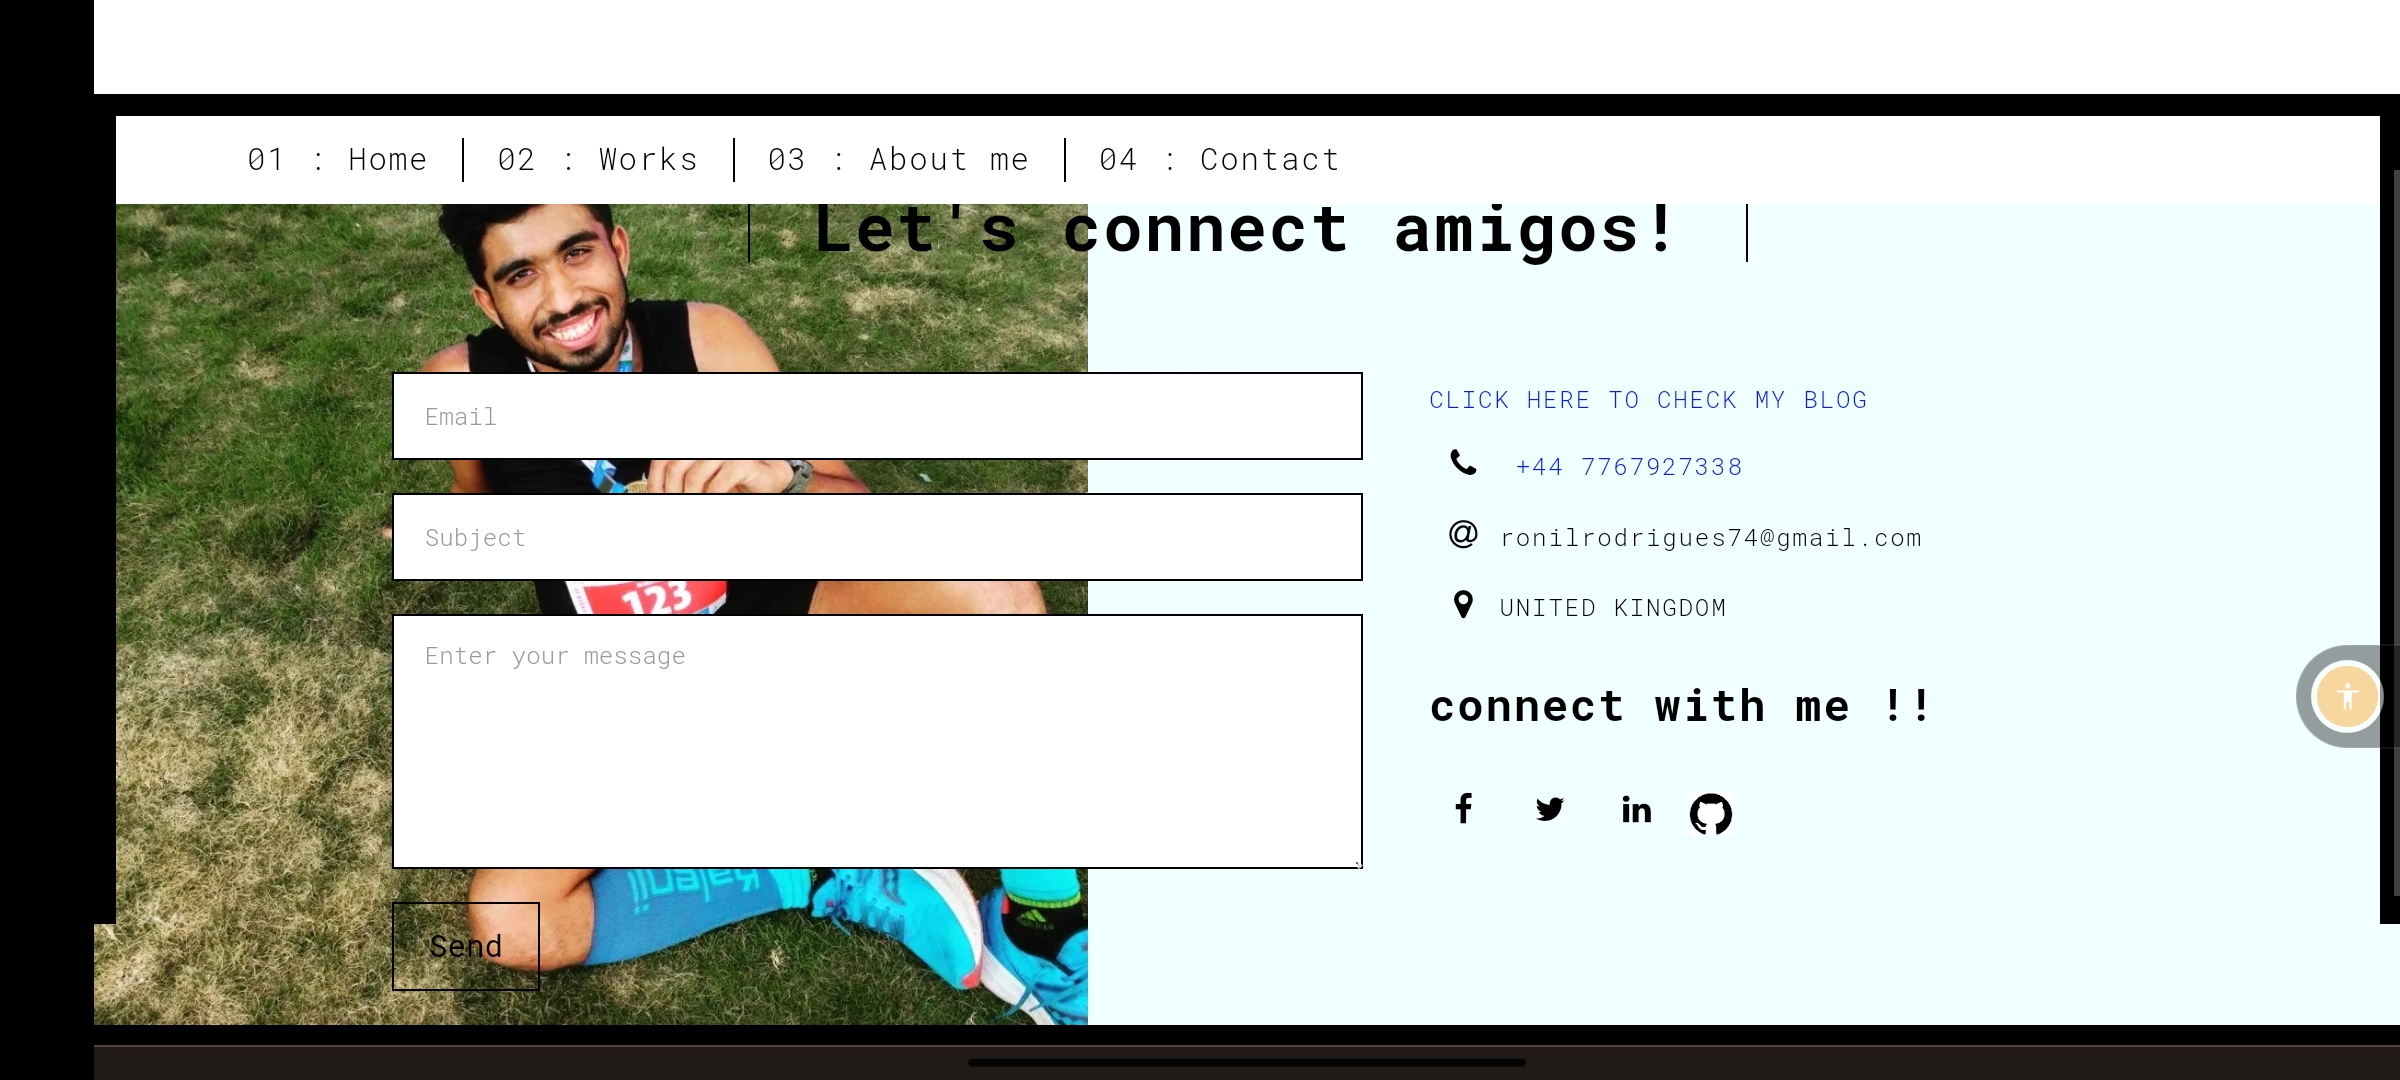
Deploying a Flask Portfolio Project on PythonAnywhere: A Step-by-Step Guide
 Ronil Rodrigues
Github link-https://github.com/ronil74/PORTFOLIO
Introduction:
Deploying your Flask portfolio project on PythonAnywhere is a great way to showcase your work to the world. This step-by-step guide will walk you through the process of getting your Flask app up and running on PythonAnywhere, allowing you to share your projects with potential employers, clients, and collaborators.
### Step 1: Create a PythonAnywhere Account
If you're new to PythonAnywhere, start by signing up for an account on their website. This will give you access to their platform, where you can host your Flask project.
### Step 2: Set Up a Virtual Environment
Once you're logged into your PythonAnywhere account, create a virtual environment for your project. Virtual environments help isolate your project's dependencies, ensuring a clean and organized deployment.
### Step 3: Upload Your Project Files
Use PythonAnywhere's web-based file manager to upload all the necessary files for your Flask project. This includes your Python scripts, HTML templates, CSS stylesheets, JavaScript files, and any other assets.
### Step 4: Install Dependencies
Inside your PythonAnywhere virtual environment, install the required dependencies for your project. This might include Flask itself, as well as any libraries or packages your project relies on.
### Step 5: Configure the WSGI File
Create or modify the WSGI configuration file to point to your Flask app object. This file tells the web server how to interact with your Flask application.
### Step 6: Configure Static Files
Configure PythonAnywhere to serve your static files, such as CSS, JavaScript, and images. Specify the appropriate URL and directory paths in the web app configuration.
### Step 7: Set Up Virtual Environment in Web App Configuration
In your PythonAnywhere web app configuration, ensure that you're using the virtual environment you created earlier. This ensures that your app uses the correct dependencies.
### Step 8: Configure Your Domain (Optional)
If you have a custom domain name, you can configure it to point to your PythonAnywhere web app. This step is optional but can make your project feel more professional.
### Step 9: Update Database Configuration
If your Flask project relies on a database, update the database configuration to work with the production environment on PythonAnywhere.
### Step 10: Reload Your Web App
After making the necessary configurations, reload your web app on PythonAnywhere. This applies the changes you've made and ensures that your app is running with the correct settings.
### Step 11: Debugging and Testing
Thoroughly test your deployed application to ensure that everything is working as expected. Check error logs for any issues and make any necessary adjustments.
### Step 12: HTTPS Configuration (Optional)
If you want to enable HTTPS for your website, PythonAnywhere provides an option to do so. This step helps secure the communication between your users' browsers and your server.
Conclusion:
Deploying your Flask portfolio project on PythonAnywhere is a fantastic way to showcase your skills and projects to a broader audience. By following this step-by-step guide, you can ensure a smooth deployment process and create a professional online presence for your work. Remember to consult PythonAnywhere's documentation and Flask deployment best practices for more detailed information as you embark on this exciting journey of sharing your creations with the world.
Subscribe to my newsletter
Read articles from Ronil Rodrigues directly inside your inbox. Subscribe to the newsletter, and don't miss out.
Written by

Ronil Rodrigues
Ronil Rodrigues
Cloud enthusiast who runs towards cloud!!