Lazy Loading Images Like a Pro in Next.js
 Ezediniru Daniel
Introduction
Lazy loading images on a website is one of the best ways to optimize your web page performance and improve its loading speed. With the lazy loading technique, you render images only within the user's viewport thereby improving the overall user experience. In this article, we'll explore how to implement lazy loading for images in a Next.js application like a pro, leveraging modern web standards and best frontend practices.
Prerequisites
Before we proceed, it's important to have a basic knowledge of web development. Here's what you should be familiar with before proceeding:
Basic Next.js Knowledge: If you're new to Next.js, consider going through the official Next.js documentation or the introductory tutorials to get up to speed.
HTML, CSS, and JavaScript Basics: Proficiency in HTML, CSS, and JavaScript will be helpful.
Image Optimization: A basic grasp of image formats, compression, and resizing for the web will be helpful.
Command Line Usage: You'll need to navigate your project using the command line and install packages.
Why Lazy Load Images?
Loading all images on a web page simultaneously can lead to longer loading times, especially when dealing with large images. Lazy loading helps mitigate this issue by loading images as the user scrolls down the page, only loading the images that are currently in view. This technique can lead to faster initial page rendering and reduced data consumption, making it crucial for web performance optimization and a rich user experience.
Getting Started with Next.js
You can quickly set up a Next.js project using the following steps:
Install Node.js and npm (Node Package Manager) if not already installed.
Open your terminal and run:
npx create-next-app next-lazy-image-appNavigate into your project folder:
cd next-lazy-image-appStart the development server:
npm run dev
With your Next.js project set up, you're ready to implement lazy loading for images.
Setting the Folder Structure
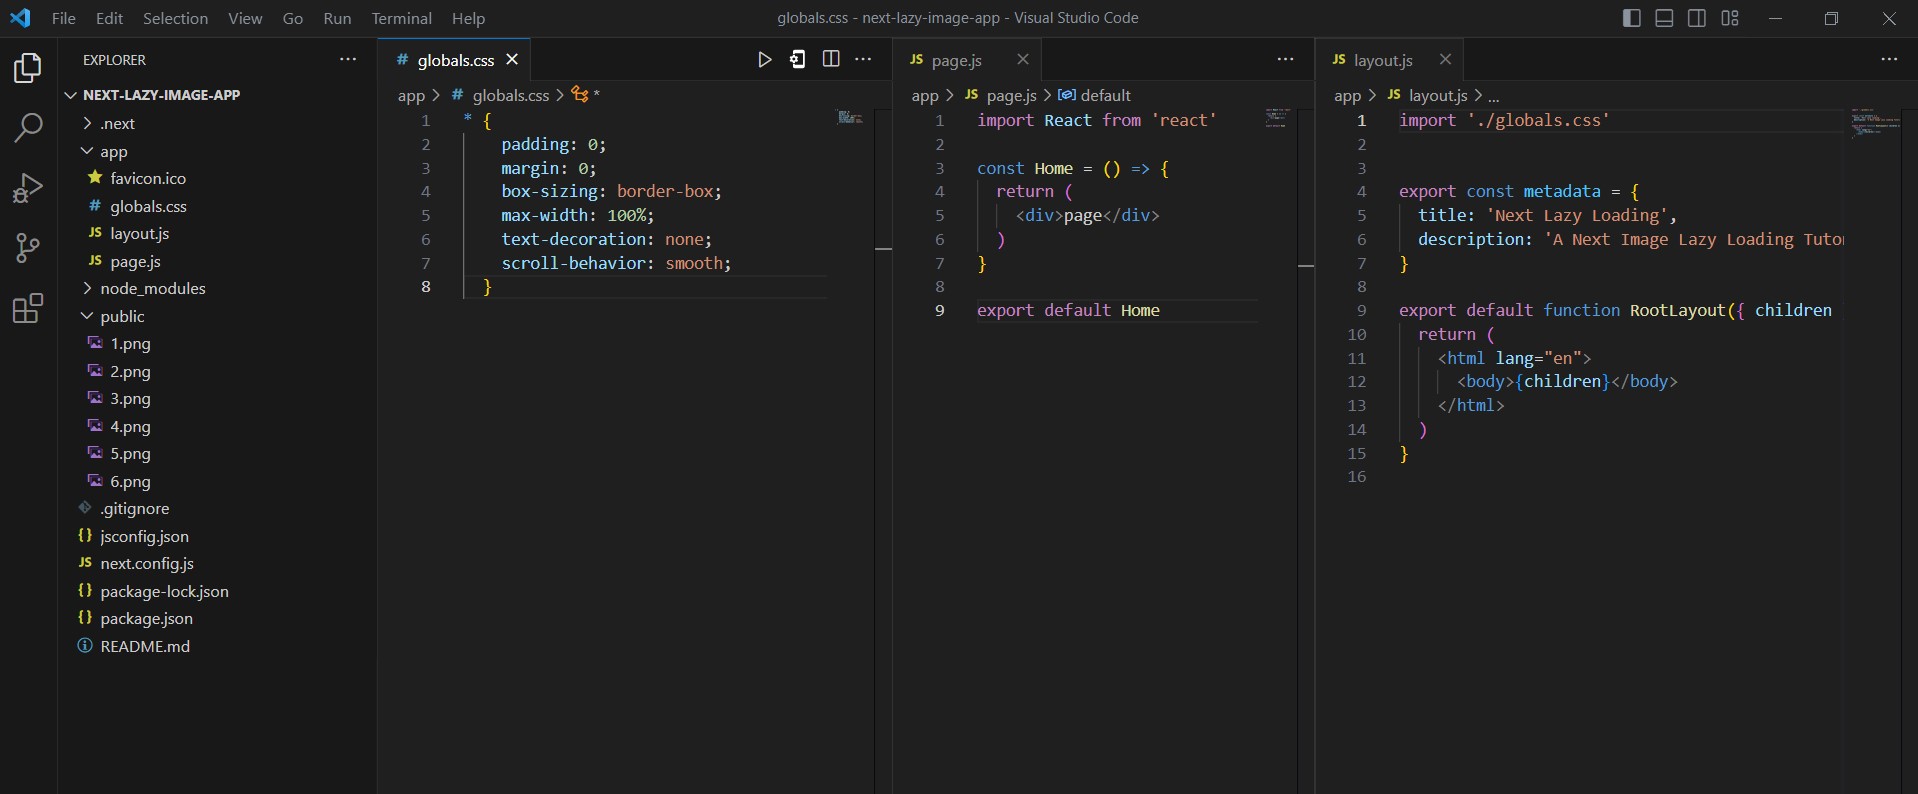
To set up the folder structure, remove all unneeded files from the next-lazy-image-app folder including clearing all unneeded stylings.
The folder structure should look like this:

Run npm run dev in the terminal
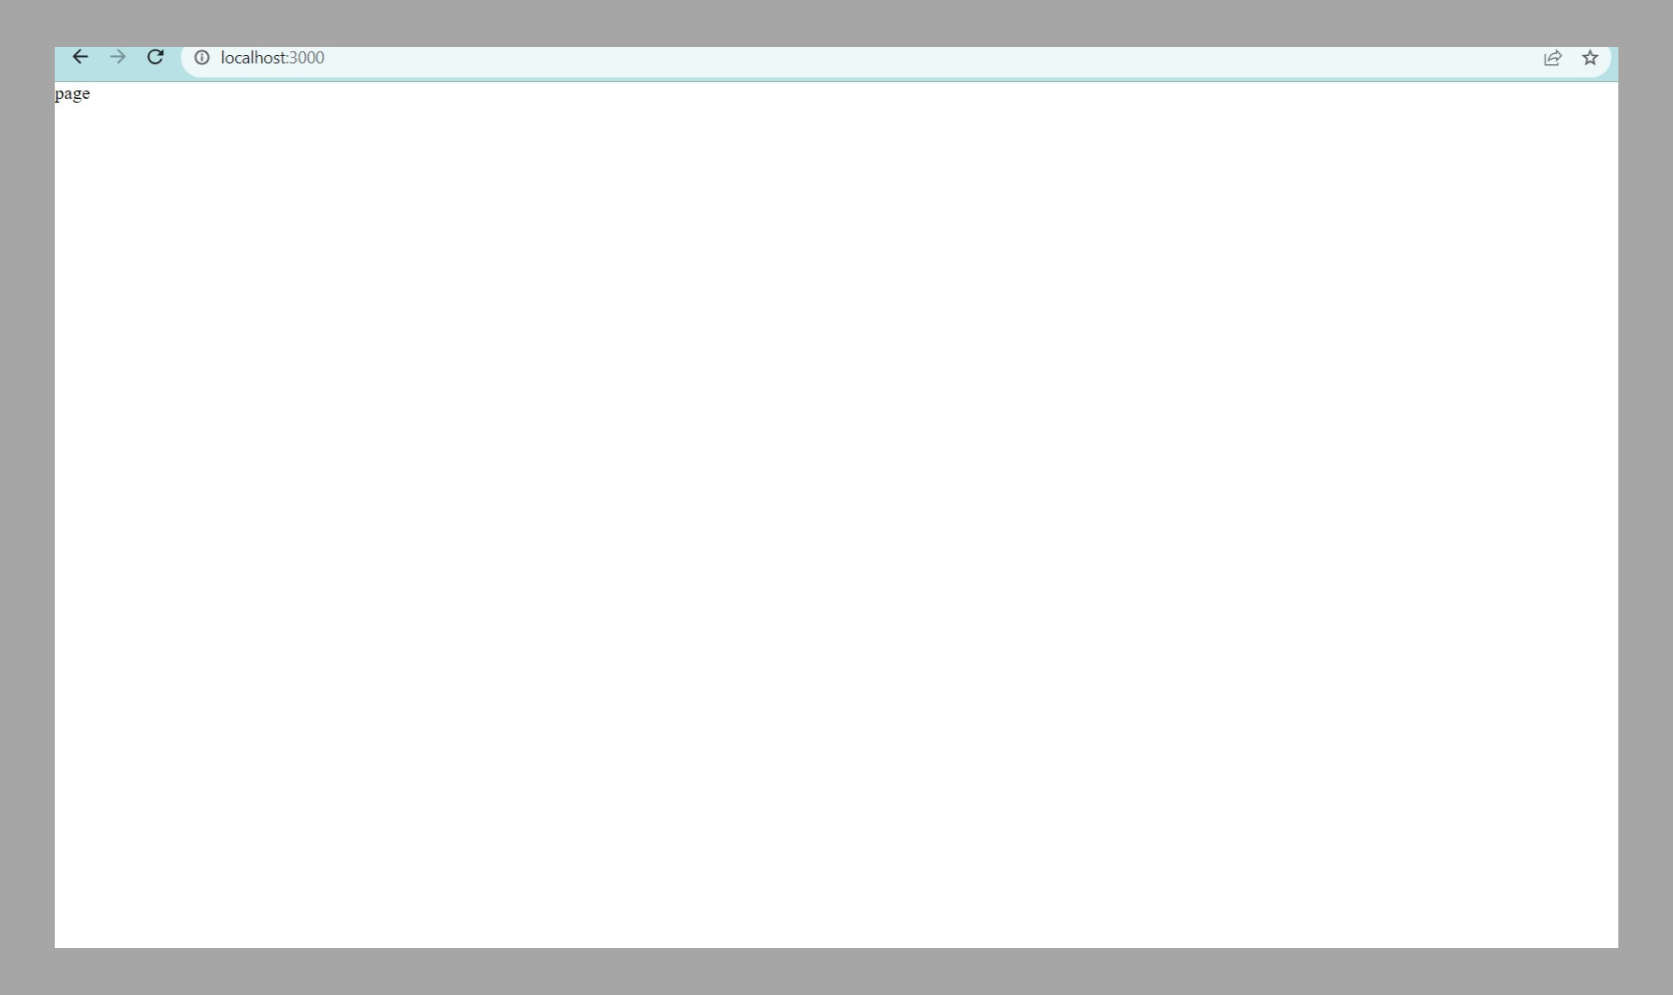
Open http://localhost:3000/ with your browser to see the result
You will see the page text on the page.js file like in the image below.

This should be the starter template for the Next.js Lazy Loading tutorial, or you can clone my starter template from here: https://github.com/DanielBryte/next-lazy-image-app.
Implementing Lazy Loading
Next.js, by default, provides a mechanism to optimize images using the next/image component. To implement lazy loading, follow these steps:
Import the Image component from next/image
import Image from 'next/image'
Replace the img tag with the next/image component:
In Next.js you replace your regular img tags with the Image component from next/image:
<Image
  src="/path/to/your/image.jpg"
  alt="Description of the image"
  width={600}
  height={400}
/>
Copy the code below into your page.js file
import Image from 'next/image'
import image1 from 'public/1.png'
import image2 from 'public/2.png'
import image3 from 'public/3.png'
import image4 from 'public/4.png'
import image5 from 'public/5.png'
import image6 from 'public/6.png'


const Home = () => {
  return (
    <section className='wrapper'>
      <h2>Next.js Image Loading Guide</h2>
      <div className='div-wrapper'>
        <Image
          src={image1}
          alt='Image 1'
          width={600}
          height={500}
          placeholder='blur'
        />
        <Image
          src={image2}
          alt='Image 2'
          width={600}
          height={500}
          placeholder='blur'
        />

        <Image
          src={image3}
          alt='Image 3'
          width={600}
          height={500}
          placeholder='blur'
        />

        <Image
          src={image4}
          alt='Image 4'
          width={600}
          height={500}
          placeholder='blur'
        />
        <Image
          src={image5}
          alt='Image 5'
          width={600}
          height={500}
          placeholder='blur'
        />
        <Image
          src={image6}
          alt='Image 6'
          width={600}
          height={500}
          placeholder='blur'
        />
      </div>
    </section>
  )
}

export default Home
Copy the styling code into your globals.css file
* {
    padding: 0;
    margin: 0;
    box-sizing: border-box;
    max-width: 100%;
    text-decoration: none;
    scroll-behavior: smooth;
    background-color: #b0b0b0;
  }

section{
  min-height: 100vh;
}
  .wrapper {
    display: flex;
    flex-direction: column;
    justify-content: center;
    align-items: center;
    padding: 4rem 1rem;
  }

  .wrapper h2{
    font-size: 4rem;
    text-transform: capitalize;
    font-weight: 900;
    padding: 2rem 0;
  }

  .div-wrapper{
    display: grid;
    grid-template-columns: repeat(2, minmax(0, 1fr));
    gap: 2rem;
  }
Open your browser at http://localhost:3000/ to see the lazy loading effect.
You will notice the effect if the browser is:
Loading large images
Running on slow internet
Running on a data saver mode
Key Aspects to Know in Image Lazy Loading
Here are some key properties on Next.js Lazy Loading that you need to know:
Placeholder: The placeholder property lazy loads the images with a blur effect if the value is set on blur.
        <Image
          src={image6}
          alt='Image 6'
          placeholder='blur'
        />
This only works if the src is an object from a static import and the imported image is in .jpg, .png, .webp, or .avif image format, then the blurDataURL prop will be automatically populated
For dynamic images like the .svg or .gifs, you must provide the blurDataURL property. You can generate one here Placeholder can aid with a base64 generation.
Required: The src, width, height, and alt are required properties for your next/image, except for statically imported images or images with the fill property.
Priority: When using the priority prop the image will be considered high priority and preload. Lazy loading is automatically disabled for images using priority.
        <Image
          src={image5}
          alt='Image 5'
          width={600}
          height={500}
          priority
        />
Loading: Images are lazy loaded by default when using next/image, this means that the image won't be fully loaded until they are about to enter the viewport.
NB: Set the loading eager so it will be loaded immediately on the viewport and not lazily.
        <Image
          src={image5}
          alt='Image 5'
          width={600}
          height={500}
          loading='lazy'
        />

        <Image
          src={image5}
          alt='Image 5'
          width={600}
          height={500}
          loading='eager'
        />
More Image Lazy Loading Techniques
There are more techniques for lazy loading images from the official Next.js doc, loading with other effects excluding the default blur effect.
The Shimmer Effect:
The shimmer effect lazy loads shiny images with the data URL placeholder instead of the default blur.
The Color Effect:
The color effect lazy loads color-like images with the blurDataURL prop.
Conclusion
Lazy loading images in your Next.js application is an essential technique for enhancing web performance. By using the next/image component and enabling native lazy loading, you can provide a smoother user experience, faster page loads, and reduced data usage.
Stay up to date with evolving web standards and continue optimizing your applications for the best performance possible.
If you found this article useful or learned something new, please consider showing your support by liking, buying me a coffee, and following my pages; Twitter, LinkedIn, and GitHub.
Subscribe to my newsletter
Read articles from Ezediniru Daniel directly inside your inbox. Subscribe to the newsletter, and don't miss out.
Written by

Ezediniru Daniel
Ezediniru Daniel
I am Ezediniru Daniel, a Frontend Engineer and Product Designer.