Day 31- 90DaysOfDevOps
 Amit Pawar
Hey Learners! Welcome back. In the previous task, we learned about the architecture of the most interesting and important tool K8s. It's time to dig deeper and create our first Pod on local. Let's started
What is Minikube?
Minikube is a tool that quickly sets up a local K8s cluster on any OS. It can deploy as a VM, a container, or on bare metal.
Minikube is a pared-down version of K8s that gives you all the benefits of K8s with a lot less effort. This makes it an interesting option for users who are new to containers, and also for projects in the world of edge computing and the Internet of Things.
Features of Minikube:-
supports the latest K8s release
cross-platform
Deploy as a VM, a container, or on Bare Metal
multiple container runtimes (Docker, Containerd, CRI-O)
Advanced features such as Load Balancer, File system mounts, Feature Gates, and Network policy.
Addons for easily installed K8s applications.
Supports common CI environments.
Task 1- Install minikube on your local
Before beginning with installation find the prerequisites to install Minikube below
sudo privileges
2CPUs or more
2GB of free memory
20GB of free disk
Docker
kubectl
Steps:-
First update and upgrade your system using the following commands. (I am using Ubuntu 22.04 LTS on my Laptop)

Install the following packages

Find the below command. Link to install minikube
 curl -LO https://storage.googleapis.com/minikube/releases/latest/minikube_latest_amd64.deb
 sudo dpkg -i minikube_latest_amd64.deb
Start the minikube and see the status after installation


To interact with the minikube cluster we need to install Kubectl. Download the latest binary release with the following command
curl -LO https://storage.googleapis.com/kubernetes-release/release/`curl -s https://storage.googleapis.com/kubernetes-release/release/stable.txt`/bin/linux/amd64/kubectlMake the downloaded kubectl binary executable and move the binary into your PATH
 chmod +x ./kubectl
 sudo cp ./kubectl /usr/local/bin/kubectl
Now check the version

Yeah! You installed minikube and kubectl successfully.
Pod:-
The pod is the smallest deployable unit in K8s.
It is a group of one or more containers that are deployed together on the same host which shares storage, and network resources, and a specification for how to run the containers.
A Pod models an application-specific "logical host"; it contains one or more application containers that are relatively tightly coupled.
Task 2- Create your first pod on Kubernetes through minikube.
To create a Pod we have to write a manifest file which looks like below.

To create a Pod from the manifest file use kubectl apply -f pod.yml command.

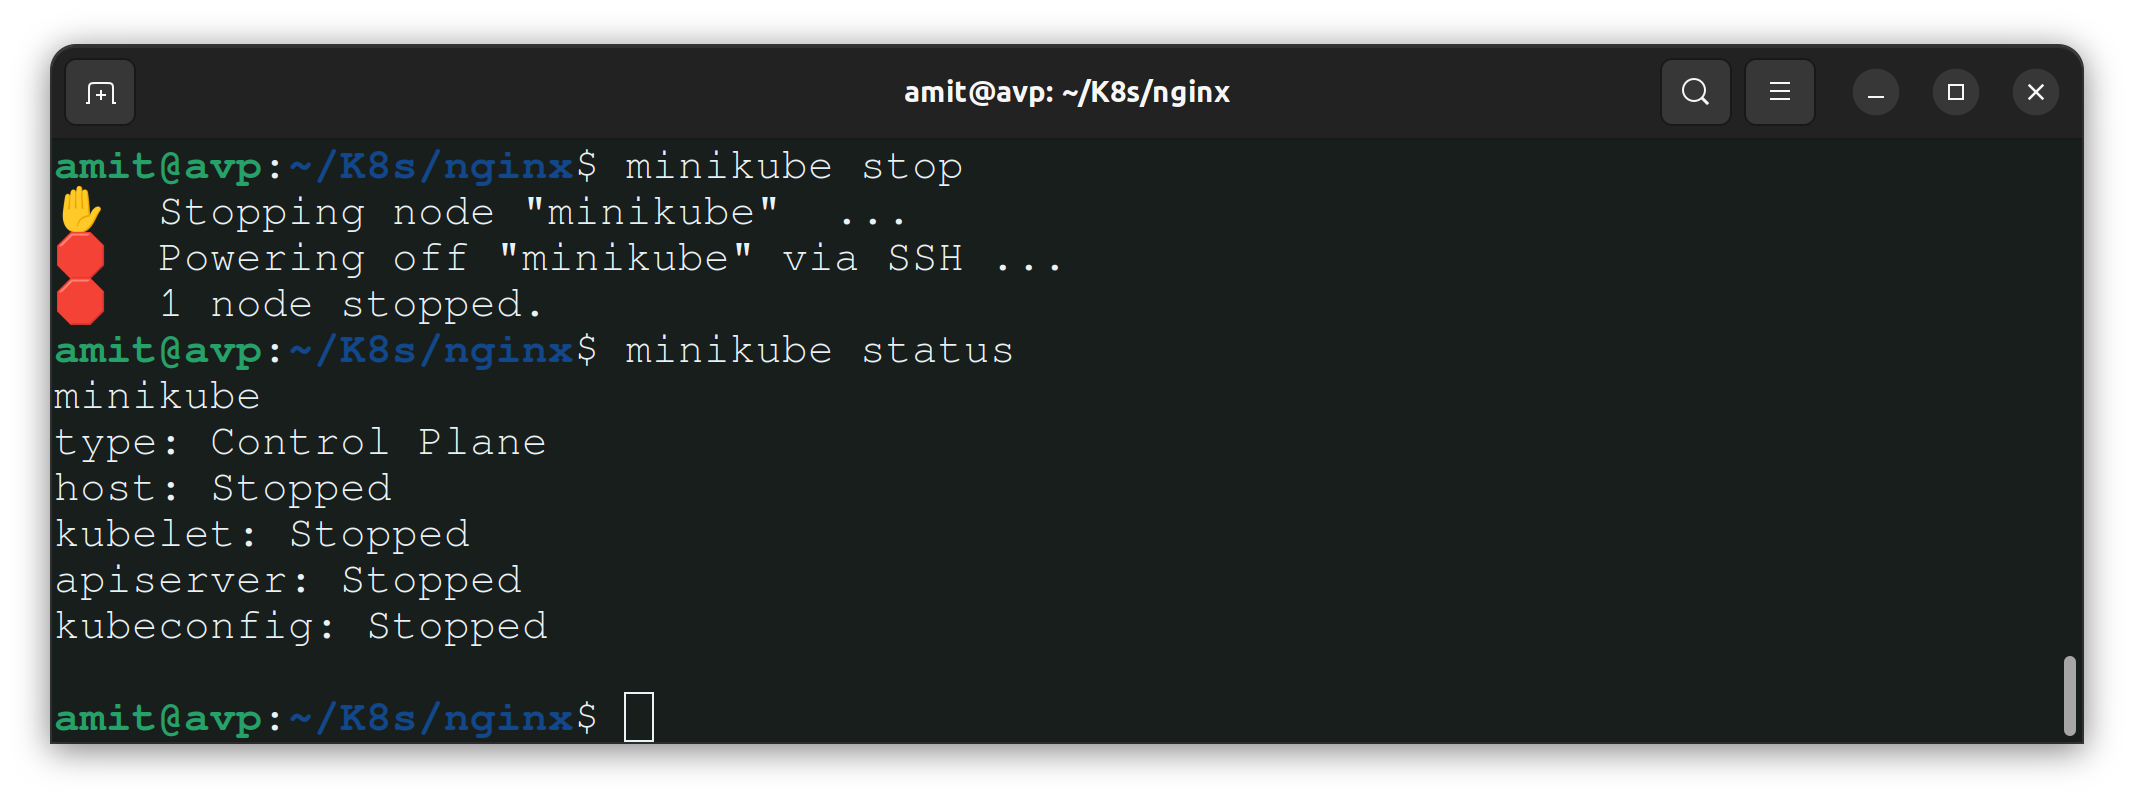
To stop Minikube use minikube stop command.

This is how we create and run pods with the help of Minikube.
Thank you so much for taking the time to read till the end! Hope you found this blog informative.
Feel free to explore more of my content, and don't hesitate to reach out if need any assistance from me or in case of you have any questions.
Find me on:- Hashnode LinkedIn Github
Happy Learning!
Subscribe to my newsletter
Read articles from Amit Pawar directly inside your inbox. Subscribe to the newsletter, and don't miss out.
Written by
