Deploying a Microservices based application with Kubernetes
 Sachin Adi
Table of contents
Hey Folks! I started my week with a fantastic workday!
While I posted my last blog on deploying NGINX with Kubernetes, I was wondering if I could do something similar with Microservices Applications too.


Microservices and their benefits
A complex application is divided into several small, independent, and loosely linked services using the software architectural paradigm known as microservices. Each service oversees a distinct aspect of the application's functionality and interacts with other services via clearly defined APIs (application programming interfaces).
Here are the basics of microservices and why they are used:
Service Decoupling
A monolithic application's tightly linked components make it challenging to change or scale individual pieces without doing so inadvertently to the system as a whole. These components can be built, deployed, and maintained independently thanks to the decoupling provided by microservices.
Small and Focused
Microservices are often compact and concentrated on a small set of tasks or processes, making them simpler to comprehend, create, and maintain. Development teams can specialize on particular services thanks to this granularity, which boosts productivity.
Technology Diversity
The programming languages, frameworks, and technologies that are most appropriate for each microservice's unique set of responsibilities can be used. Teams can select the best tool for the job because to this flexibility.
Scalability
Depending on demand, microservices can scale independently. The efficient use of resources is ensured by allocating more resources to those services that need them without hurting others.
Fault Isolation
In a monolithic architecture, a single bug or failure can bring down the entire application. In microservices, failures are isolated to individual services, reducing the impact on the overall system and making it easier to diagnose and recover from issues.
Continuous Deployment
Microservices are well-suited for continuous integration and continuous deployment (CI/CD) practices. Each service can be developed, tested, and deployed independently, speeding up the development and release cycle.
Improved Maintainability
It is simpler to make changes, repair issues, and add new features since each service has a well-defined scope, which prevents changes from having an impact on other areas of the application. This enhances the system's overall maintainability.
Team Autonomy
Microservices encourage team autonomy and ownership of particular features by enabling development teams to operate independently on their assigned services.
Resilience
Microservices can be designed with redundancy and failover mechanisms, enhancing the resilience of the overall system. If one service fails, others can continue to function.
Benefits of Microservices
By dividing complicated programs into smaller, more manageable, and loosely linked services, microservices enable the development of scalable and complex applications. They provide advantages such as increased fault tolerance, scalability, maintainability, and agility. However, introducing microservices also presents difficulties, such as the necessity for a strong infrastructure and monitoring tools to support them and the difficulty of managing interactions between services.
Now that we know what microservices are and why they would be used to build an application, let's focus on deploying the application that has been built and learn how to deploy these kind of applications using Kubernetes.
Phase - 1: Construction of the Master and Worker Nodes
Master Node
I started the project by spinning up two machines on AWS EC2 with the below configurations:
Ubuntu OS (Xenial or later)
sudo privileges
Internet access
t2.medium instance type
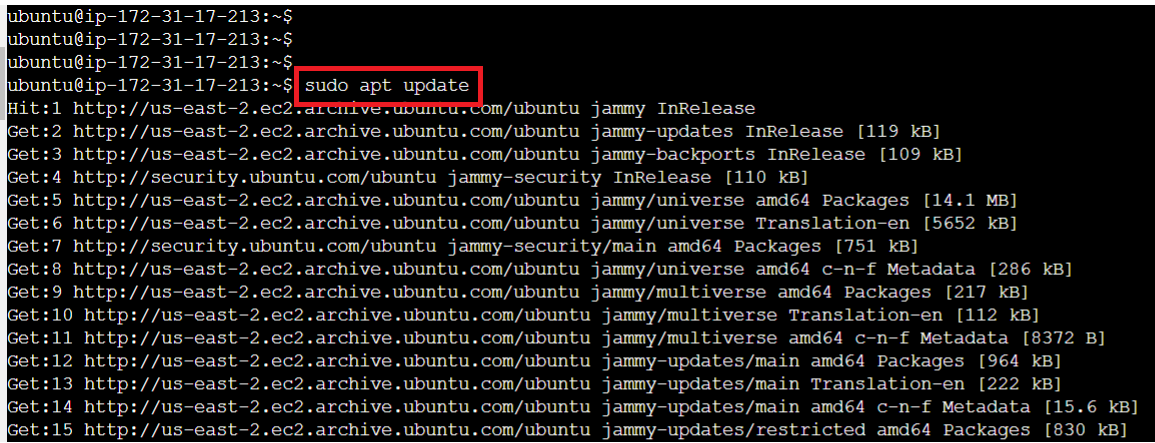
Once these machines were created, I renamed one of the machines to Master Node and performed SSH into the instance. Once the shell opens up, the first step is to update the machine.
Run the below command:
sudo apt update
The next step is to install the certificates needed. Run the below command:
sudo apt-get install -y apt-transport-https ca-certificates curl

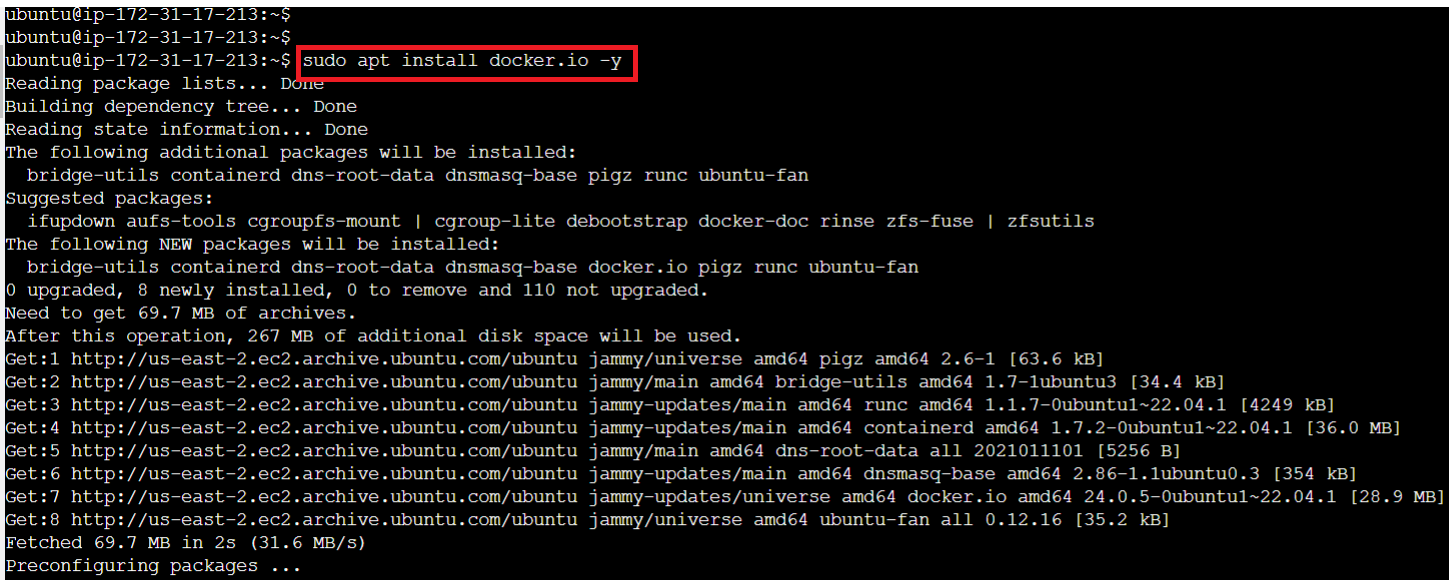
Now install Docker to ensure we can build and deploy images
sudo apt install docker.io -y
Enable the service and start the docker service
sudo systemctl enable --now docker

Once we start and enable the Docker service, it's time to add the GPG keys
curl -fsSL "https://packages.cloud.google.com/apt/doc/apt-key.gpg" | sudo gpg --dearmor -o /etc/apt/trusted.gpg.d/kubernetes-archive-keyring.gpg

Post the addition of the GPG keys, it's time to add the repository to the sourcelist
echo 'deb https://packages.cloud.google.com/apt kubernetes-xenial main' | sudo tee /etc/apt/sources.list.d/kubernetes.list

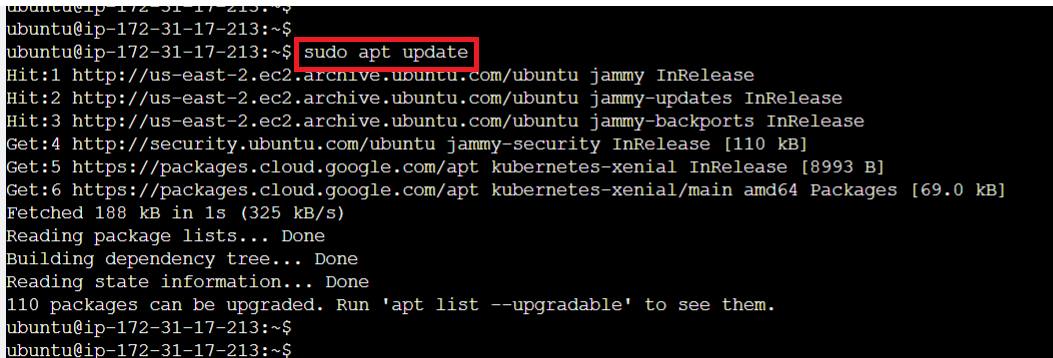
Once all this has been completed, we need to update the system
sudo apt update
Once the system updates, it's time to install kubeadm
sudo apt install kubeadm=1.20.0-00 kubectl=1.20.0-00 kubelet=1.20.0-00 -y
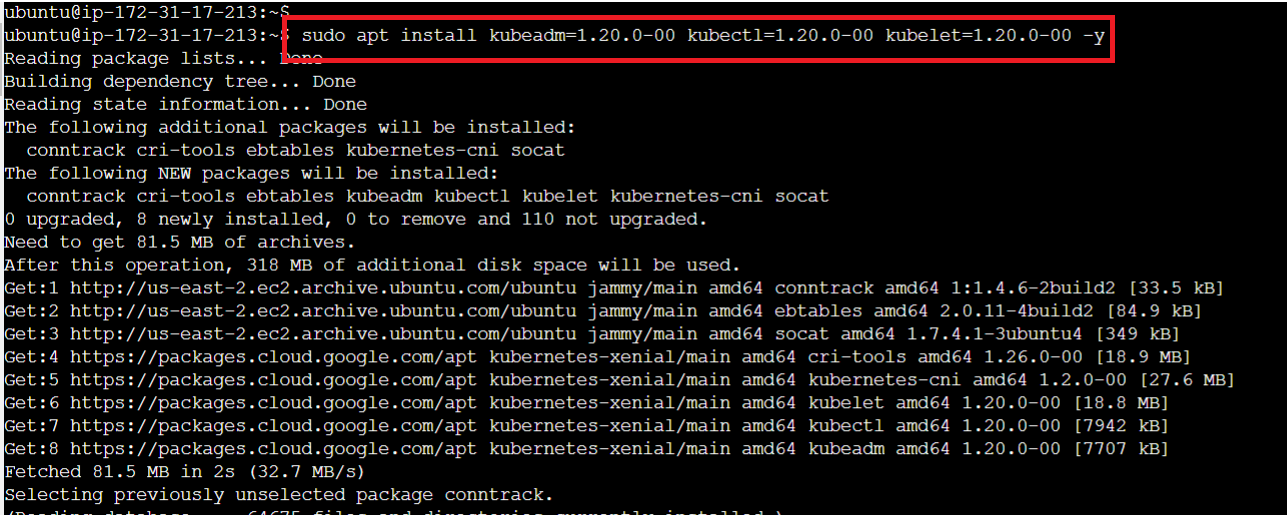
Initiate the kubeadm mode using the below command
sudo kubeadm init

Once this completes, you should be able to see the message that control-plane has initialized successfully.
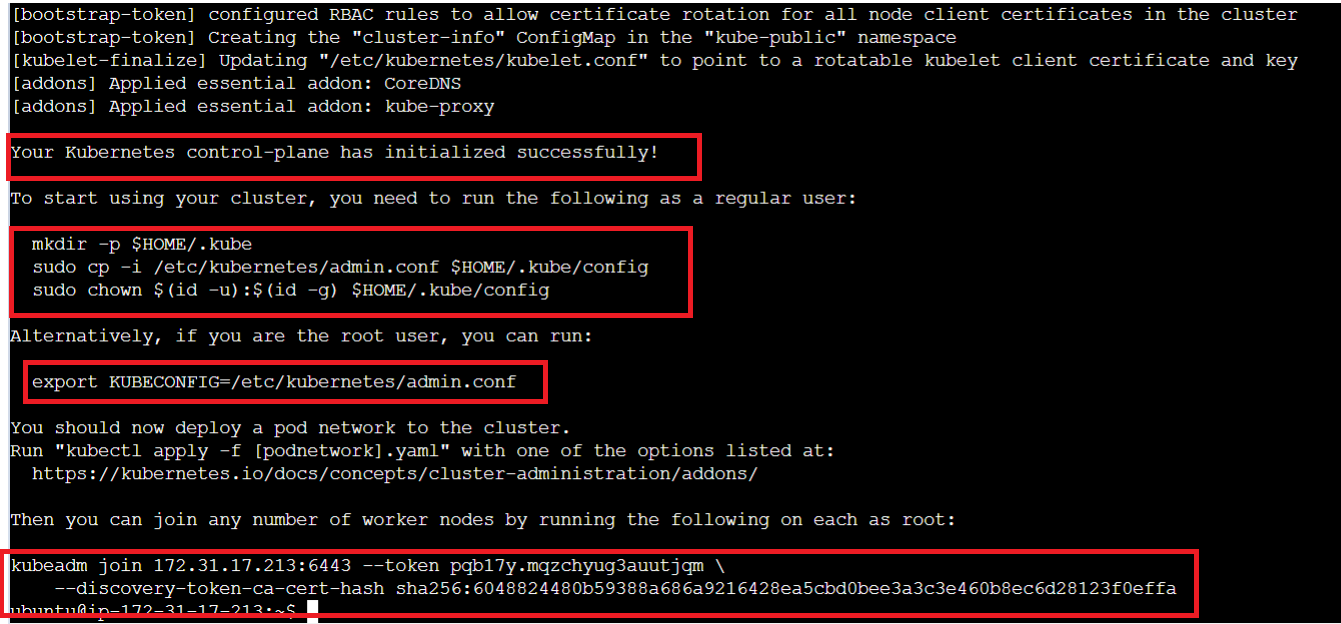
We can use the export command highlighted to export the configuration so that it can be reused in case of requirements.
The next steps are to create a folder called kube and then copy the configuration over and change the ownership of this file.
Run the set of commands from the previous output to perform the actions mentioned above.
mkdir -p $HOME/.kube
sudo cp -i /etc/kubernetes/admin.conf $HOME/.kube/config
sudo chown $(id -u):$(id -g) $HOME/.kube/config
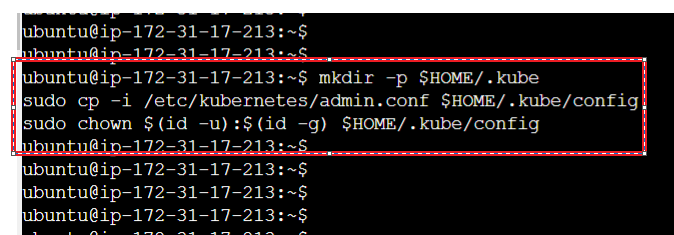
Next two steps are to create a CNI using the weave-net and to generate a join token:
kubectl apply -f https://github.com/weaveworks/weave/releases/download/v2.8.1/weave-daemonset-k8s.yaml
sudo kubeadm token create --print-join-command


Just to confirm everything went well,
kubectl get nodes

Worker Node
The set of commands to be run on the worker node until initiating kubeadm
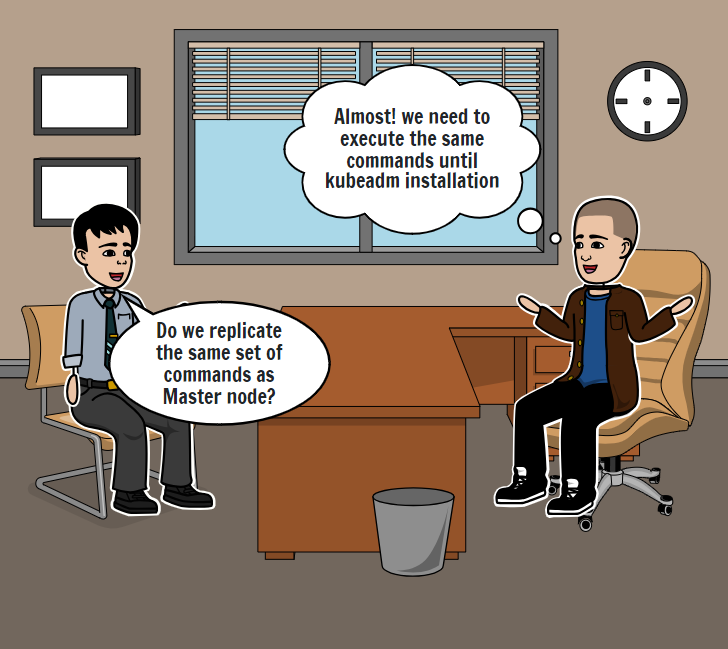
Follow the below steps:
Update the instance

Install Docker
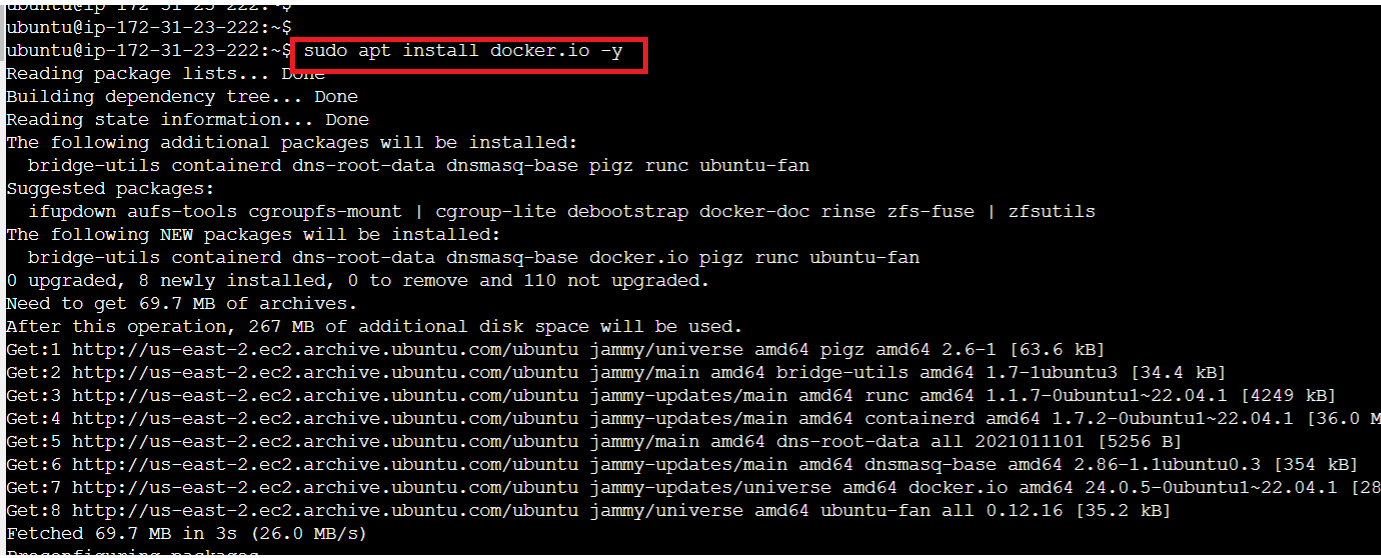
Start and Enable Docker

Add the GPG keys

Add the repository to the sourcelist

Update the instance again
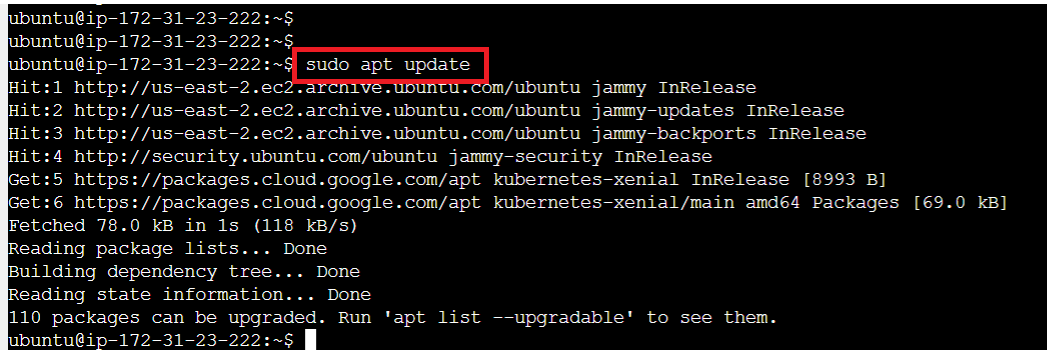
The next step now is reset the pre-flight checks. This is a precautionary step done to ensure that if the init has been performed, it will be reset.
Run the command below to execute the task:
sudo kubeadm reset pre-flight checks

The last step of phase 1 is to join the worker node to the master. Use the join statement output that we got from the master node. Also add --v=5 at the end. Execute the command below to get this task done (this command is specific to the instance you create so make sure to copy one from your instance)


On a successful join, you should see the message: "This node has joined the cluster".
Phase - 2 Create the yml files needed to execute the project
Fork the Git repository for all the necessary files.
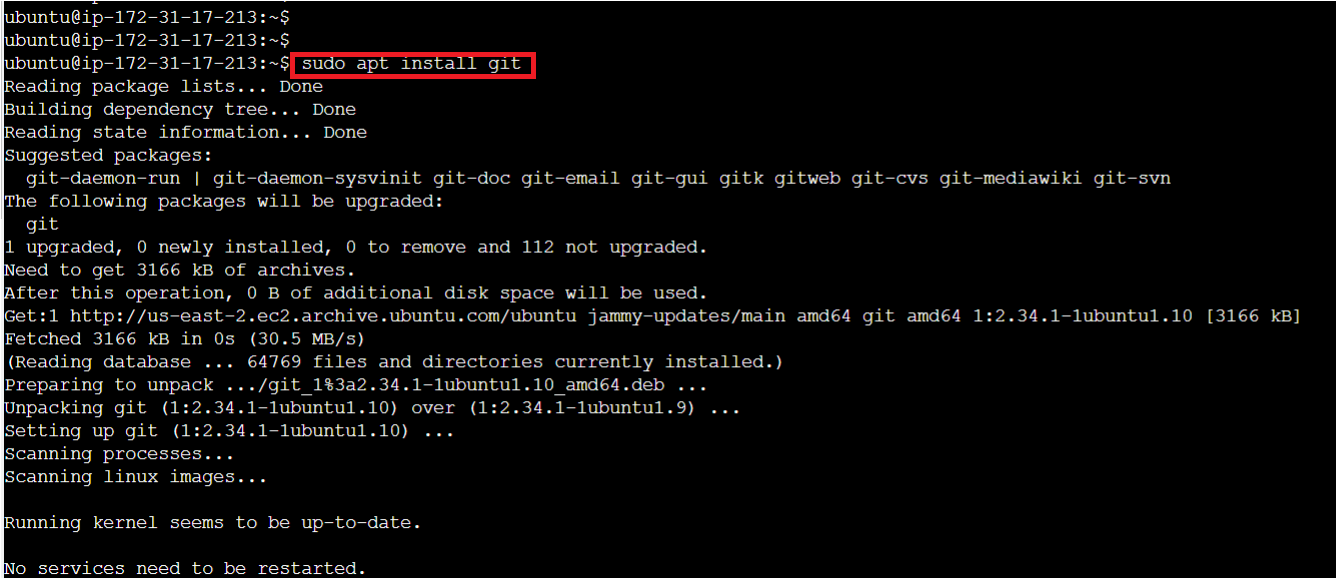
Once you fork this repo, clone it to your master node (note that the prerequisite here is the master node must have the git installed, if you would like, as an additional step, execute sudo apt install git)

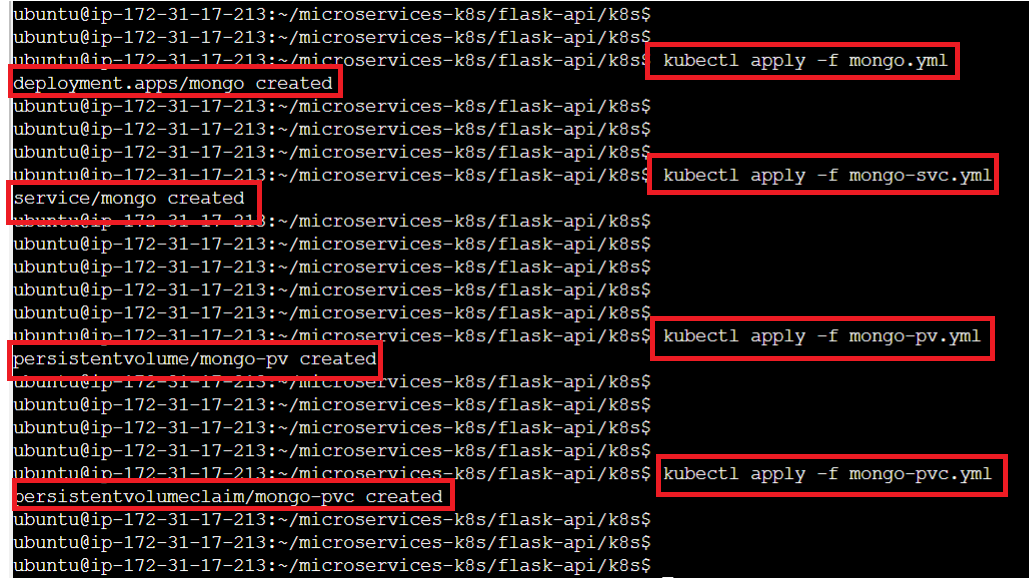
Once you clone the repo, navigate to the folder containing the yml files and apply all the configurations:


To verify the deployment's success, execute the command below:
kubectl get deployments,services

We are now all set to move to Phase - 3
Phase - 3 Test the deployed application
Now that we have deployed all the necessary files and the app is ready to be tested, run the curl command to test the deployment.
curl http://<service-ip>:<service-port>
Service IP is nothing but the public IP of the master node and the port that has been assigned for the application. In my case the application is hosted on the EC2 instance with the public IP 3.21.242.206 and the port 30007. So the command (in my case) is:
curl http://3.21.242.206:30007

To test the microservices run curl http://3.21.242.206:30007/tasks
This should also give you an output that the "Task was saved successfully!"
That's all folks! There we have it! An application that is based on microservices architecture deployed using Kubernetes.
I would love to hear back on how was this project execution and if there is any scope for improvements!
Happy learning!
Subscribe to my newsletter
Read articles from Sachin Adi directly inside your inbox. Subscribe to the newsletter, and don't miss out.
Written by
