Understanding the Mechanics of Aave V3
 BuildBear
Table of contents
In this tutorial, we will use Scaffold-ETH and BuildBear to provide an interactive demonstration of how Aave v3 operates on a fork of the Ethereum Mainnet.
Overview of Aave V3
At its core, the Aave Protocol serves as a non-custodial decentralized liquidity platform, facilitating secure and efficient lending and borrowing of digital assets. The protocol involves three key participant roles:
Suppliers — These individuals contribute liquidity to the protocol and, in return, earn interest on the assets they provide.
Borrowers — Participants who borrow assets from the protocol, doing so in an over-collateralized manner.
Liquidators — These users are responsible for identifying under-collateralized positions and initiating the liquidation process. Essentially, they serve as the guardians of borrower behavior, ensuring the overall health of the protocol’s liquidity.
These three parties maintain the protocol’s functionality.
Let’s get started!
To begin, navigate to the scaffold-eth x BuildBear repository.
Here’s why we recommend using scaffold-eth x BuildBear:
It allows you to easily fork EVM-compatible chains (such as Ethereum, Polygon, Binance Smart Chain, Fantom, Optimism, and Arbitrum Mainnet) directly from the CLI. Saving you valuable time that would otherwise be spent searching for working RPCs.
You can mint native and ERC20 tokens effortlessly using the CLI, eliminating the need to waste time searching for functional faucets.
To get started, click on the “Fork” button to create a copy of the repository on your own GitHub account. Please wait for the forking process to complete before proceeding.
Next, open a terminal and clone the forked repository, which includes all the necessary components for building a decentralized application:
git clone <paste the URL you fork repo>
cd scaffold-eth
To install all the required packages, execute the following command:
yarn install
To execute the Flashloan Arbitrage, we can leverage the existing Aave Protocol and DEXs by forking the Ethereum Mainnet instead of redeploying these protocols.
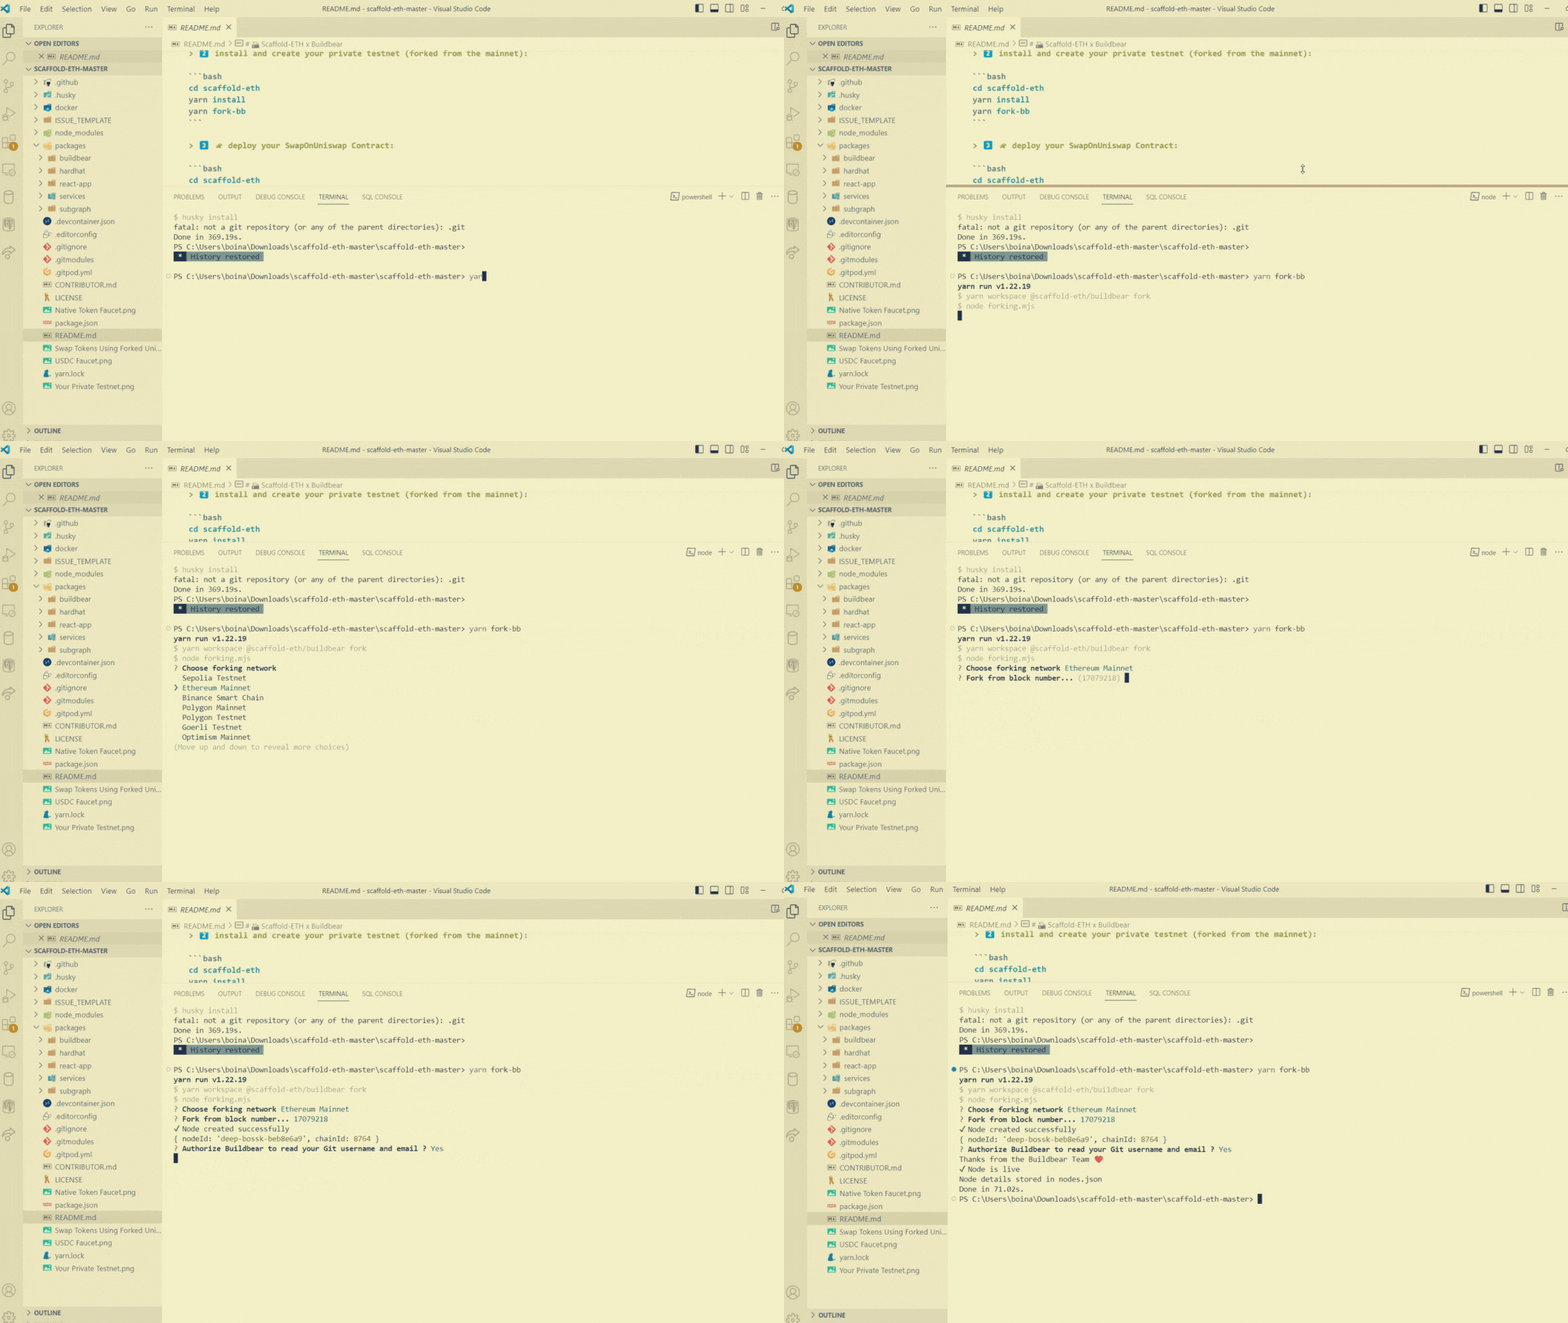
use the following command:
yarn fork-bb
Deploying the contracts
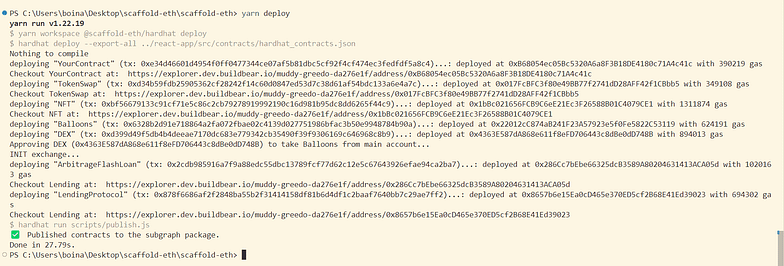
yarn deploy
🚨 If you are using a Node version < v18 you will need to remove openssl-legacy-provider from the start script in package.json Starting the frontend
yarn start
Once the application is running, you can access it at http://localhost:3000 and you should see the following:

Before diving deeper into the smart contract, let’s start by exploring the functionalities of Aave. To begin, navigate to the Aave page.
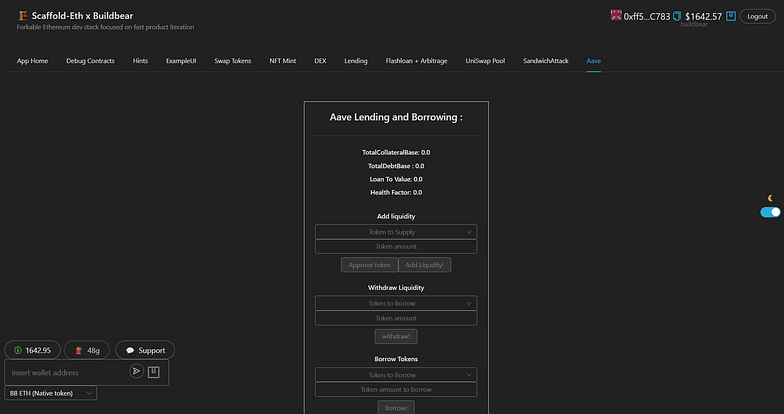
On the Aave page, you are presented with the options to add liquidity, withdraw, borrow, and repay.
Let’s delve deeper into the Smart contract.
In Aave V3, the core functionality of the protocol is implemented in several contracts. Let’s analyze each of these contracts:
Pool.sol: ◦ The Pool.sol contract is the main contract in the Aave v3 protocol that serves as the interaction point for users with the Aave market. ◦ It allows users to perform actions such as supply, withdraw, borrow, repay, swap borrow rate mode, enable/disable collateral, liquidation, and flash loans. ◦ The contract manages reserves, which represent the individual assets in the protocol, and users' accounts. ◦ It implements various functions for each action, which are executed based on the input parameters. ◦ The contract includes modifiers to restrict access to certain functions to authorized parties such as the pool configurator and admin.
L2Pool.sol: ◦ L2Pool.sol is an extension of the Pool.sol contract, optimized for L2 (Layer 2) rollup solutions. ◦ It reduces transaction costs on rollups by allowing users to pass compact calldata representations of function parameters.
PoolConfigurator.sol: ◦ The PoolConfigurator.sol contract is responsible for configuring and initializing the Aave market parameters. ◦ It has access to the pool admin functions and handles the initialization of reserves, interest rate strategies, and other pool configurations. ◦ Only the pool configurator contract defined in the PoolAddressesProvider can call the functions marked by the onlyPoolConfigurator modifier in the Pool contract.PoolStorage.sol: ◦ The PoolStorage.sol contract defines the storage layout for the Pool.sol contract. ◦ It includes mappings to store reserves data, user configuration data, eMode categories data, and bridge protocol fee data.
DefaultReserveInterestRateStrategy.sol: ◦ The DefaultReserveInterestRateStrategy.sol contract provides the default interest rate strategy for reserves in the Aave protocol. ◦ It calculates the interest rate based on the utilization rate of the reserve and other factors. ◦ The interest rate strategy can be customized by implementing a different interest rate strategy contract and updating it in the Pool.sol contract.
These contracts work together to provide the core functionalities of the Aave v3 protocol, including managing reserves, user accounts, interest rates, and various operations like lending, borrowing, and liquidation.
Most user interactions with the Aave Protocol occur via the Pool contract. let’s dive deeper into pool contracts.
In the code snippet below, we have included only the key functions that users utilize. You can locate the complete Aave.sol contract in packages/hardhat/contracts:

Let’s break down the key components and functionalities of the contract:
The Supply function allows users to supply assets to the Aave protocol. It first checks if the asset can be enabled as collateral. If it can be enabled as collateral and the user is not already using it as collateral, it emits the ReserveUsedAsCollateralEnabled event. It then transfers the assets from the user to the protocol's contract and updates the user's supply balance. Finally, it emits the Supply event.
The Withdraw function allows users to withdraw their assets from the Aave protocol. It transfers the specified amount of assets from the protocol's contract to the user's wallet and updates the user's supply balance. It also emits the Withdraw event.
The Borrow function allows users to borrow assets from the Aave protocol. It first checks if the user is eligible to borrow, and if so, transfers the borrowed assets to the user's wallet and updates the user's borrow balance. It also emits the Borrow event.
The Repay function allows users to repay their borrowings. It transfers the specified amount of assets (either directly or using aTokens) from the user's wallet to the protocol's contract, and updates the user's borrow balance. It also emits the Repay event.
Here is a breakdown of the flashloan function:
The function starts by validating the flashloan request, ensuring that the requested assets and amounts are valid.
It then initializes local variables and calculates the total premiums for each flashloaned asset.Next, it transfers the requested amounts of each asset to the receiver’s address (the borrower).
It calls the executeOperation function on the receiver contract, which is the borrower's smart contract.
The borrower’s contract must implement the IFlashLoanReceiver interface and define the executeOperation function, which is where the borrower can perform actions with the flashloaned funds
After the borrower’s contract completes the operation, the function continues to handle the repayment of the flashloan.
If the flashloan premium is set to zero (indicating that the borrower will repay the exact amount borrowed), it calls the _handleFlashLoanRepayment function to handle the repayment and update the state of the reserve.
If the flashloan premium is non-zero, indicating that the user wants to open a debt position with the borrowed funds, it calls the executeBorrow function from the BorrowLogic library to open the debt position. No premium is paid when taking on the flashloan as debt.
Let’s interact with the protocol:
Supply Token:
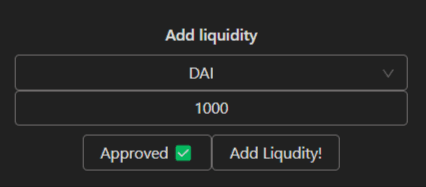
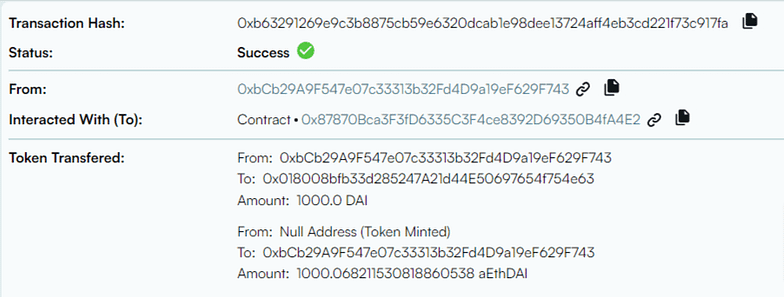
First, select the token you wish to supply. Enter the desired amount and make sure to approve the tokens before adding liquidity. In our example, we’ve supplied 1000 DAI, resulting in the receipt of 1000 aETHDAI, representing our supply position.
Withdraw:
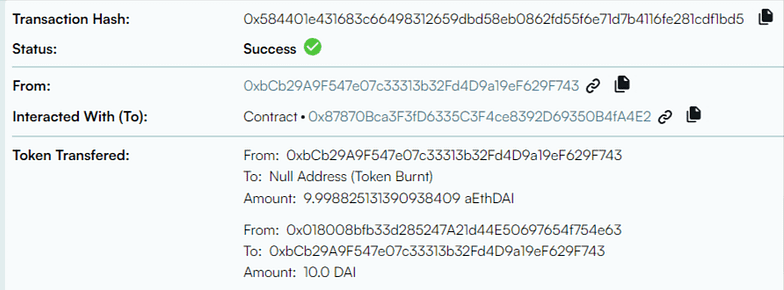
To withdraw, select the token you want to withdraw and specify the amount. Then, click on the Withdraw button.

As illustrated, when we withdraw, we return the A token of what we supplied and receive back our initial token.
Borrow :
Given that we’ve supplied tokens, we now have the option to borrow tokens with a value lower than our supplied amount.
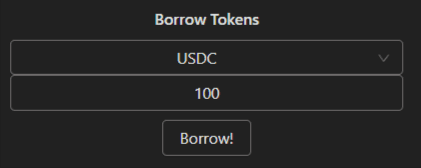
Since we are borrowing, we receive variable debt tokens that represent our borrowing position.

Repay:
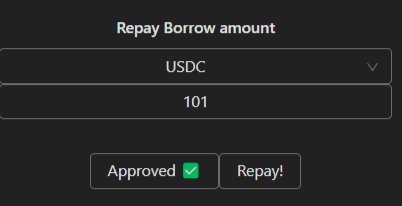
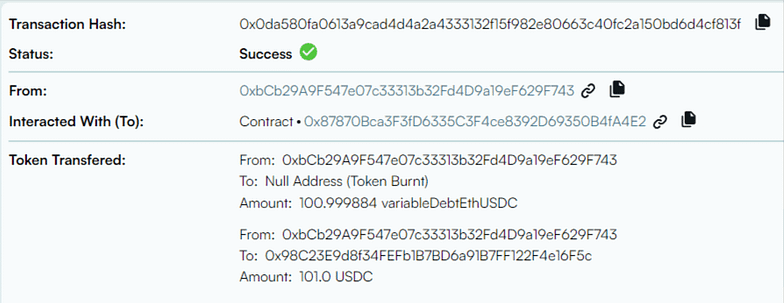
When we repay our borrowed amount, the variable debt tokens are burned.
🎉🎉 Congratulations!
We have successfully added liquidity, withdraw, borrow, and repay on Aave v3.
If you appreciate what we are doing, please follow us on Twitter, and LinkedIn and Join the Telegram group if you haven’t done yet.
Github Repo : scaffold-eth x BuildBear
About BuildBear:
BuildBear is a platform for testing dApps at scale, for teams. It provides users with their own private Testnet to test their smart contracts and dApps, which can be forked from any EVM chain. It also provides a Faucet, Explorer, and RPC for testing purposes.
BuildBear aims to build an ecosystem of tools for testing dApps at scale for the teams.
Check out the projects we build on scaffold-eth x BuildBear and keep learning :
Subscribe to my newsletter
Read articles from BuildBear directly inside your inbox. Subscribe to the newsletter, and don't miss out.
Written by

BuildBear
BuildBear
BuildBear is a platform for testing dApps at scale, for teams. It provides users with their own private Testnet to test their smart contracts and dApps, which can be forked from any EVM chain. It also provides a Faucet, Explorer, and RPC for testing purposes.