Day 09 || Writing a Flask App Dockerfile Project
 AQIB HAFEEZ
Table of contents
- Introduction:
- Step 1: Clone the GitHub Repository
- Step 2: Set Up the Flask App
- Title: Working with the Flask Blog App Repository
- Introduction:
- Step 1: Clone the GitHub Repository
- Step 2: Set Up the Flask App
- Step 3: Write a Dockerfile
- Step 4: Build the Docker Image
- Step 5: Run a Docker Container
- Step 6: Configure Security Groups (AWS EC2 or VM)
- Step 5: Push the Docker Image to Docker Hub
- Conclusion:
- You have successfully cloned the "flask-blog-app" repository, set up a Flask app locally, wrote a Dockerfile for the app, and pushed the Docker image to Docker Hub. Now others can easily run your Flask app in a Docker container.
- Fiverr:

Introduction:
In this tutorial, we will work with the "flask-blog-app" repository hosted on GitHub. We will clone the repository, set up a Flask app, write a Dockerfile, and push the image to Docker Hub.
Step 1: Clone the GitHub Repository
Open your terminal.
Navigate to the directory where you want to clone the repository.
Run the following command to clone the "flask-blog-app" repository:
git clone https://github.com/gibran-abdillah/flask-blog-app.git
Step 2: Set Up the Flask App
Certainly, I can provide instructions for working with the GitHub repository you've linked. Here are the steps to work with the "flask-blog-app" repository:
Title: Working with the Flask Blog App Repository
Introduction:
In this tutorial, we will work with the "flask-blog-app" repository hosted on GitHub. We will clone the repository, set up a Flask app, write a Dockerfile, and push the Docker image to Docker Hub.
Step 1: Clone the GitHub Repository
Open your terminal.
Navigate to the directory where you want to clone the repository.
Run the following command to clone the "flask-blog-app" repository:
git clone https://github.com/gibran-abdillah/flask-blog-app.git
Step 2: Set Up the Flask App
Navigate to the cloned "flask-blog-app" directory:
cd flask-blog-appInstall the Flask app's dependencies by running:
pip install -r requirements.txtSet Flask environment variables:
 export FLASK_APP=server.py
 export FLASK_ENV=development
Run the Flask app locally:
flask runThis will start your Flask app locally, and you can access it in your web browser at
http://127.0.0.1:5000/.
Step 3: Write a Dockerfile
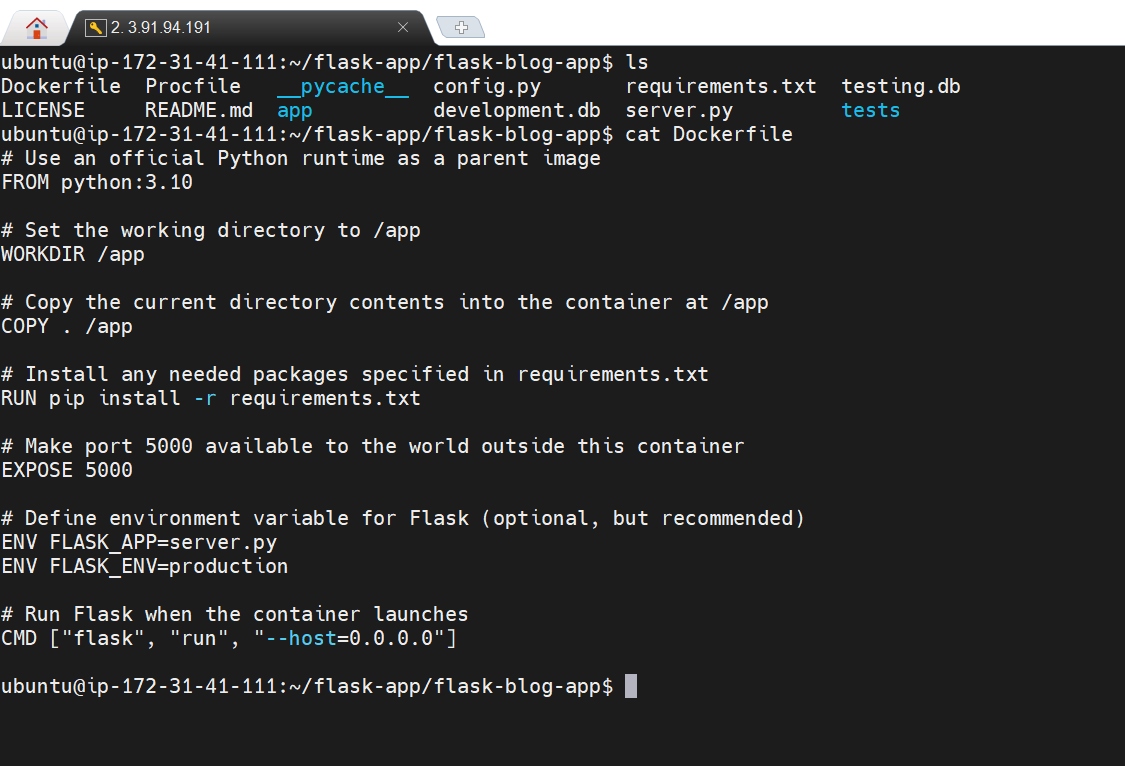
Create a Dockerfile in the "flask-blog-app" directory. You can use a text editor to create a file named
Dockerfilewith the following content (as mentioned earlier):# Use an official Python runtime as a parent image FROM python:3.10 # Set the working directory to /app WORKDIR /app # Copy the current directory contents into the container at /app COPY . /app # Install any needed packages specified in requirements.txt RUN pip install -r requirements.txt # Make port 5000 available to the world outside this container EXPOSE 5000 # Define environment variable for Flask (optional, but recommended) ENV FLASK_APP=server.py ENV FLASK_ENV=production # Run Flask when the container launches CMD ["flask", "run", "--host=0.0.0.0"]

Step 4: Build the Docker Image
In the "flask-blog-app" directory, build the Docker image with the following command:
docker build -t flask-blog-app .This will create a Docker image named "flask-blog-app."
Step 5: Run a Docker Container
Run a Docker container from the image with the following command, mapping port 5000 inside the container to a port on your local machine (e.g., 5000):
docker run -p 5000:5000 flask-blog-appThis command runs the container and maps port 5000 on your machine to port 5000 inside the container.
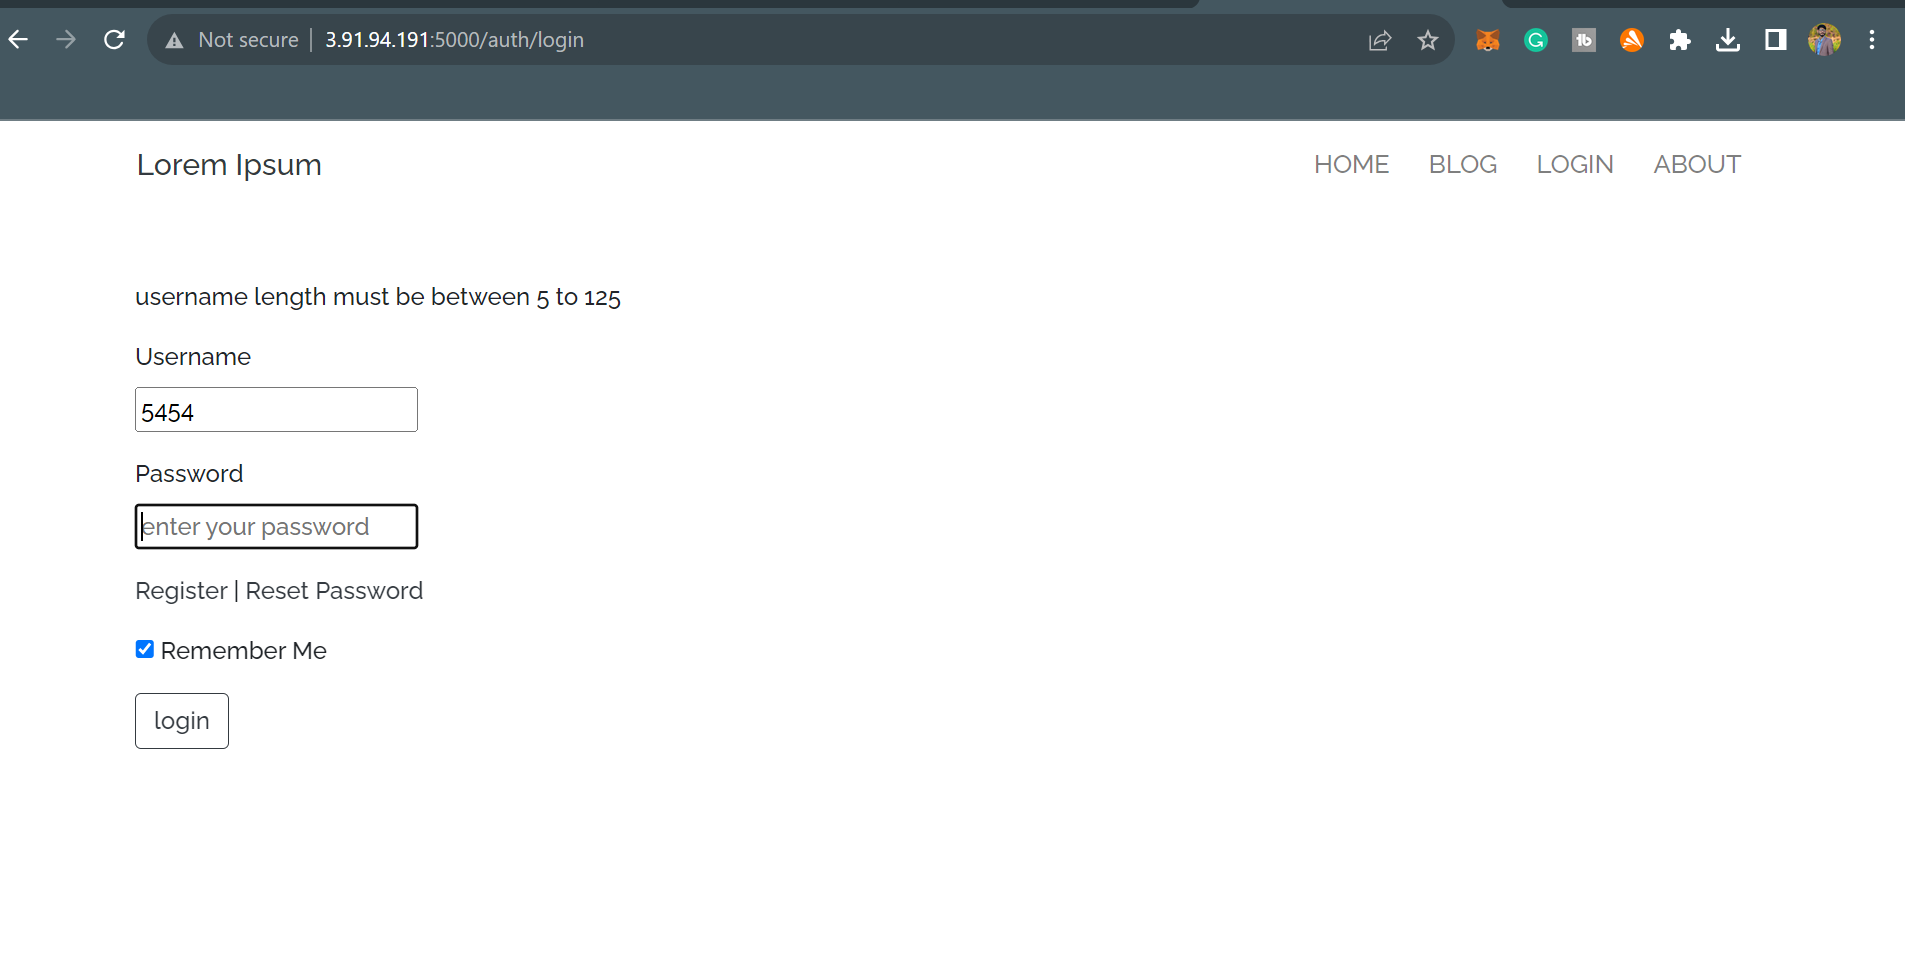
Open your web browser and access the Flask app at
http://127.0.0.1:5000/. You should see your Flask app running inside the Docker container.
Step 6: Configure Security Groups (AWS EC2 or VM)
If you are running this on AWS EC2 or a virtual machine, you may need to configure security groups to allow traffic on port 5000:
If using AWS EC2:
Log in to the AWS Management Console.
Navigate to the EC2 dashboard.
Select your EC2 instance.
In the "Security groups" tab, edit the security group associated with your instance.
Add an inbound rule that allows traffic on port 5000 (TCP) from your desired source IP addresses or IP range.
Save the changes.
If using a virtual machine:
Access your virtual machine provider's dashboard or control panel.
Navigate to your virtual machine settings.
Add a rule in the firewall settings to allow incoming traffic on port 5000 (TCP).
Save the changes.

Step 5: Push the Docker Image to Docker Hub
Make sure you are logged in to Docker Hub using the
docker logincommand if you're not already logged in.Tag the Docker image with your Docker Hub username and repository name:
docker tag flask-blog-app yourusername/flask-blog-appReplace
yourusernamewith your Docker Hub username.Push the Docker image to Docker Hub:
docker push yourusername/flask-blog-app
Conclusion:
You have successfully cloned the "flask-blog-app" repository, set up a Flask app locally, wrote a Dockerfile for the app, and pushed the Docker image to Docker Hub. Now others can easily run your Flask app in a Docker container.
Fiverr:
Subscribe to my newsletter
Read articles from AQIB HAFEEZ directly inside your inbox. Subscribe to the newsletter, and don't miss out.
Written by

AQIB HAFEEZ
AQIB HAFEEZ
DevOps Engineer, Linux, Git, GitHub, GitLab, CI/CD pipelines, Jenkins, Docker, Kubernetes, Ansible & AWS. Practical experience in these DevOps tools enhances my passion for streamlined workflows, automated processes, and holistic development solutions. Proficient in digital and Facebook marketing, aiming to merge technical acumen with marketing finesse.