Day 36- 90DaysOfDevOps
 Amit Pawar
Hey Learners! Welcome back. In the previous task, we learned about ConfigMap and Secret to store our non-confidential as well as confidential data. In this challenge, we'll dig in depth with the concept of Persistent Volume. Let's start...
What are Persistent Volumes in K8s?
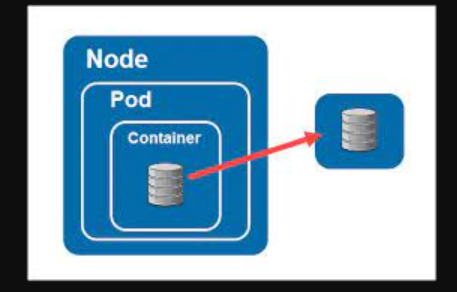
Problem:- As we know if the container (Pod) gets down then it will be restarted but the data present in the container/pod will be lost. Using Hostpath we can eliminate this data loss but in the K8s cluster Pod might get restarted on another worker so in this case Hostpath will not be accessible.
Solution:- To avoid data loss in the K8s cluster we'll use Persistent Volumes.
A Persistent Volume(PV) is a cluster-wide resource that you can use to store data in a way that persists beyond the lifetime of the Pod. The PV is not backed by locally attached storage on a work node but by a networked storage system such as EBS or NFS or a Distributed File System like Ceph.
Persistent Volume Claim(PVC):-
To Use PV you need to claim it first, using a persistent volume Claim.
The PVC request a PV with your desired specification(Size, Access, Speed, etc.) from K8s and once a suitable PV is found it is bound to be PVC.
After a successful bound to a Pod, you can mount it as a volume.
Task 1- Add a Persistent Volume to your Deployment todo-app.
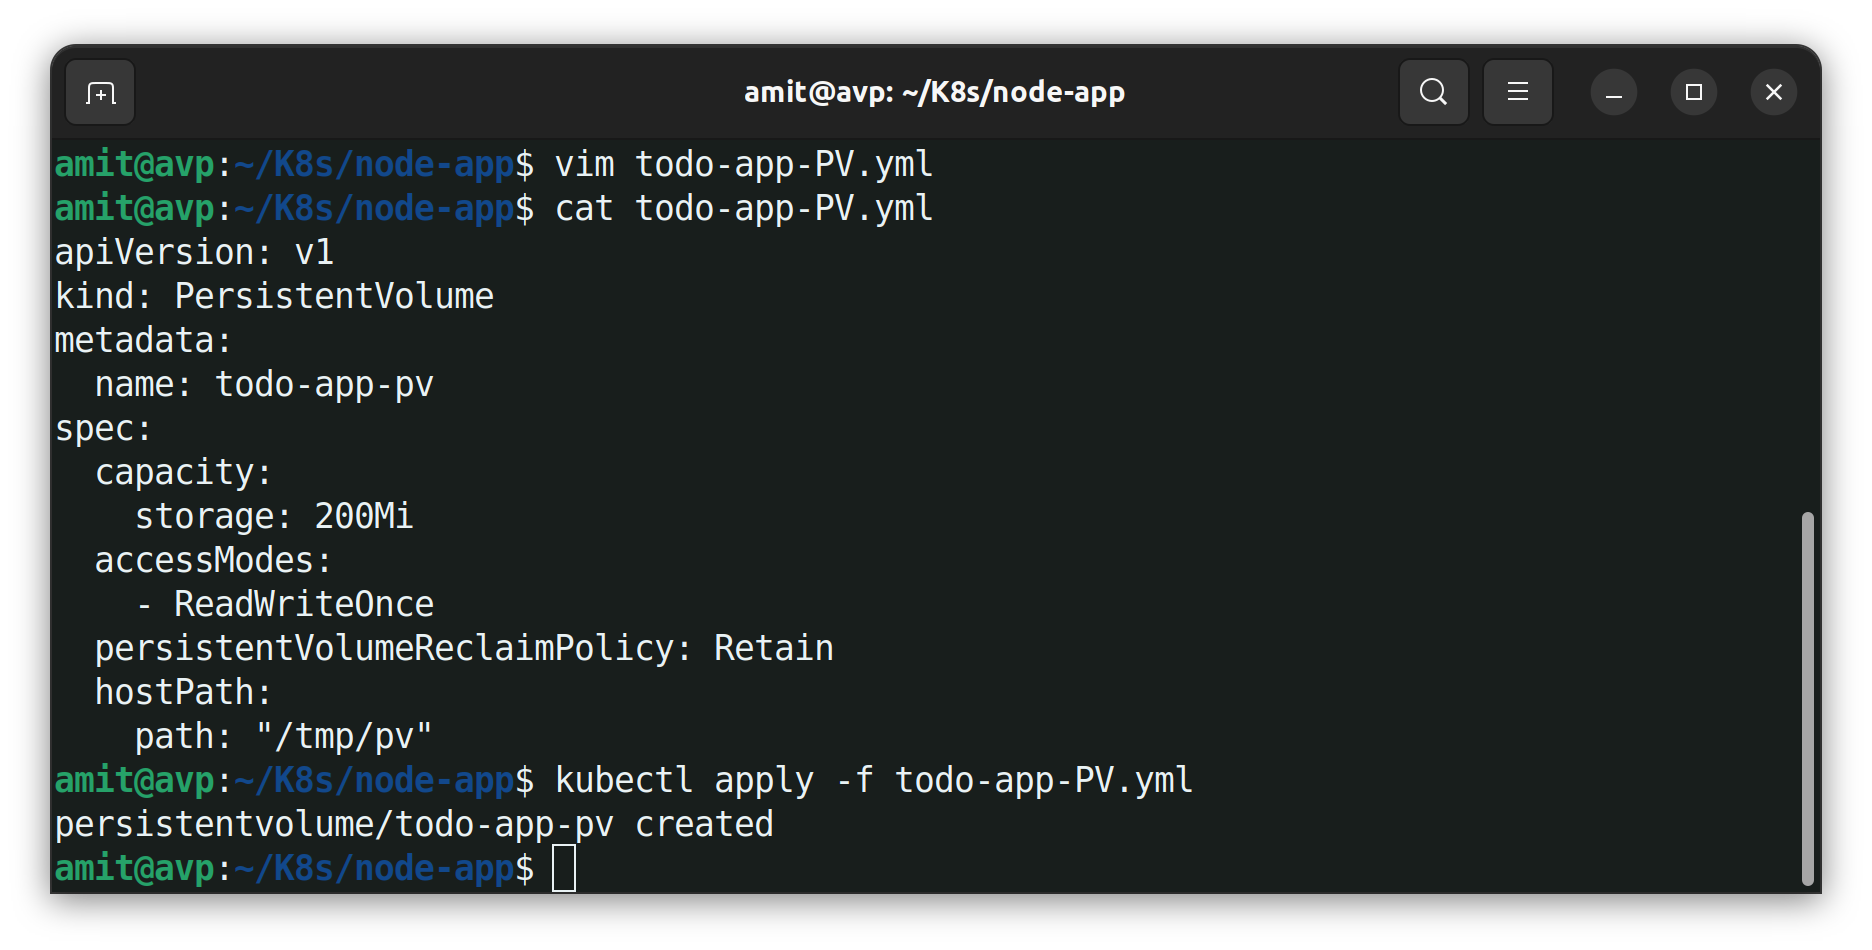
Create a PV using a file on the node.
vim todo-app-PV.ymland create PV usingkubectl apply -f todo-app-PVcommand.kind: PersistentVolume metadata: name: todo-app-pv spec: capacity: storage: 200Mi accessModes: - ReadWriteOnce persistentVolumeReclaimPolicy: Retain hostPath: path: "/tmp/pv"
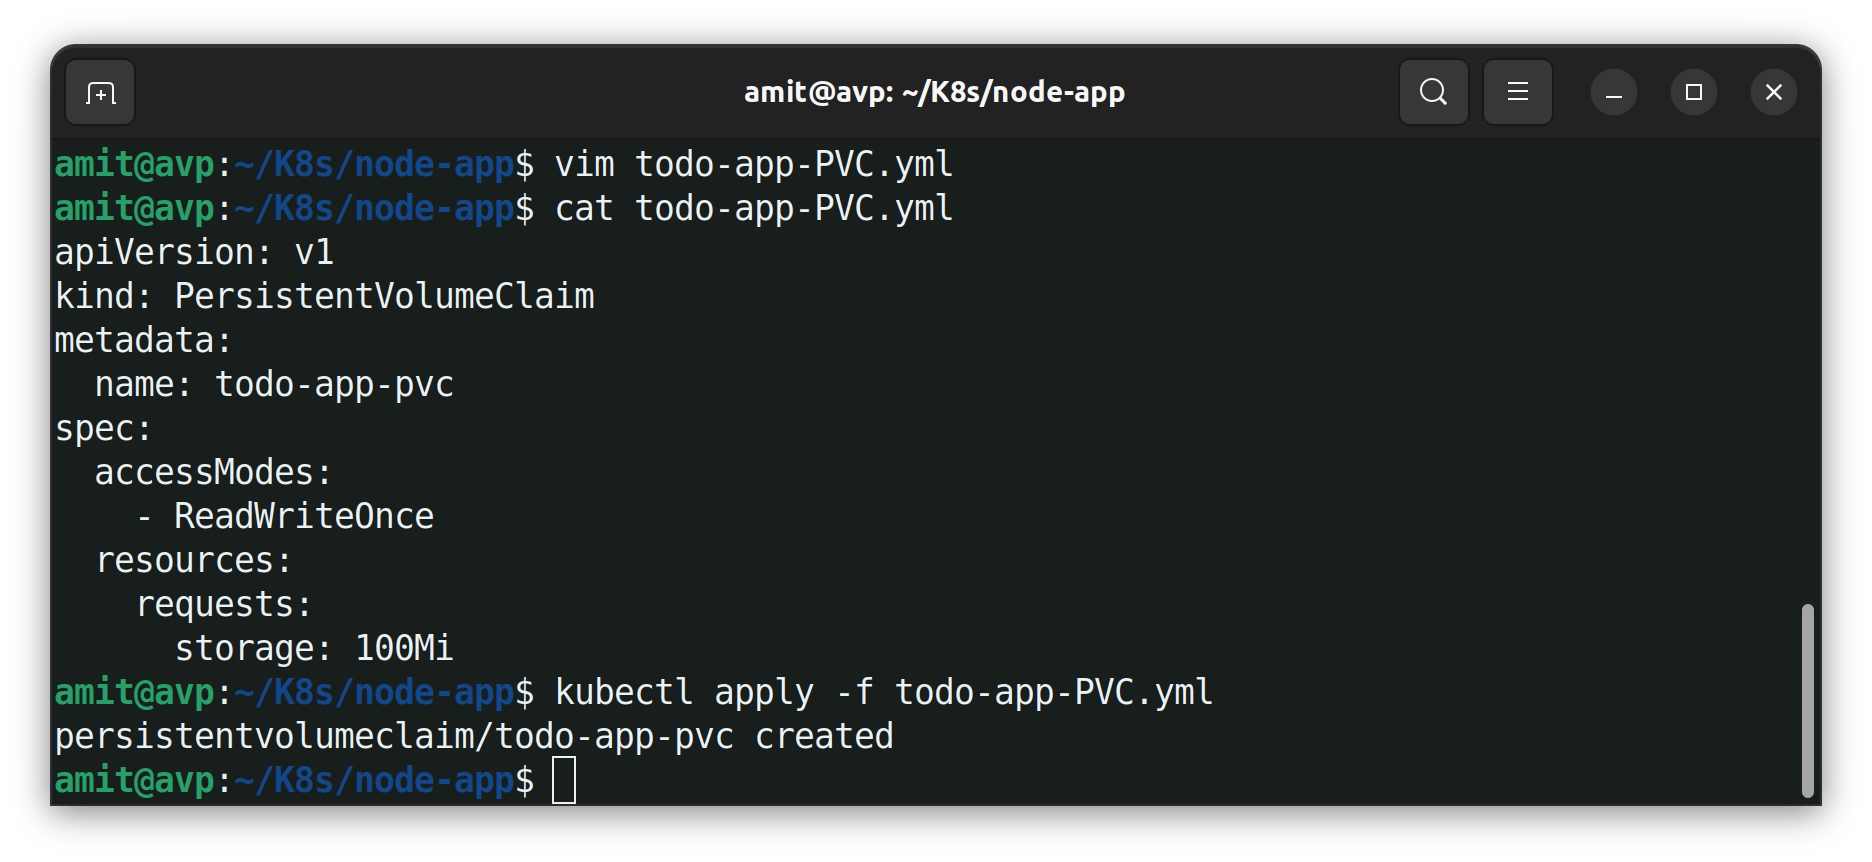
Now create PVC that refers to the PV.
vim todo-app-PVC.ymland create PVC usingkubectl apply -f todo-app-PVC.ymlcommandapiVersion: v1 kind: PersistentVolumeClaim metadata: name: todo-app-pvc spec: accessModes: - ReadWriteOnce resources: requests: storage: 100Mi
Update the deployment.yml file as shown
vim deployment.ymland apply the changes usingkubectl apply -f deployment.ymlcommand.apiVersion: apps/v1 kind: Deployment metadata: name: todo namespace: node-app labels: app: todo-app spec: replicas: 2 selector: matchLabels: app: todo-app template: metadata: namespace: node-app labels: app: todo-app spec: containers: - name: todo-container image: amitvpawar/node-app:v2 ports: - containerPort: 5000 volumeMounts: - name: todo-app-data mountPath: /app volumes: - name: todo-app-data persistentVolumeClaim: claimName: todo-app-pvc
To list PVs and Pod use
kubectl get pods -n <namespace-if-any>andkubectl get pv
Task 2- Accessing data in the Persistent Volume.
First, connect/execute one of the running Pods using
kubectl exec -it <pod-name> -- /bin/bas. Add some files.Delete the pod in which we made changes.
Check whether the new pod have created files or not.
Thank you so much for taking the time to read till the end! Hope you found this blog informative.
Feel free to explore more of my content, and don't hesitate to reach out if need any assistance from me or in case of you have any questions.
Find me on:- Hashnode LinkedIn Github
Happy Learning!
Subscribe to my newsletter
Read articles from Amit Pawar directly inside your inbox. Subscribe to the newsletter, and don't miss out.
Written by
