Phala Network: The ability to bring Web2 Data onchain
 Billy Jitsu
Introduction
Phala Network's "Phat" contracts offer smart contracts the ability to utilize almost all available APIs, both off-chain and on-chain. Compatible with most EVM-equivalent chains, Phala Network provides a seamless bridge between Web2 and trustless onchain executions. Imagine rewarding your users on-chain based on Soundcloud listens or Twitter retweets.
What is Phala Network?
Phala Network is an off-chain computation network that operates within the Polkadot ecosystem. It connects your data to on-chain smart contracts. By staking PHA tokens, you can leverage Phala's computational power to make API calls onchain, eliminating the need for your own infrastructure node such as Google Nodes or AWS.
How Does It Work?
The Phat Contract
Phat contracts use JavaScript/TypeScript to make API calls. Here's a sample code snippet that demonstrates how to make a batch HTTP request:
let response = pink.batchHttpRequest(
  [
    {
      url: endpoint,
      method: "POST",
      headers,
      body,
      returnTextBody: true,
    },
  ],
  10000
)[0];
Custom Queries
You can build custom queries to fetch specific data. For example, the code below fetches the addresses of the first five voters of a proposal on Snapshot:
javascriptCopy codelet headers = {
  "Content-Type": "application/json",
  "User-Agent": "phat-contract",
};

let query = JSON.stringify({
  query: `query {
    votes(
      first: 5
      skip: 0
      where: { proposal: \"${proposalId}\" }
      orderBy: "created"
      orderDirection: desc
    )
    {
      voter
    }
  }`,
});

let body = stringToHex(query);
It's not limited to a single call as well, you can batch up to 5 different API calls in a single transaction which lets you get creative with what type of calls you can do. A very cool multi-sports order book example can be found here
What It Phala Network Does
Acts as a bridge between an Ethereum (EVM) smart contract and the Snapshot API.
Fetches voting data related to a given
proposalId.Encodes the fetched data into an Ethereum-compatible format.
Handles errors gracefully.
Deployment
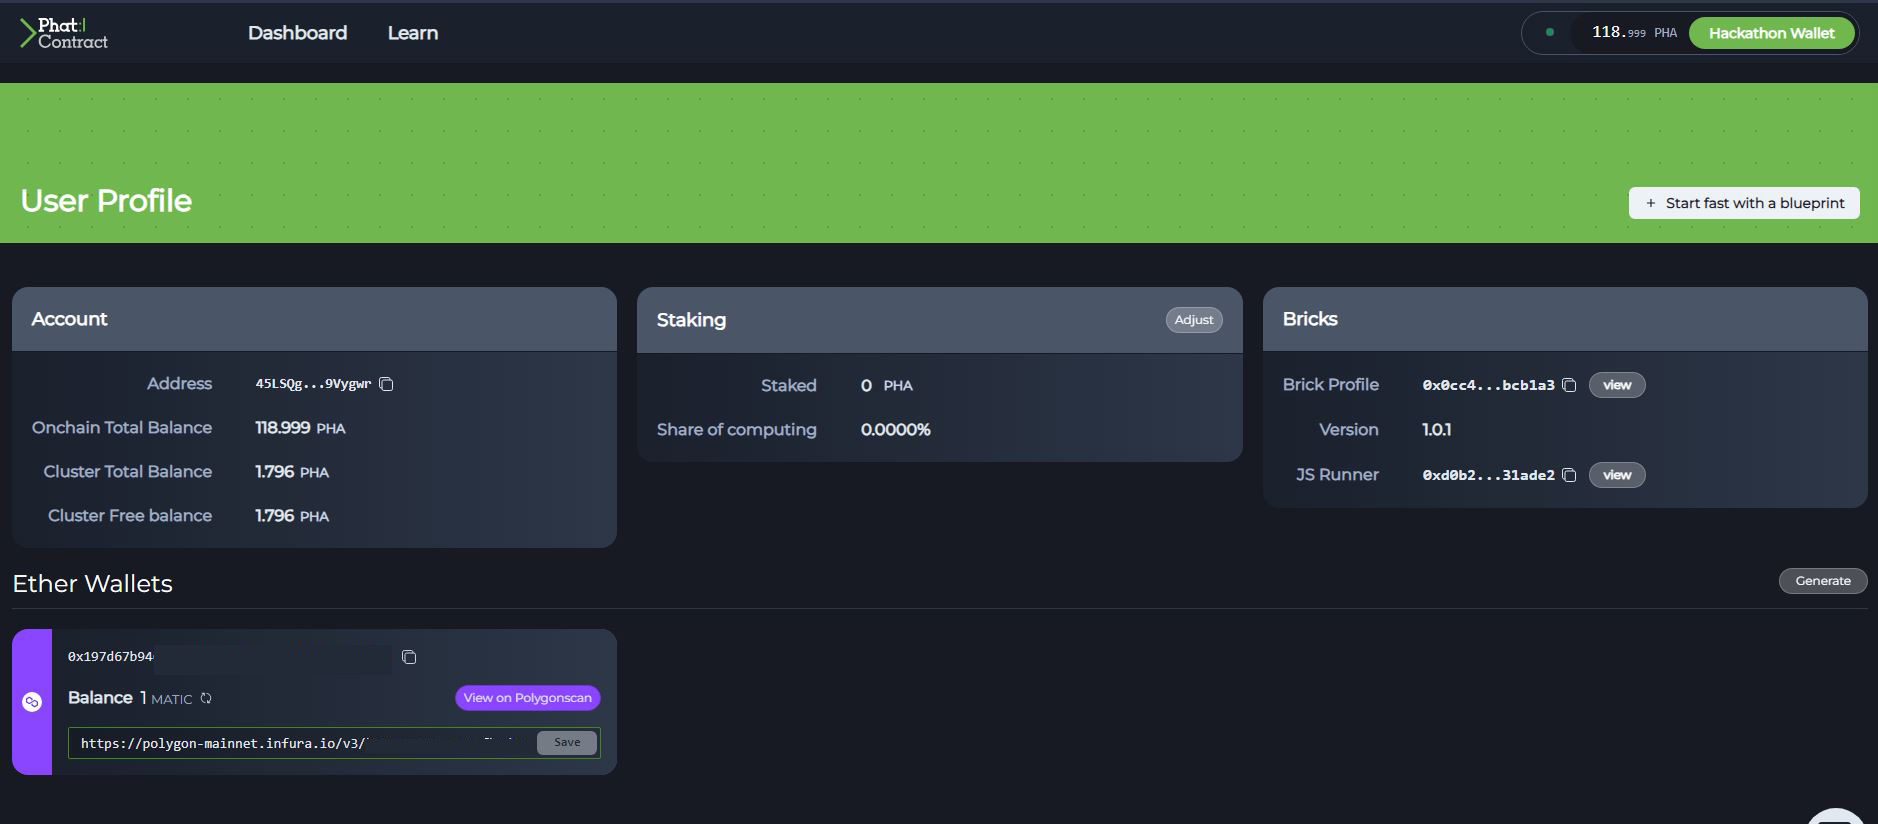
Once you have completed your Phat function and set up your API calls, deploy it on brick.phala.network. You'll need a Polkadot-compatible wallet like polkadot.js and some staked PHA tokens. After the blocks have been confirmed, you will now be able seamlessly be able to request API calls onchain from a smart contract.

Getting Started
Install the
@phala/fntool via NPM or YARN.Initialize your project with
npx @phala/fn init "project name".This will give you a project framework built in hardhat setup, deployment setup, and example solidity contract and phat function script.
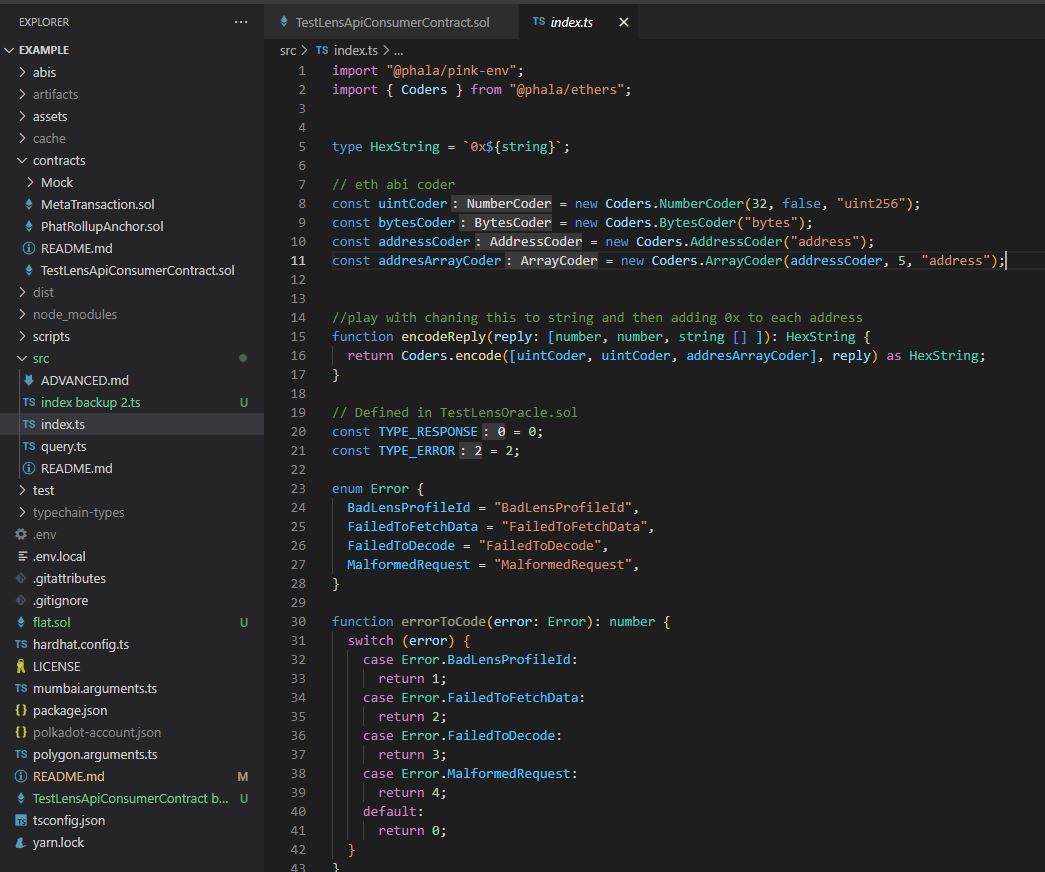
Modify the
src/index.tsfile to adjust your queries and HTTP requests (this is the .
Phat function bird's eye view
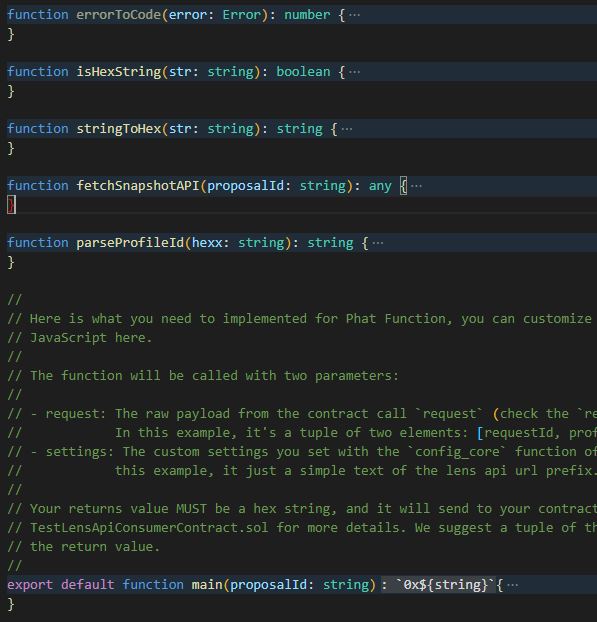
The phat function consists of a main function call that refers to the helpers. In this example, the primary focus is around the "fetchSnapshotAPI" function which is where the call is being built. The other functions are helper functions to help build and make sure the format of your input is compatible with the requirements of the calls, converting it to the proper hex formats and encoding/decoding.
function fetchSnapshotAPI(proposalId: string): any {

  const endpoint = "https://hub.snapshot.org/graphql";

  let headers = {
    "Content-Type": "application/json",
    "User-Agent": "phat-contract",
  };

  let query = JSON.stringify({
    query: ` query {
      votes(
        first: 5
        skip: 0
        where: { proposal: \"${proposalId}\" }
        orderBy: "created"
        orderDirection: desc
      )
      {
        voter
      }
    }`,
  });
  let body = stringToHex(query);
  let response = pink.batchHttpRequest(
    [
      {
        url: endpoint,
        method: "POST",
        headers,
        body,
        returnTextBody: true,
      },
    ],
    10000
  )[0];

  if (response.statusCode !== 200) {
    console.log(
      `Fail to read Snapshot api with status code: ${
        response.statusCode
      }, error: ${response.error || response.body}}`
    );
    throw Error.FailedToFetchData;
  }
  let respBody = response.body;
  if (typeof respBody !== "string") {
    throw Error.FailedToDecode;
  }
  let parsedData = JSON.parse(respBody);
  let flattenedData = flattenVoterArray(parsedData);
  return flattenedData;
}
Breakdown
We start by declaring our endpoint for API for our calls (can be dynamic if needed)
We will create our header (doesn't change much but requires that User Agent is set)
The core of this call is the Query, where we set up the parameters we are looking for. In our case, we want the first 5 users of a snapshot proposal (not to overload API calls for testing).
We will then convert that object to hex format so it's compatible with the pink.batchHttpRequest call.
Once the response is batched, we check to see if we get a response and then the following functions format our data how will need it for our smart contract functions. In this example, I'm getting an object of different addresses returned from a snapshot, so converting it to an array of addresses.
Smart contract
function _onMessageReceived(bytes calldata action) internal override {
        //require(action.length == 32 * 3, "cannot parse action");
        console.logBytes(action);
        (uint respType, uint id, address voter1, address voter2, address voter3, address voter4, address voter5) = abi.decode(
            action,
            (uint, uint, address, address, address, address, address)
        );
        console.log("voters recieved:", voter1);
        console.log("voters recieved:", voter2);
        console.log("voters recieved:", voter3);
        console.log("voters recieved:", voter4);
        console.log("voters recieved:", voter5);

        // Create a local array to hold the voter addresses
        address[] memory voters = new address[](5);
        voters[0] = voter1;
        voters[1] = voter2;
        voters[2] = voter3;
        voters[3] = voter4;
        voters[4] = voter5;

        if (respType == TYPE_RESPONSE) {
            emit ResponseReceived(id, requests[id], voter1, voter2, voter3, voter4, voter5);
            delete requests[id];
            //CALL FUNCTION HERE VOTERS
            console.log("distribute tokens");
            distributeTokens(voters);
        } else if (respType == TYPE_ERROR) {
            emit ErrorReceived(id, requests[id], voter1);
            delete requests[id];
        }
    }
When the message reaches the smart contract, the function decodes the bytes call and breaks it down into a usable format.
Currently, the addresses are broken down in separate arguments for a technical issue but then pushed back into an array to send out to a function called "distributeTokens" that will distribute the set tokens in our contract.
Once we have the Phat function set, and the smart contract ready to receive a message, we can test locally with the following commands ( a great gist can be found here explaining in deep detail)
CLI Commands
npx @phala/fn build src/index.ts(Compiles the phat functions)npx @phala/fn run dist/index.js -a(followed by the arguments in encoded - to test the phat function directly)yarn build-function(test phat function with your smart contract)
Deplay to testnet
yarn build-functionyarn test-deploy-function(for testnet deployment)yarn test-deploy(deploy your smart contract)
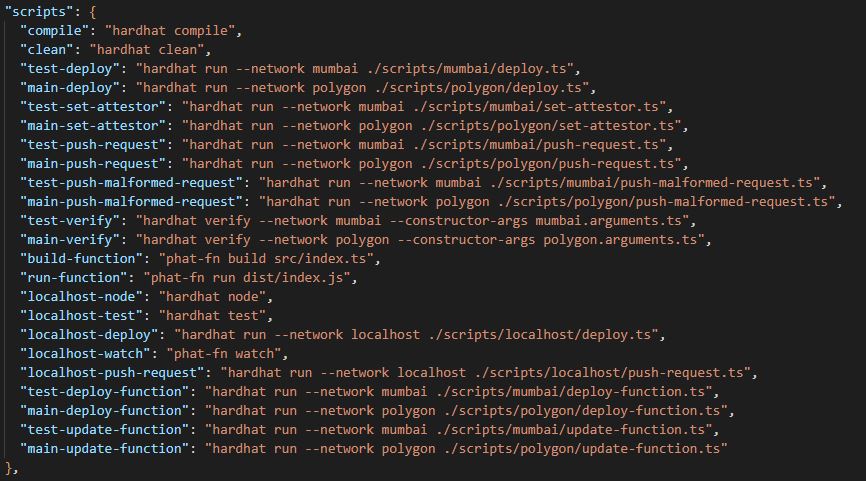
A full list of scripts is in packages.json
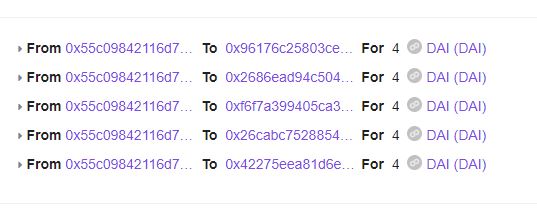
Once deployed, you can test it as you would any smart contract by sending the request and waiting for the response. In the case of this example, you can see that I distributed tokens evenly across the voting wallets that voted in the snapshot.
Conclusion
Phala Network offers a powerful, low-cost solution for off-chain and on-chain integration. With just a small amount of tokens, you can leverage this technology for various applications. The future looks promising for this technology, and it will be exciting to see its creative uses.
If you want to look deeper into the code you can see it here
Subscribe to my newsletter
Read articles from Billy Jitsu directly inside your inbox. Subscribe to the newsletter, and don't miss out.
Written by
