How to Set Up and Provision Azure Kubernetes Service (AKS) Cluster with Terraform
 Joel Oduyemi
Table of contents
- 👨💻 Introduction
- 🔔 Prerequisites
- 📝 Plan of Execution
- 🔐 Securing Terraform State file by storing it in an Azure Storage Account
- 📂 Setting up the Foundations: Organizing Your Terraform Project
- 👨💻 Writing Terraform Files with Best Practices in Mind
- 🌩️ Terraform Deployment, Resource Confirmation, and Cleanup
- Resources
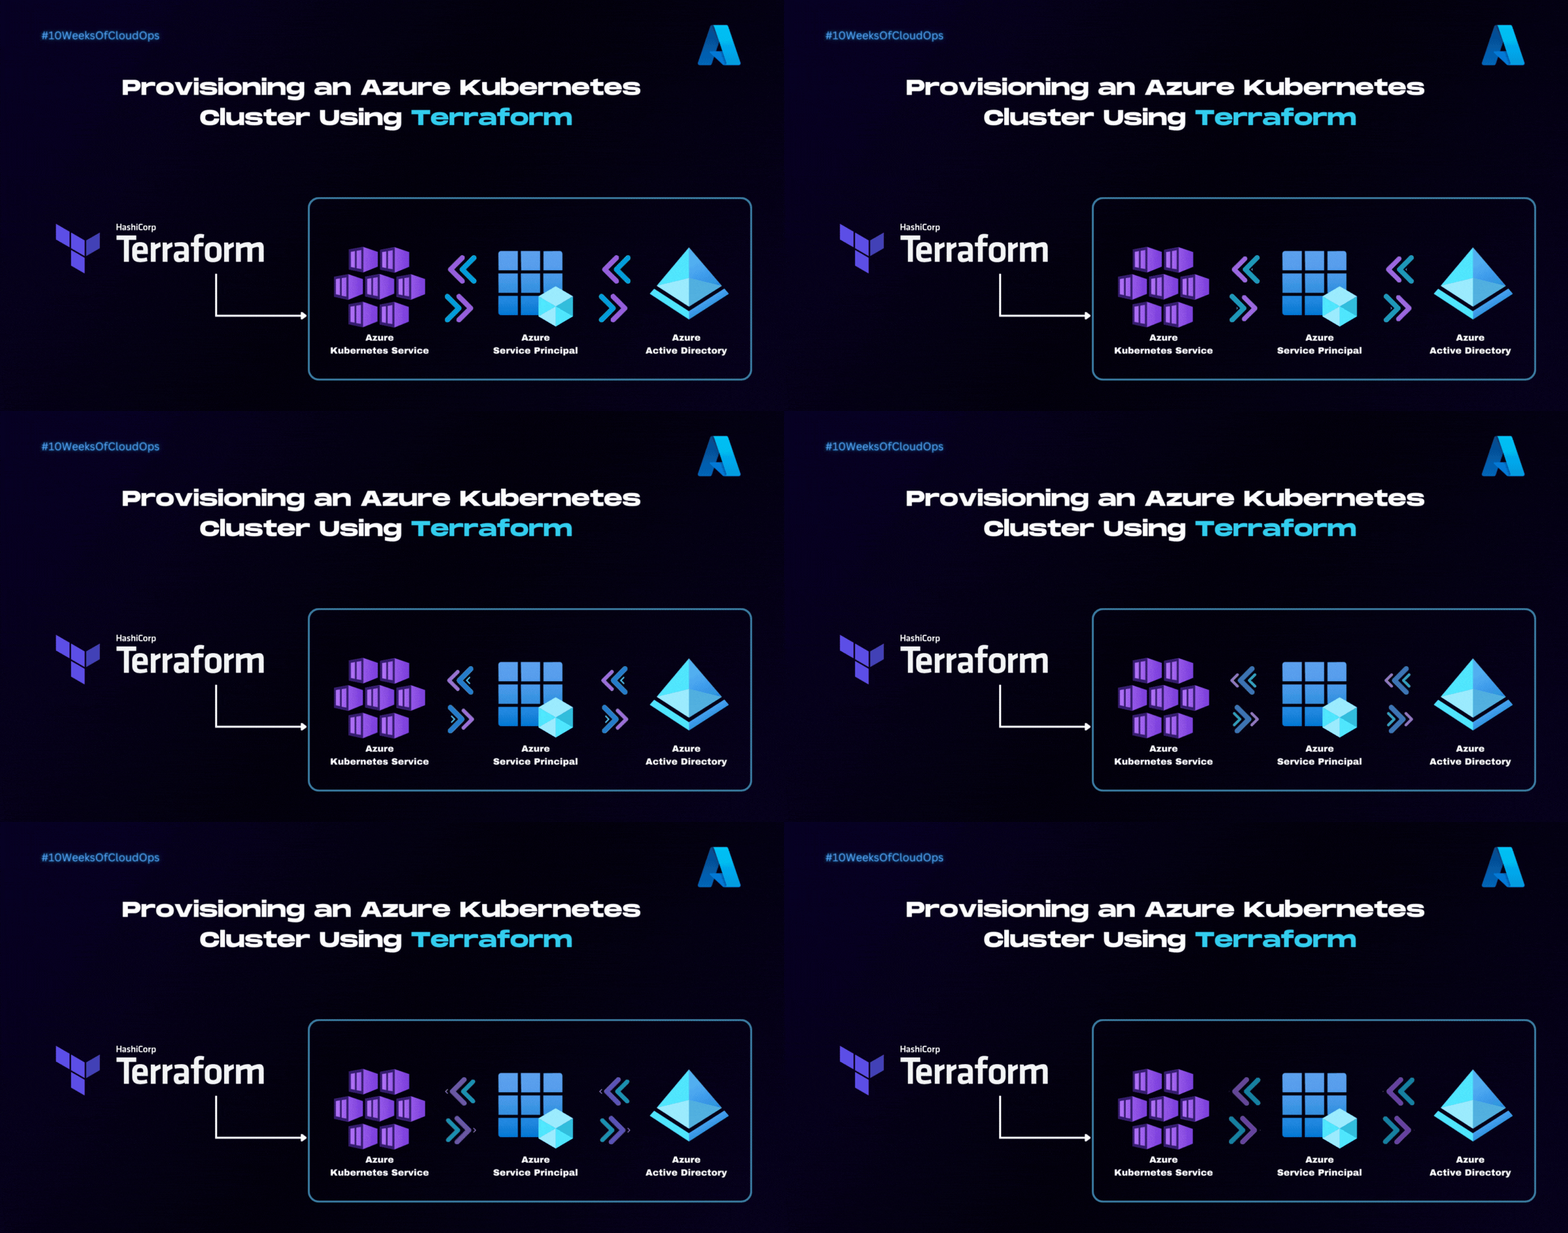
👨💻 Introduction
Welcome to the second part of the step-by-step implementation guide for deploying a Dockerized application on Azure Kubernetes Service (AKS) using ArgoCD and Azure DevOps. In this series, I'll be breaking down the complex process of creating a robust and efficient deployment pipeline into manageable steps.
In Part 2, we will begin at the foundation by provisioning an Azure Kubernetes Service (AKS) cluster using Terraform. This is a critical initial step in establishing your Kubernetes environment, ensuring it is properly configured and ready to support your containerized applications.
However, If your primary goal is to just provision an AKS cluster using Terraform, you can follow this guide independently while, for those seeking a comprehensive guide to deploying, managing, and continuously delivering containerized applications in a GitOps-driven AKS environment, I encourage you to continue through the entire series.
🔔 Prerequisites
To follow along in this guide you would need the following:
It will be great to check out part 1 of this project series where I've provided the project's architecture and details about this series - Link Here
Azure Account - If you don't have one, you can sign up for a free trial on the Azure website
Terraform Installed - download the latest version from the Terraform website and follow the installation instructions.
Visual Studio Code and The Official Terraform Extension
Azure CLI and Basic Azure Knowledge
Azure Service Principal (Optional, but Recommended) - Follow the instructions on Microsoft Learn to create a Service Principal and authenticate Terraform to use it
📝 Plan of Execution
Securing Terraform State file by storing it in an Azure Storage Account
Setting up the Foundations: Organizing Your Terraform Project
Writing Terraform Files while following best practices
Terraform Deployment, Resource Confirmation, and clean-up
🔐 Securing Terraform State file by storing it in an Azure Storage Account
The terraform state file contains sensitive information about your infrastructure, such as resource IDs, configurations, and dependencies. Storing this file locally or alongside your Terraform code can lead to challenges such as concurrency issues when working in a team, and also limitations on collaborative development across teams and projects compared to when you store it in a remote location like Azure Storage which offers a secure solution by centralizing state management, providing concurrency control, fostering collaboration, and ensuring data integrity.
Implementation Steps
The first step to configuring Terraform Backend to store the state management file in Azure Storage is to create an Azure Storage Account and a container.
The Azure Storage Account and container can easily be created using the Azure Portal. However, in the root directory of my GitHub repository dedicated to this project I have made available an Azure CLI script that automates the creation of the storage account and container for us.
Clone my GitHub repository using the command below and ensure to switch your current working directory to it
    git clone https://github.com/Joelayo/Week_4-AKS-Terraform.git

    cd Week_4-AKS-Terraform/
Next, configure the
remote-state.shscript with the appropriate values for the already defined variables then run the script on a bash terminal using the command below./remote-state.shOnce you've successfully created the storage account and container, the next step involves configuring the
backend.tffile. This file should include the names of the resource group, storage account, and container that you defined earlier before running the script, the file should look like the template below.terraform { backend "azurerm" { resource_group_name = "terraform-state-rg" storage_account_name = "tfpracticestorage" container_name = "tfpracticecontainer" key = "./terraform.tfstate" } }We've now concluded the first step
📂 Setting up the Foundations: Organizing Your Terraform Project
Before embarking on any Terraform project, laying a solid foundation is essential. A well-organized project structure not only tames complexity but also fosters collaboration and long-term maintainability. In this section, I'll guide you through the process of establishing the fundamental structure for your Terraform project. This structure will serve as the framework for provisioning your AKS cluster while adhering to security best practices.
Creating the Project Directory
Begin by creating a dedicated directory for your Terraform project. This directory will serve as the root of your project and will house all the necessary files and subdirectories.
Week_4-AKS-Terraform/
├── .gitignore
├── backend.tf
├── main.tf
├── providers.tf
├── terraform.tfvars
├── variables.tf
└── modules/
Dividing Your Infrastructure into Modules
Terraform modules allow you to simplify specific configurations and logically separate different components of your architecture.
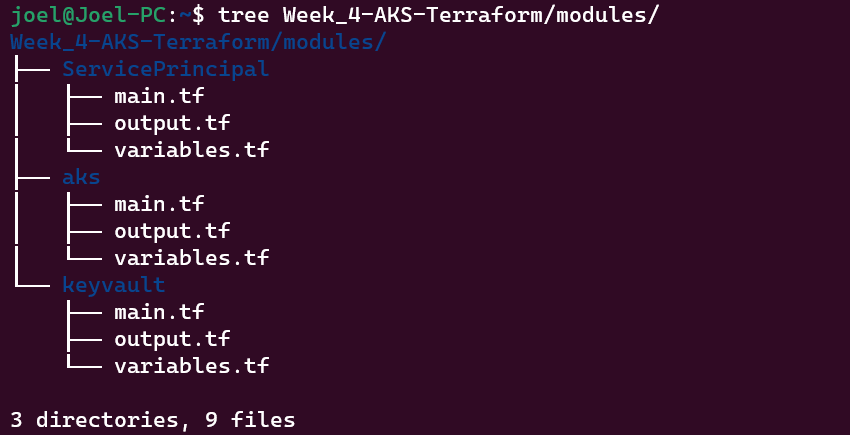
Inside the modules/ directory, you'll create subdirectories for each module you plan to create. Below is an image that illustrates how I organized my Terraform modules:
👨💻 Writing Terraform Files with Best Practices in Mind
Writing effective Terraform code involves following best practices to ensure readability, maintainability, and reliability. To offer a comprehensive view of the configurations covered in this guide, I've thoughtfully organized and documented each file within the project's root and modules directory on my GitHub repository. This resource complements the explanations in this blog post and allows you to delve deeper into the code.
Here's how you can explore and benefit from this repository:
Visit my GitHub repository by following this link: GitHub Repository
Begin by exploring the directory structure at the root of the repository. The root and modules directories house the Terraform configurations, each serving a specific purpose.
In each directory, you'll find separate files dedicated to different components or resources.
In addition to the official Terraform documentation, it's worth closely inspecting the Terraform code within each repository file. This code provides valuable insights into variable definitions, resource setups, and any unique elements you should be aware of.
Also don't hesitate to contribute, raise issues, or provide feedback on the repository. Your input can help improve the Terraform configuration files and benefit the broader community.
By exploring the Terraform code and practical insights within the GitHub repository, you'll develop a hands-on understanding of the Terraform configurations that form the foundation for provisioning an AKS cluster
🌩️ Terraform Deployment, Resource Confirmation, and Cleanup
After setting up the foundations and writing your Terraform files, it's time to take the next step: deploying your infrastructure, confirming the resources are as expected, and ensuring proper cleanup procedures. This phase is crucial to validate your configurations and avoid any surprises in a production environment.
Deployment Process:
Initializing Terraform: Before you deploy, run
terraform initfrom the root directory. This downloads required providers and sets up the backend configuration you've defined in thebackend.tffile.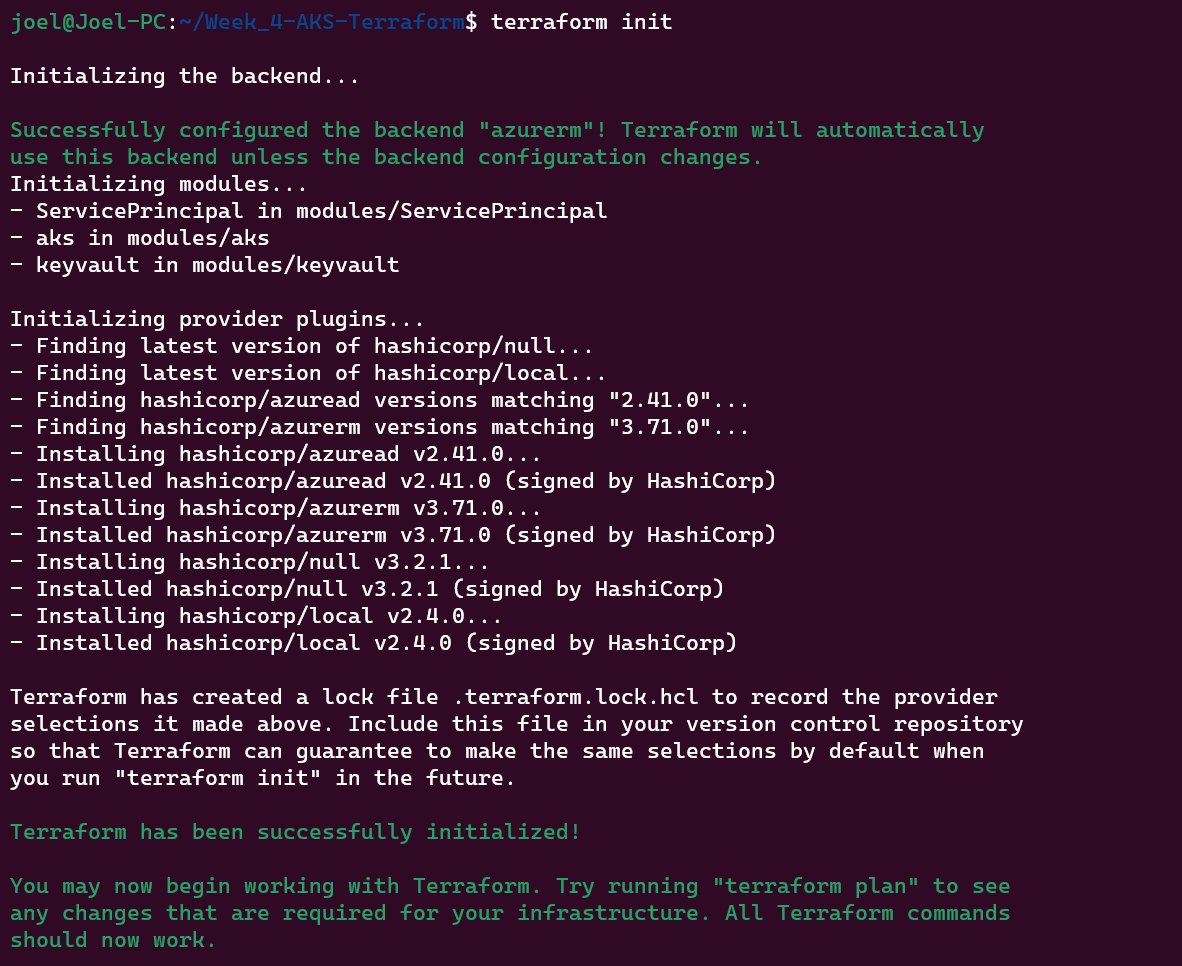
Format and Validate Terraform Configurations: Execute
terraform fmtto format your Terraform configuration files. This step ensures consistent and clean formatting across your codebase, then executeterraform validateto identify and rectify any errors or issues in your Terraform configuration files. This validation process ensures your configurations are syntactically correct.
Deploying the Infrastructure: Execute
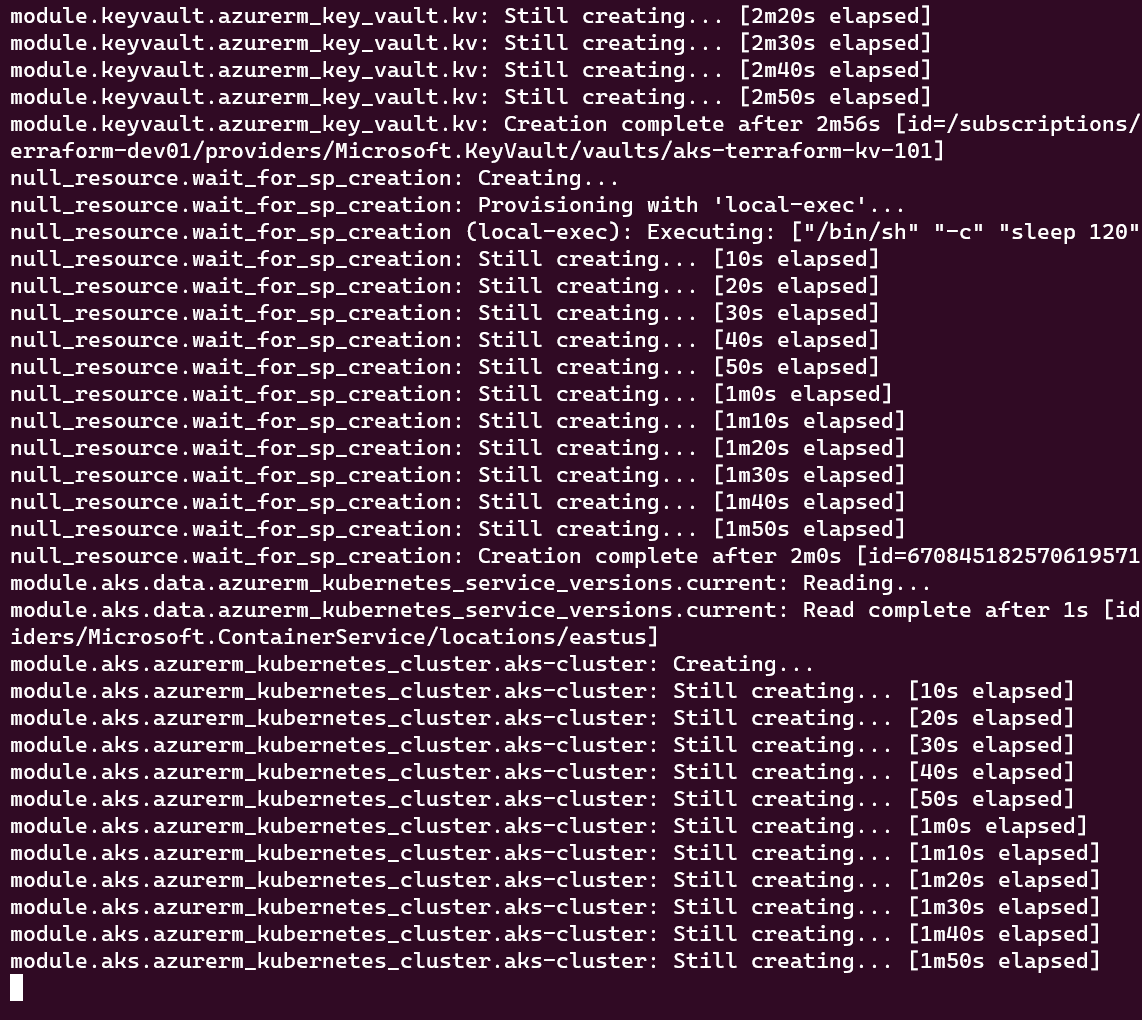
terraform applyto initiate the deployment process. Terraform will analyze your configuration, create an execution plan, and prompt you to confirm the changes before proceeding. When prompted, enter "yes" to confirm the changes. Terraform will proceed with provisioning the resources as defined in your configuration files.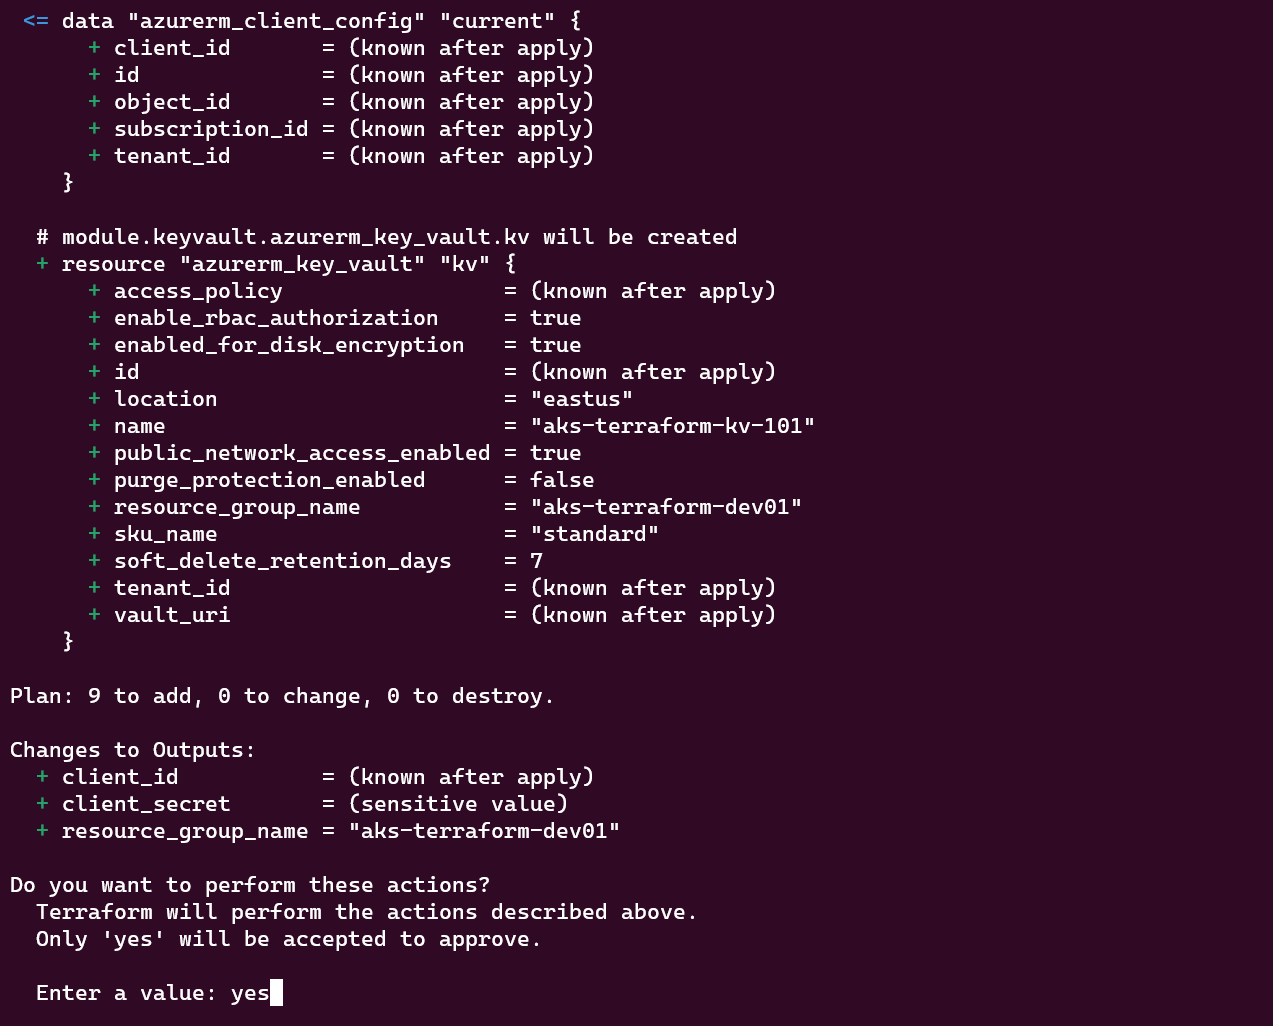
Resource Confirmation:
Monitoring Provisioning: As Terraform deploys resources, you can monitor its progress but It's advisable to leverage Azure Portal to track the status of the created resources.
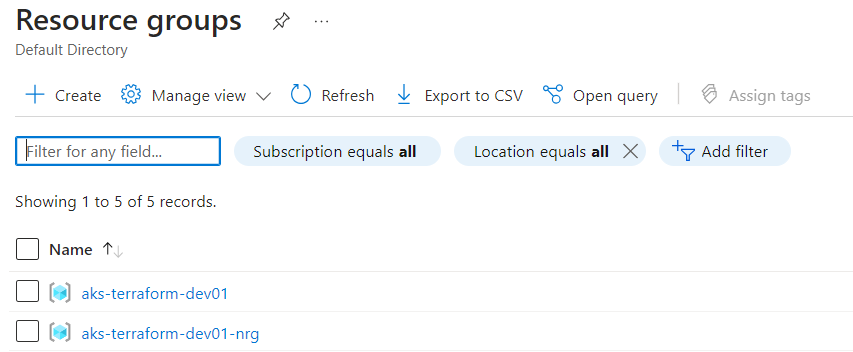
Resource Validation: Once deployed, verify that the resources have been created with the desired configurations. This step is essential to ensure consistency and correctness. The images below illustrate my resource validation after the infrastructure deployment was complete:


Clean Up:
When you're ready to clean up, execute terraform destroy. Terraform will determine the resources to be deleted based on your configuration files. Review the destruction plan presented by Terraform, and if satisfied, enter "yes" to proceed. Terraform will then proceed to remove the resources.
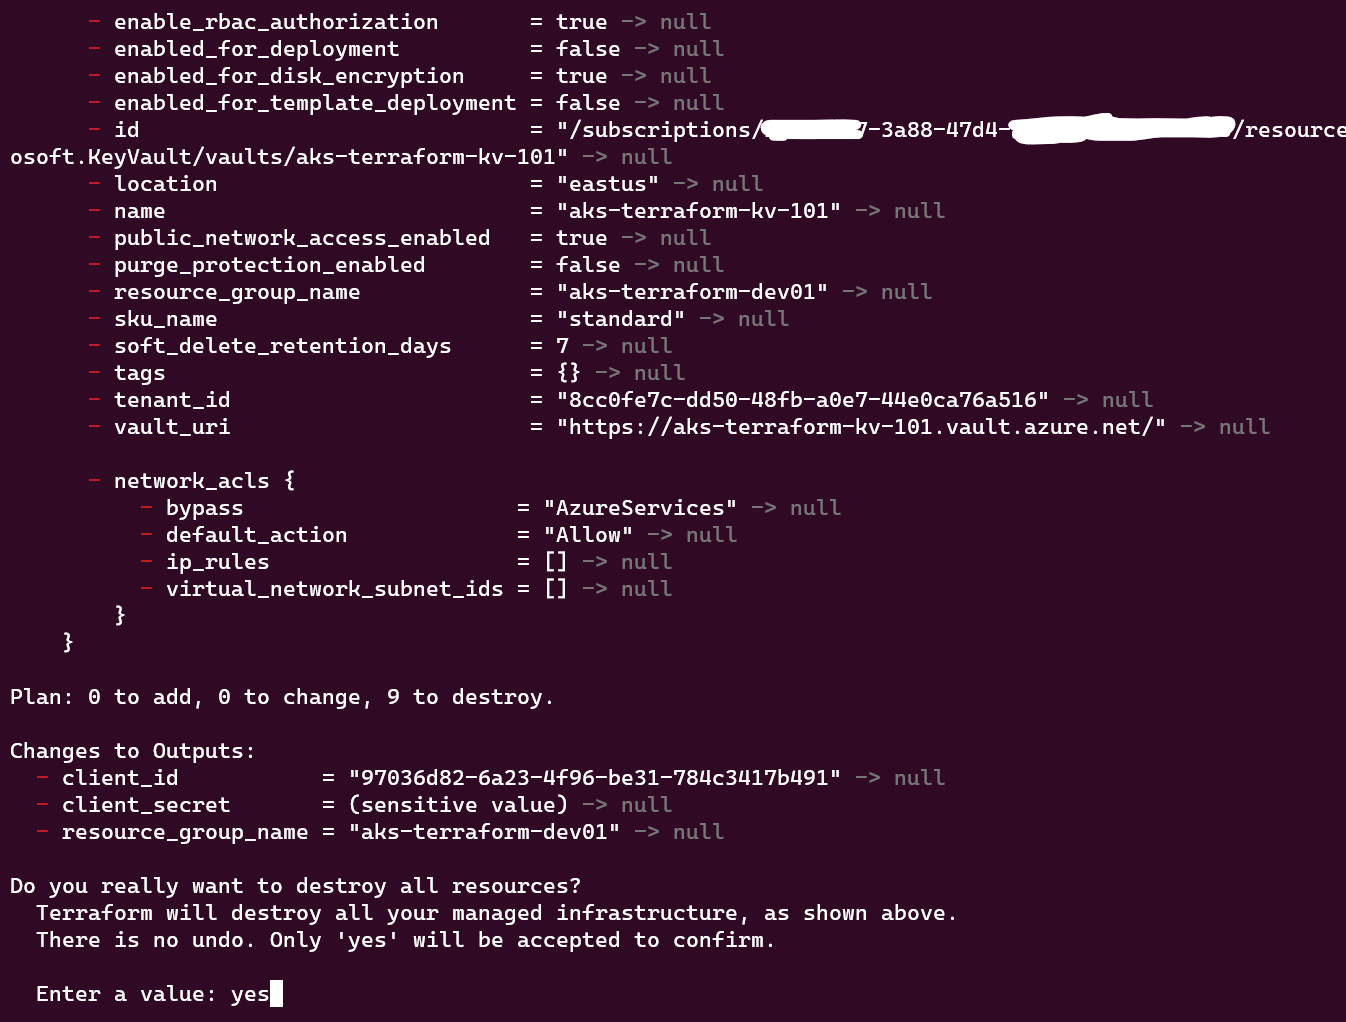
As resources are destroyed, Terraform updates its state file. Ensure to also destroy the Storage account and Container created independently using the shell script with the AZ CLI command below:
az group delete --name "TFSTATE_RESOURCE_GROUP_NAME" --yes --no-wait
Resources
https://www.youtube.com/watch?v=I-MbnfNcikk
https://registry.terraform.io/providers/hashicorp/azurerm/latest/docs/resources/kubernetes_cluster
https://registry.terraform.io/providers/hashicorp/azuread/latest/docs/resources/service_principal
Subscribe to my newsletter
Read articles from Joel Oduyemi directly inside your inbox. Subscribe to the newsletter, and don't miss out.
Written by

Joel Oduyemi
Joel Oduyemi
I'm a detail-oriented and innovative Solutions Architect / DevOps engineer, a team player, and solution-driven, with a keen eye for excellence and achieving business goals. I have repeatedly demonstrated success in designing and launching new cloud infrastructure throughout Azure workloads. I'm passionate about the Cloud, DevOps, Well-Architected Infrastructure, Automation, Open-source, Collaboration, Community building, and knowledge sharing.