🚀 Deploying Web-App on AWS with Terraform: A Comprehensive Guide
 Dhananjay kulkarni
Introduction
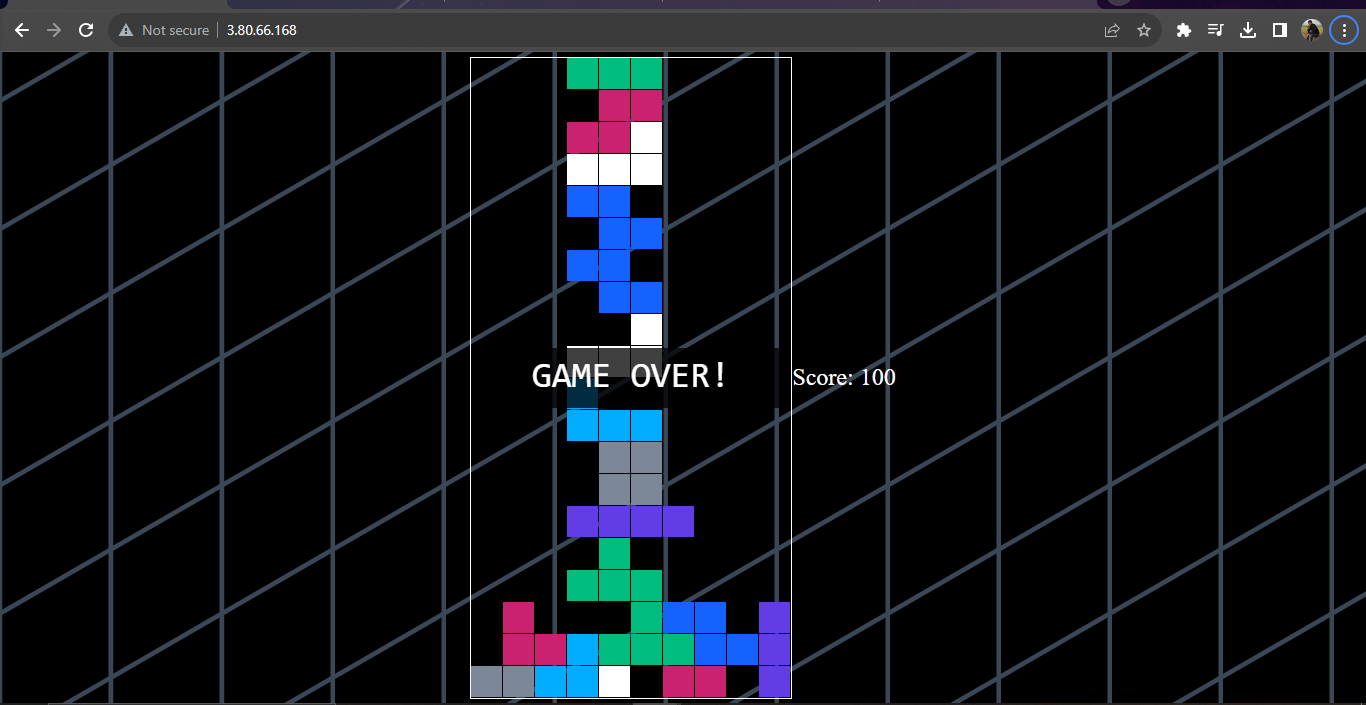
In this comprehensive guide, we'll embark on an exciting journey to deploy Terramino, a simple game, on Amazon Web Services (AWS) using the power of Terraform. 🎮🌐
Our adventure begins with a deep dive into the intricacies of the architecture we've meticulously designed. We'll also walk through each step, providing detailed explanations.🗺️✨
Prerequisites
Before we kick off our mission, make sure you have the following prerequisites:
An AWS account with the necessary permissions. 📦💼
Terraform is installed on your local machine. 🌍🔧
Basic knowledge of AWS, Terraform, and Linux. 💡🐧
🏗️ Architecture Overview
Let's start by taking a closer look at the architecture that powers our Terramino game deployment:
Here's a breakdown of the key components that make up our architecture:
Amazon Virtual Private Cloud (VPC): Our game will be hosted within a VPC, providing network isolation and control. 🌐🏞️
Subnets: Within the VPC, we'll set up public subnet. The public subnet will host our game server. 🏘️🔒
Security Group: We'll configure a security group to control inbound and outbound traffic to our game server, ensuring that only the necessary ports are open. 🚧🔒
Amazon EC2 Instance: This is where our game server will run. It's launched within the public subnet and will be accessible from the internet. 🚀🖥️
Nginx: We'll install Nginx on the EC2 instance to serve as the web server for hosting the game. 🌐🌐
UserData Script: We'll use a UserData script to automate the installation and setup of Nginx, as well as to create an initial HTML page for the game. 🛠️📜
Terraform Configuration
Now that we've explored the architecture, let's dive into the Terraform configuration that brings it to life. 🛠️🚀
providers.tf 🌐
# providers.tf
terraform {
  required_providers {
    aws = {
      source  = "hashicorp/aws"
      version = "~> 5.0"
    }
  }
}

# Configure the AWS Provider
provider "aws" {
  region = "us-east-1"
}
networking.tf 🏞️
# networking.tf
resource "aws_vpc" "main" {
  cidr_block           = "10.0.0.0/16"
  enable_dns_hostnames = true
  enable_dns_support   = true

  tags = {
    Name = "dev"
  }
}

resource "aws_subnet" "dk_public_subnet" {
  vpc_id                  = aws_vpc.main.id
  cidr_block              = "10.0.0.0/24"
  map_public_ip_on_launch = true
  availability_zone       = "us-east-1a"

  tags = {
    Name = "dev-public"
  }

}
resource "aws_internet_gateway" "dk_gw" {
  vpc_id = aws_vpc.main.id

  tags = {
    Name = "dev-igw"
  }
}

resource "aws_route_table" "dk_public_rt" {
  vpc_id = aws_vpc.main.id

  tags = {
    Name = "dev-public-rt"
  }

}

resource "aws_route" "default_route" {
  route_table_id         = aws_route_table.dk_public_rt.id
  destination_cidr_block = "0.0.0.0/0"
  gateway_id             = aws_internet_gateway.dk_gw.id
}

resource "aws_route_table_association" "dk_public_assoc" {
  subnet_id      = aws_subnet.dk_public_subnet.id
  route_table_id = aws_route_table.dk_public_rt.id

}
sg.tf 🔒
# sg.tf
resource "aws_security_group" "dk_sg" {
  name        = "dev-sg"
  description = "dev security group"
  vpc_id      = aws_vpc.main.id

  ingress {
    from_port        = 0
    to_port          = 0
    protocol         = "-1"
    cidr_blocks      = ["0.0.0.0/0"]
  }
   ingress {
    from_port   = 22
    to_port     = 22
    protocol    = "tcp"
    cidr_blocks = ["0.0.0.0/0"]

  }
   ingress {
    from_port   = 80
    to_port     = 80
    protocol    = "tcp"
    cidr_blocks = ["0.0.0.0/0"]

  }
  egress {
    from_port        = 0
    to_port          = 0
    protocol         = "-1"
    cidr_blocks      = ["0.0.0.0/0"]
  }
}
datasource.tf 📦
# datasource.tf
data "aws_ami" "server_ami" {
  most_recent = true
  owners = ["099720109477"]

  filter {
    name = "name"
    values = ["ubuntu/images/hvm-ssd/ubuntu-jammy-22.04-amd64-server-*"]

  }
}
ec2.tf 🖥️
# ec2.tf
resource "aws_instance" "dev_node" {
  instance_type = "t2.micro"
  ami = data.aws_ami.server_ami.id
  vpc_security_group_ids = [aws_security_group.dk_sg.id]
  subnet_id = aws_subnet.dk_public_subnet.id
  user_data = file("userdata.tpl")


  tags = {
    Name = "dev-node"
  }
}
output.tf 📊
# output.tf
output "web_public_ip" {
  value = aws_instance.dev_node.public_ip
}
userdata.tpl 📜
#!/bin/bash
# Your UserData script here
Deployment 🚀
With our Terraform configuration ready, it's time to deploy our Terramino game server on AWS. Follow these steps to embark on your deployment journey:
Initialize Terraform: Navigate to your project directory and initialize Terraform.
terraform initReview the Plan: Before applying changes, review the execution plan to ensure it aligns with your expectations.
terraform planApply Changes: If everything looks good in the plan, apply the changes to create your infrastructure.
terraform applyAccess Your Game: Once the deployment is complete, you can access your game by opening a web browser and navigating to the public IP address of your EC2 instance.
Conclusion 🎉
In this comprehensive guide, we've embarked on a thrilling adventure, deploying Terramino on AWS with Terraform. We've explored the architecture, delved into Terraform configurations. By following the steps outlined here, you've created a scalable and accessible game server in the AWS cloud.
Feel free to customize and enhance your game deployment further, adding features, databases, or scaling options as needed. AWS offers a range of services to expand your game's capabilities.
Happy gaming and happy deploying! 🎮🚀
Subscribe to my newsletter
Read articles from Dhananjay kulkarni directly inside your inbox. Subscribe to the newsletter, and don't miss out.
Written by

Dhananjay kulkarni
Dhananjay kulkarni
Passionate about building secure, scalable cloud environments. I specialize in AWS & Azure, with hands-on experience in DevOps automation, Python scripting, and infrastructure as code using Terraform. Currently working in Cloud Security, where I focus on securing cloud-native architectures, implementing security best practices, and automating compliance workflows. Always open to collaborating on innovative cloud projects that blend automation, security, and performance.