Docker Basic Operations Part 2
 Yatin Gambhir
Table of contents
In the previous blog, we completed the Installation process of Docker on Windows & Ubuntu machines. Also, we understood some basic commands of Docker and how to deploy a container in Docker.
You can refer to the blog here - Docker Installation & Basic Operations
In this blog, we will learn more commands in Docker and a small demo of deploying a container in Docker.
Commands in Docker
To verify the status of your Docker Engine
sudo systemctl status docker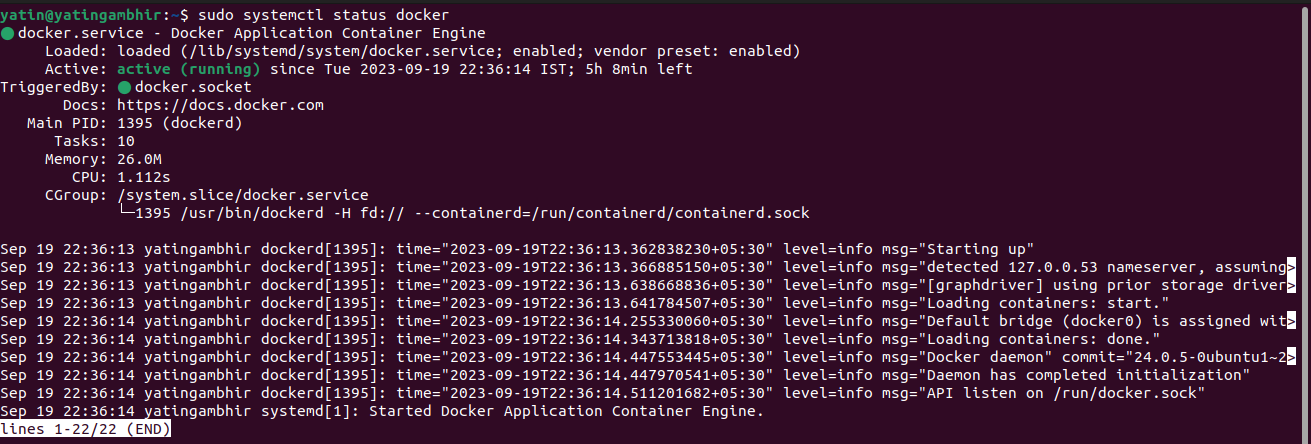
To create an image from the docker file
docker build -t "<image_name>" ."-t" is the tag name flag.
To build a container from the image
docker run -itd --name "<name_of_conatiner>" -p "host_port:container_port" "<image_name>""-it" flag stands for interactive mode. It tells docker to run the container in the interactive mode.
"-d" flag stands for "detached" mode. It tells docker to run the container in the background, detached from your terminal.
"-p" flag is used to specify port mapping, allowing you to map ports from your host system to ports within the Docker container.
Deploying a container in Docker
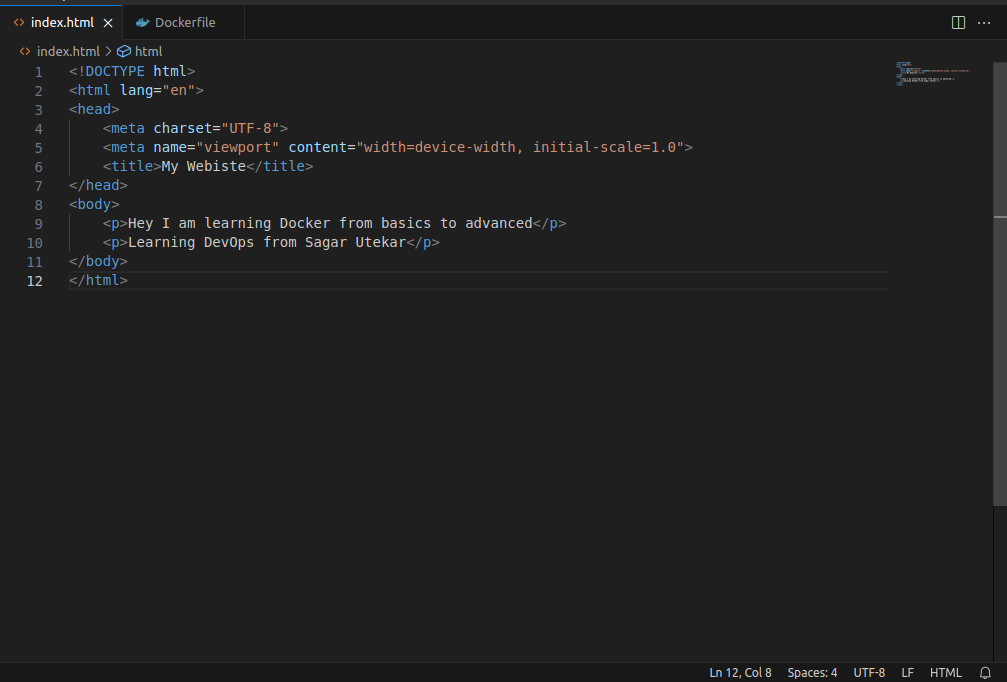
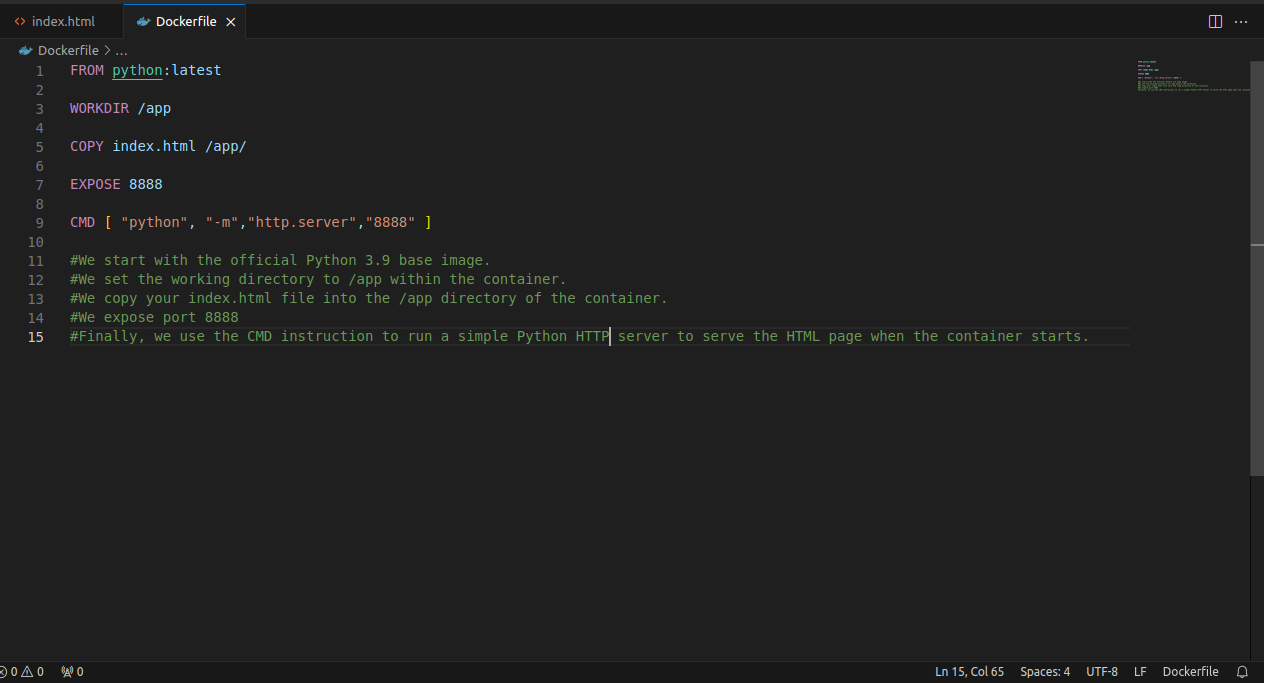
Let's deploy an HTML page in a docker container using a Python Server.
Step 1: Check the status of your docker. It should be active and in a running state as shown in the above image.
Step 2: Write a simple HTML file and a Dockerfile as shown in the below images.
Step 4 - Open the terminal in the same directory where your HTML file and Docker file are stored and build the Docker Image as shown below.

Step 5 - To check the image you can write "docker images". Our Docker Images have been successfully created. Create a container from the image by entering the below command.
Make sure you enter the correct port of the container which you have exposed earlier in the Dockerfile.
docker run -itd --name "<name_of_conatiner>" -p 8080:8888 practiceimage

Our container has been successfully deployed, check using the "docker ps" command.
Step 6 - Now type the localhost URL (http://localhost:8080/) in your web browser and you will see the result.
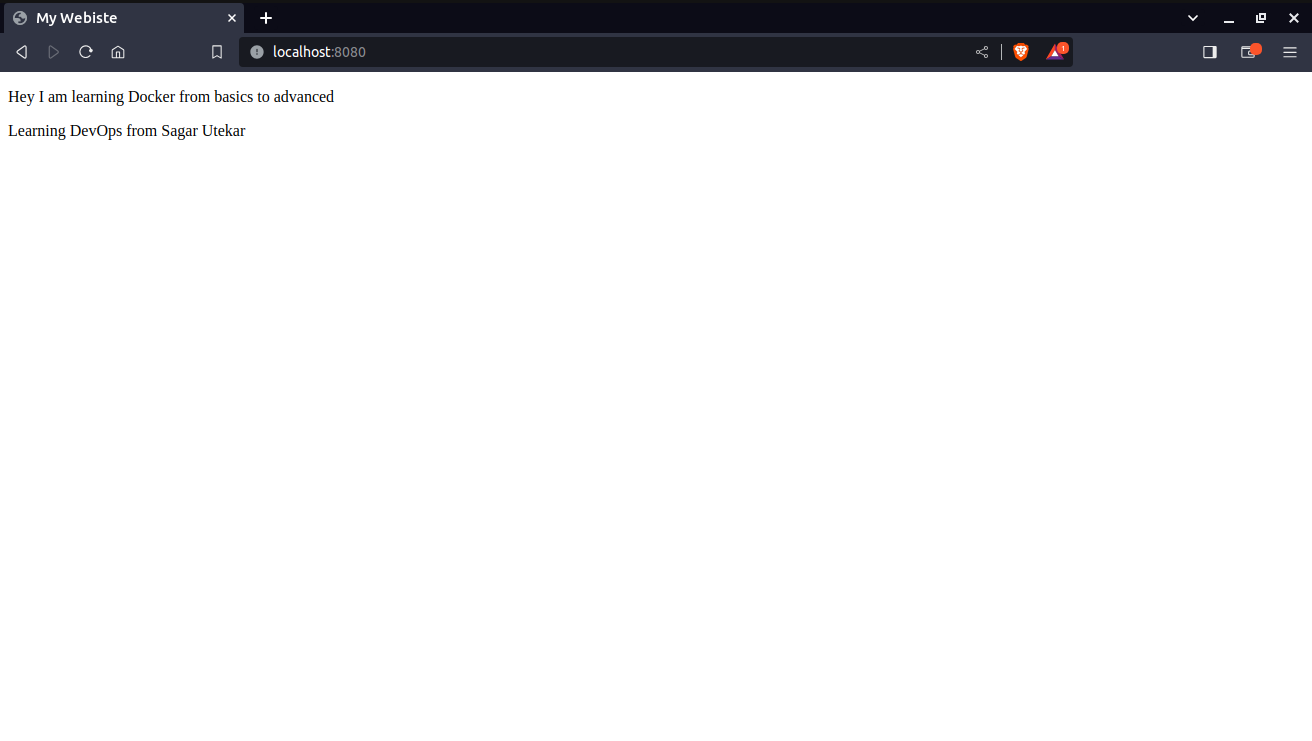
This is how we can build an image and then run a container using Docker.
Now remove the image and container. First, stop the container using the "docker stop <container_id>" command and then remove it using "docker rm <container_id>".
Remove the image using the "docker rmi <image_id>" command.
So that's a wrap-up for this blog.
Try to create more containers using docker and understand its process.
Stay tuned for my next blog. Happy Learning !! 🚀
Subscribe to my newsletter
Read articles from Yatin Gambhir directly inside your inbox. Subscribe to the newsletter, and don't miss out.
Written by
