A Beginner's Tale: My Experience Learning HTML and CSS
 Peace Chinaza Nwosu
Hello everyone! I'm thrilled to share my first blog post on Hashnode. In this post, I'll explain how I started learning HTML and CSS to build webpages.
A few months ago, I embarked on this fantastic journey to become a front-end developer, starting with learning HTML and CSS through FreeCodeCamp, where I discovered the fundamental languages developers use to build web pages.
HTML (hypertext markup language) is used to create web page content. It provides instructions to web browsers on how to display images and words on a webpage. On the other hand, CSS (cascading style sheets) is used to style HTML documents and make them visually appealing.
People can view a webpage using a web browser while connecting to the internet.
On FreeCodeCamp, I also learned how to make webpages respond to different screen sizes by building a photo gallery with Flexbox and a magazine article layout with CSS Grid.
Within a month, I completed all the exercise challenges and earned the responsive web design project certification.
After completing the HTML and CSS coursework with FreeCodeCamp, the next step was building a website independently, without FreeCodeCamp.
There are numerous online tutorials, resources, and interactive platforms to get you started and learn the basics of coding; my mentor recommended a comprehensive six-hour HTML and CSS tutorial series by SuperSimpleDev on YouTube.
I started practicing using the Visual Studio Code (vs. code) editor for coding and Google Chrome as my browser.
The six-hour tutorial took me over three days to finish as I built along to solidify my skills.
You can also use a Notepad to write code; it is excellent for beginners.
The Notepad editor is a built-in text editor on Windows computers.
I learned how to use Notepad to write code from Kelvin Stratvert on YouTube. Notepad is for more than just taking notes and opening readme files. Web developers can also use Notepad to make basic computer programs. You can write lines of code inside Notepad by creating batch files that run scripts in the Windows Command Prompt.
The Notepad text editor does not offer advanced features like specialized IDE coding editors, but it can still be a primary tool for simple coding tasks.
I was cautious when using Notepad. I ensured I used the correct opening and closing brackets or parenthesis for the coding language because it can't check or debug your code. The code you are entering should be accurate. You can proofread it. Make sure you spell your commands correctly and have the proper capitalization.
As your coding projects become more complex, using specialized IDEs (integrated development environments) code editors like Vs Code is better.
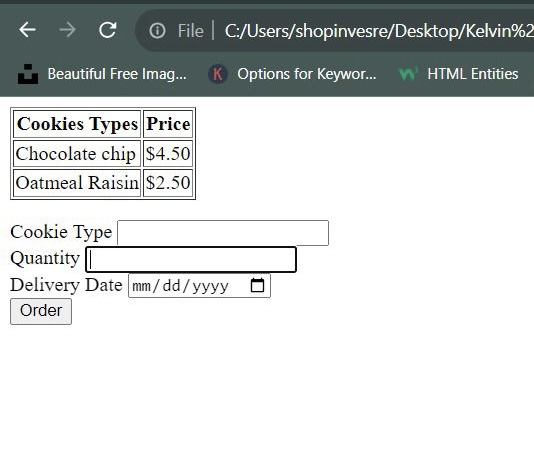
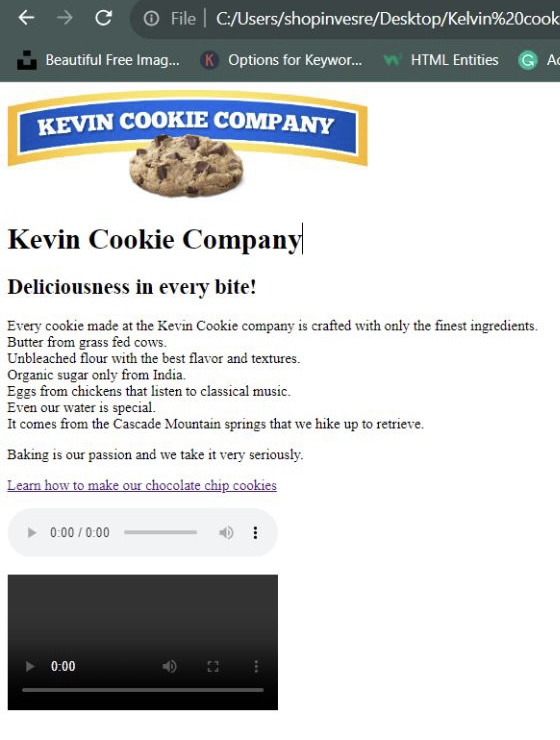
A raw file on Notepad will look like the image below. I used it to practice creating forms and tables and recreating Kelvin Cookie Company's website.
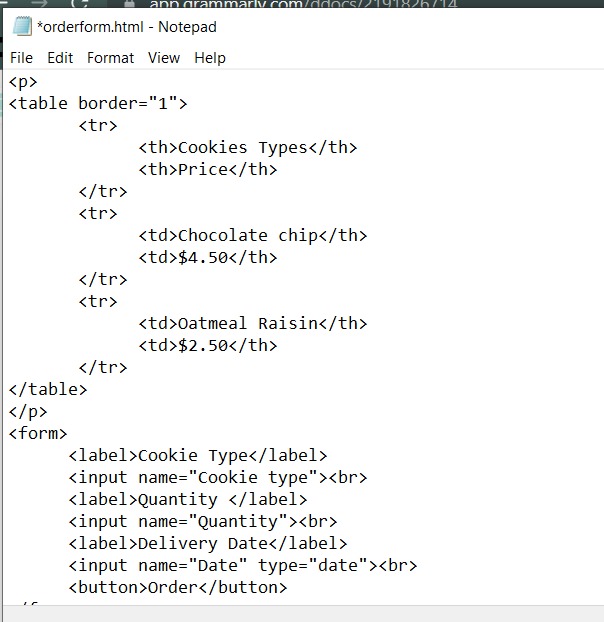
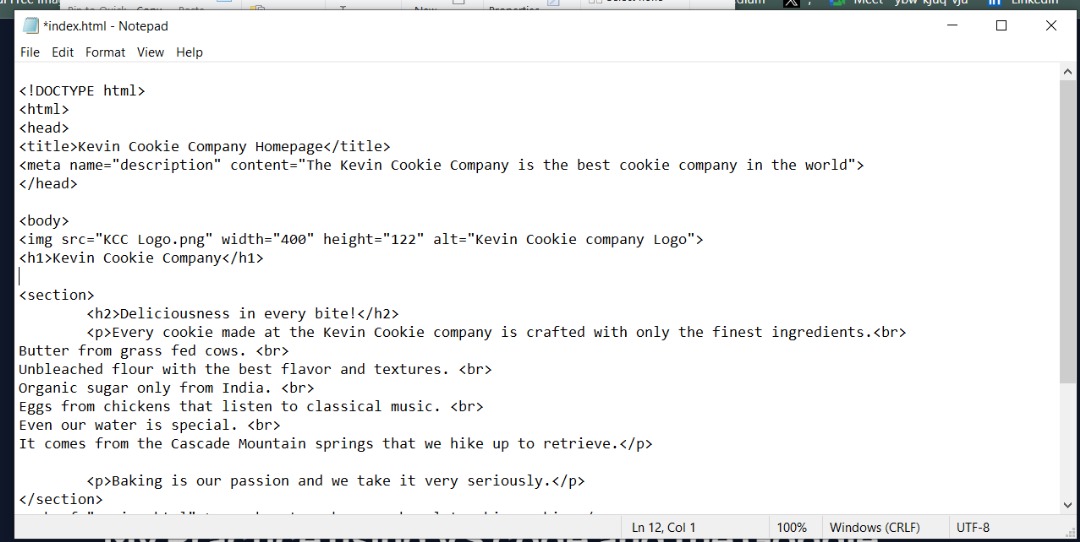
Here is the output of the code in the Chrome browser
Creating webpages with HTML on vs. code editor
With VS Code and the Google Chrome browser, I created simple web pages from scratch, using HTML tags to structure the content.
I used HTML and CSS to create buttons for famous websites with the code below.
<!DOCTYPE html>
<html>
  <head>
    <title>Button practice </title>
  </head>

<body>
<button class="subscribe-button">
  SUBSCRIBE
</button>

<button class="join-button">
  JOIN
</button>

<button class="tweet-button">
  Twitter
</button>

</body>
</html>
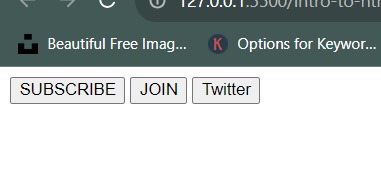
Here is a screenshot of the code above in the browser without CSS.
As I practiced simple HTML gradually, I moved on to more complex elements. With time, I gained confidence in writing simple, clean, and organized HTML code.
There are common HTML tags that you should know as a beginner. Here are some of the common tags I use frequently:
<html></html>: This tag defines an HTML document's beginning and end. It is the document's root element, containing all other elements.
<head></head>: it is a container for metadata about the HTML document, like the title and links to external stylesheets or scripts.
<title></title>: Sets the title of the HTML document; it is displayed in the browser's title bar or tab.
<body></body>: This tag contains all the visible content of the HTML document.
<h1> to <h6>: Heading tags define different heading levels. <h1> is the highest level, while <h6> is the lowest heading level.
<p></p>: Defines a paragraph of text.
<a></a>: Creates a hyperlink to another web page or resource.
<img>: Inserts an image into the HTML document. This tag is a self-closing tag. It does not require a closing tag, e.g., <img />
<ul></ul>: Defines an unordered (bulleted) list.
<ol></ol>: Defines an ordered (numbered) list.
<li></li>: Defines a list item within an <ul> or <ol> list.
<div></div>: This tag creates a generic container to group and style elements.
<span></span>: An inline container is used for styling or manipulating specific text sections.
<table></table>: Creates a table to organize data into rows and columns.
<tr><tr>: Defines a table row.
<td></td>: Defines a table cell within a row.
These are a few examples of HTML tags I use frequently; many more HTML tags are available for different purposes. It's essential to familiarize yourself with the various HTML tags and their uses to structure and present content on a web page.
Styling with CSS
As I became comfortable with the HTML content I created, I delved into CSS to style the HTML elements of my web pages.
I learned about the selectors, properties, and values and experimented with them by changing the colors, fonts, backgrounds, and layouts of the HTML elements on the web page.
Learning about CSS and using the selectors to target specific elements greatly enhanced my styling capabilities.
I used CSS to style the buttons I created for famous websites with the code below.
.subscribe-button {
  background-color: rgb(200, 0, 0);
  color: white;
  border: none;
  height: 36px;
  width: 105;
  border-radius: 2px;
  cursor: pointer;
  margin-right: 8px;
  margin-left: 20px;
  padding-top: 10px;
  padding-bottom: 10px;
  padding-left: 16px;
  padding-right: 16px;
  transition: opacity 0.15s;
  vertical-align: top;
}

.subscribe-button:hover{
  opacity: 0.8;
}
.subscribe-button:active {
  opacity: 0.5;
}
.join-button {
  background-color: white;
  border-radius: 2px;
  border-color: rgb(60, 129, 232);
  color: rgb(6, 95, 212);
  height: 36px;
  width: 62px;
  cursor: pointer;
  border-style: solid;
  border-width: 1px;
  padding-top: 9px;
  padding-bottom: 9px;
  padding-left: 16px;
  padding-right: 16px;

  transition: background-color 0.15s,
  color 0.15s;
}

.join-button:hover {
  background-color: rgb(60, 129, 232);
  color: white;
}

.join-button:active{
opacity: 0.7;
}

.tweet-button {
  background-color: rgb(60, 129, 232);
  color: white;
  border: none;
  border-radius: 8px;
  border-radius: 18px;
  font-weight: bold;
  font-size: 15px;
  cursor: pointer;
  margin-left: 8px;
  padding-top: 10px;
  padding-bottom: 10px;
  padding-left: 16px;
  padding-right: 16px;
  transition: box-shadow 0.15s;
  vertical-align: top;
}
.tweet-button:hover {
  box-shadow: 5px 5px 10px rgba(0, 0, 0, 0.15);
}

.tweet-button:active {
  opacity: 0.5;
}
Here is a screenshot of the buttons I created on the browser after styling with CSS.
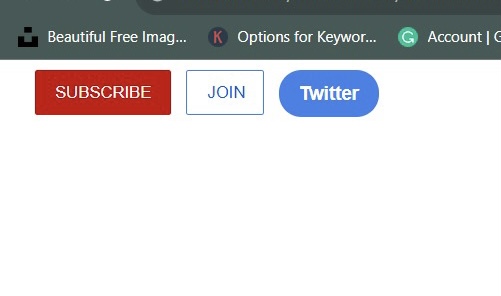
It was amazing to see how CSS can transform the appearance of my web pages and make them visually appealing.
Here are some CSS properties that I frequently use to set the style of my HTML elements.
color: This property sets the color of an element's text.
background-color: It sets the background color of an element.
Font-family: specifies the font family or typeface for text.
font-size: Sets the size of the font.
font-weight: specifies the thickness or boldness of the text.
text-align: aligns the text horizontally within its container (e.g., left, right, center).
margin: Sets the margin space around an element.
padding: sets the padding space inside an element.
border: creates a border or a frame around an element.
border-radius: with this property, you can add rounded corners to elements!
display: Specifies how an element is displayed (e.g., block, inline, flex).
position: determines the positioning method of an element (e.g., relative, absolute, fixed).
width: sets the width of an element.
height: sets the height of an element.
CSS offers a wide range of properties to control an HTML element's layout, appearance, and behavior. As I progress with CSS development, I will explore additional properties and their respective values.
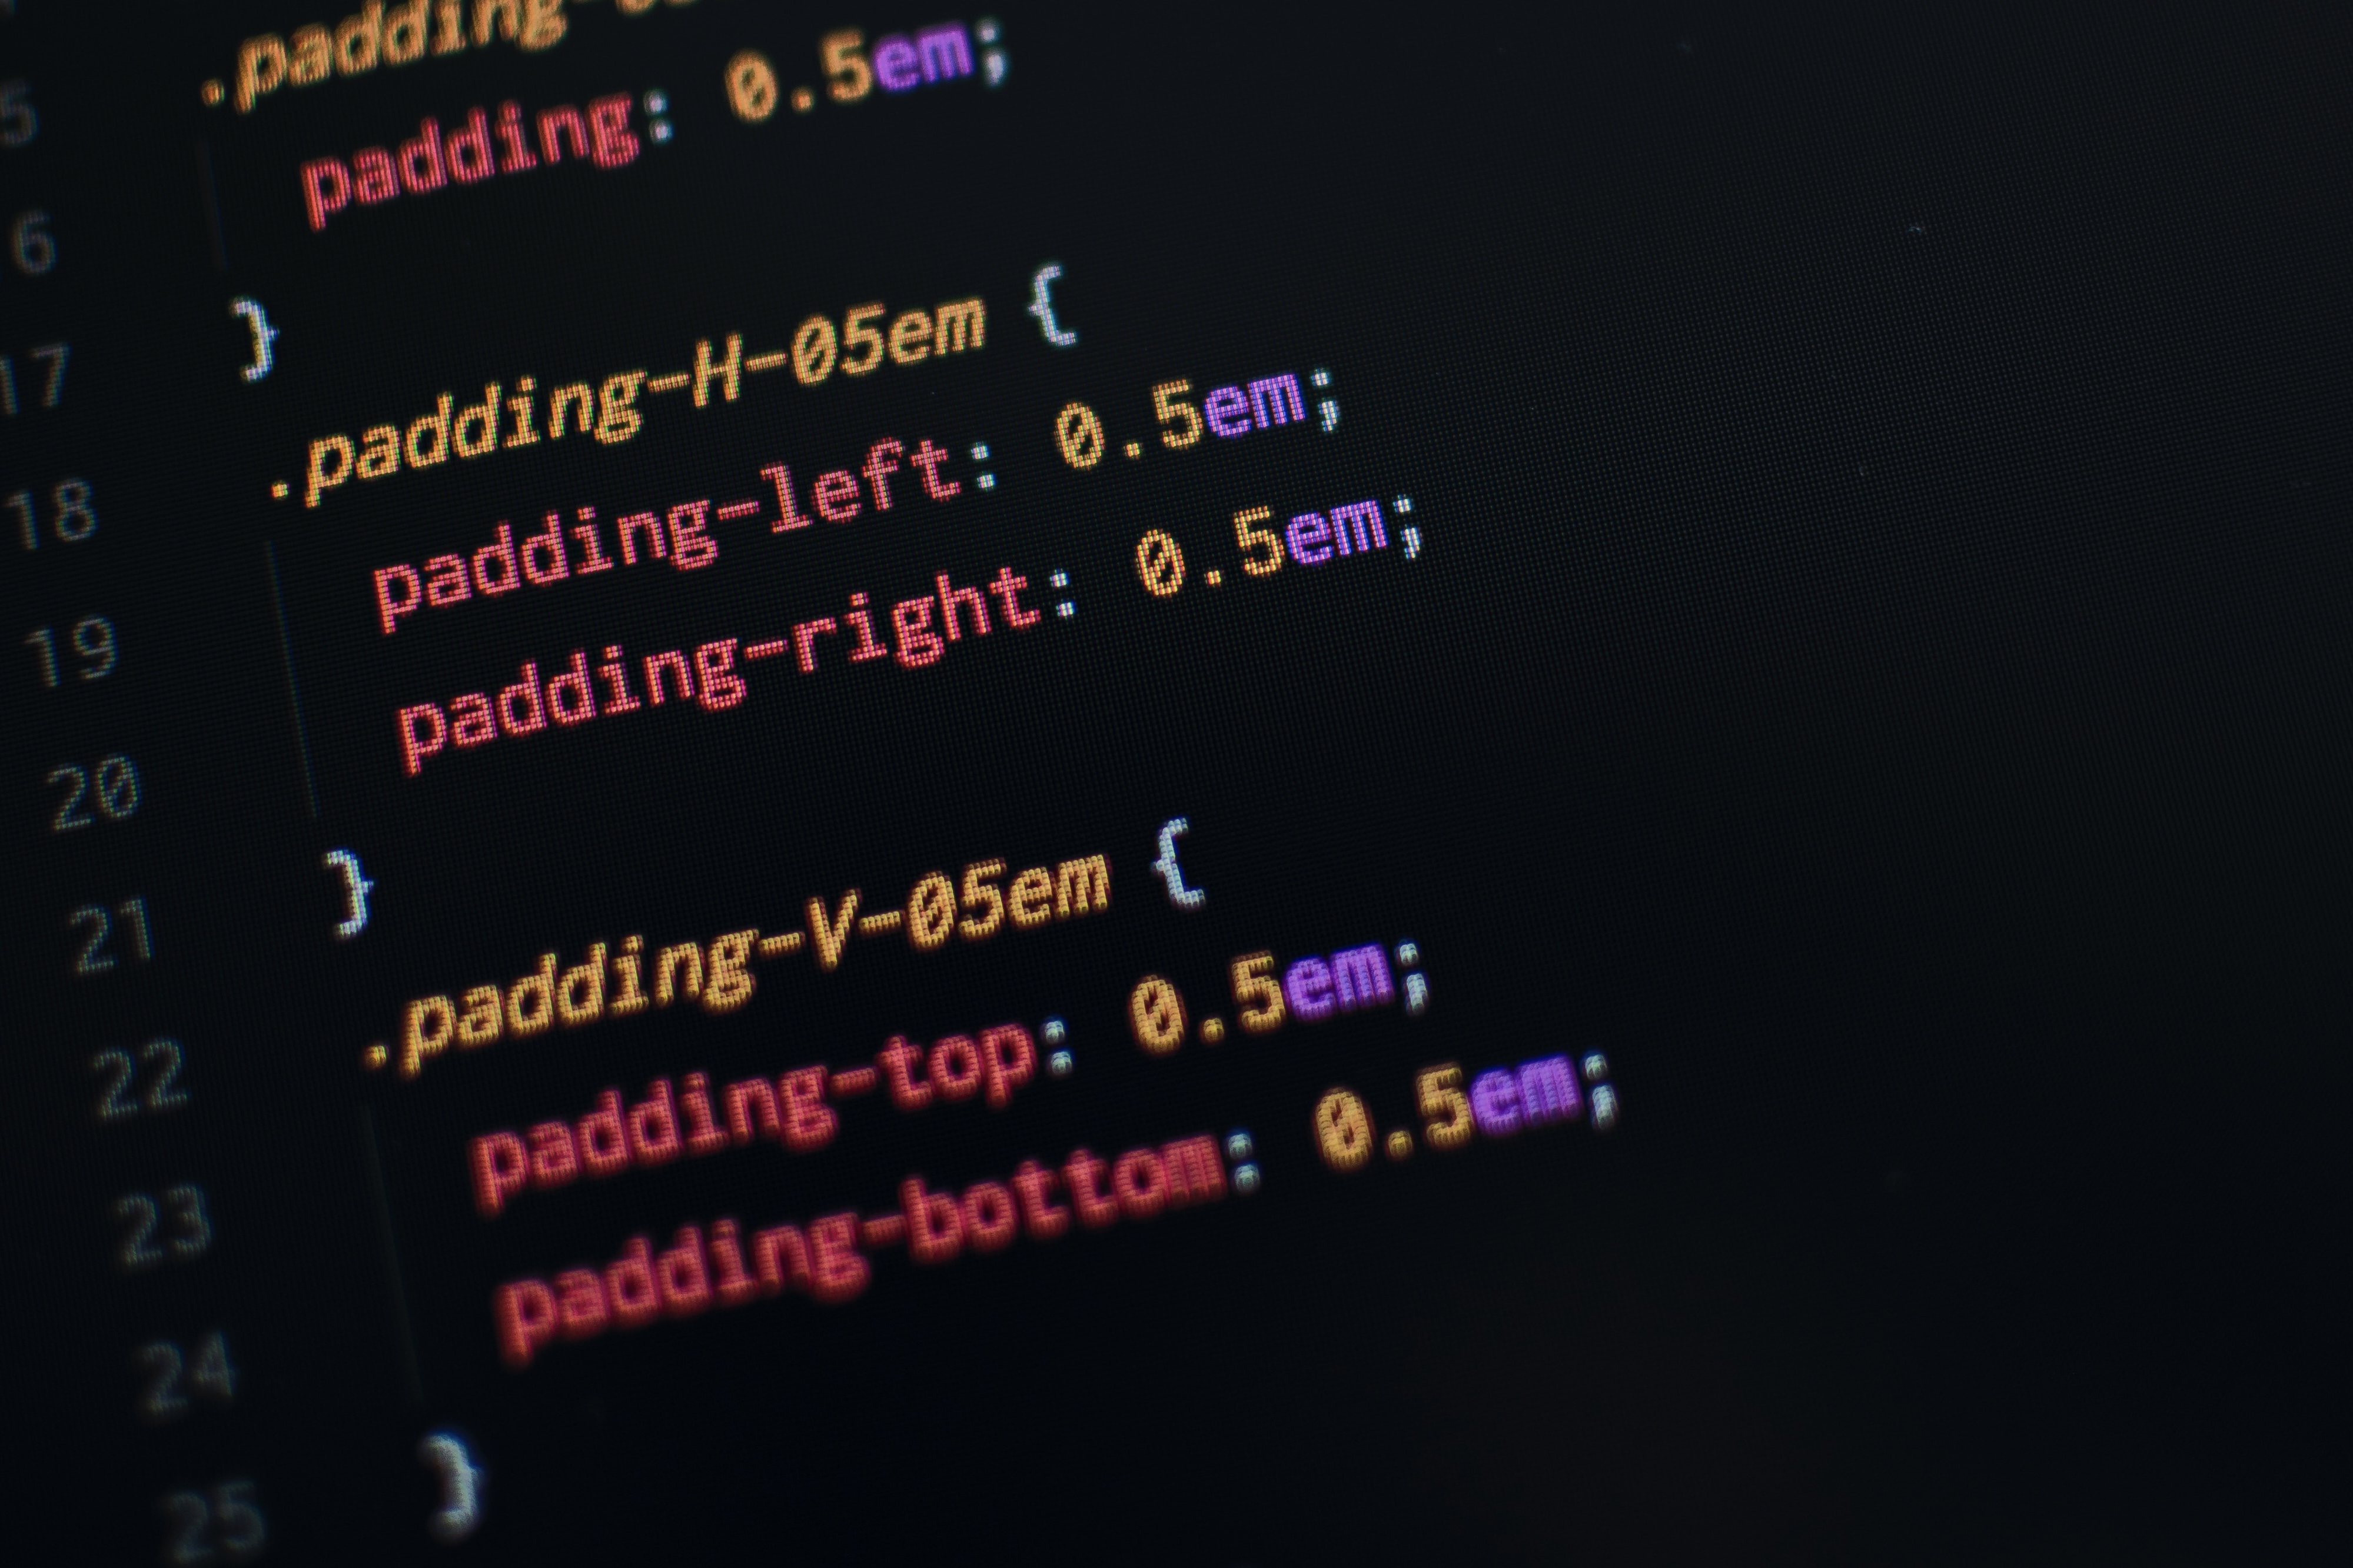
As I continue learning HTML and CSS, I will constantly explore more advanced concepts and techniques. I'm diving deeper into CSS animations, grid layouts, Flexbox, and responsive frameworks.
Learning HTML and CSS has been an incredible experience, and I'm excited to see where it takes me next. I constantly push myself to learn new things and explore modern web development practices.
I want to expand my knowledge by integrating JavaScript into my web pages for added interactivity. I will apply my knowledge by working on practical projects that require JavaScript integration.
If you're a beginner like me, starting with HTML and CSS, remember that more practice, patience, and perseverance are crucial. Enjoy your journey, embrace the challenges, and don't hesitate to seek help from the enormous community of web developers out there.
Happy coding!
Subscribe to my newsletter
Read articles from Peace Chinaza Nwosu directly inside your inbox. Subscribe to the newsletter, and don't miss out.
Written by

Peace Chinaza Nwosu
Peace Chinaza Nwosu
Hi there! I’m Peace from Lagos Nigeria. I am a front-end developer and technical writer.