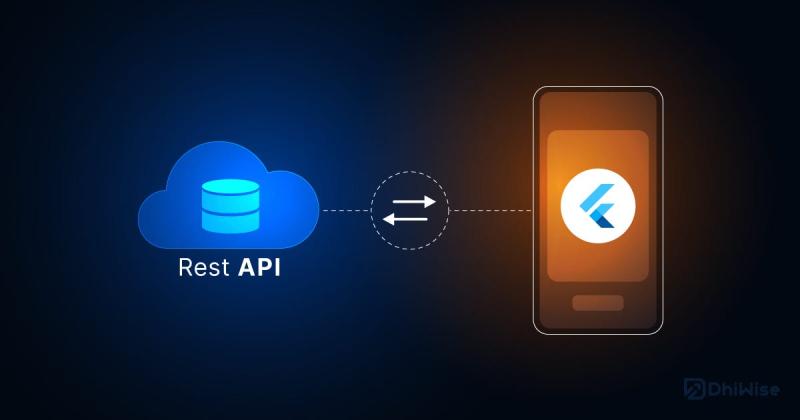
Flutter Magic: Simplifying API Calls with Dio and Retrofit-like Annotations
 Drishtant Ranjan Srivastava
Flutter is a popular framework for building cross-platform mobile applications, and one of the common tasks in mobile app development is making API calls to fetch and send data to a server. In this blog post, we'll explore how to make API calls in Flutter using Dio, a powerful HTTP client, along with Retrofit-like annotations to simplify the process.
Setting Up the Project
Before we dive into making API calls, let's set up our Flutter project by adding the necessary dependencies to the pubspec.yaml file:
dependencies:
  dio: ^4.0.4
  retrofit: ^3.0.0
  json_annotation: ^4.4.0
dev_dependencies:
  json_serializable: ^5.0.2
dio: The Dio package will handle HTTP requests and responses.retrofit: Retrofit-inspired library for defining API endpoints.json_annotationandjson_serializable: Used for generating JSON serialization/deserialization code.
Creating the API Service Interface
Next, we'll create an interface for our API service. This interface will define the API endpoints and their parameters using Retrofit-like annotations. Here's an example:
import 'package:retrofit/retrofit.dart';
import 'package:dio/dio.dart';

part 'api_service.g.dart';

@RestApi(baseUrl: "https://api.example.com")
abstract class ApiService {
  factory ApiService(Dio dio, {String baseUrl}) = _ApiService;

  @GET("/posts")
  Future<List<Post>> getPosts();

  @GET("/posts/{id}")
  Future<Post> getPost(@Path("id") int id);
}
In the code above:
We annotate our abstract class with
@RestApito specify the base URL for our API.We define two API endpoints using
@GETannotations. These annotations specify the HTTP method and the relative path for the endpoints. We also specify the return type of each method.
Generating Code
To generate the necessary code for our API service, run the following command in your project directory:
flutter pub run build_runner build
This command will generate the implementation of your service, including the serialization/deserialization code.
Initializing Dio and ApiService
With our API service defined and the code generated, we can initialize Dio and our ApiService implementation:
final dio = Dio(); // You can configure Dio with options if needed.
final apiService = ApiService(dio);
Making API Calls
Now that we have everything set up, we can make API calls using the apiService instance. Here's an example of fetching a list of posts:
Future<void> fetchPosts() async {
  try {
    final posts = await apiService.getPosts();
    // Handle the retrieved data.
  } catch (e) {
    // Handle errors.
  }
}
In the code above, we call the getPosts method on our apiService instance, which makes the API request and returns a list of Post objects. You can then handle the data or any errors as needed.
Conclusion
Making API calls in Flutter using Dio and Retrofit-like annotations is a powerful and organized way to interact with APIs in your mobile app projects. By defining your API service with annotated methods, you can easily manage and maintain your API integration code. This approach simplifies the process of fetching data from a server and handling responses in your Flutter application, allowing you to focus on building great user experiences.
With Dio and Retrofit-inspired annotations at your disposal, you have a robust toolset for building Flutter apps that communicate with remote servers effectively. Happy coding!

Subscribe to my newsletter
Read articles from Drishtant Ranjan Srivastava directly inside your inbox. Subscribe to the newsletter, and don't miss out.
Written by

Drishtant Ranjan Srivastava
Drishtant Ranjan Srivastava
Application Developer( Android & iOS ) | Youtuber | Speaker | Google Play Certified | Freelancer | Flutter Developer