Deploy your PHP & MySQL based website in 7 minutes
 Atharva Maskar
Introduction
[Railway Announcement: This is Kew Gardens - Union Tpk. Transfer is available to the E Train. Transfer is available to the Q10 bus to the JFK Airport.]
Meet Benjamin, a freelance developer based in Kew Gardens, Queens, NY who recently transitioned his career from hotel management to the tech industry. Today, Benjamin is very happy, and why shouldn't he be? He is about to present his first freelance project to a client located in Roosevelt Island, Manhattan, NY. With a presentation scheduled in just 30 minutes, he opts for a subway ride since he lives only 15 minutes away from the client's location. As he boards the train, to his surprise, he secures a seat. Sipping his coffee, he decides to take one last look at his project. He opens the link on his laptop and sees this:
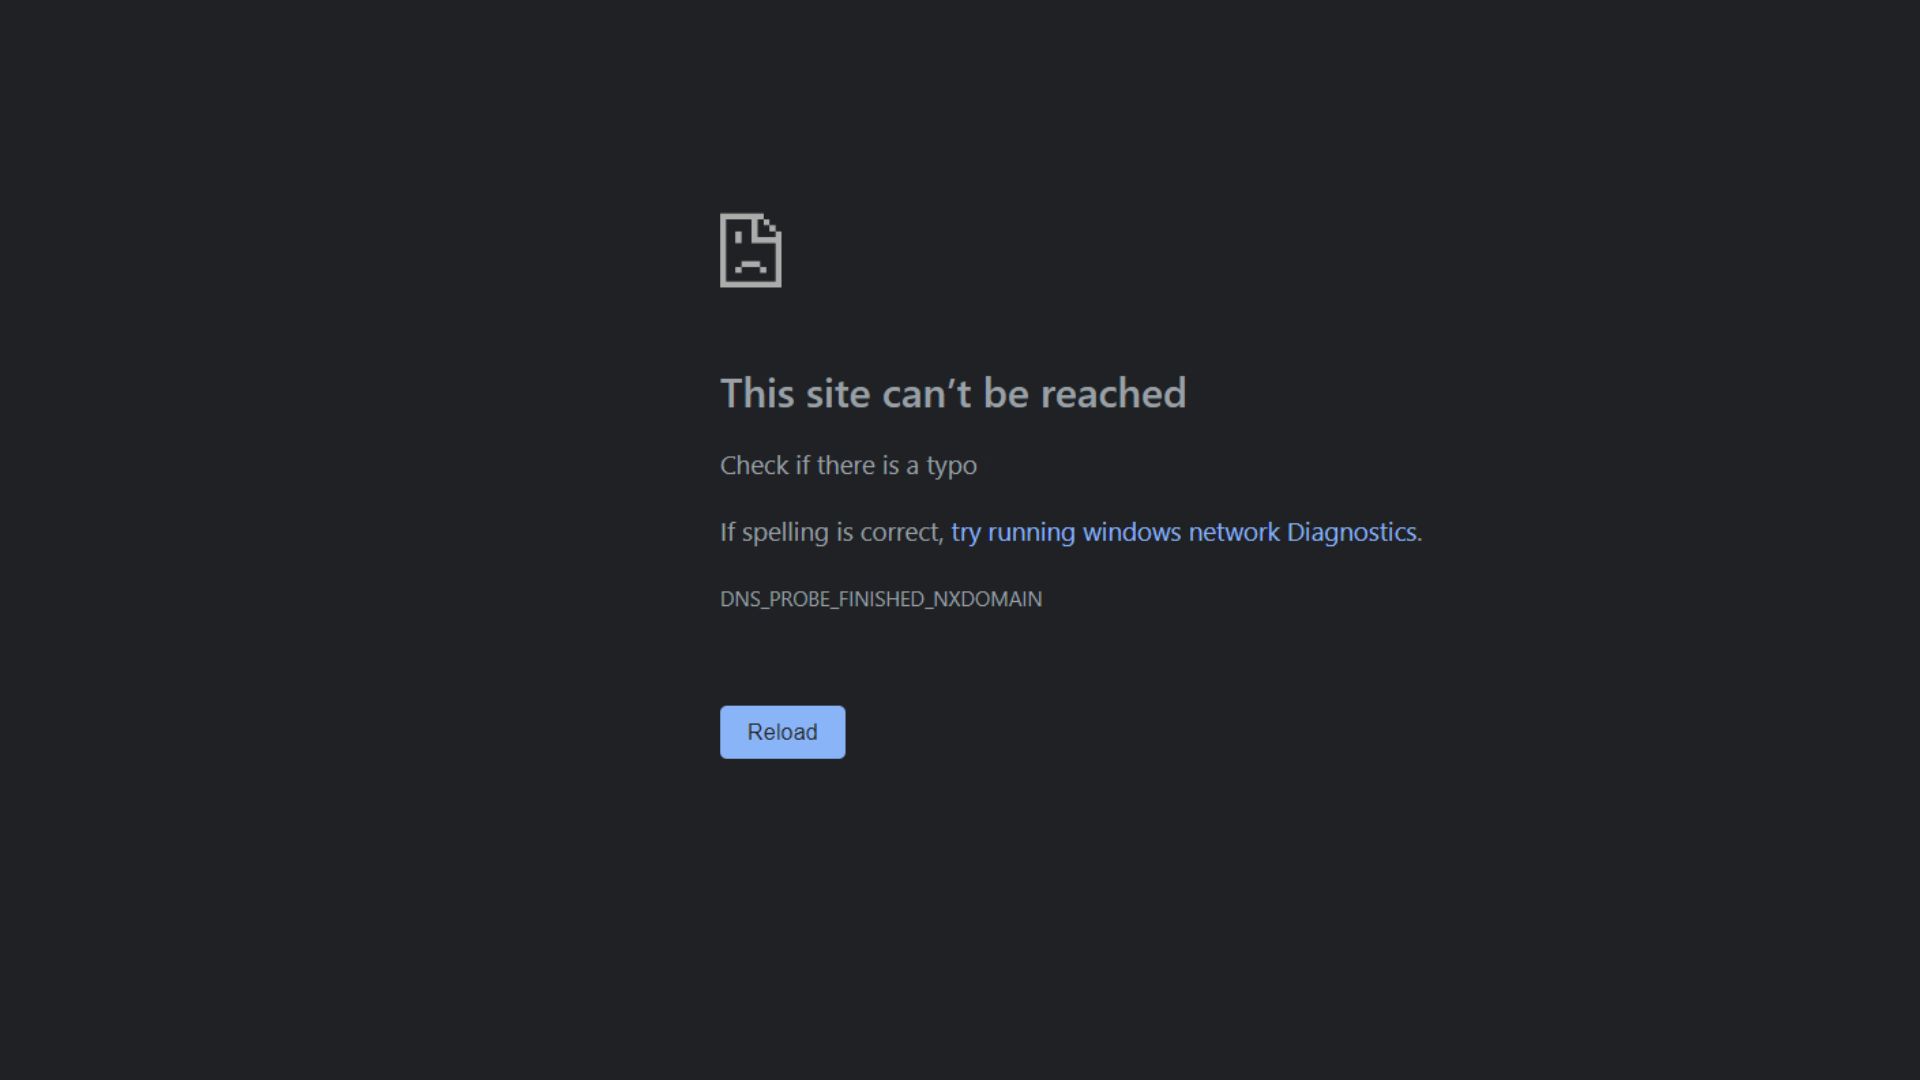
Benjamin's heart raced as he stared at the blank page of his laptop screen. Panic began to set in. He couldn't believe that his website had gone down at the most critical moment of his freelance career. Sweating and trembling Benjamin checked his deployment platform only to be hit with a notice that they had discontinued their free tier where he had deployed the website. Benjamin's heart sank. He feared that the client would be furious and disappointed.
As Benjamin sat there, his face contorted in worry, a gentleman named Atharva, who happened to be sitting next to him, couldn't help but notice the visible distress on Benjamin's face.
Atharva leaned in and gently asked, "Is everything okay? You seem quite nervous. Is there something I can do to help?"
Benjamin: You won't believe the situation I'm in. I'm on my way to submit my very first freelance project to a client today, and it turns out my deployment platform has discontinued its free tier—the same one I used to host my website.
Atharva: But aren't there plenty of alternatives available for hosting your website?
Benjamin: The problem is, that there aren't many options that support the tech stack I've used for this project. And even if I find one I don't have enough time to configure it for my project.
Atharva: Oh what's the tech stack that you are using?
Benjamin: PHP along with MySQL
Atharva: Aaah! I knew you were a bit weird when I saw you first. But don't worry I have a platform where you can deploy your website without any configurations and that too for FREE! It's called Railway.
[Railway Announcement: Next stop is 75th Avenue]
[Looks at his watch]
Benjamin: Do you really think it's possible to deploy a PHP and MySQL project in just 7 minutes?
Atharva: With Railway? Totally!
T-7 Minutes: Setting up your account
[Railway Announcement: This is 75th Avenue. Next Stop is Forest Hills- 71 Av]
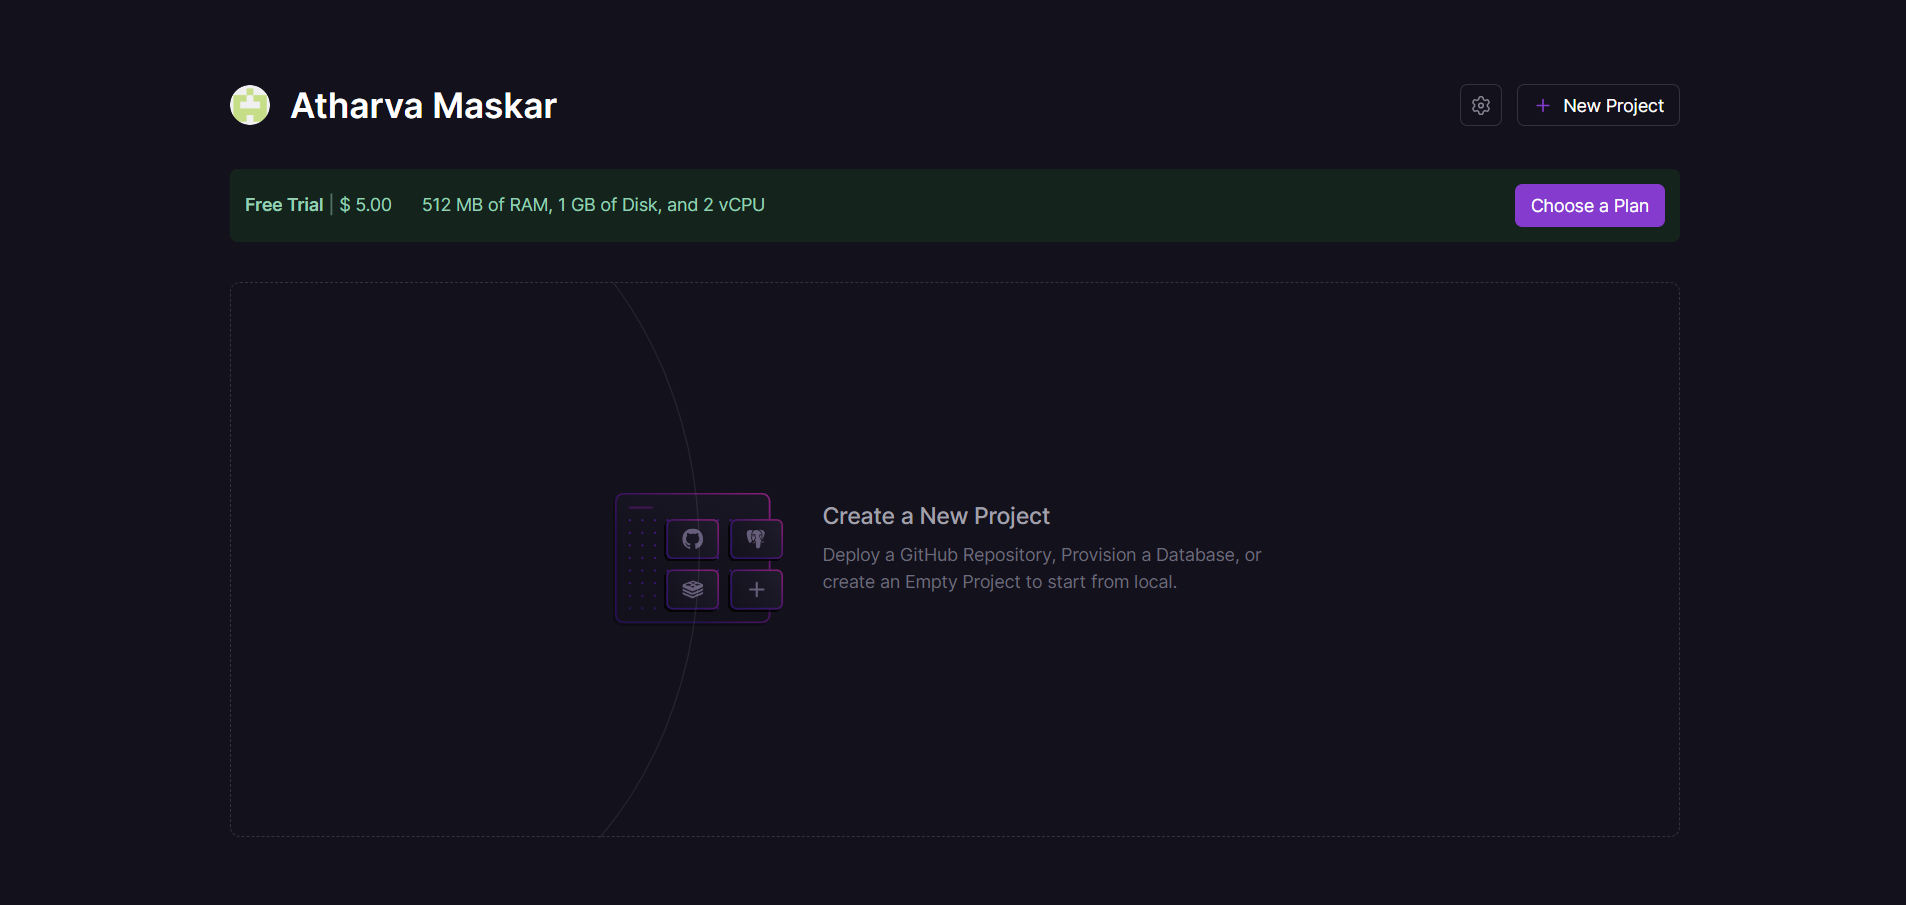
Head over to railway.app and log in using your GitHub account. Once you're in, you'll be redirected to the dashboard. You'll receive a $5 grant that you can put to use to utilize their services.
T-6 Minutes: Creating a new Project
[Railway Announcement: This is Forest Hills- 71 Av. Transfer is available to the E, M & R Trains]
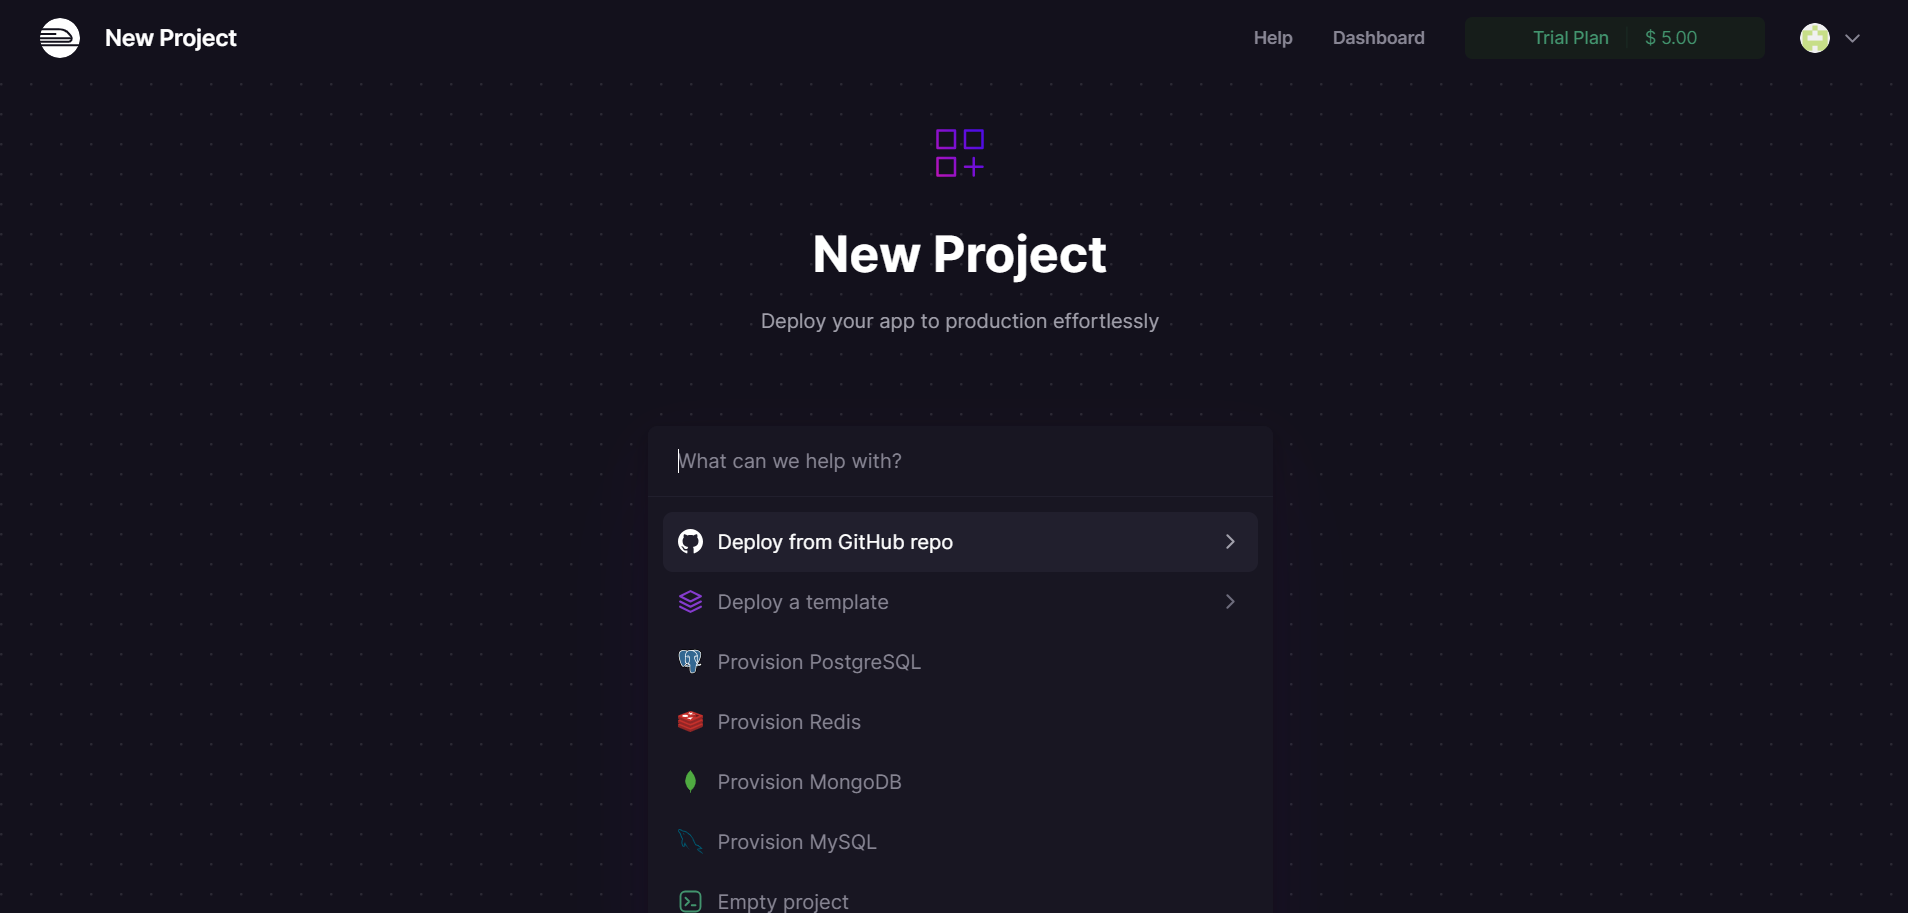
Click on New Project, then choose Deploy from GitHub repo. If this is your first time using Railway, you'll need to link your GitHub Account to your Railway Account.
Once you've completed the configuration, your projects should appear:
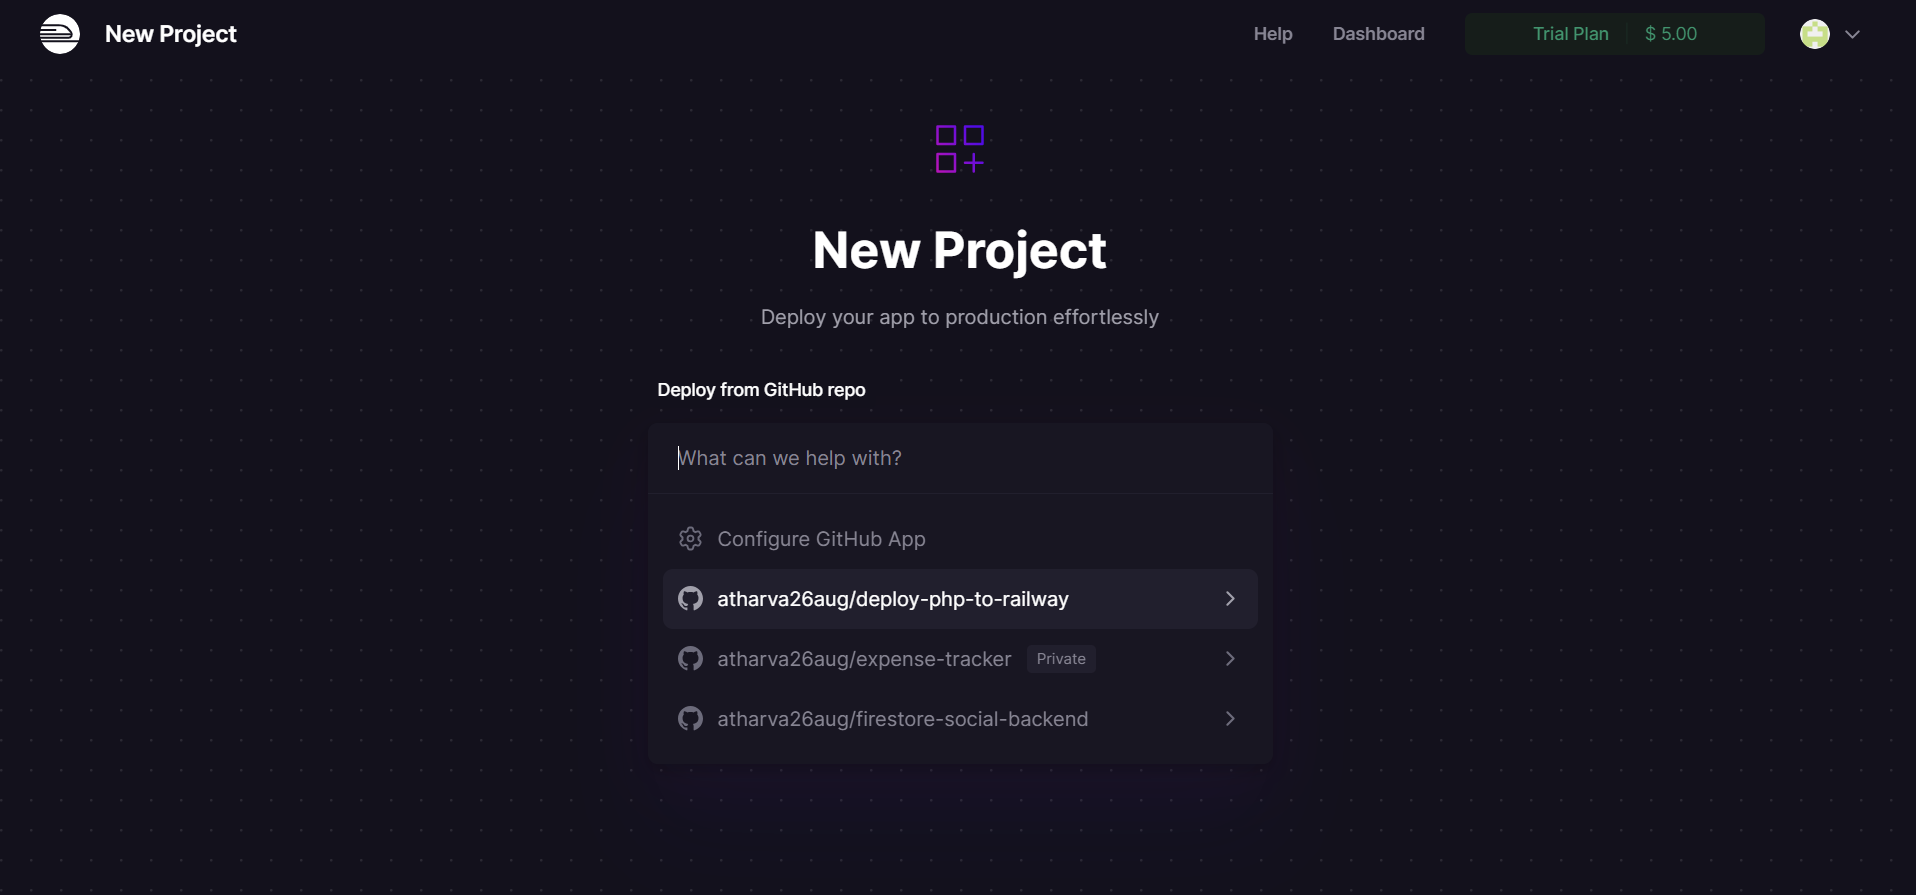
Select the project you want to deploy and click on Deploy Now.
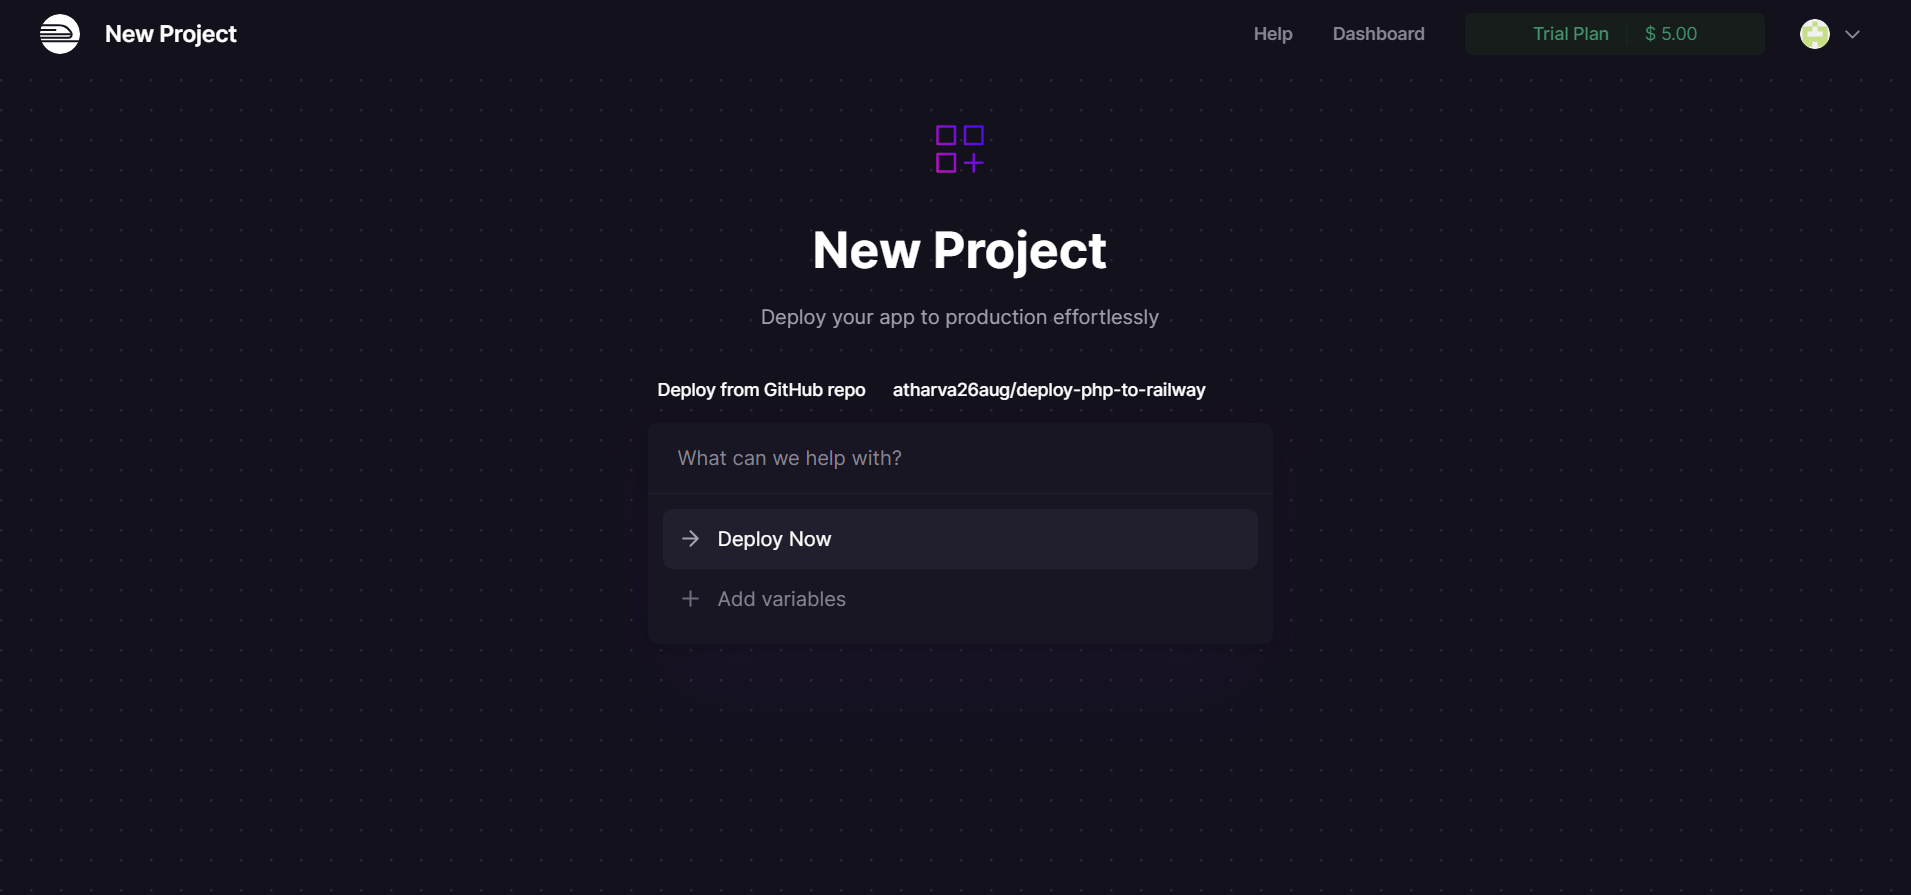
Nixpacks is an Open-Source Library developed by Railway, designed to simplify the deployment process. With Nixpacks, you can deploy any project effortlessly with zero configurations. Watch as Nixpacks works its magic, turning your project into a live website.
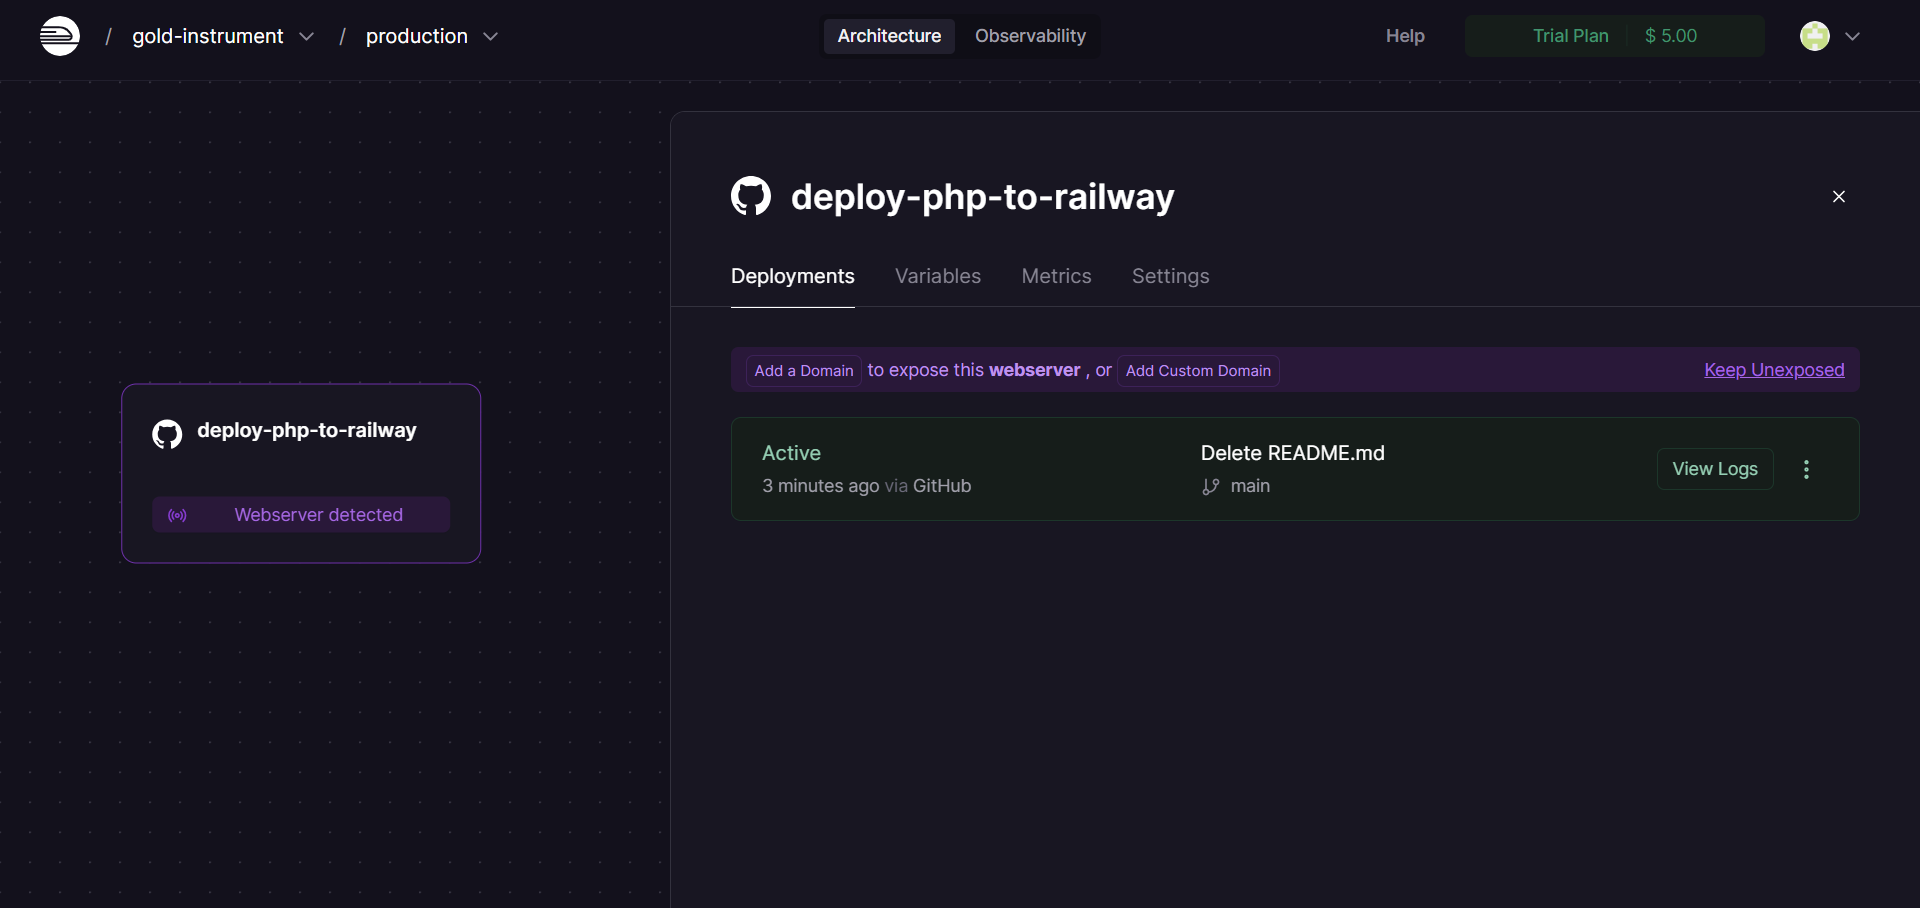
Click on Add a Domain to ensure your website is accessible globally through a link. If you don't find this option, head to Settings, then navigate to the Networking Section and click on Generate Domain.
[Railway Announcement: Next Stop is Jackson Heights Roosevelt Avenue]
T-4 Minutes: Configuring our MySQL database
[Railway Announcement: This is Jackson Heights Roosevelt Avenue. Transfer is available to the 7, E, M & R Trains]
Now that our PHP website is up and running, you can access it using the provided URL. However, we still need to establish a connection to our MySQL database.
In your dashboard, click on New, select Database, and click on Add MySQL to initiate the setup.
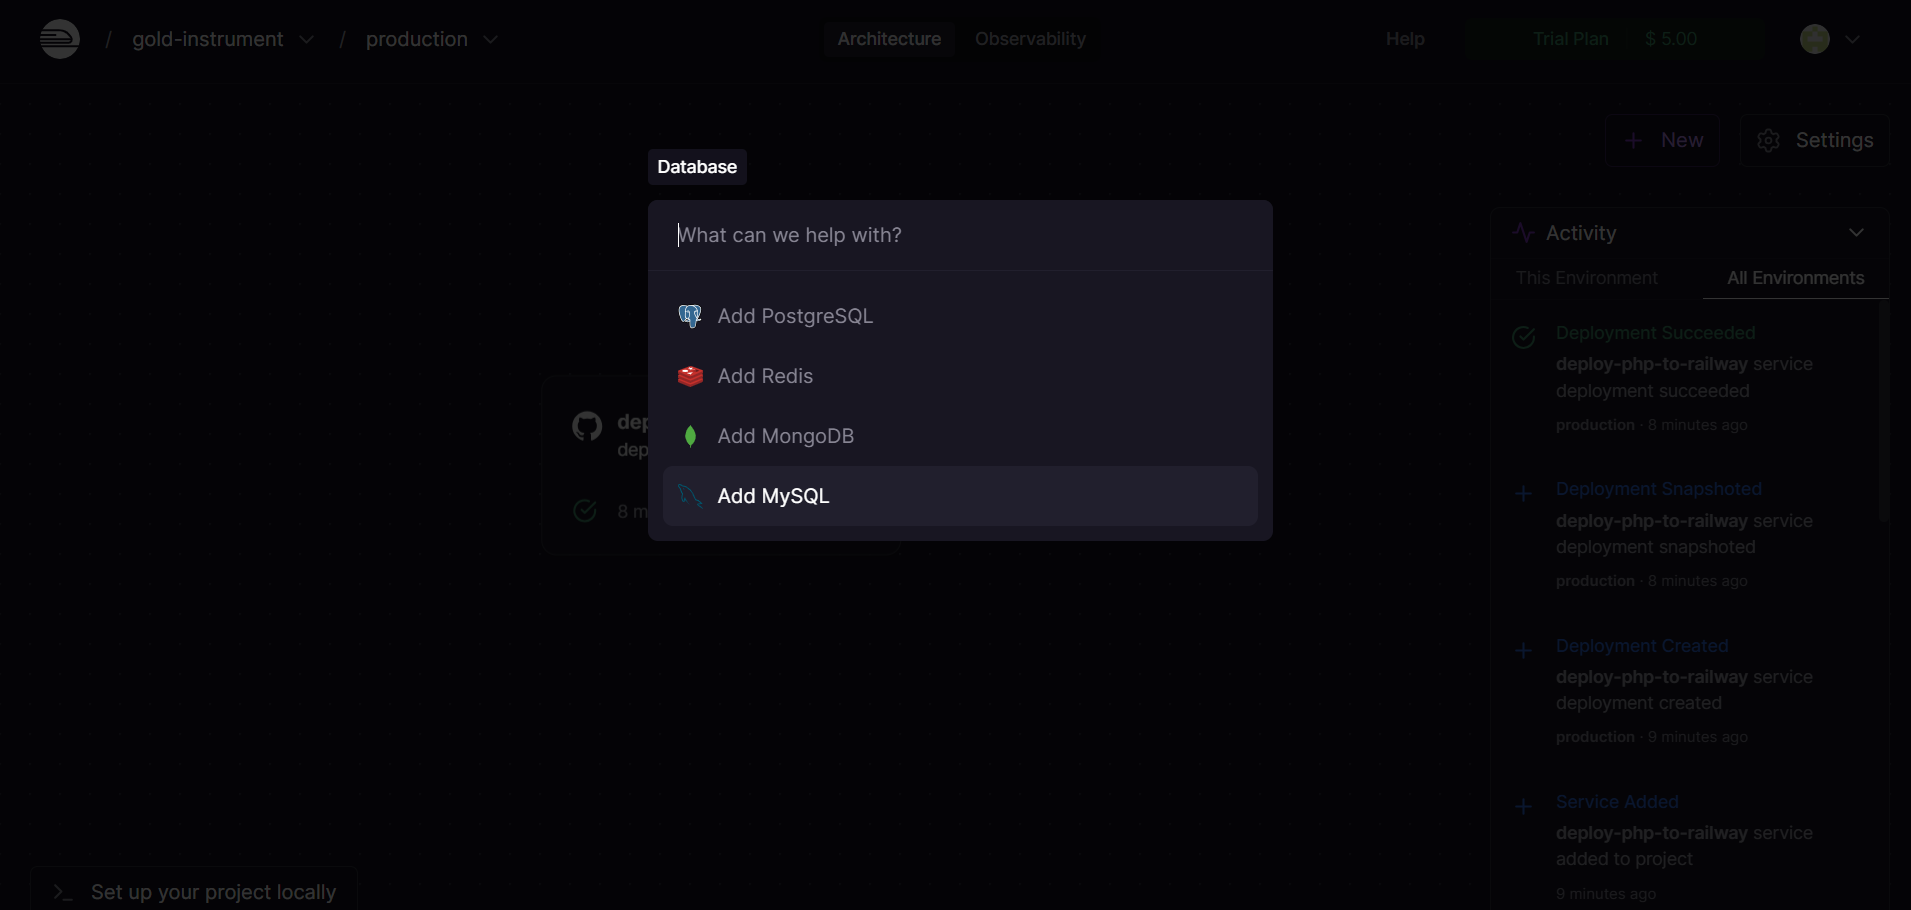
Your dashboard should now look like this:
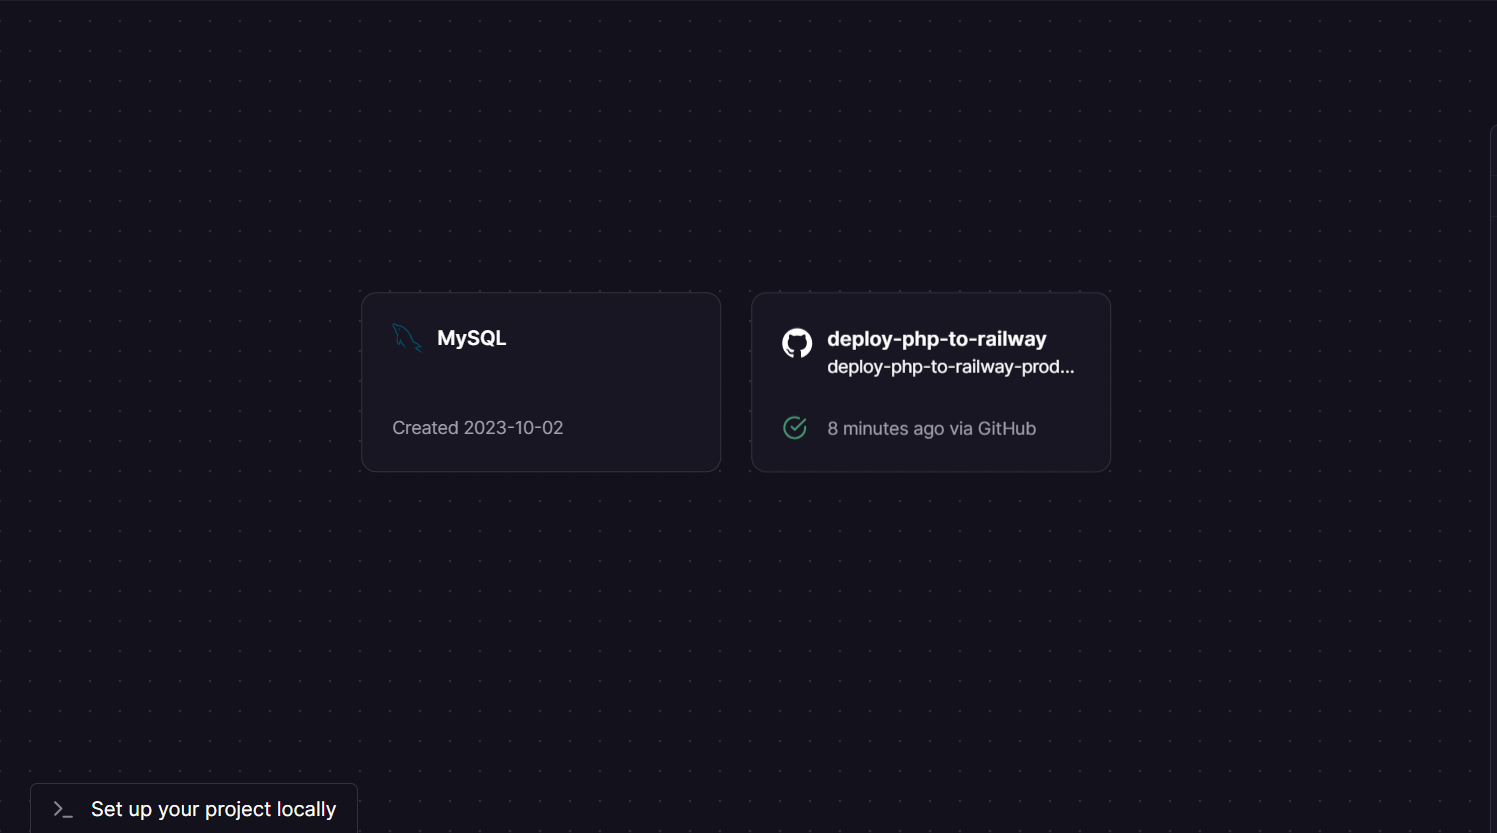
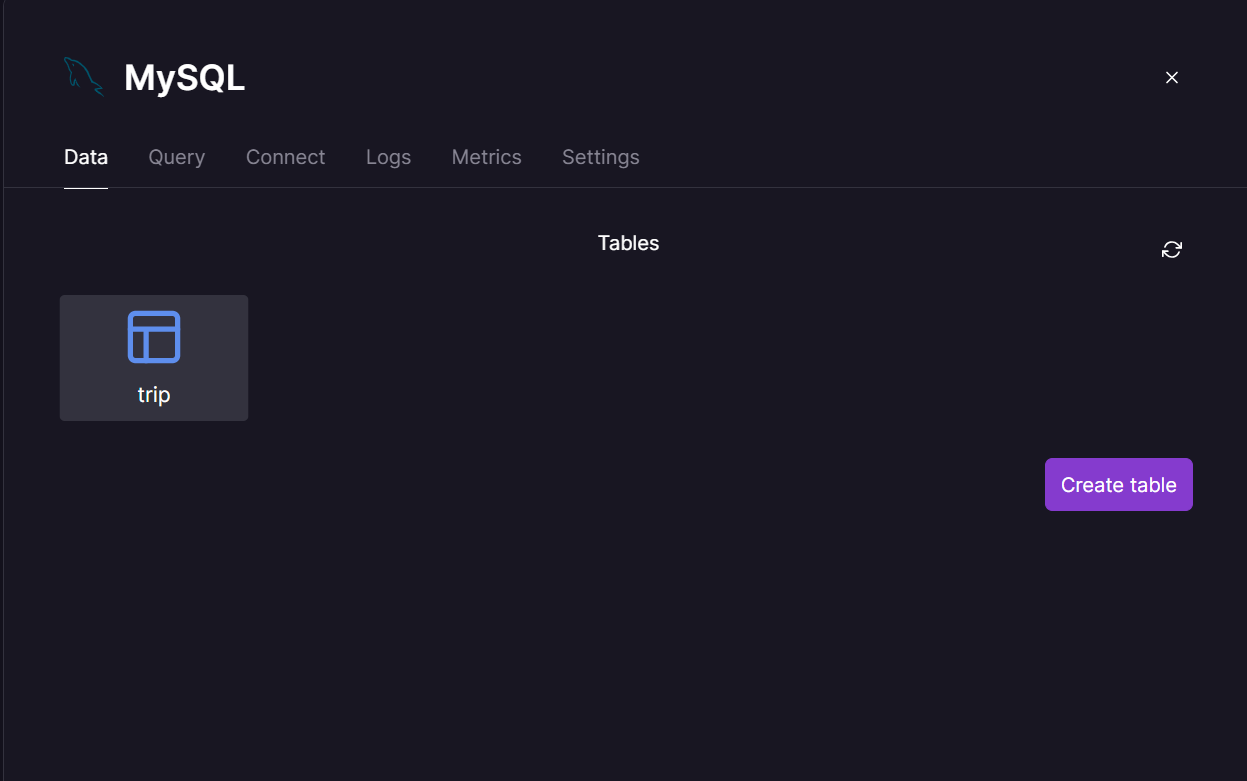
Access your MySQL instance by clicking on it, then head to the Data tab and select Create Table. Here, you have the freedom to design your database table as per your specific requirements. Once done, click on Create, and you'll be able to view your tables conveniently under the Data tab.
[Railway Announcement: Next Stop is 21 St Queensbridge]
T-2 Minutes: Connecting our PHP App to our database
[Railway Announcement: This is 21 St Queensbridge]
[Benjamin looks at his watch]
Benjamin: We've got just 2 minutes left, the next station is approaching
Atharva: We are almost done!
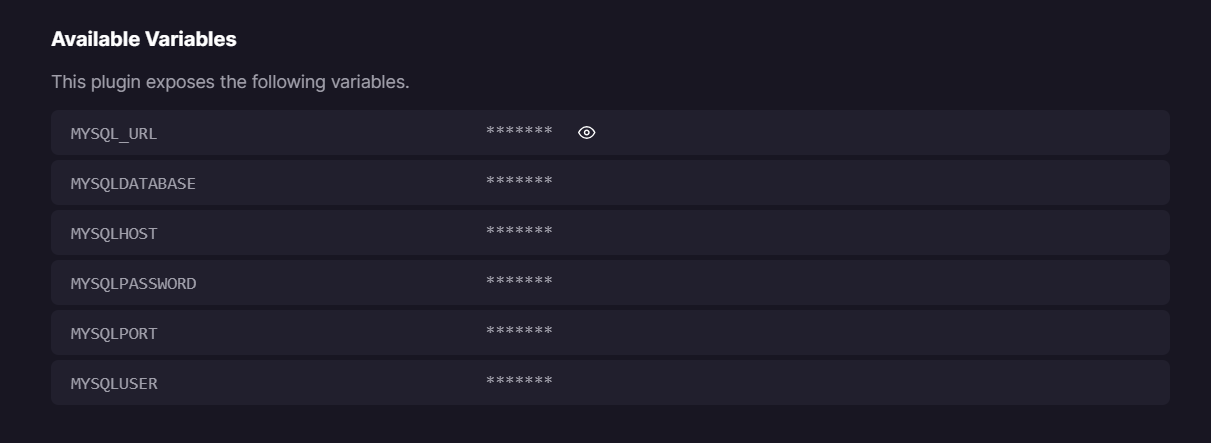
Navigate to the Connect Tab and copy down the variables in a .env file.
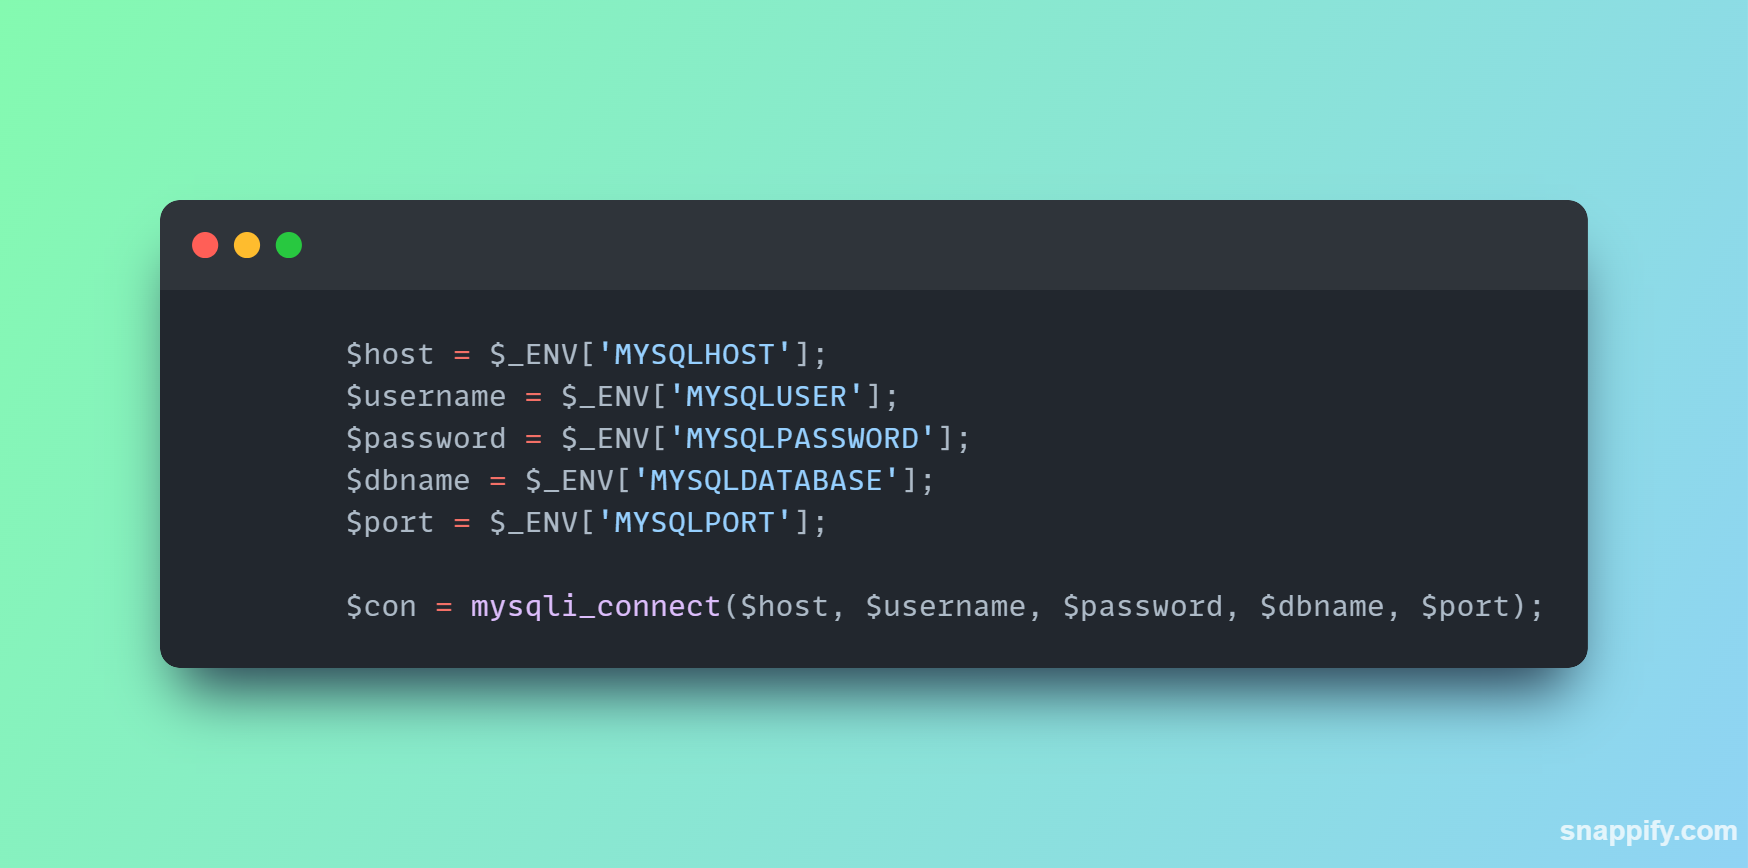
Ensure you format your index.php in the following manner while connecting to the database.
In your dashboard, navigate to your PHP instance. Proceed to the Variables tab and select Add. Opt for the Raw Editor option, paste the contents of your .env file here, and then click on Update Variables. Your Variables tab should now look something like this. Double-check the values, as any inaccuracies here could lead to issues in your code.
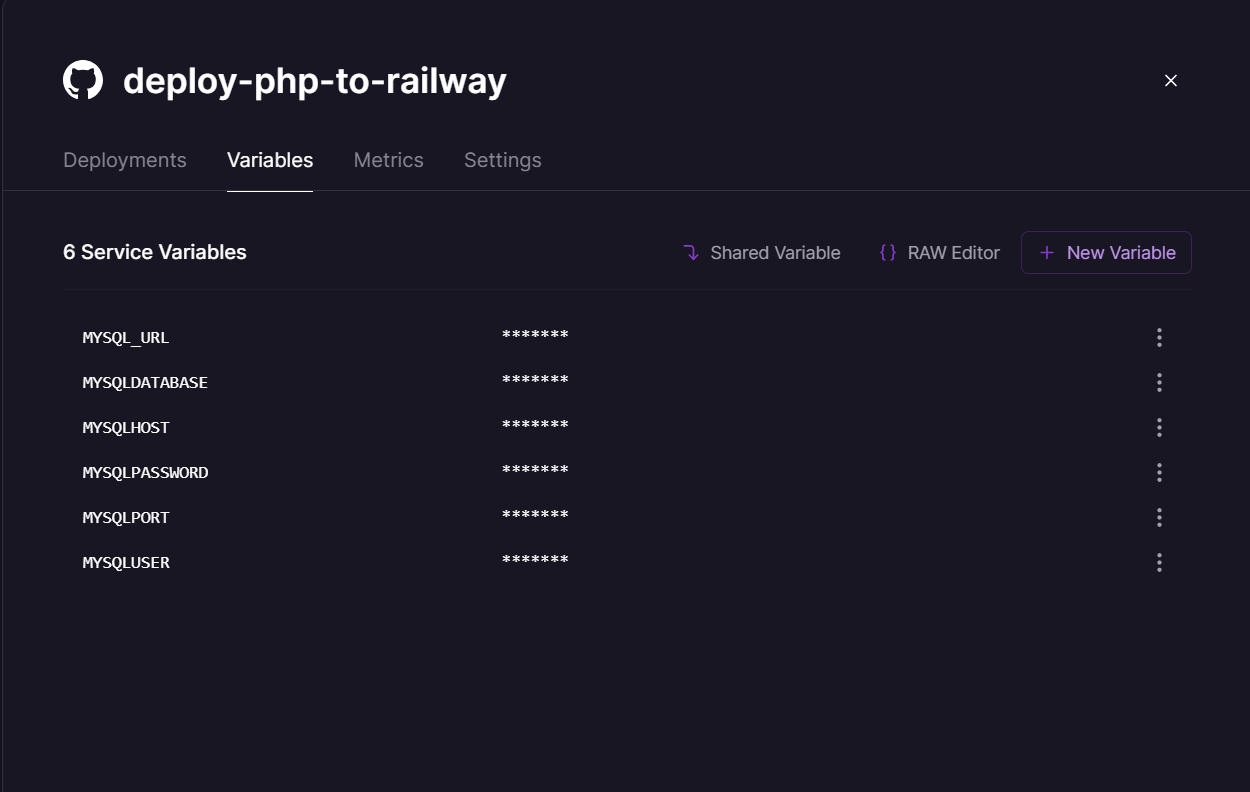
Your code will now undergo redeployment, incorporating the latest changes. One of the advantages of Railway is that during this process, your users will still be directed to the previous version of your website. This means there will be no downtime while new features are being implemented.
T-0 Minutes: And...we are live
[Railway Announcement: Next Stop - Roosevelt Island]
Atharva: And there you have it, Benjamin! Your website is now live and ready for you to showcase your hard work to your client. Best of luck!
Benjamin: It's amazing how fast you can deploy your application to Railway. I can totally see myself deploying all my existing and future projects to Railway.I can't thank you enough, Atharva. You truly saved the day, and I couldn't have done it without your help. I owe you big time!
Subscribe to my newsletter
Read articles from Atharva Maskar directly inside your inbox. Subscribe to the newsletter, and don't miss out.
Written by

Atharva Maskar
Atharva Maskar
Blockchain Developer | Web3 | DeFi