Day 51- 90DaysOfdevOps
 Amit Pawar
Hey Learners! Welcome back. We successfully created a repository on CodeCommit in the last challenge and pushed some changes made locally. Now moving forward with the next step (Build) in our CI/CD we'll explore the CodeBuild service in this challenge. Let's Build...
What is CodeBuild?
AWS CodeBuild is a fully managed build service in the cloud. CodeBuild complies with our source code, runs unit tests, and produces artefacts that are ready to deploy. CodeBuild eliminates the need to provision, manage, and scale your build servers.
Task 1-
Read about the Buildspec file for Codebuild.
A Buildspec file is a YAML file that defines the build process for your CodeBuild project. It contains a series of commands that CodeBuild will execute to build and package your application.
create a simple index.html file in CodeCommit Repository
you have to build the index.html using the nginx server
We already know how to create and push files from locally to the CodeCommit repository. We'll create one index.html file and push it to the CodeCommit repository for further use.
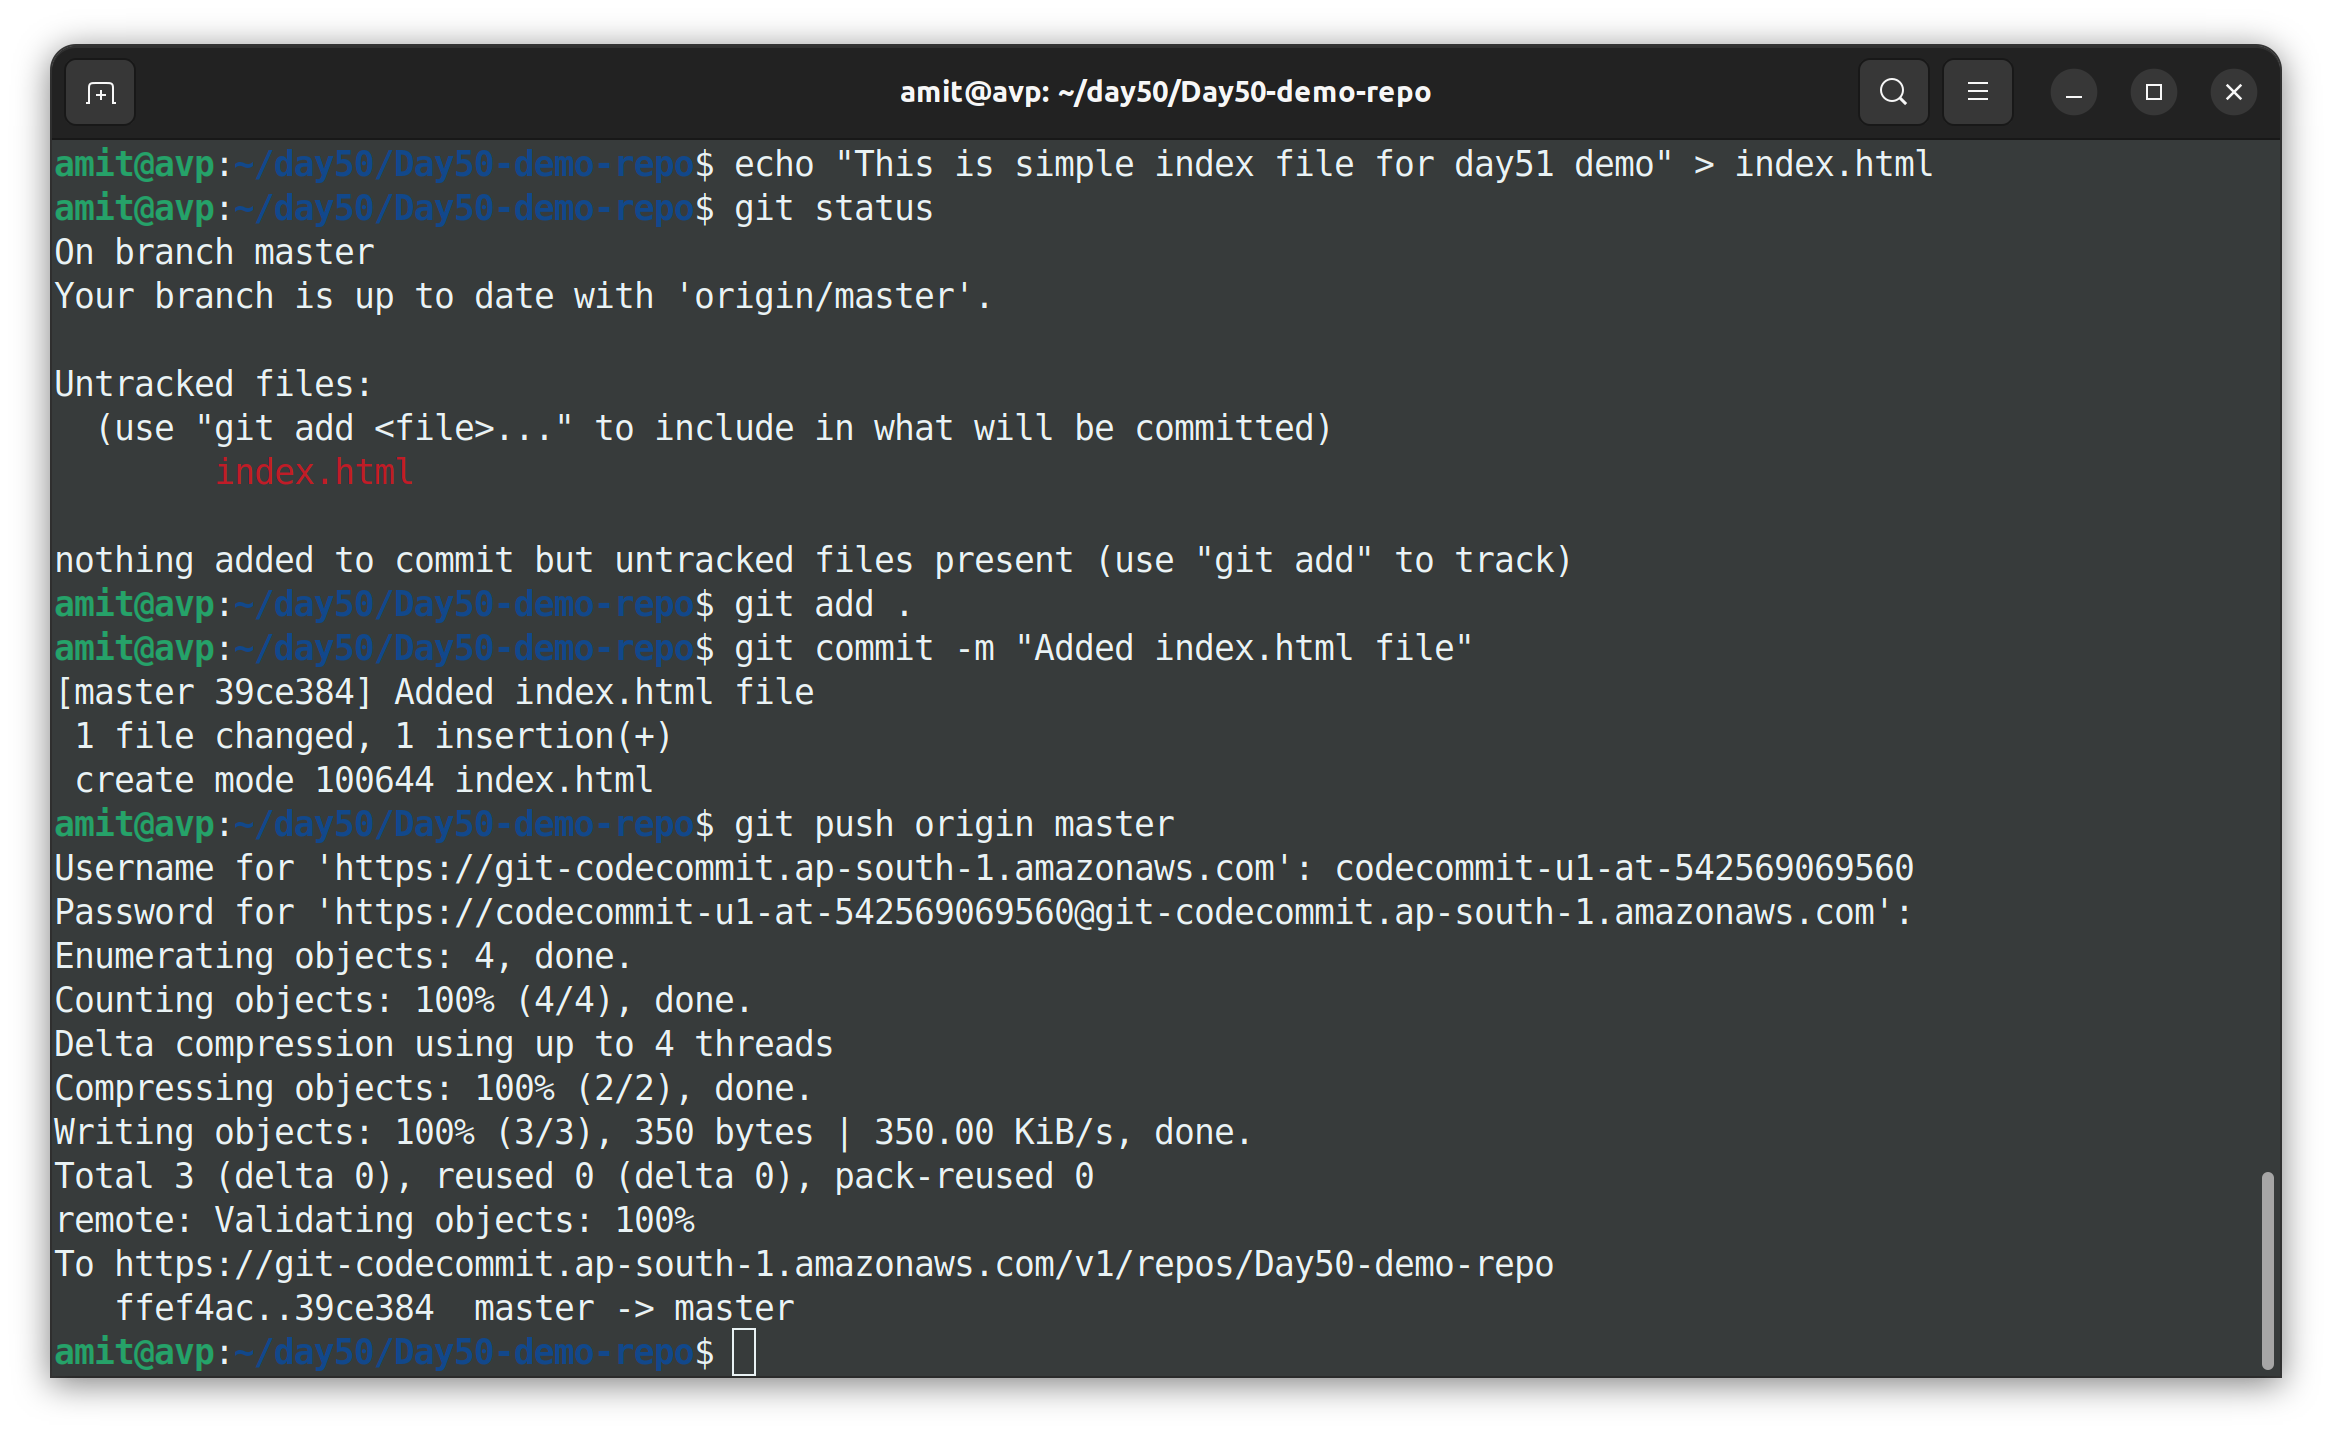
Make sure you have an index.html file in your CodeCommit repository.

Task 2-
Add the buildspec.yml file to the CodeCommit Repository and complete the build process.
We have to create a buildspec.yml file using an Nginx server as shown below and push it to the CodeCommit repository.
version: 0.2

phases:
  install:
    commands:
      - sudo apt-get update
      - sudo apt-get install nginx -y
  build:
    commands:
      - cp index.html /var/www/html
  post_build:
    commands:
      - echo "Configuring Nginx"
artifacts:
  files:
    - /var/www/html/index.html
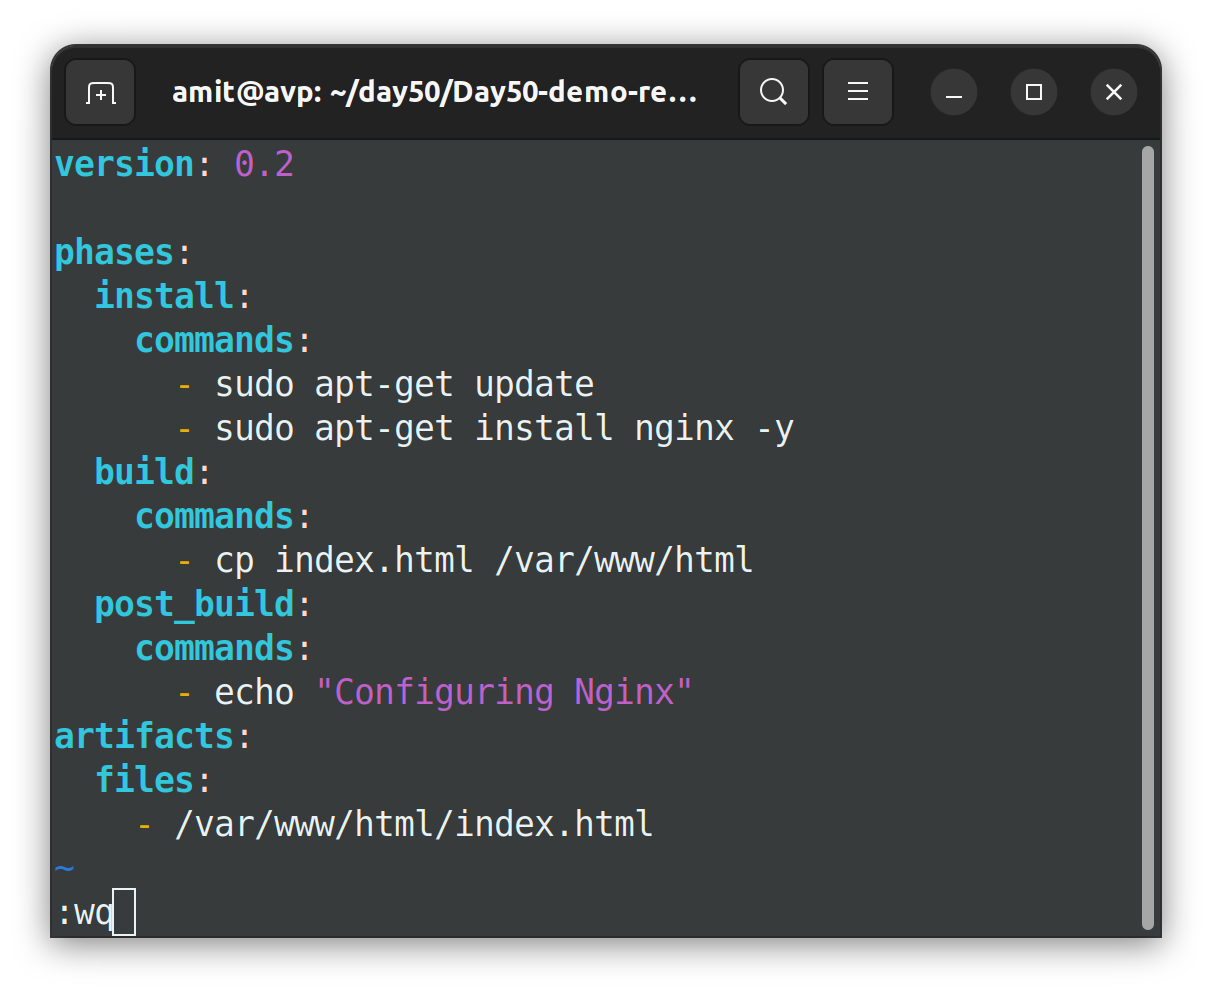
Push the changes
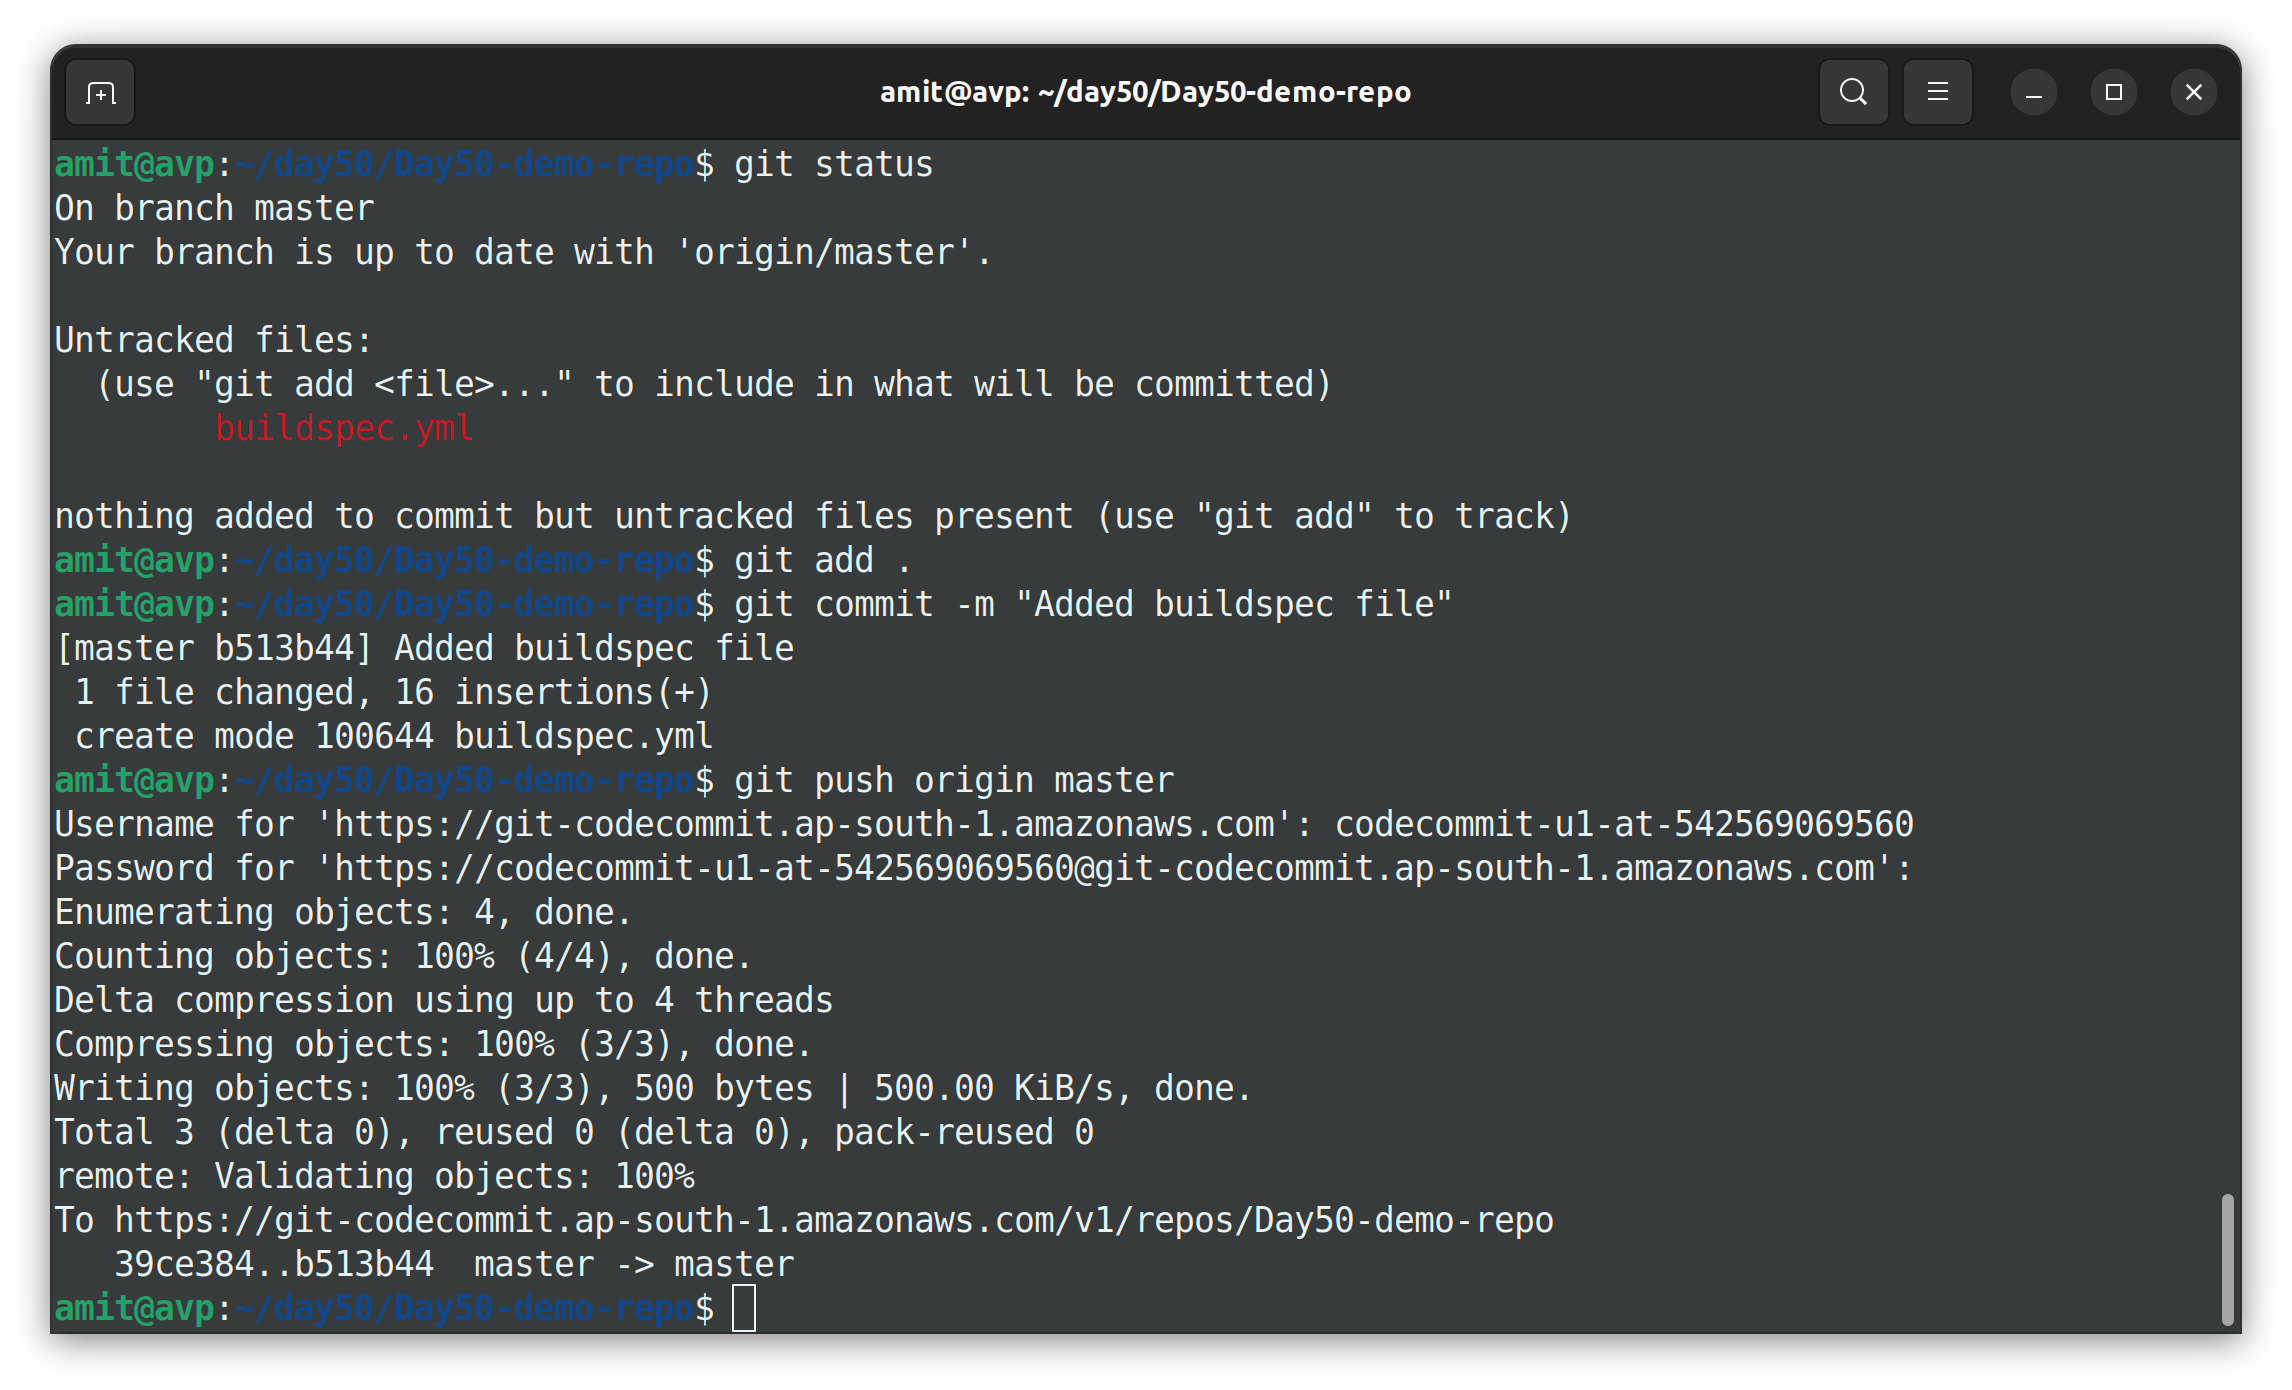
Now we have a buildspec.yml file in our CodeCommit repository.

Now we have to Create a Build Project
Search for CodeBuild service Select Build projects from the left navigation pane and click Create build project.

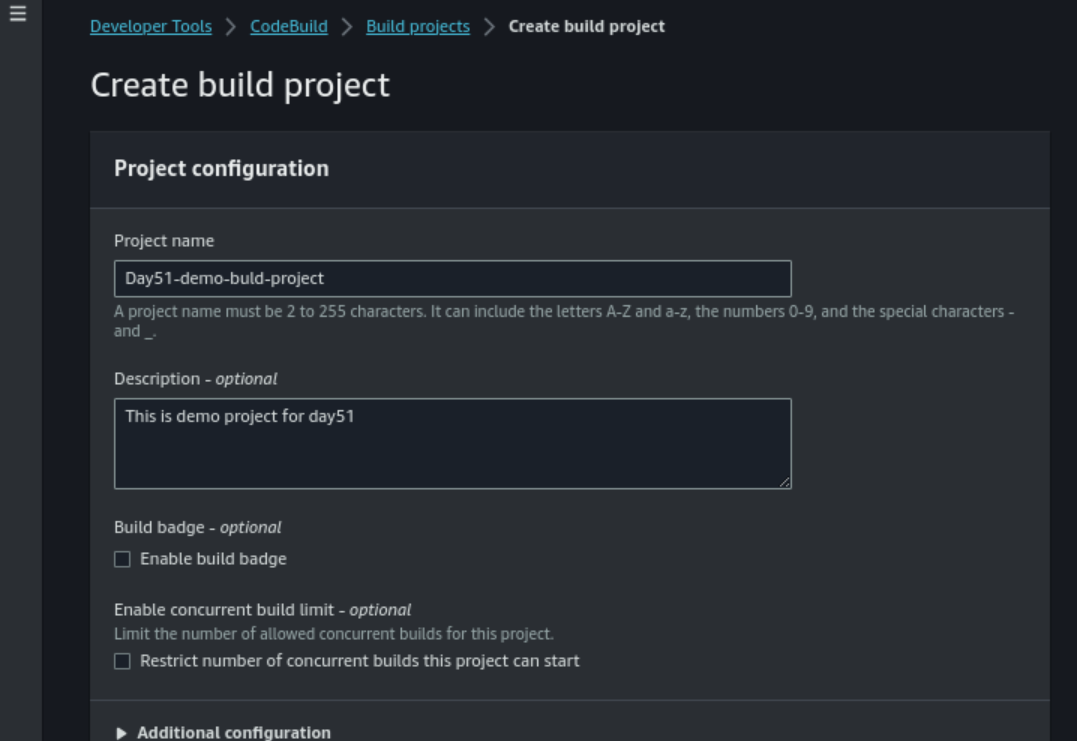
Enter the name and description for your build project
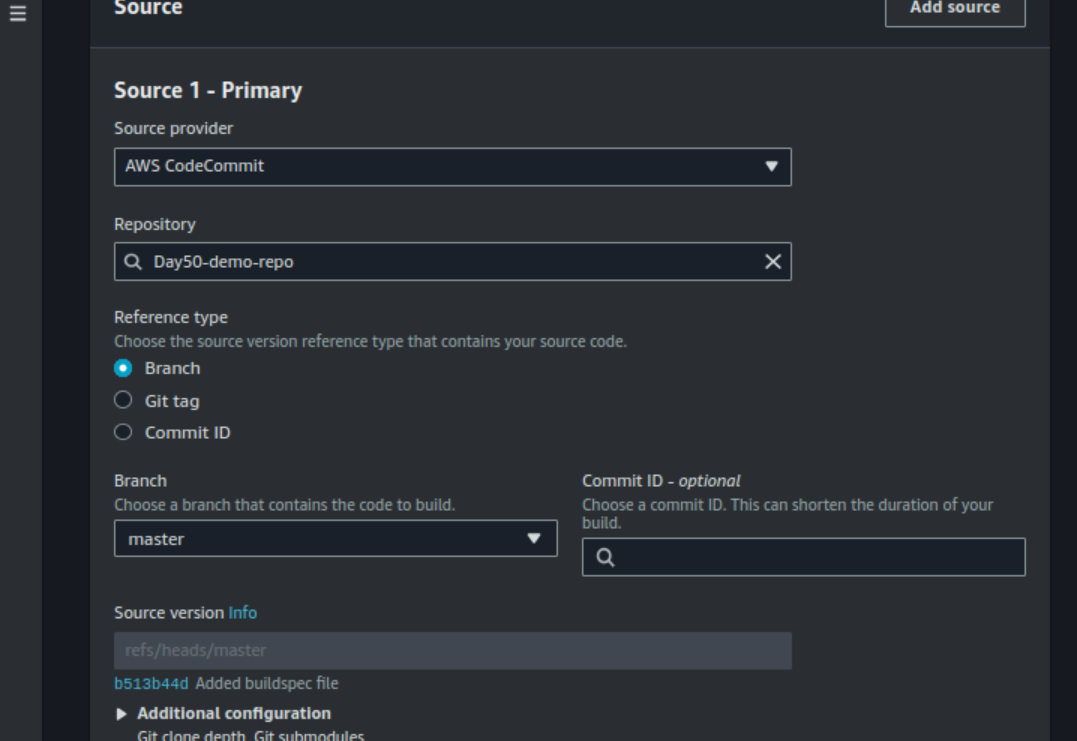
In the Source section select AWS CodeCommit as the source provider and select the repository and branch of that repository where the buildspec.yml file is present/created.
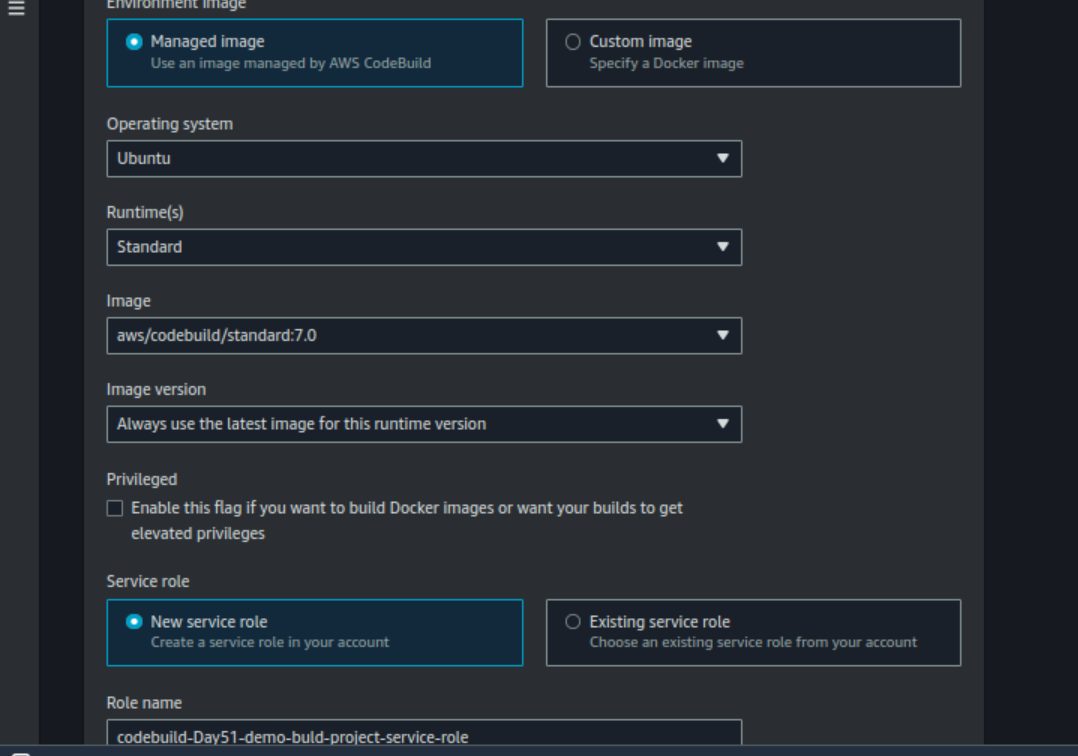
In the Environment Section choose choose option as shown in the screenshot.
Select a New service role to create a new service role and choose to Use a buildspec file in Build specifications.
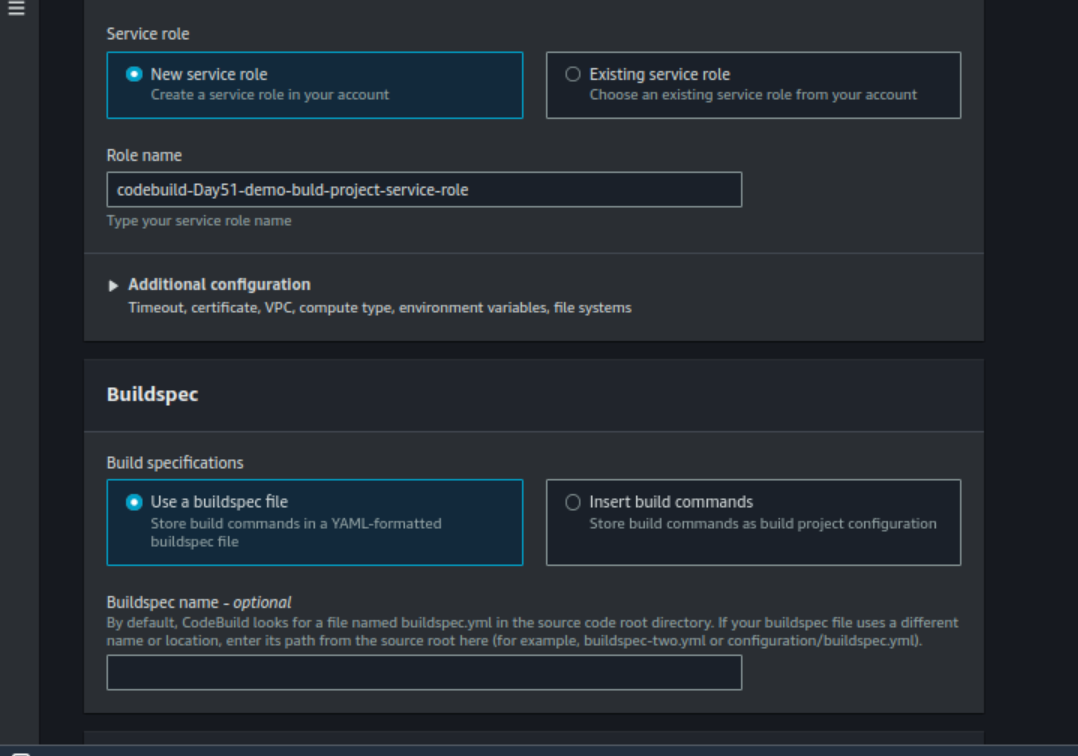
Disable the CloudWatch logs for this demo. Click on Create build project.
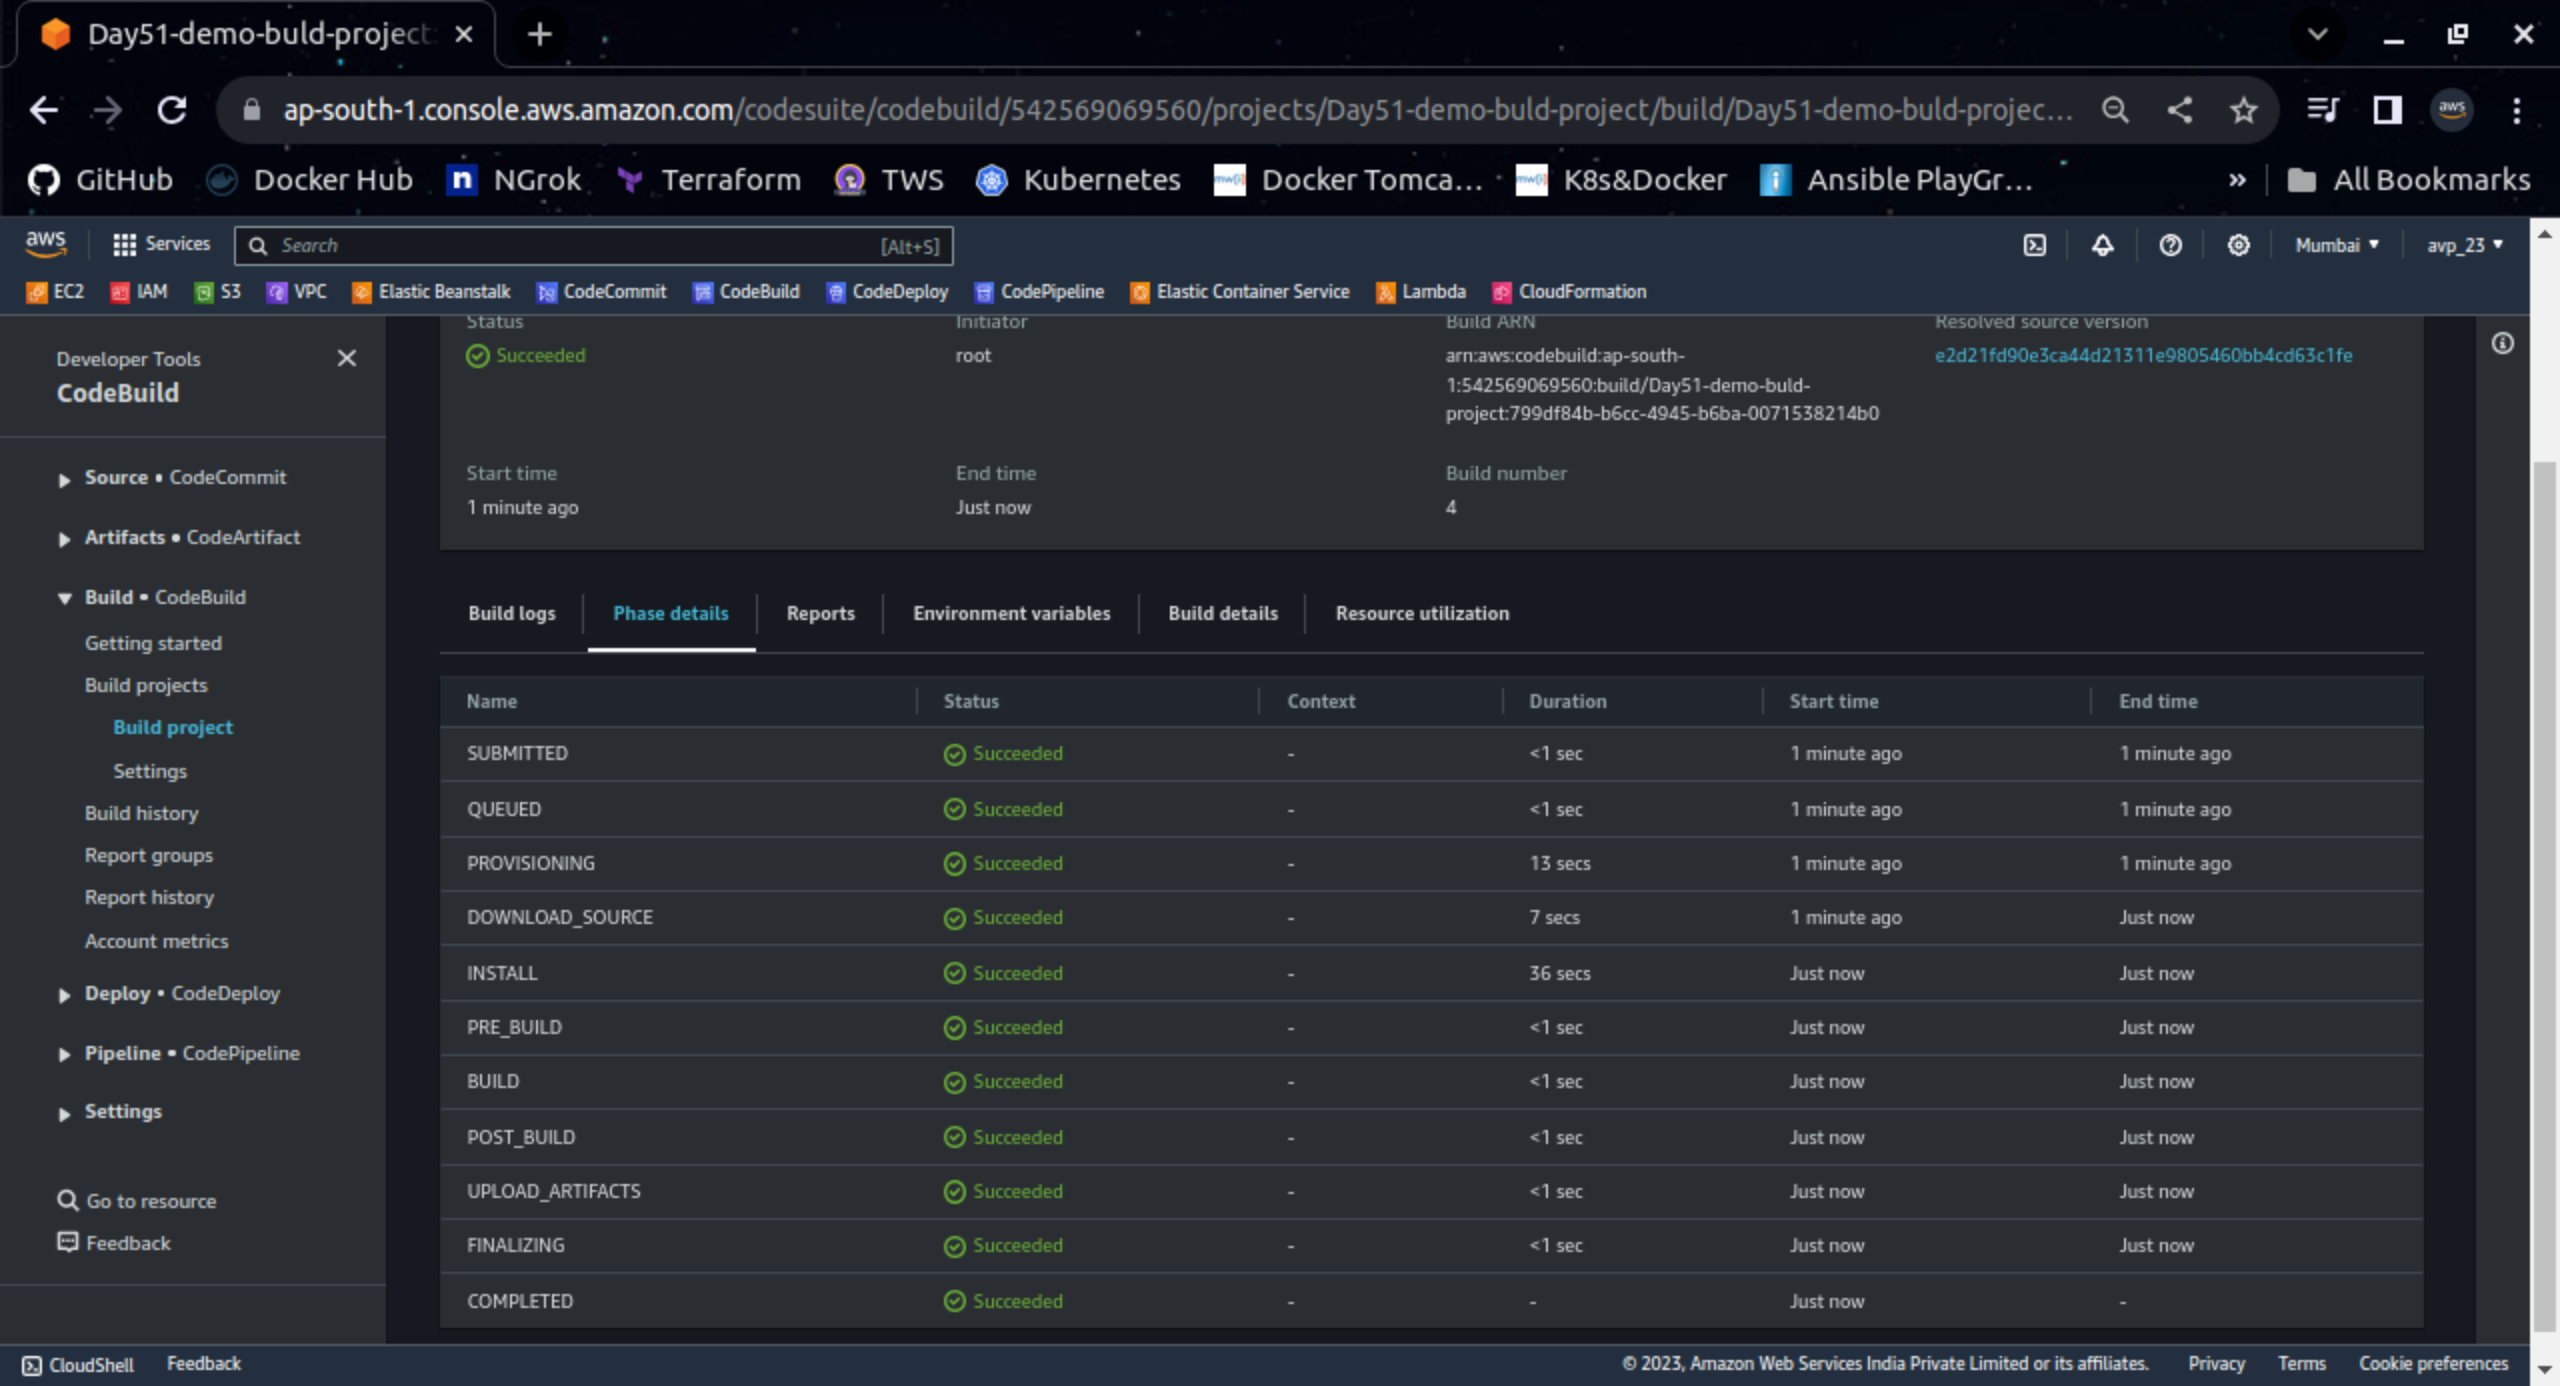
Select the build project you created and click Start build.

You have successfully built your project
You can add artifacts of your build project to S3 buckets. Create one bucket on S3.

Select the build project you created. Click on Edit and select Artifacts.

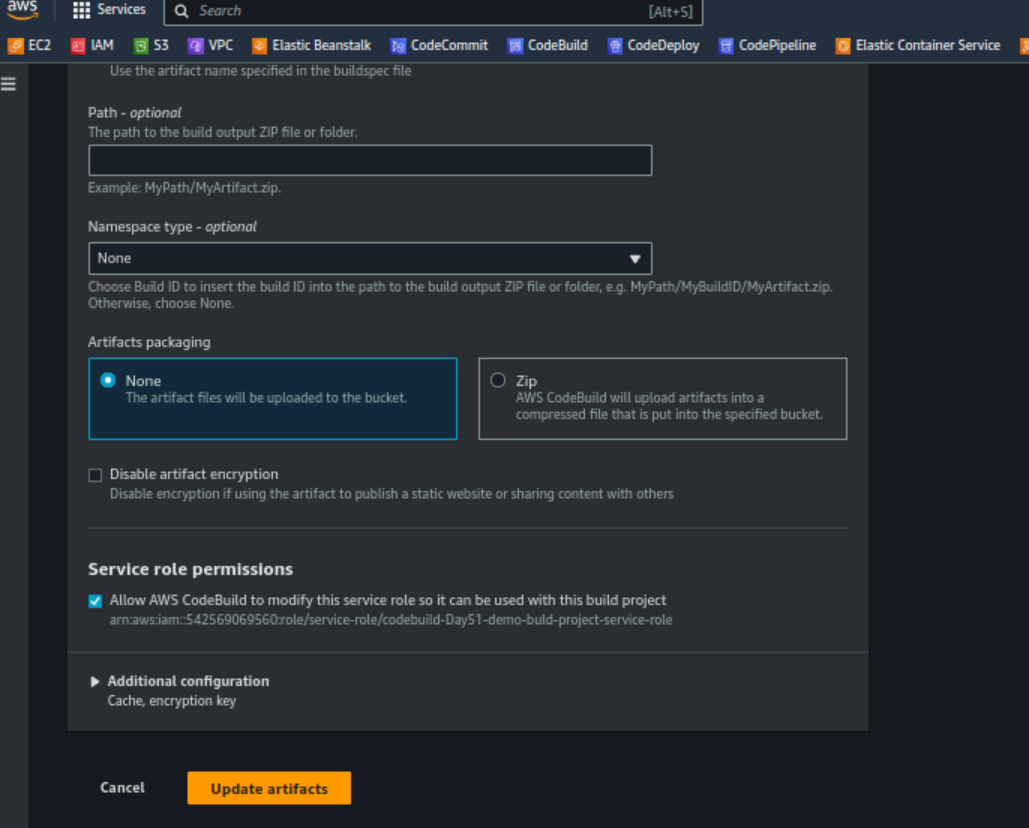
Select Amazon S3 as Artifact 1- Primary select the bucket you created earlier. Enter the name of the file.
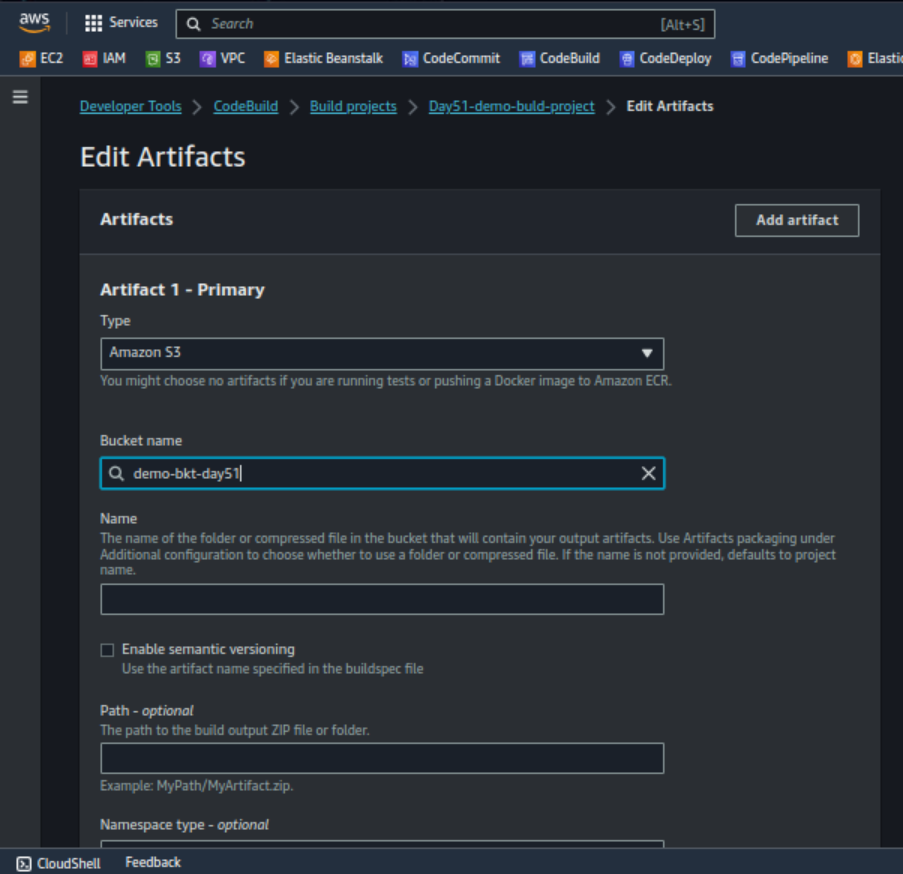
Leave the other option as default and click Update artifacts.
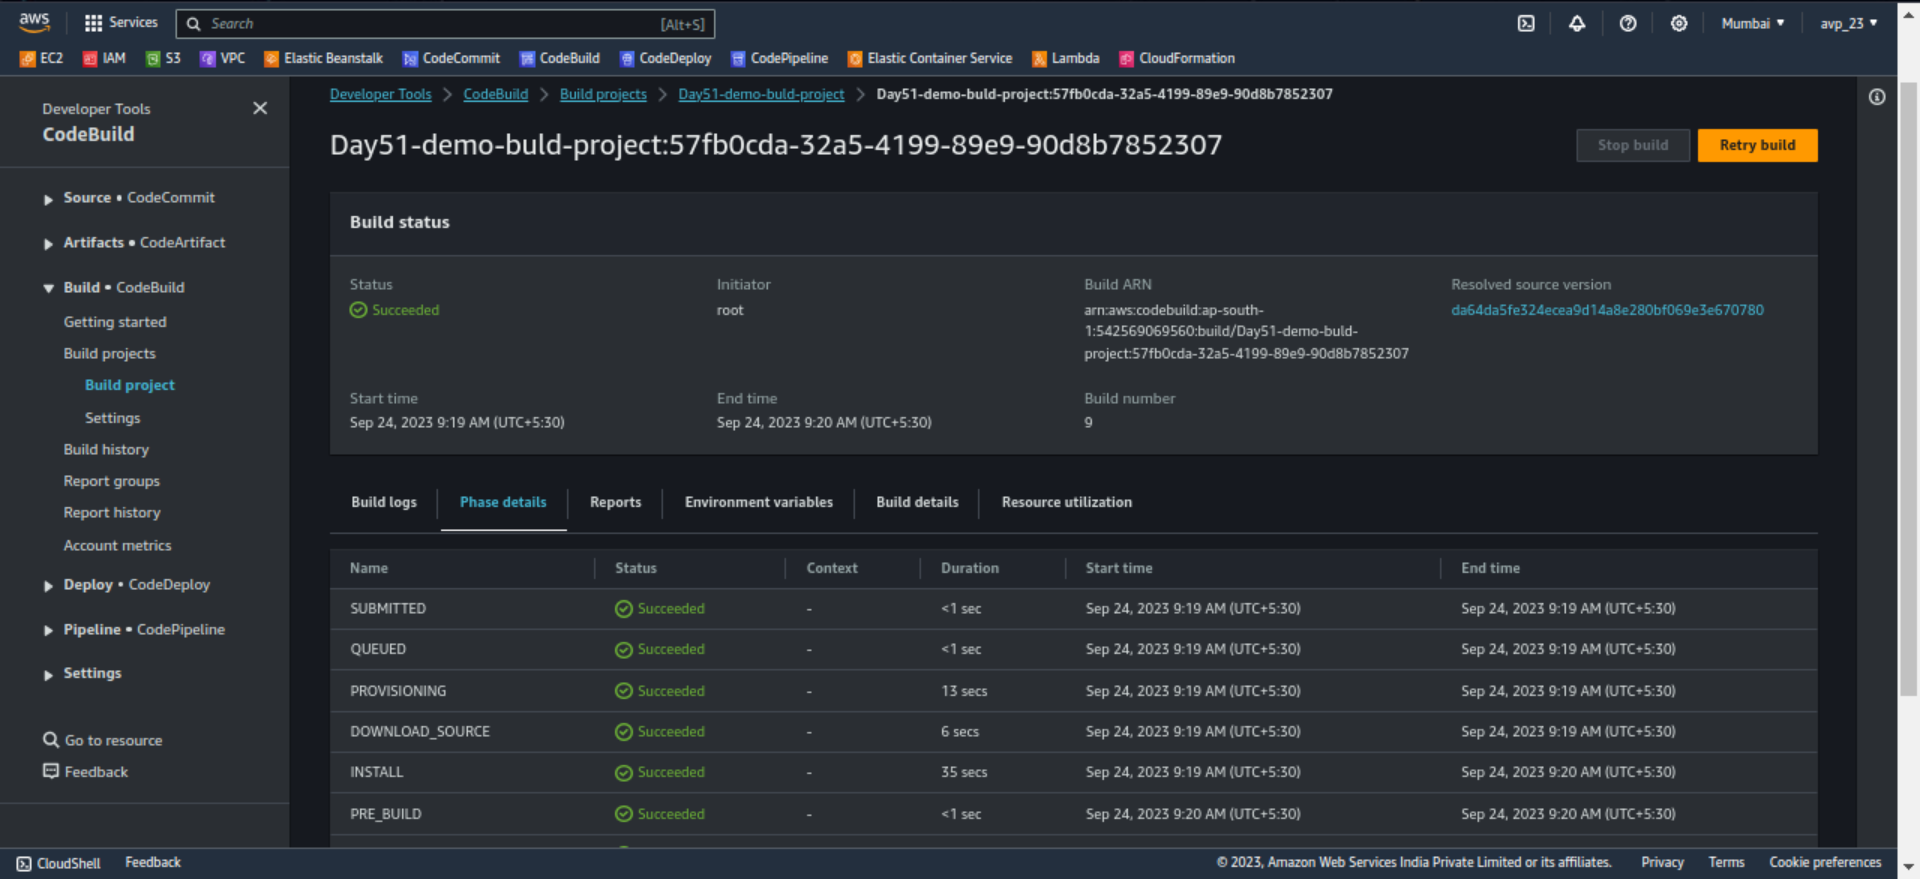
Now click Start build again

Now go to the S3 service select the Bucket created and navigate to the path provided in artifact section of buildspec file.
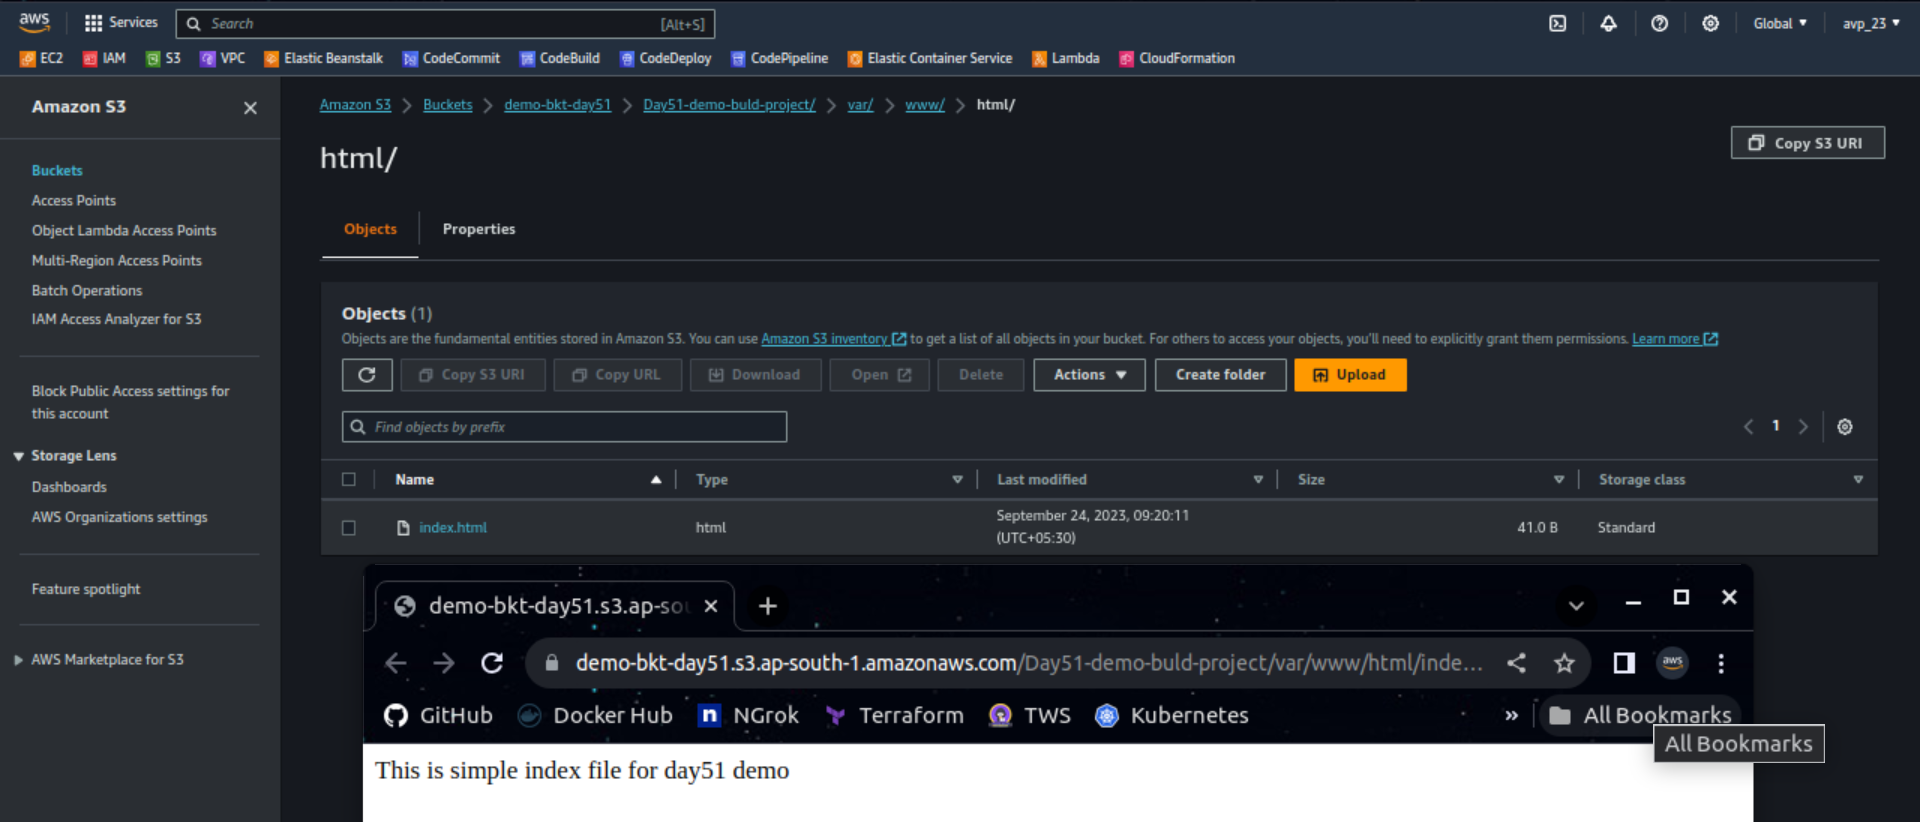
Try by making changes and Start build again.
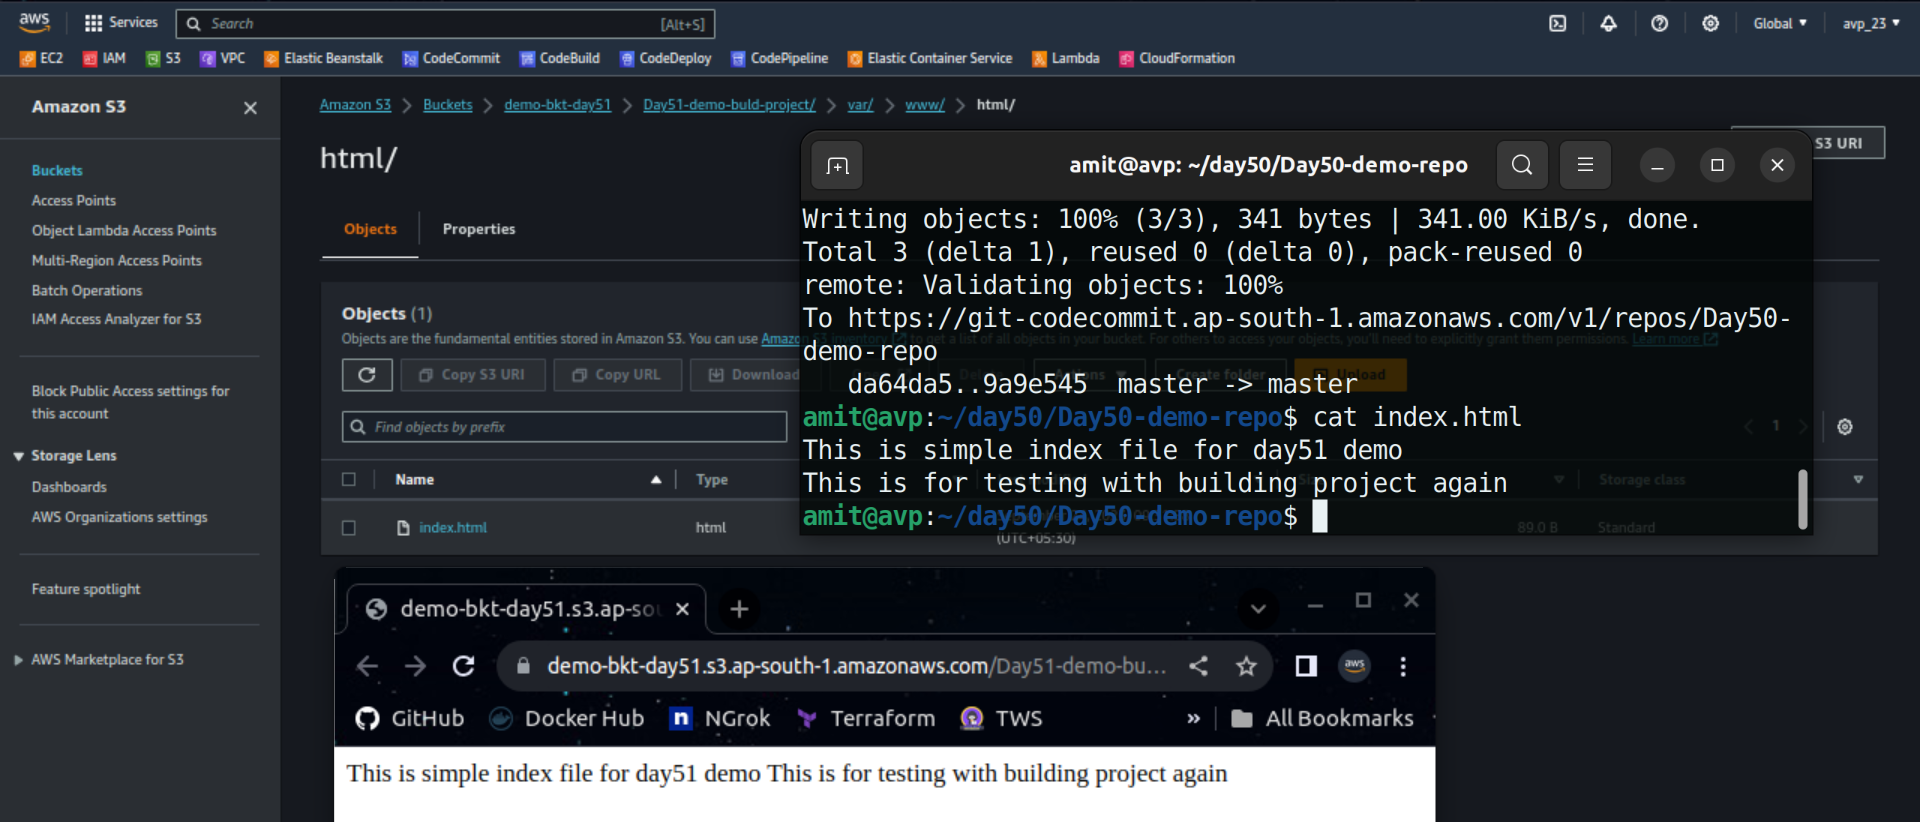
This is how we can store our artifacts in S3 bucket.
Thank you so much for taking the time to read till the end! Hope you found this blog informative.
Feel free to explore more of my content, and don't hesitate to reach out if need any assistance from me or in case of you have any questions.
Find me on:- Hashnode LinkedIn Github
Happy Learning!
Subscribe to my newsletter
Read articles from Amit Pawar directly inside your inbox. Subscribe to the newsletter, and don't miss out.
Written by
