Kubernetes Installation & Commands
 Yatin Gambhir
After learning and understanding the basics of Kubernetes and its working, in this blog, we will learn the installation process of a single node Kubernetes cluster in our local machine (UBUNTU) and a small demo.
So let's get started and I hope you have read all my previous blogs and showed your love by liking them.
We will install a single node cluster i.e. Minikube and Kubectl which is a command line tool for using Kubernetes.
Minikube is a tool that allows developers to run a local Kubernetes cluster on macOS, Linux, and Windows.
Installing Minikube and Kubectl
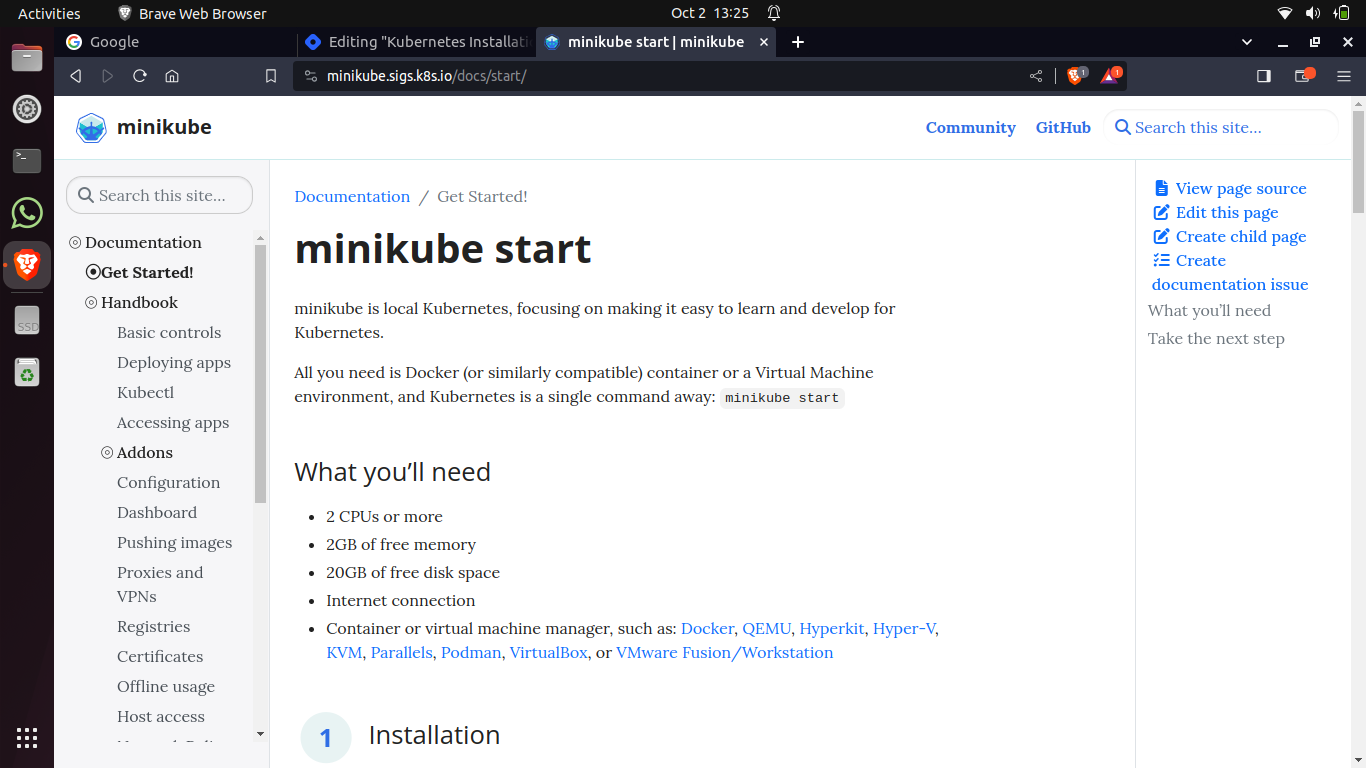
Step 1 - To install Minikube we will go to its official link Minikube Official Link.

Step 2 - As per your machine select the Installation configurations and type the below commands in your terminal.
curl -LO https://storage.googleapis.com/minikube/releases/latest/minikube-linux-amd64
sudo install minikube-linux-amd64 /usr/local/bin/minikube
Step 3 - Once the minikube is installed in your local system type the below command to start your cluster.
minikube start

So our Minikube is now installed in our system and your cluster is now up and running. 🚀
Since it is a single node cluster by default the role assigned to the minikube will be control-plane or the master node.
Installing kubectl - a command line tool
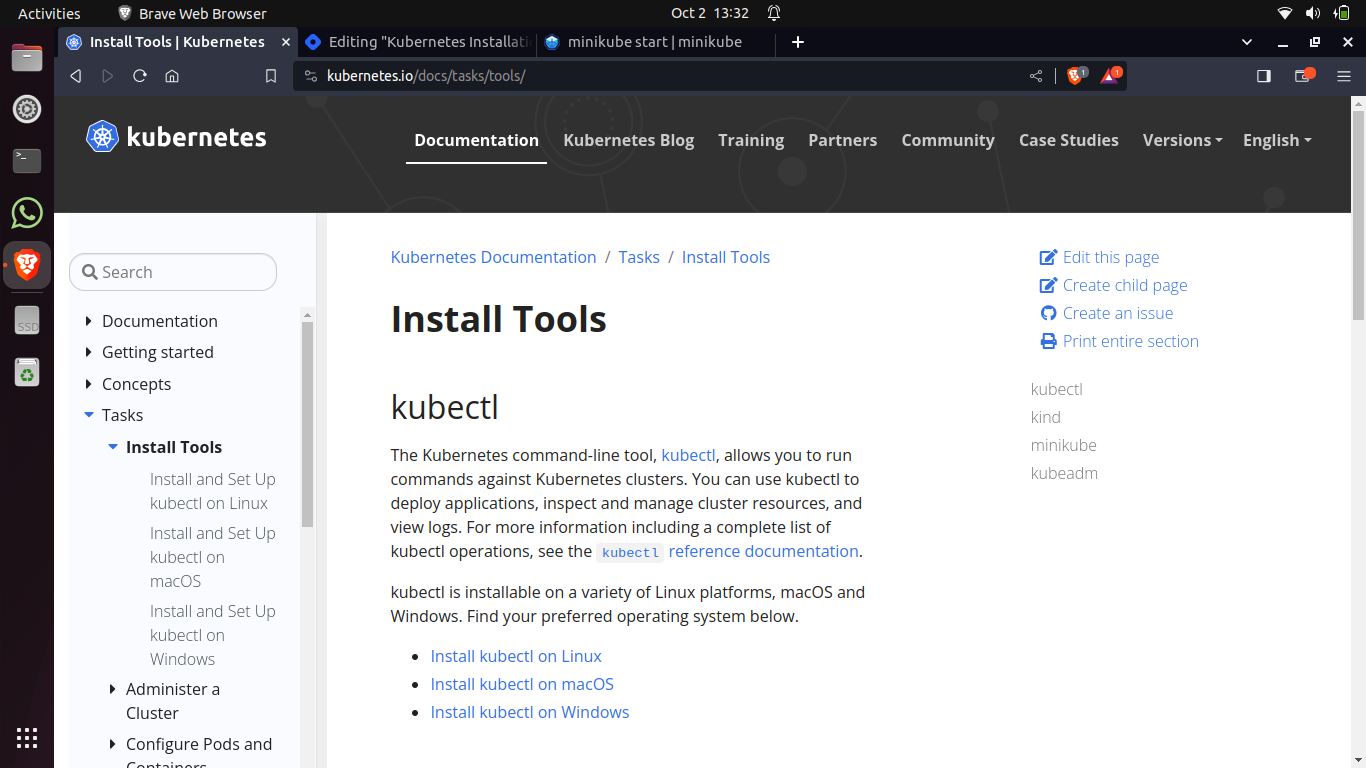
Step 1 - To install kubectl, go to its official link by clicking the highlighted part Kubectl

Step 2 - Now install kubectl as per your operating system by clicking on the preferred link. I chose to Install kubectl on Linux. Enter the below commands in your Linux terminal.
## Download the latest release with this command
curl -LO "https://dl.k8s.io/release/$(curl -L -s https://dl.k8s.io/release/stable.txt)/bin/linux/amd64/kubectl"
## Validate the binary (optional commamnd)
curl -LO "https://dl.k8s.io/release/$(curl -L -s https://dl.k8s.io/release/stable.txt)/bin/linux/amd64/kubectl.sha256"

## Validate the kubectl binary against the checksum file:
echo "$(cat kubectl.sha256)  kubectl" | sha256sum --check

------------------------------------------------------------------------------
kubectl: OK ##this should be the valid output after the above commands
## Now install the kubectl
sudo install -o root -g root -m 0755 kubectl /usr/local/bin/kubectl
Step 3 - Verify your kubectl installation using the below command.
kubectl verison --client

Now your kubectl is also installed on your machine. 🚀
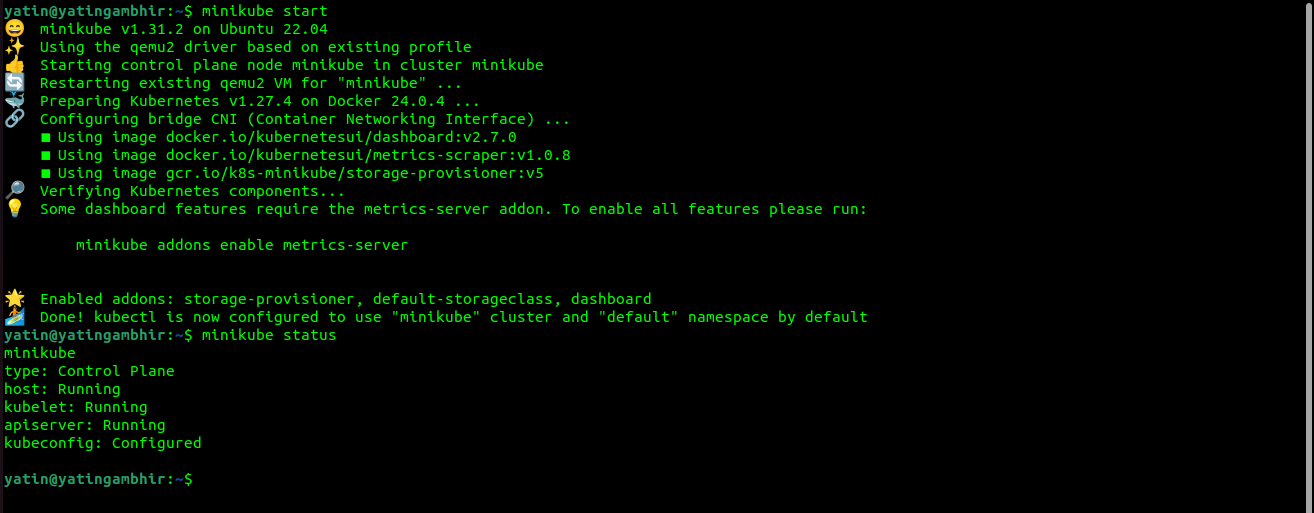
To verify the installation of minikube and kubectl

Both our tools are successfully installed and we are ready to use Kubernetes locally in our system. 🚀
Commands in Kubernetes
To start the minikube cluster
minikube startTo check the status of minikube and kubectl
minikube statusTo stop the minikube cluster
minikube stop
To get the number of nodes in the cluster
kubectl get nodesTo get the list of running pods
kubectl get podsTo remove a specific pod
kubectl delete pod "<pod_name>"
A pod is the smallest unit in a Kubernetes architecture. There can be many pods inside a node and there can be many containers inside a pod.
Node -> Pod -> Container
So that's a wrap-up to this blog. We learned the process of how we can install and play with Kubernetes by installing a single node cluster Minikube and a command line tool kubectl.
You can also explore some other alternatives of minikube which are K3S, K3D, Kind and many more.
Stay tuned for the hands-on training in the next blod. Happy Learning !! 🚀
Subscribe to my newsletter
Read articles from Yatin Gambhir directly inside your inbox. Subscribe to the newsletter, and don't miss out.
Written by
