DevOps, Day - 27
 Vrishni Shree V B
Day 26 was all about a Declarative pipeline, now it is time to level up things, let's integrate Docker and your Jenkins declarative pipeline.....
Let's use our Docker Build and Run Knowledge
docker build - you can use sh 'docker build . -t <tag>' in your pipeline stage block to run the docker build command. (Make sure you have docker installed with correct permissions.
docker run: you can use sh 'docker run -d <image>' in your pipeline stage block to build the container.


Let's Begin 🔥
Step 1: Click on localhost:8080
Step 2: Create a New Jenkins Pipeline
Click on "New Item" on the Jenkins homepage.

Enter a name for your pipeline (e.g., "My-new-pipeline") --> Choose "Pipeline" as the project type --> Click "OK."
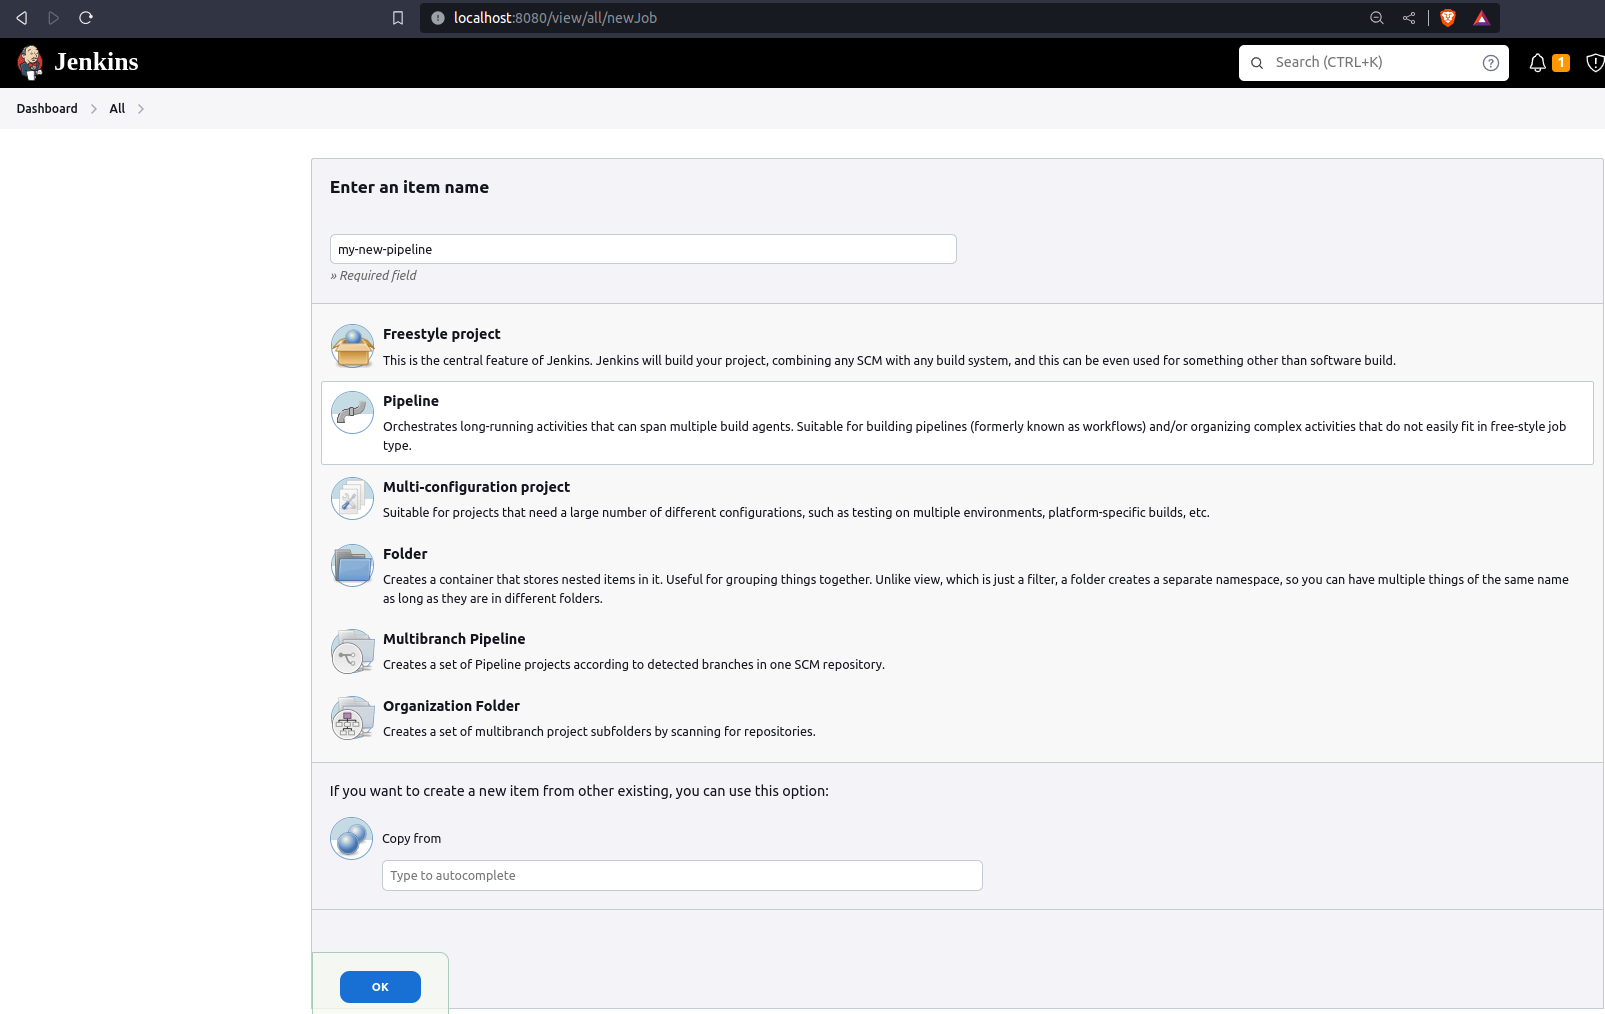
Step 3: Configure the Pipeline
In the pipeline configuration, scroll down to the "Pipeline" section.
Select the "Pipeline script" option.
Write the pipeline script as shown below.
  pipeline {
      agent any
      stages{
          stage('Code'){
              steps{
                  git url:'https://github.com/vbvsk/django-notes-app.git', branch:'main'
              }
          }
          stage('Build'){
              steps {
                  sh 'docker build -t vk-notes-app .'
              }
          }
          stage('Deploy'){
              steps{
                  sh 'docker run -d vk-notes-app'
              }
          }
      }
  }
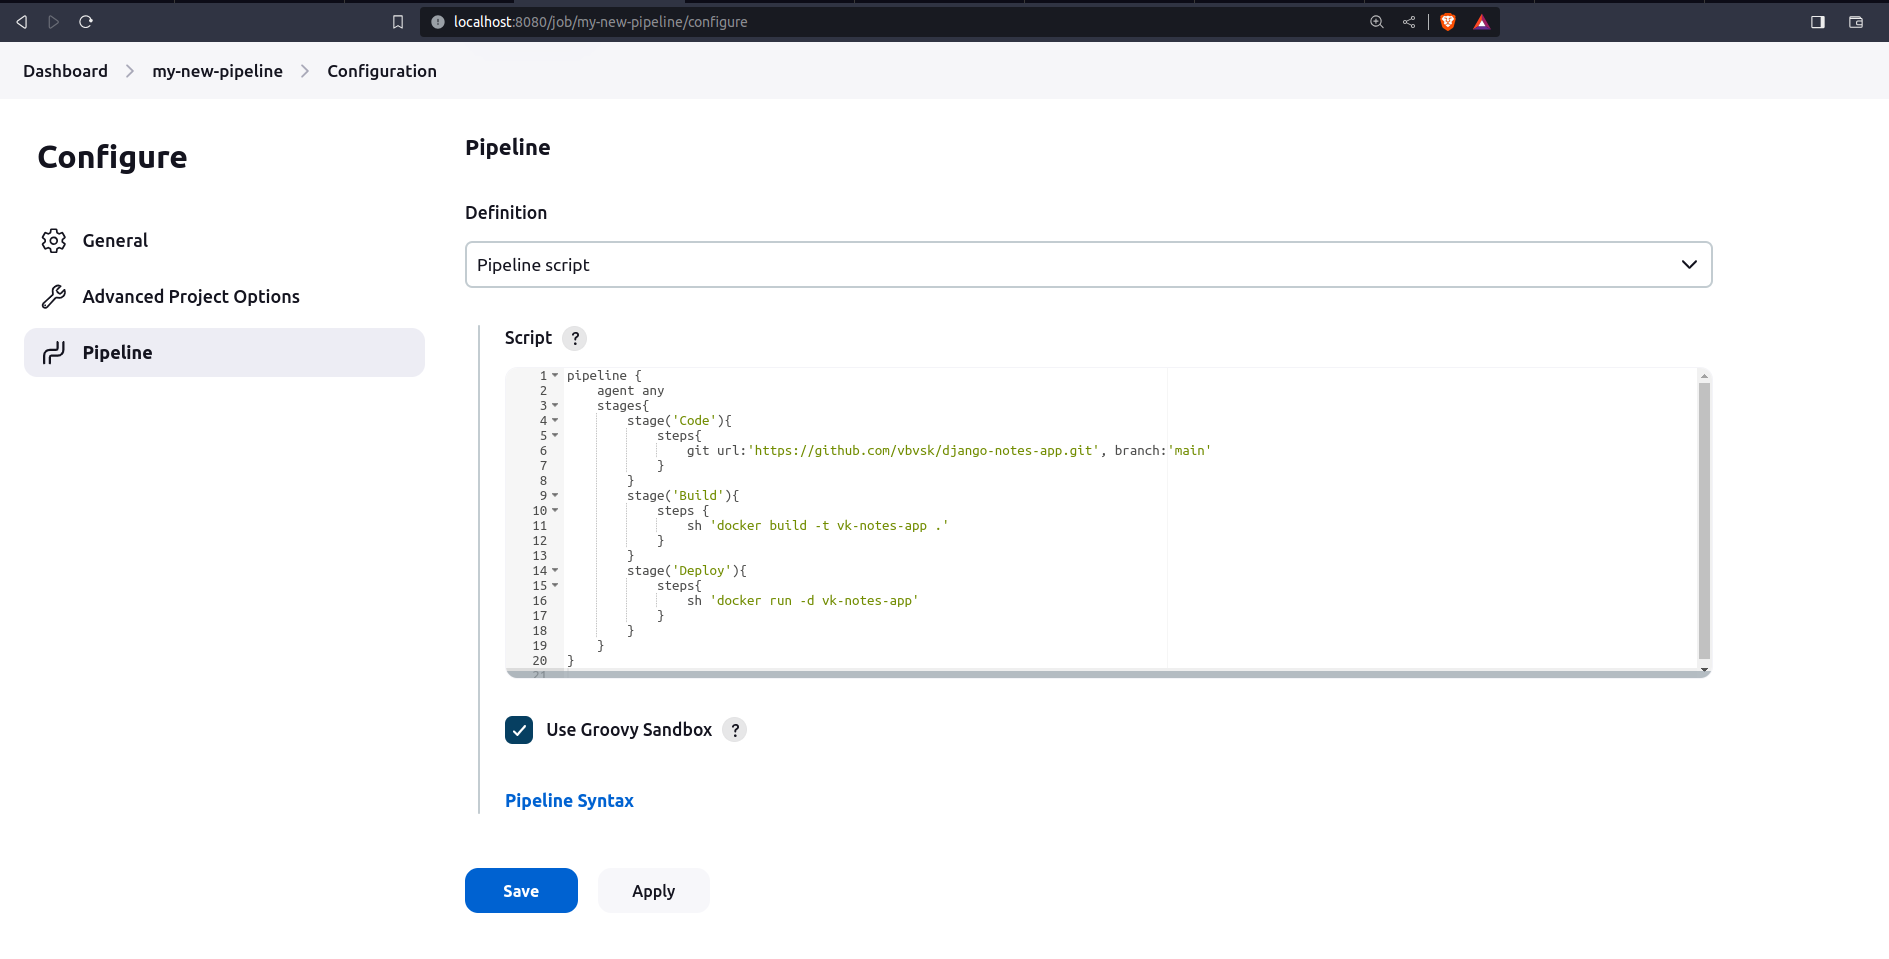
Step 4: After saving, click --> Build Now.
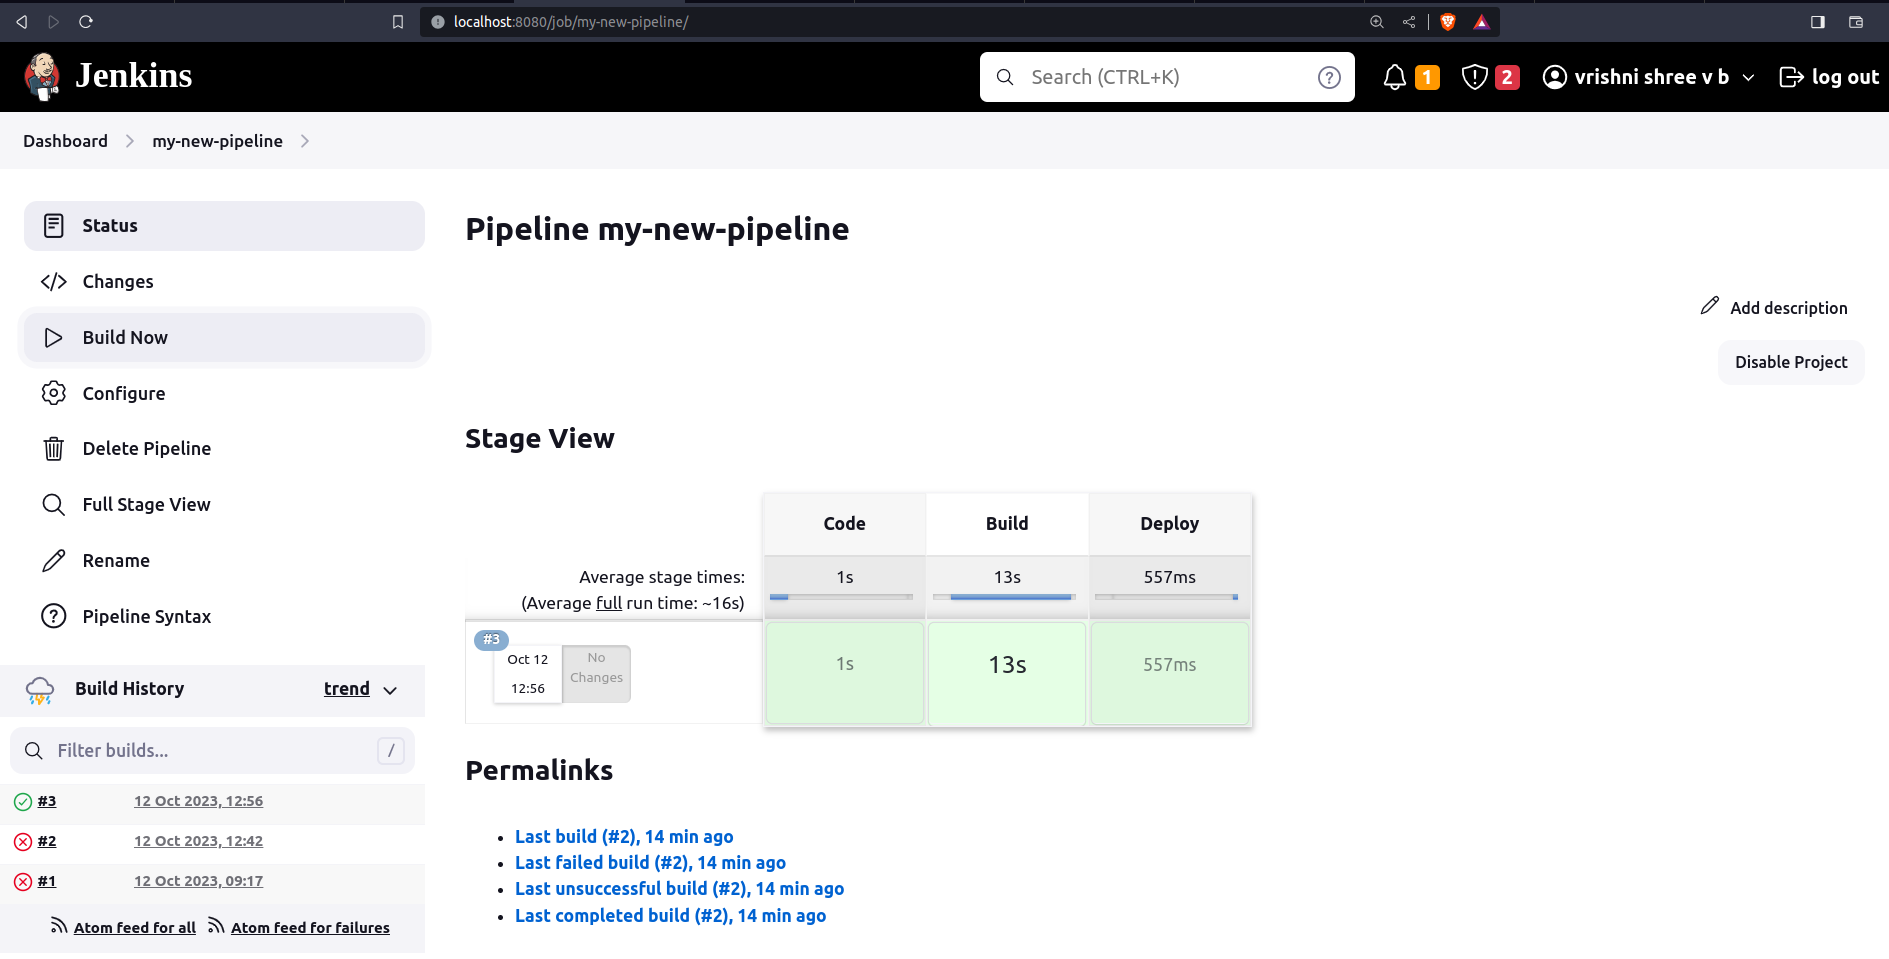
Step 6: Click on #3 to view the console output.
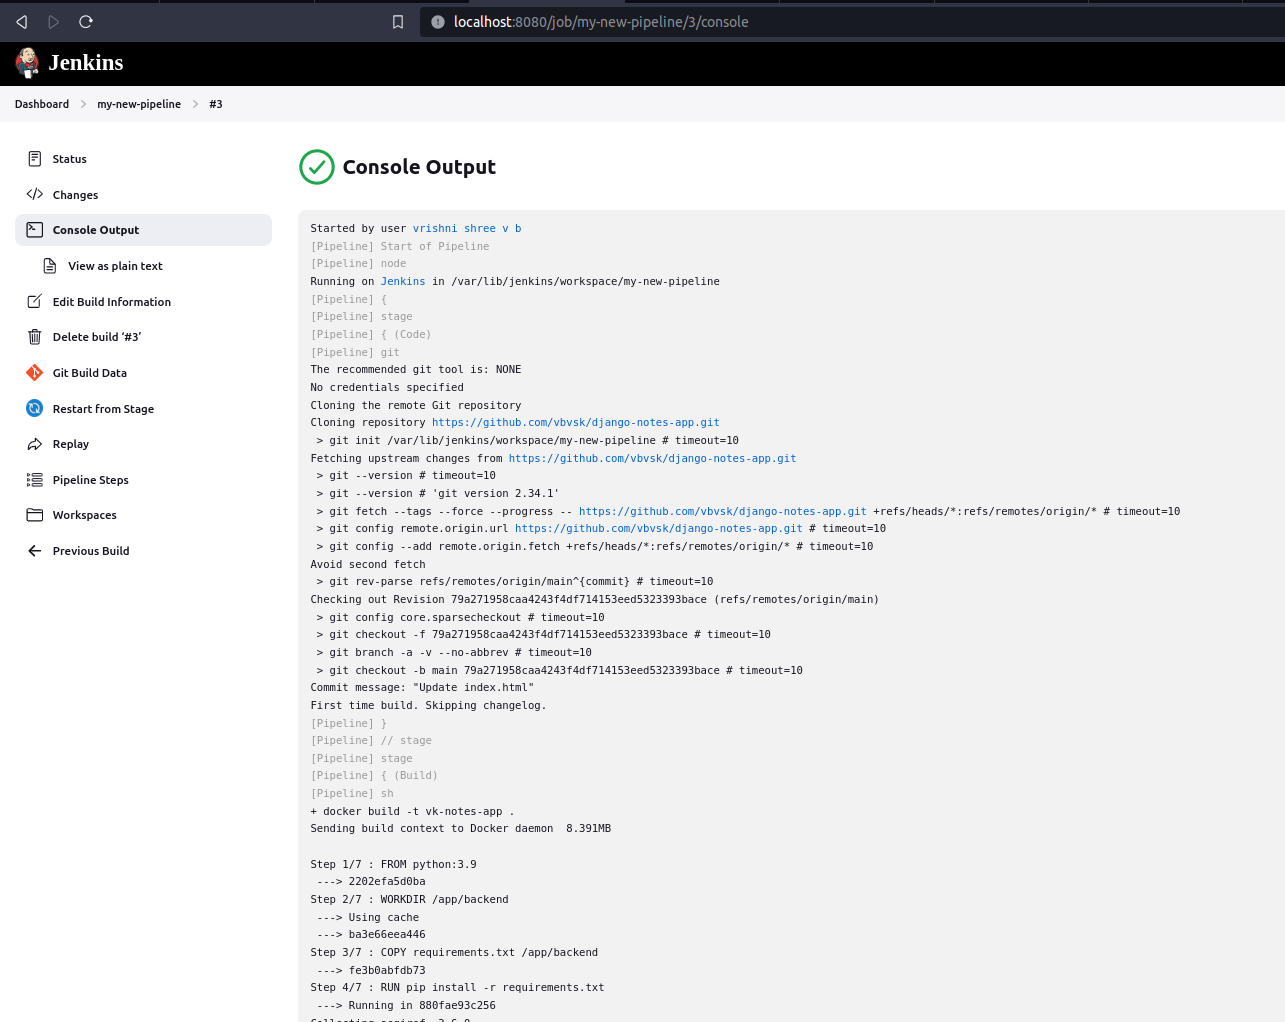
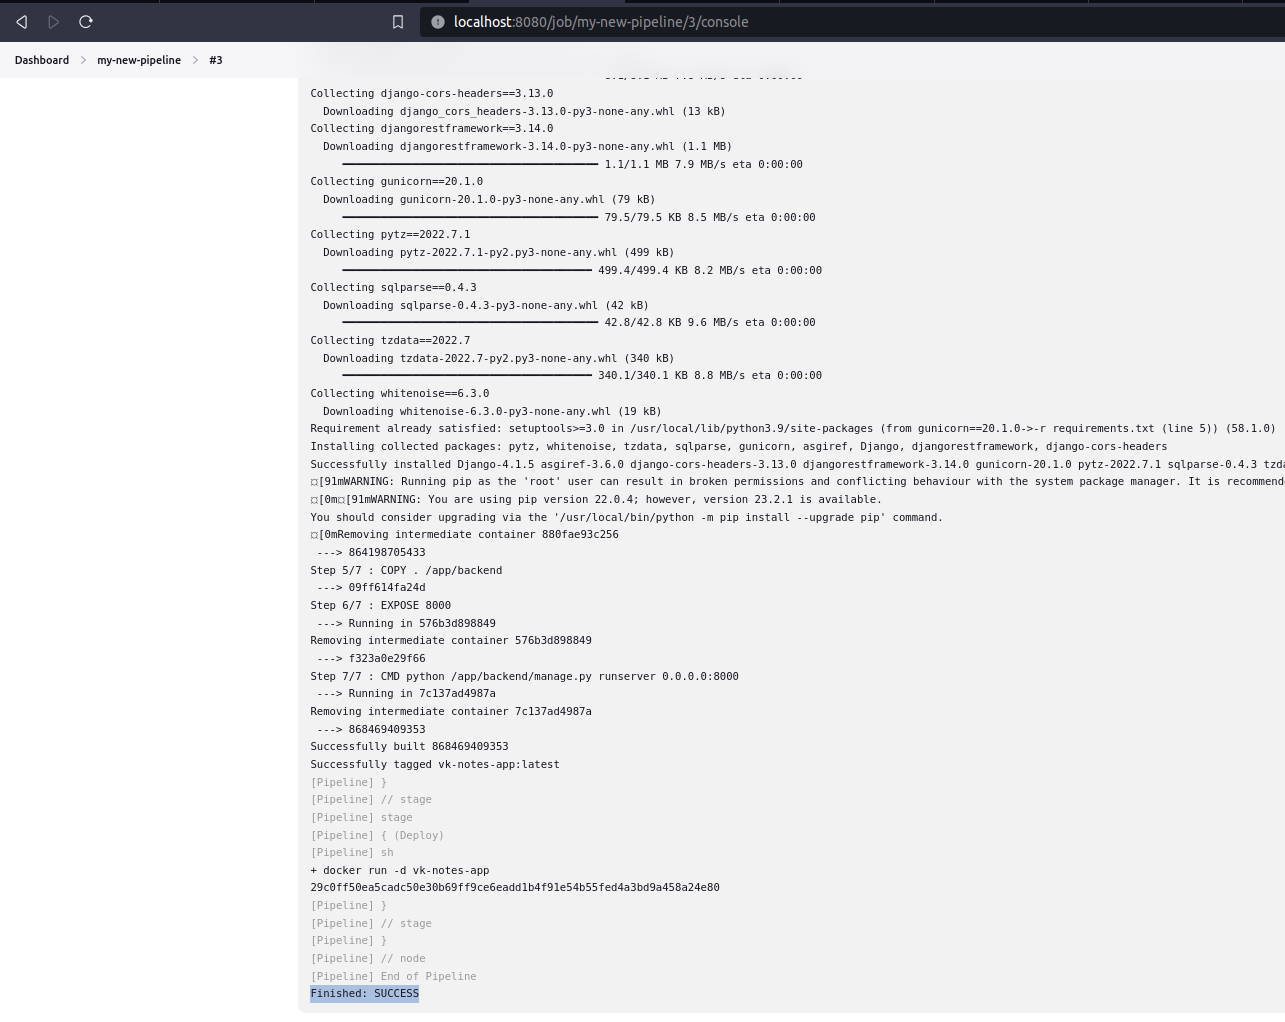
Let's Continue with further tasks🚀🔥

To incorporate Docker within the
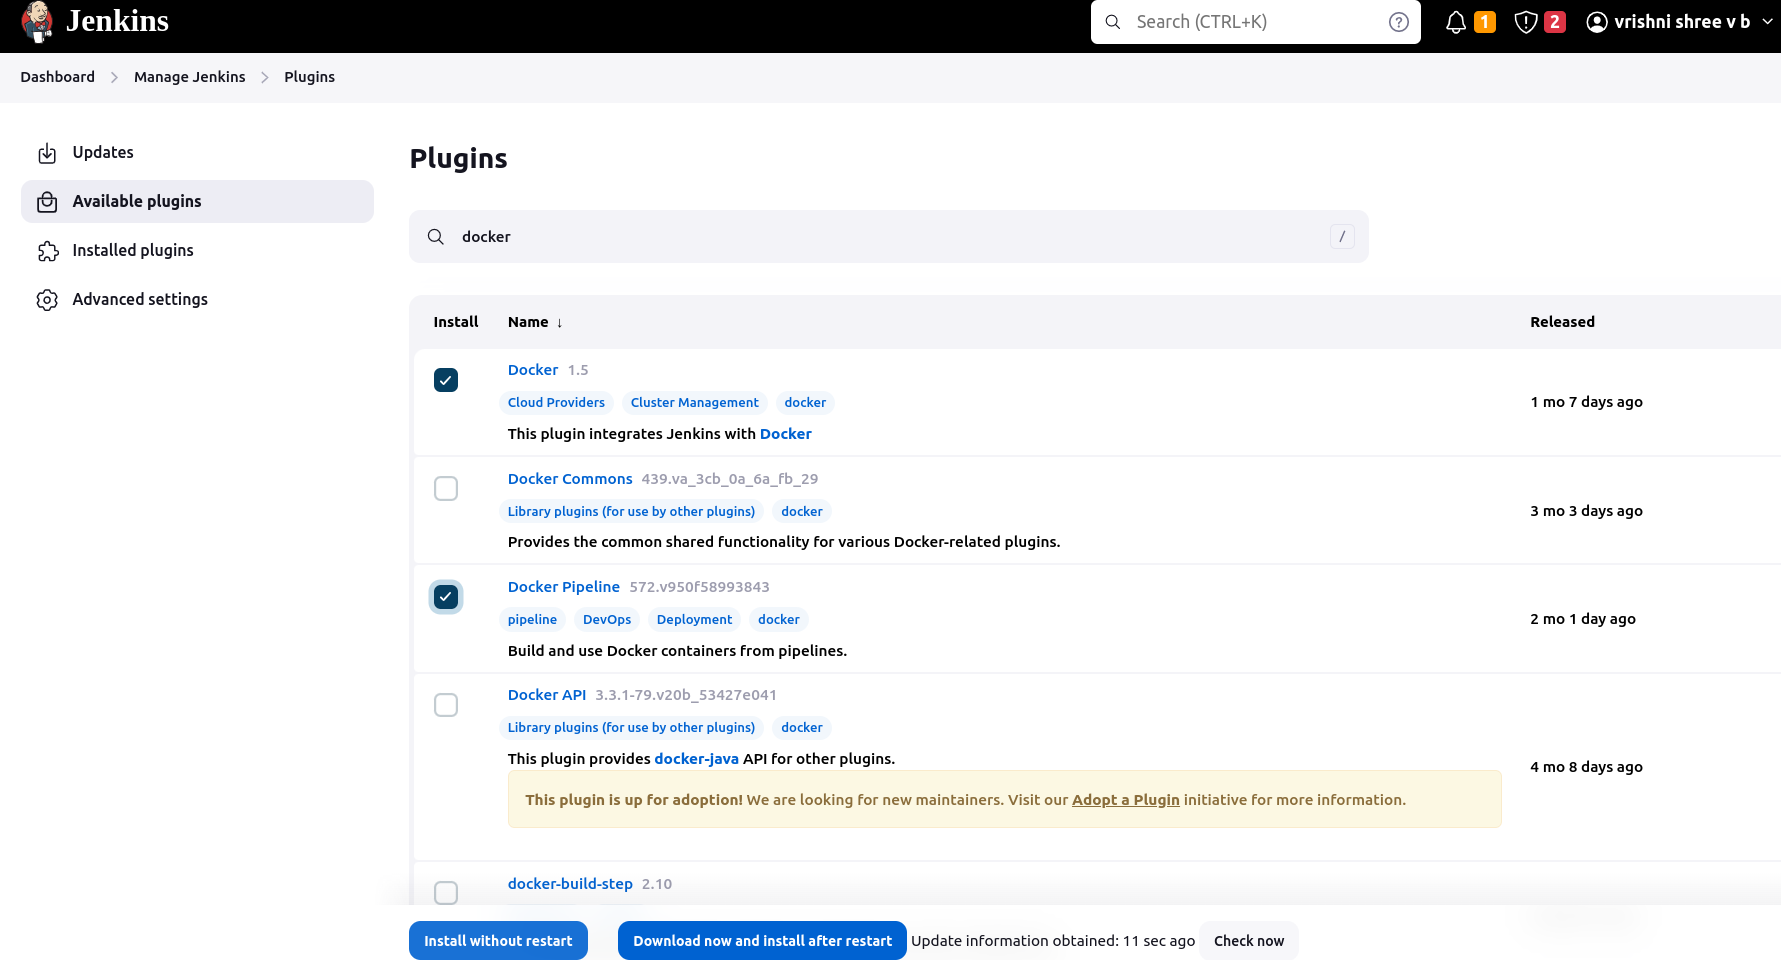
stageblock of your Jenkins declarative pipeline, you will need to ensure that both the Docker Pipeline and Docker plugins are installed and configured.Additionally, you should aim to publish your Docker image to a repository on Docker Hub or another suitable container registry.
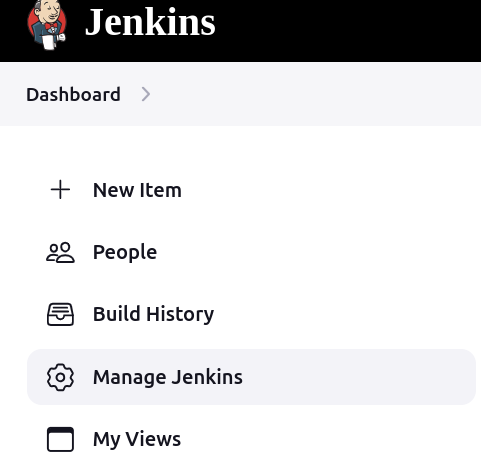
Step 1: You can install these plugins by navigating to Dashboard --> Manage Jenkins --> select Manage Plugins under system configuration --> Download Now.

Step 2: Now we can see our docker image is created...

Step 3: Now to make changes in your pipeline code, you need your image which is available in the docker hub, so push the image to the docker hub as shown...
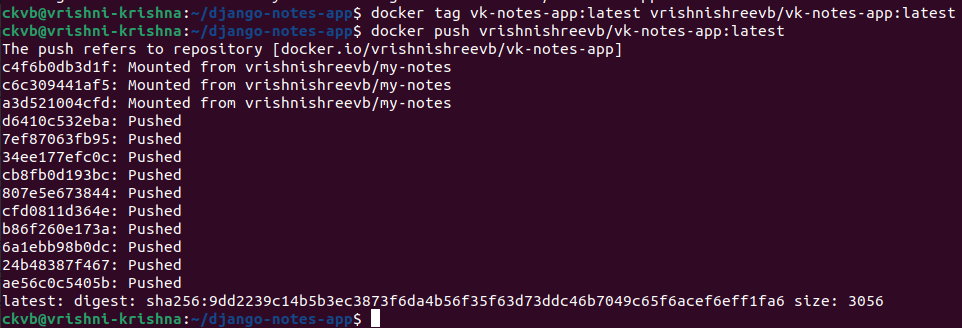
Step 4: we can see our image is pushed in the docker hub...

Step 5: Now change the pipeline code as shown...
pipeline {
    agent any
    stages {
        stage('Build') {
            steps {
                echo 'container build'
            }
            agent {
                docker {
                    image 'vrishnishreevb/vk-notes-app:latest'
                    reuseNode true
                }
            }
        }
        stage('Deploy') {
            steps {
                sh 'docker run -d -p 8081:80 vrishnishreevb/vk-notes-app:latest'
            }
        }
    }
}
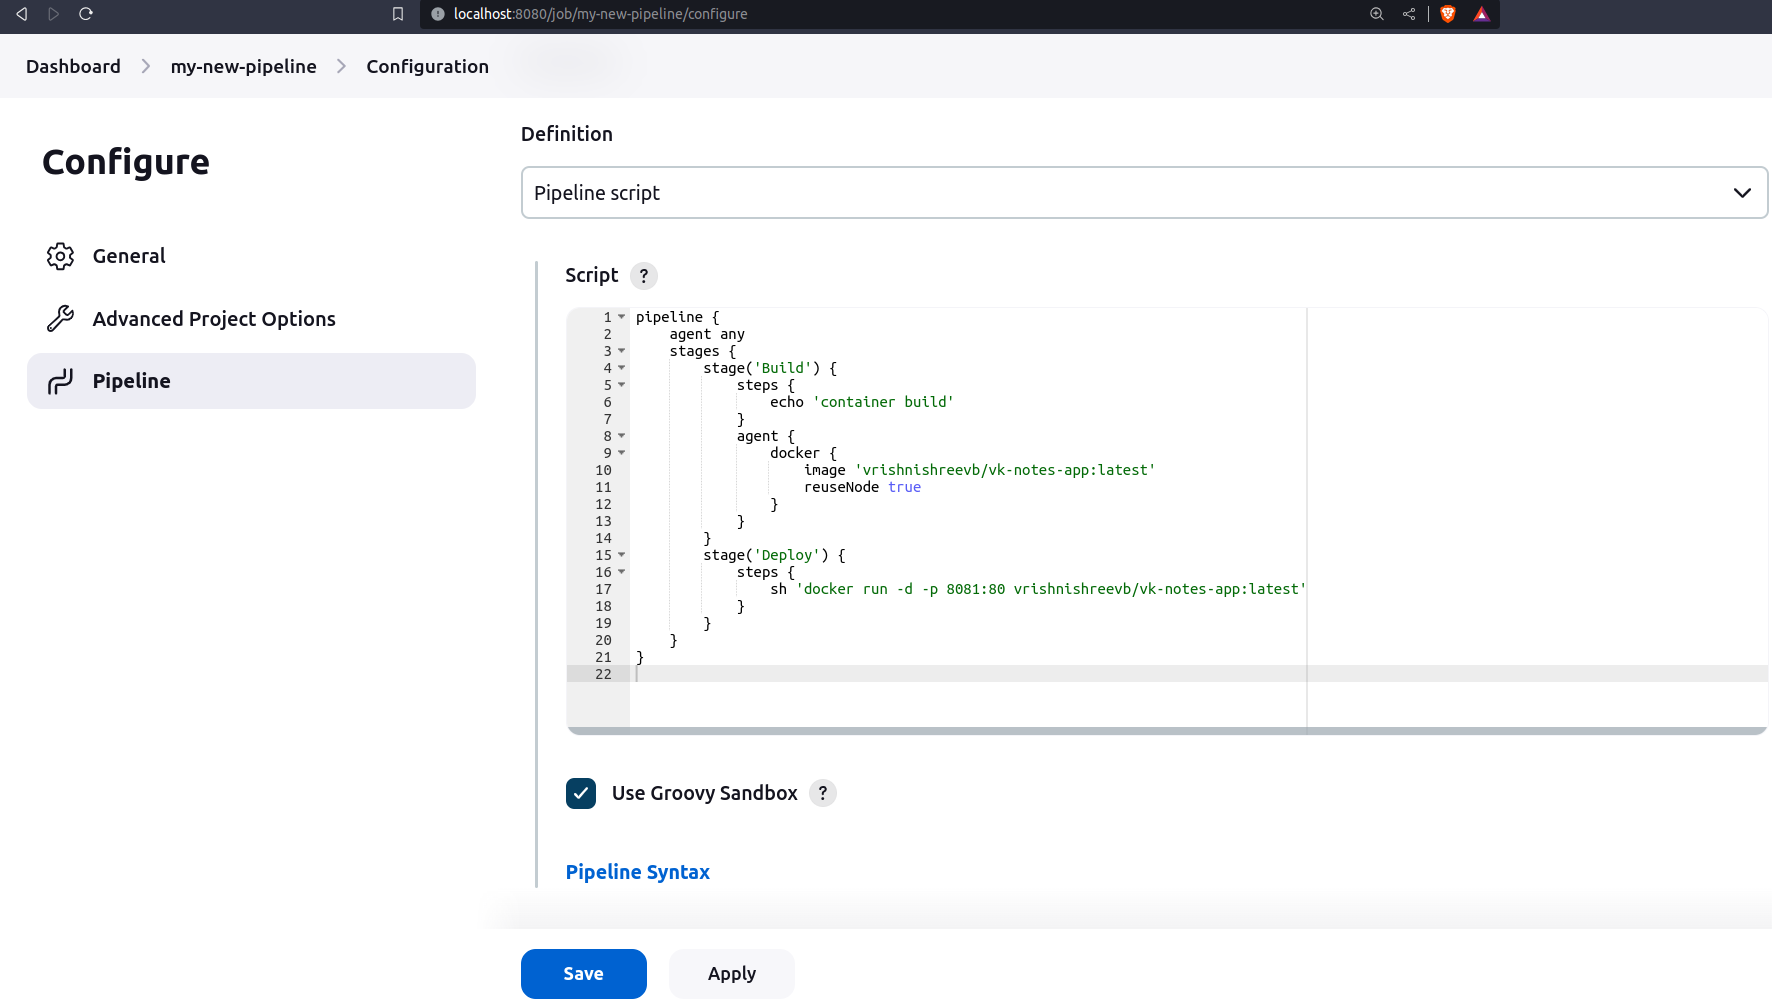
Step 6: Click on Save --> Build Now.
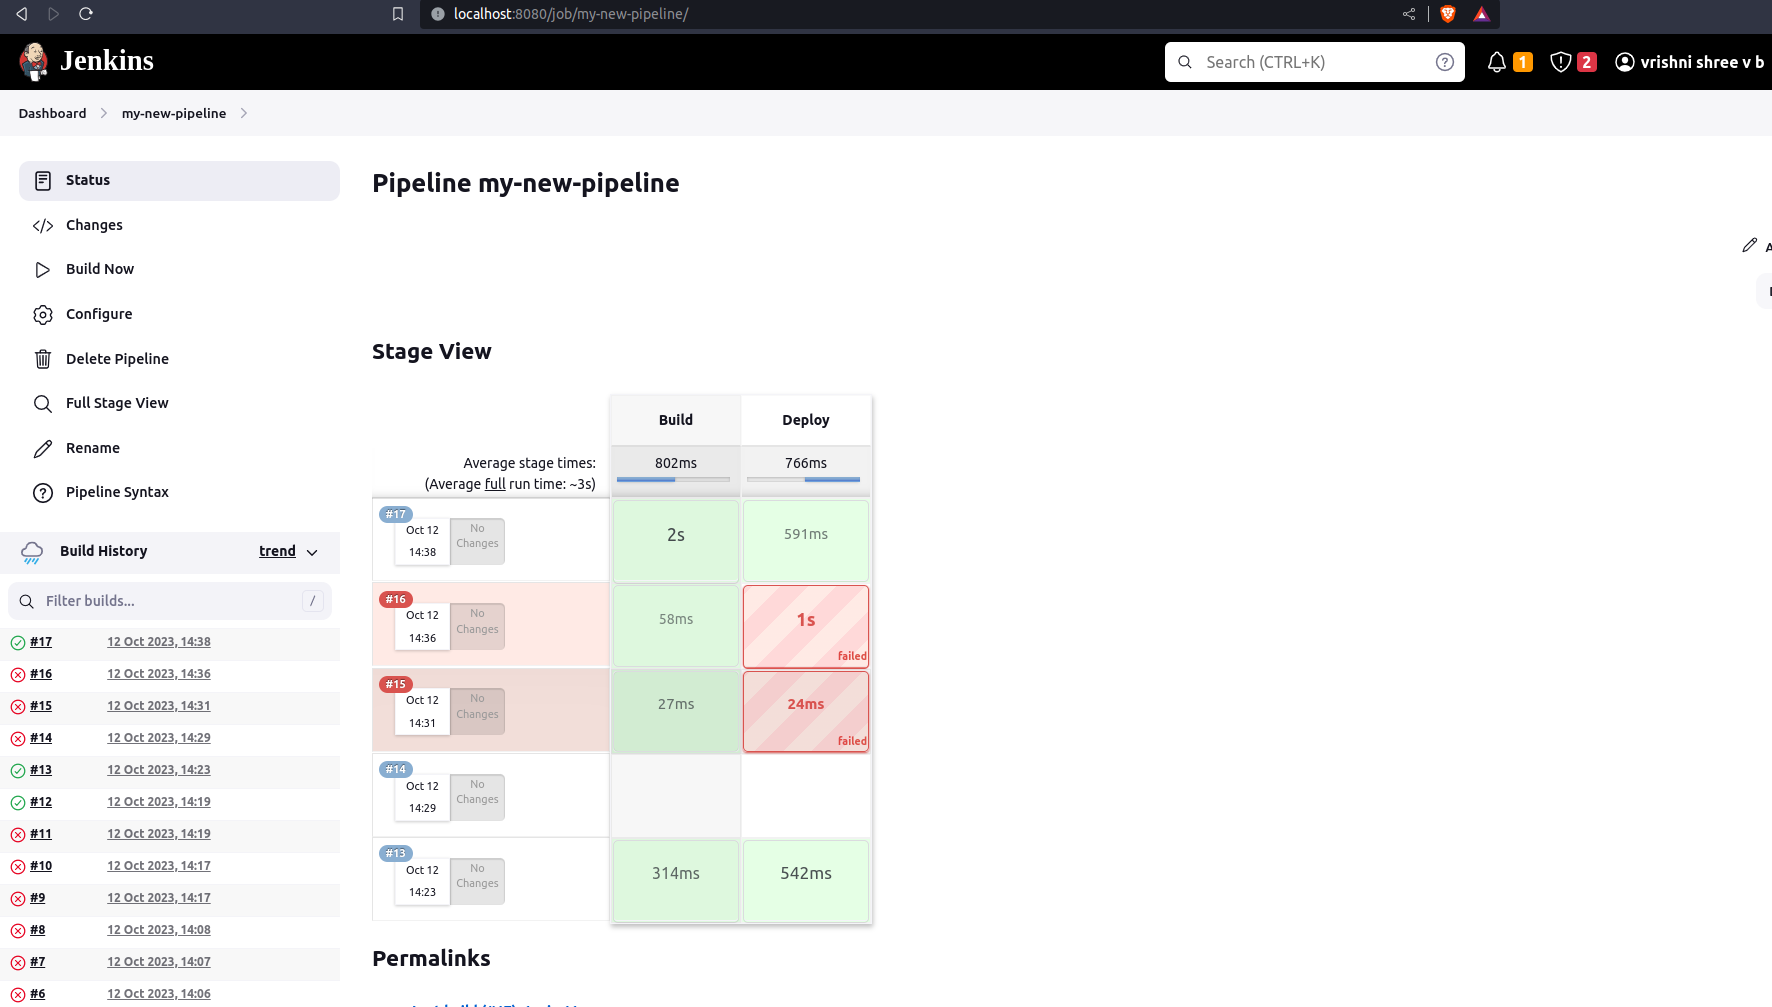
Step 7: we can also see that our container is running in the 8081 port :)


Thank you so much for reading.
Follow me on LinkedIn to see interesting posts like this : )
Subscribe to my newsletter
Read articles from Vrishni Shree V B directly inside your inbox. Subscribe to the newsletter, and don't miss out.
Written by

Vrishni Shree V B
Vrishni Shree V B
💻 Python | Docker | Jenkins | Networking | Git | Linux 💻 Passionate about leveraging technology to drive efficiency and deliver innovative solutions. Proficient in Python development, Docker containerization, Jenkins automation, computer networking, Git version control, and Linux administration. Skilled in collaborating with diverse teams to deliver high-quality software products. Proficient in AWS EC2 instance management and deployment. Seeking new opportunities to apply my expertise and contribute to impactful projects. Let's connect and explore how we can work together! Inter-personal Skills: Communication, Adaptability, Emotional intelligence, Active listening, Collaboration. Happy To Connect🔗😊 Feel free to reach me out😃@ --> vrishnishreevb531@gmail.com 📬