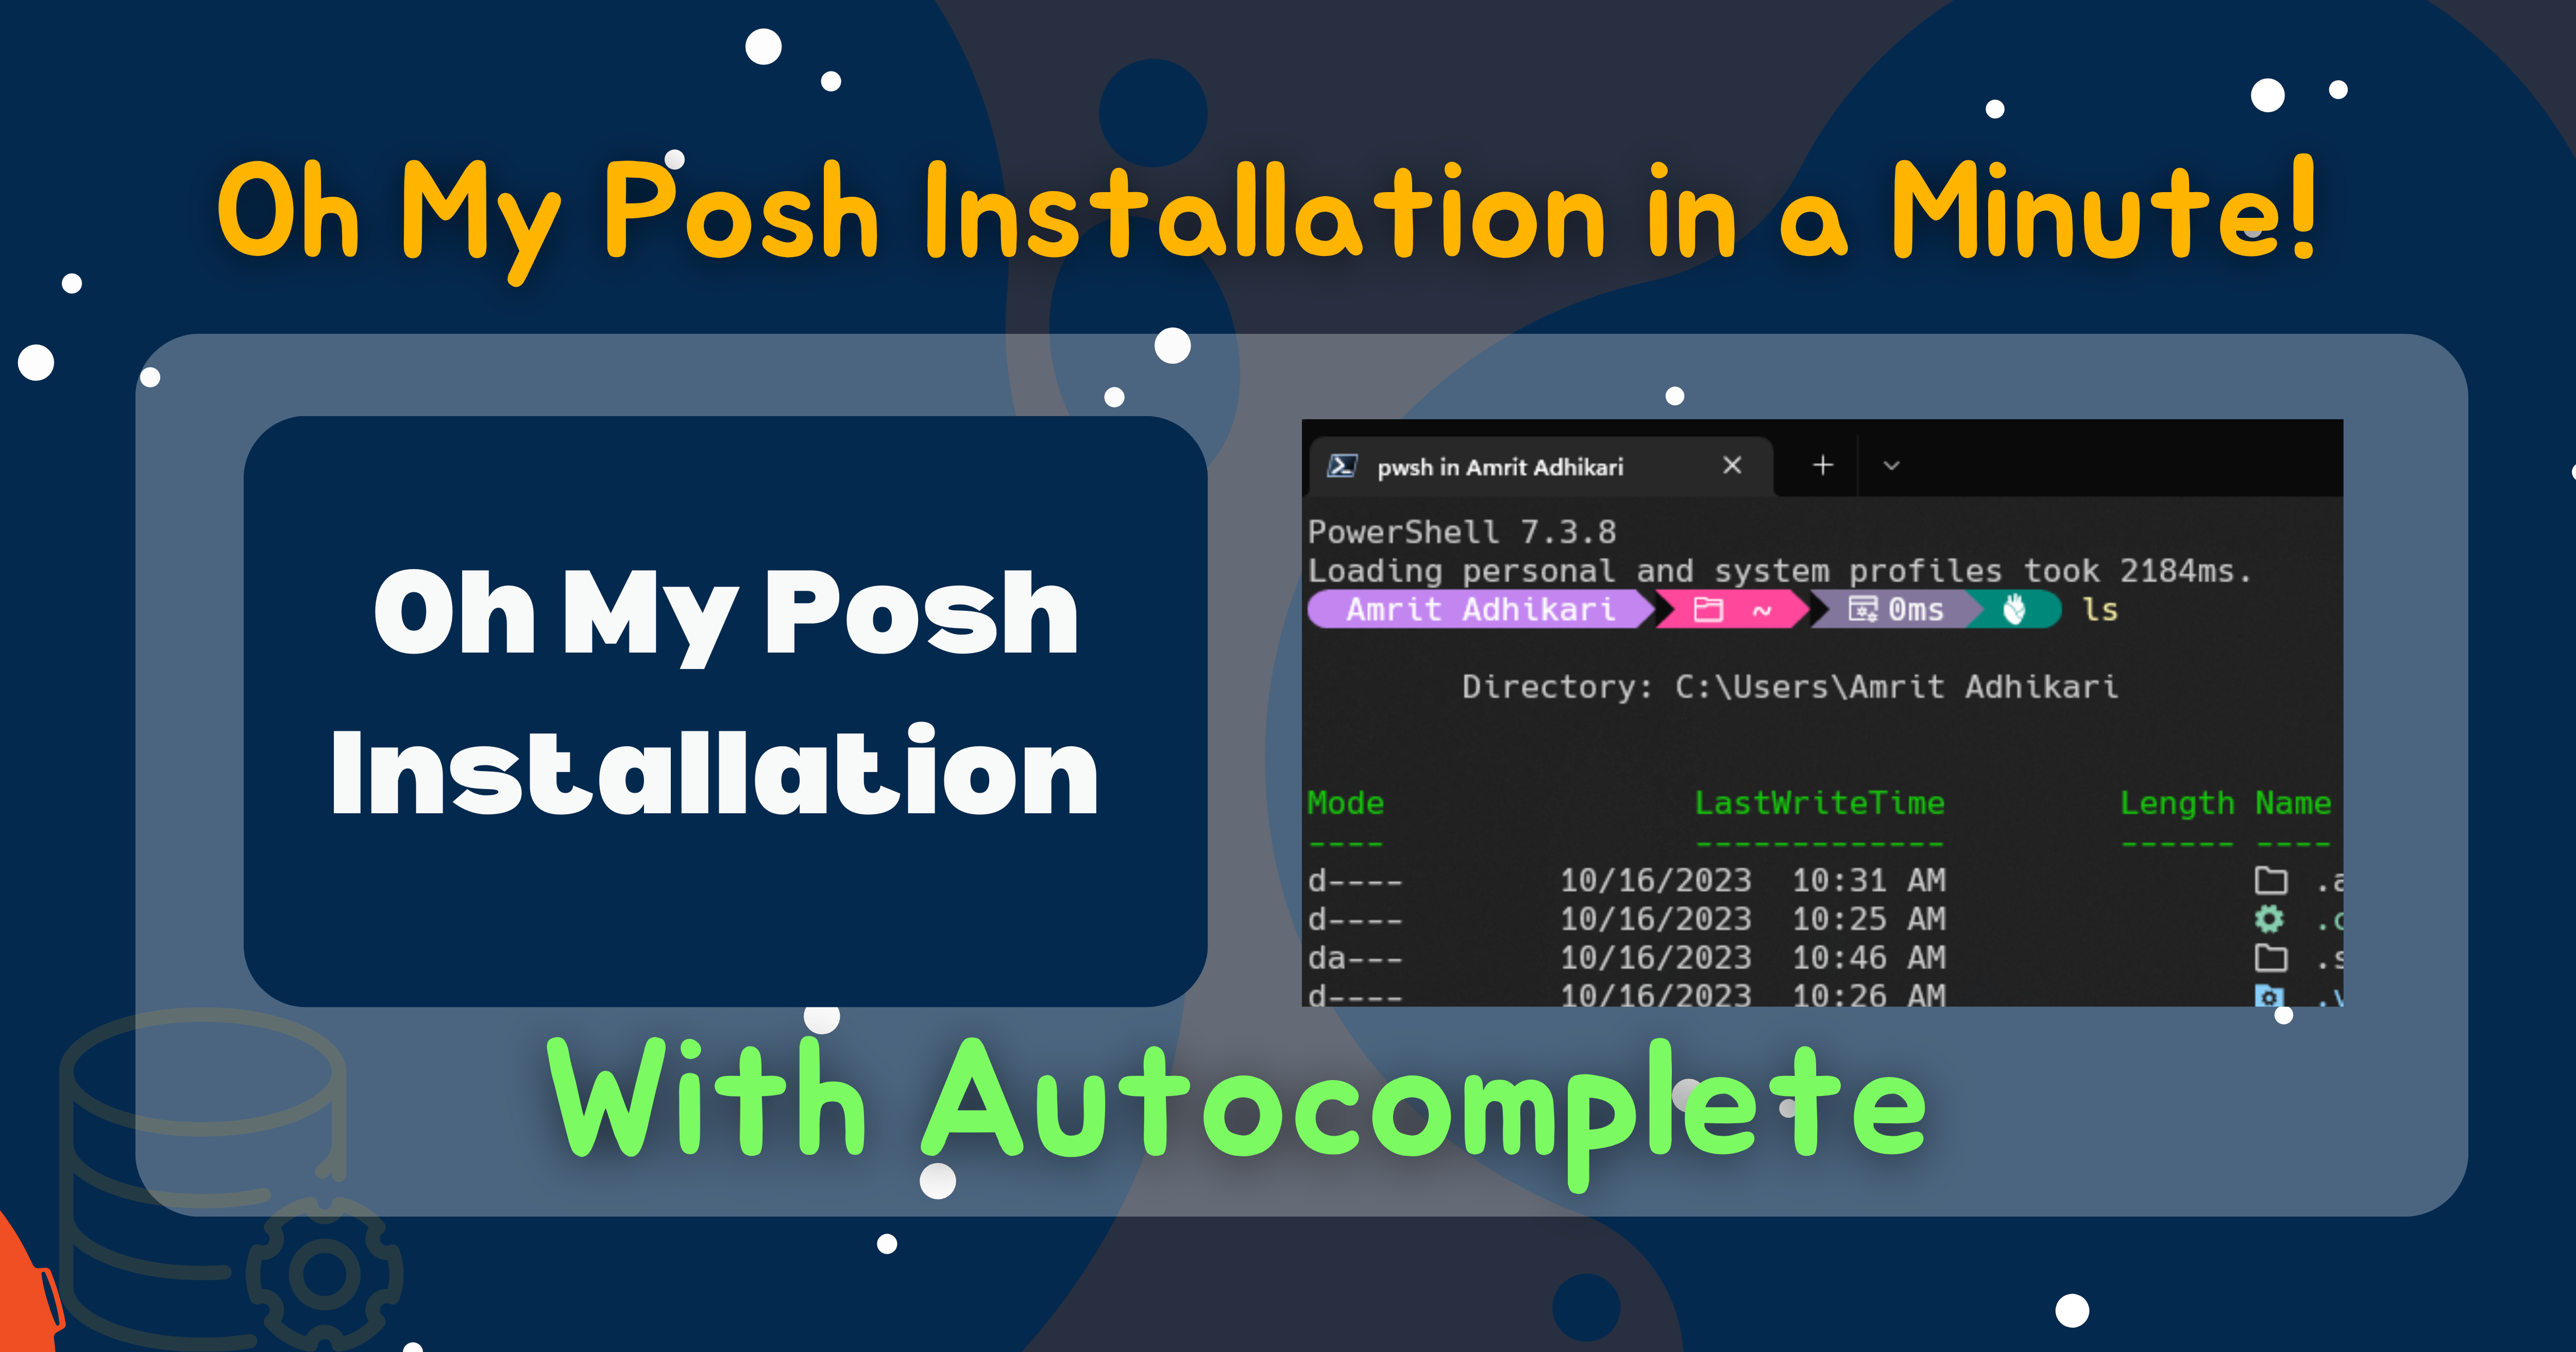
Oh My Posh Installation in a Minute!
 Amrit Adhikari
Step 1: Installation
Open a PowerShell prompt and run the following command:
winget install JanDeDobbeleer.OhMyPosh -s winget
If you get any installation error use the following command to force-install:
Set-ExecutionPolicy Bypass -Scope Process -Force; Invoke-Expression ((New-Object System.Net.WebClient).DownloadString('https://ohmyposh.dev/install.ps1'))
And For Update:
Open a PowerShell prompt and run the following command:
winget upgrade JanDeDobbeleer.OhMyPosh -s winget
Step 2: Installation Prediction Source History
Open a PowerShell prompt and run the following command:
Install-Module -Name PSReadLine
Step 3: For Terminal Icons
For Icons on the terminal, Open a PowerShell prompt and run the following command:
Install-Module -Name Terminal-Icons -Repository PSGallery
INFO
To display all icons, we recommend the use of a Hack Nerd Font.
oh-my-posh font install
Step 4: Powershell Profile
Now Open a PowerShell prompt and run the following command:
Code $profile
and copy and paste the following code
oh-my-posh init pwsh --config "$env:POSH_THEMES_PATH\jandedobbeleer.omp.json" | Invoke-Expression
Import-Module -Name Terminal-Icons
Import-Module -Name PSReadLine

Set-PSReadLineOPtion -PredictionSource History
Note: For the Python Developer I would highly recommend that you follow this gist link and copy-paste code from the following gist:
https://gist.github.com/iamawmrit/748e53cb77a1d23195877d86a70e0fe0
Now You're good to go!
Additional Things:
For Fonts click on the following link to download Hack Nerd Font And use it on your terminal!
https://github.com/ryanoasis/nerd-fonts/releases/download/v3.0.2/Hack.zip
Subscribe to my newsletter
Read articles from Amrit Adhikari directly inside your inbox. Subscribe to the newsletter, and don't miss out.
Written by
