Kubeadm Installation on Master and Worker Nodes
 Ajay Gite
Pre-requisites
Ubuntu OS (Xenial or later)
sudo privileges
Internet access
t2.medium instance type or higher

Docker Installation on both Master and Worker Node
To prepare both the master and worker nodes for Kubeadm, follow the Sample Command run on the master node
Switch to superuser mode:
sudo su
Update the package repository:
apt update -y

Install Docker and start the service:

Add Google's GPG key and repository for Kubernetes:
curl -fsSL "https://packages.cloud.google.com/apt/doc/apt-key.gpg" | sudo gpg --dearmor -o /etc/apt/trusted.gpg.d/kubernetes-archive-keyring.gpg
echo 'deb https://packages.cloud.google.com/apt kubernetes-xenial main' > /etc/apt/sources.list.d/kubernetes.list

Update the repository again:
apt update -y

Install specific versions of Kubeadm, Kubectl, and Kubelet:
apt install kubeadm=1.20.0-00 kubectl=1.20.0-00 kubelet=1.20.0-00 -y

Follow the same commands on the worker node as well. By executing these commands on both the master and worker nodes, you'll ensure they are ready to work with Kubeadm.
Here are the steps and commands for initializing the Kubernetes master node, setting up worker nodes, and verifying the cluster connection:
Master Node Setup
- Initialize the Kubernetes master node:
sudo su
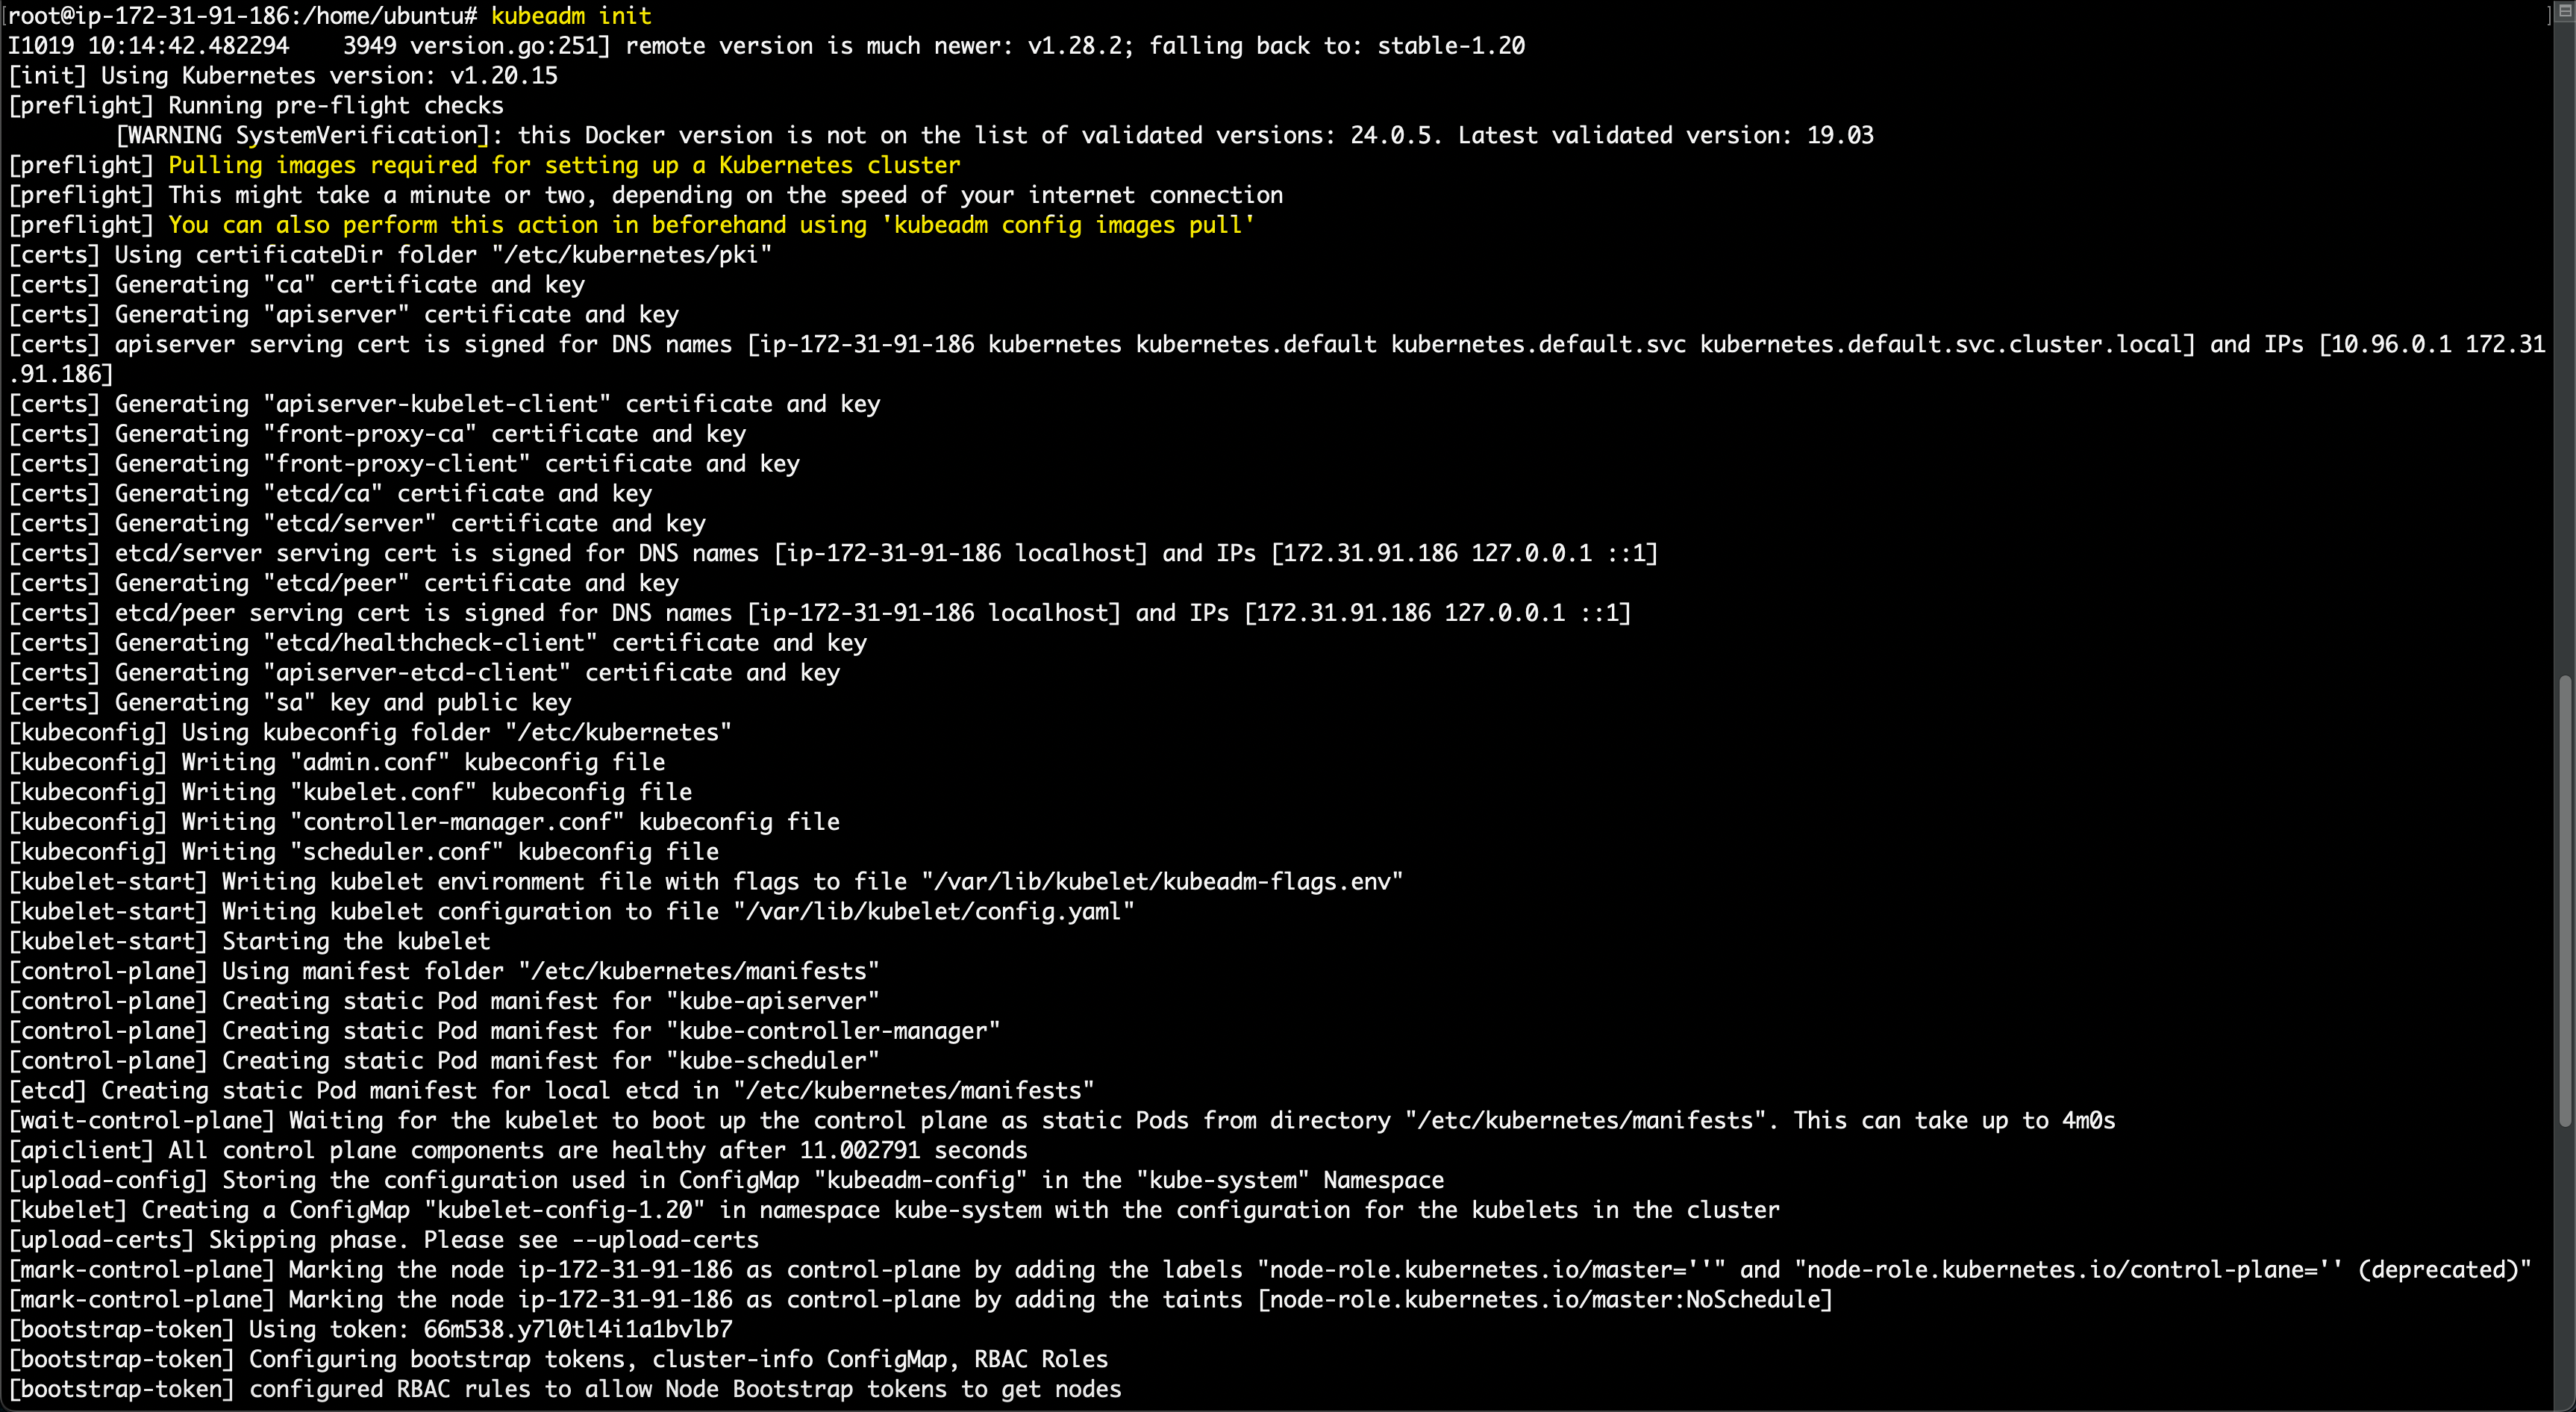
kubeadm init

Set up local kubeconfig (both for the root user and normal user)
mkdir -p $HOME/.kube
sudo cp -i /etc/kubernetes/admin.conf $HOME/.kube/config
sudo chown $(id -u):$(id -g) $HOME/.kube/config
Apply the Weave network:
kubectl apply -f https://github.com/weaveworks/weave/releases/download/v2.8.1/weave-daemonset-k8s.yaml

Generate a token for worker nodes to join:
kubeadm token create --print-join-command

Expose port 6443 in the Security group for the Worker to connect to the Master Node.

Worker Node Setup
Run the following commands on the worker node to reset the checks so it can't assign as Master
sudo su
kubeadm reset pre-flight checks
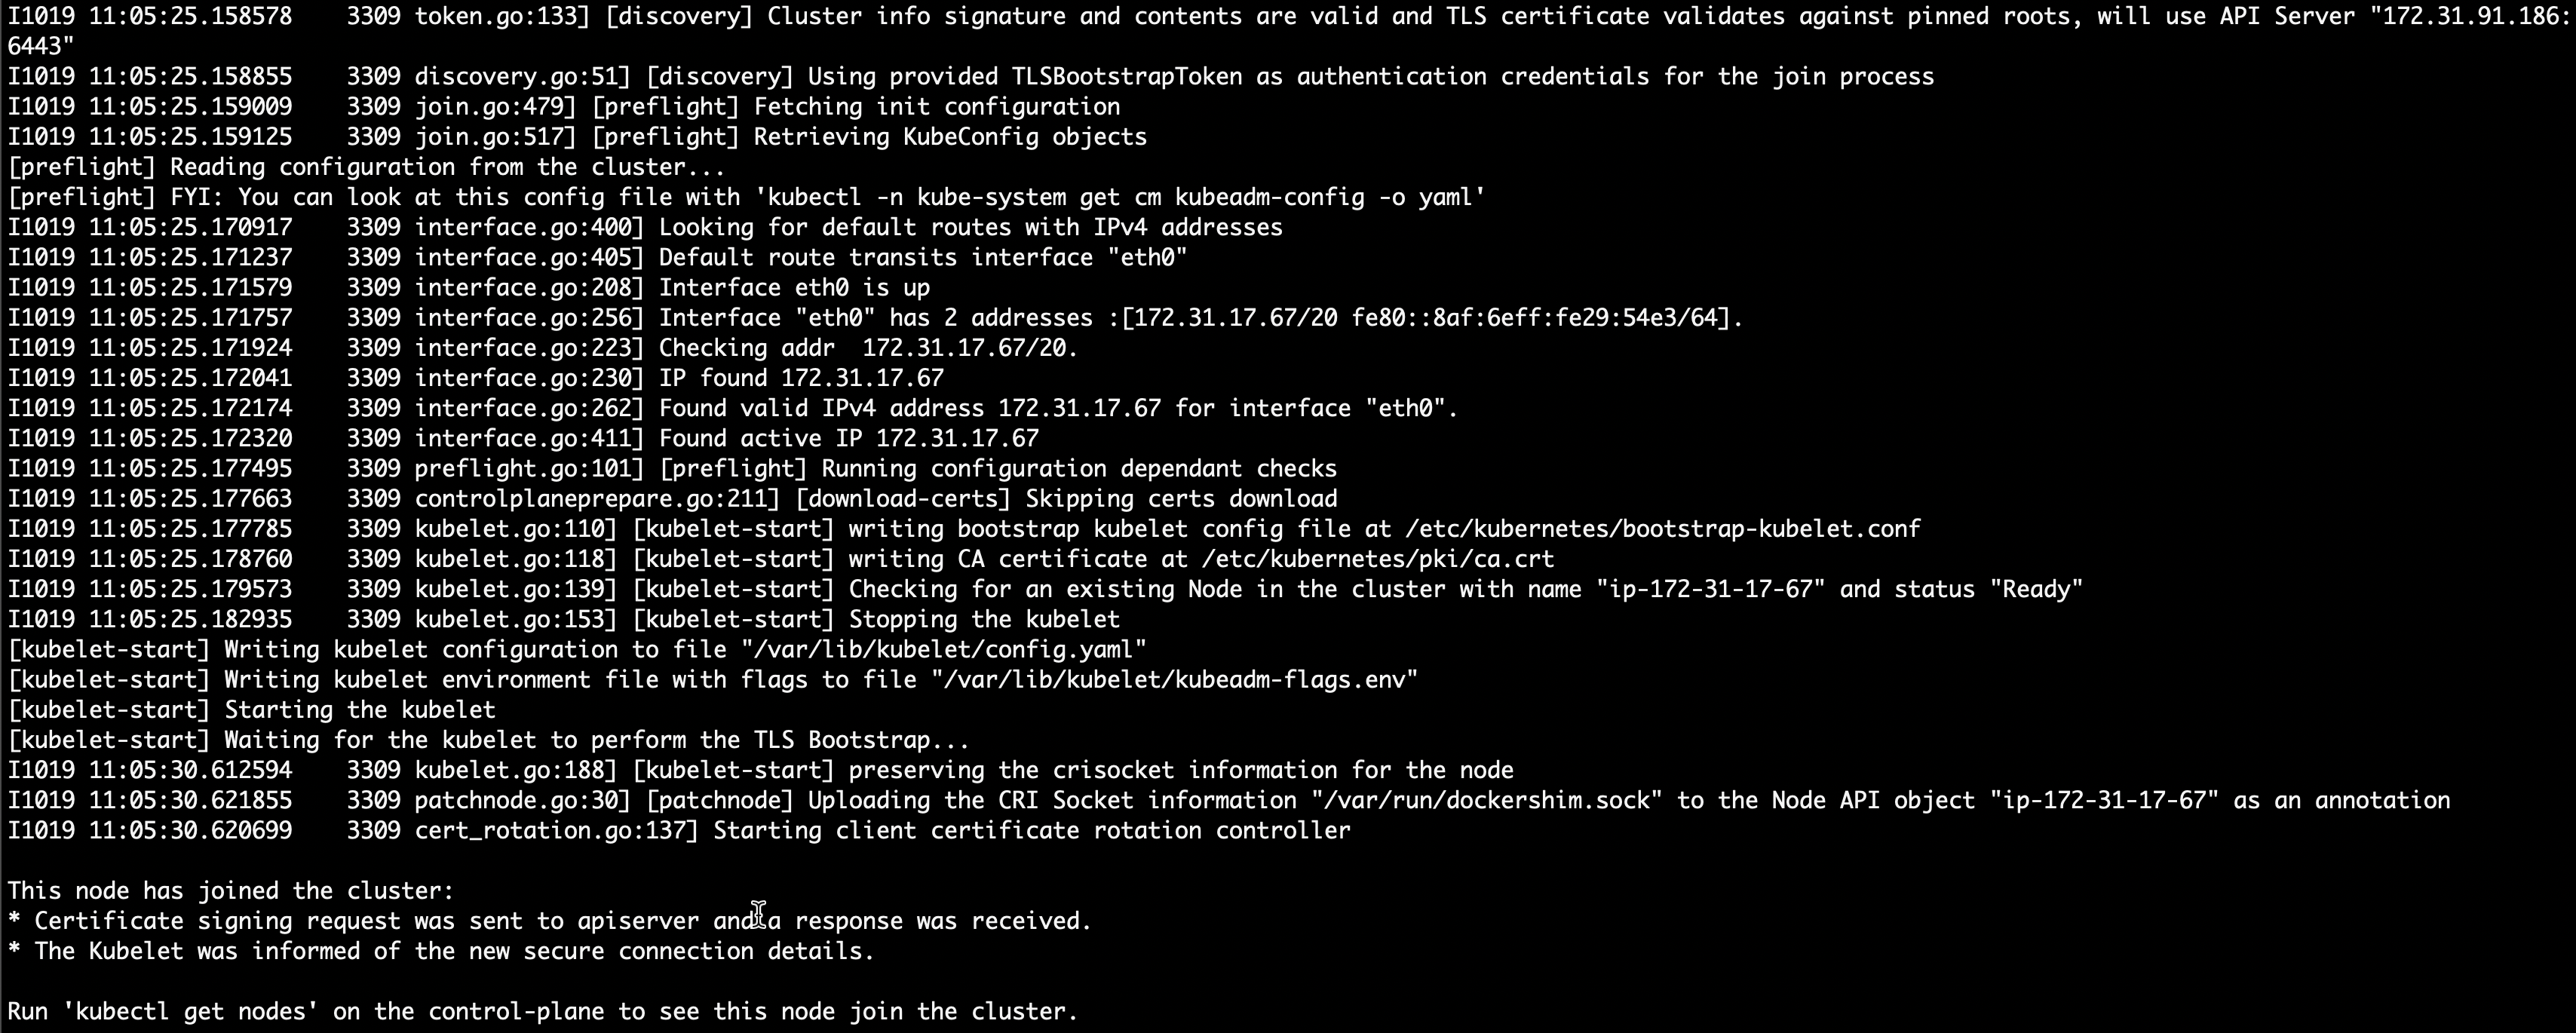
Paste the join command on Worker Node which you want to join to Master - You received from the Master node and append --v=5 at the end.


After successful join, verify the cluster connection by running the command in the Master Node :
kubectl get nodes

Optional: Labeling Nodes
If you want to label worker nodes, you can use the following command:
kubectl label node <node-name> node-role.kubernetes.io/worker=worker

Optional: Test a Demo Pod
If you want to test a demo pod, you can use the following command on Master:
kubectl run hello-world-pod --image=busybox --restart=Never --command -- sh -c "echo 'Hello, World' && sleep 3600"

By following these steps, you'll successfully initialize the master node, configure worker nodes, and validate the cluster connection, allowing you to proceed with more advanced Kubernetes operations.
Now we can see the docker container in the worker node
docker ps
Optional: To delete a pod
kubectl delete pod <pod-name>
Subscribe to my newsletter
Read articles from Ajay Gite directly inside your inbox. Subscribe to the newsletter, and don't miss out.
Written by
