How to Connect and Record Calls using Twilio :Part 1
 Yash Badoniya
In today's interconnected world, communication is key, and businesses often rely on the power of voice calls to connect with their customers. To enhance this communication, Twilio, a cloud communications platform, offers a simple and effective way to connect and record calls. In this tutorial, we'll explore how to use Twilio in Node.js to set up and record calls effortlessly.
Prerequisites
Before we dive into the Twilio magic, you'll need to ensure you have a few things in place:
Node.js installed on your system
A Twilio account: You can sign up for a free trial here.
Twilio Account Sid and Auth token Required

A phone number: You'll need at least one phone number from Twilio, which will be used for making and receiving calls.
Setting Up Your Node.js Project
First, create a new Node.js project and initialize it. Open your terminal and run the following commands:
mkdir twilio-call-recording
cd twilio-call-recording
npm init -y
Now, let's install the required packages:
npm install express twilio
We'll use the Express.js framework for creating a simple server, and the Twilio Node.js package to interact with Twilio's APIs.
Writing the Code
Setting Up an Express Server
Create an app.js file in your project directory and set up an Express server:
const express = require('express');
const app = express();

app.use(express.json());

const port = process.env.PORT || 3000;

app.listen(port, () => {
  console.log(`Server is running on port ${port}`);
});
This code creates an Express server and starts it on either the port specified in your environment variables or port 3000.
Connecting a Call
To connect a call, we'll use Twilio's Voice API. Add the following code to your app.js:
const accountSid = 'YOUR_TWILIO_ACCOUNT_SID';
const authToken = 'YOUR_TWILIO_AUTH_TOKEN';
const client = require('twilio')(accountSid, authToken);

app.post('/connect-call', (req, res) => {
  client.calls
    .create({
      url: 'http://demo.twilio.com/docs/voice.xml',
      to: 'TO_PHONE_NUMBER', // Replace with your recipient's phone number
      from: 'YOUR_TWILIO_PHONE_NUMBER', // Replace with your Twilio phone number
    })
    .then((call) => {
      console.log(`Call ID: ${call.sid}`);
      res.send(`Call ID: ${call.sid}`);
    })
    .catch((error) => {
      console.error(error);
      res.status(500).send(error);
    });
});
In this code, replace 'YOUR_TWILIO_ACCOUNT_SID', 'YOUR_TWILIO_AUTH_TOKEN', 'TO_PHONE_NUMBER', and 'YOUR_TWILIO_PHONE_NUMBER' with your actual Twilio account credentials and the recipient's phone number.
This route, /connect-call, creates a new outbound call to the specified phone number. You can provide a TwiML URL in the url parameter to define call instructions. For simplicity, we've used Twilio's demo TwiML URL.
Recording the Call
To record the call, you need to modify the TwiML instructions. Create a new route in app.js:
app.post('/record-call', (req, res) => {
  const voiceResponse = new VoiceResponse();
  voiceResponse.say('Recording your call now. Please speak.');

  voiceResponse.record({
    action: '/recording-complete',
    method: 'POST',
    maxLength: 60,
  });

  res.type('text/xml');
  res.send(voiceResponse.toString());
});
This code defines a route, /record-call, which returns TwiML instructions for recording the call. The maxLength attribute specifies the maximum duration of the recording in seconds.
Next, create an endpoint to handle the recording completion:
app.post('/recording-complete', (req, res) => {
  console.log('Recording completed.');
  res.status(204).end();
});
Handling Webhooks
Twilio uses webhooks to communicate with your server. To handle incoming webhooks, make sure your server is accessible from the internet. Services like ngrok can help with this during development.
After exposing your server, configure your Twilio phone number's voice settings to point to your /connect-call and /record-call routes.
Testing the Setup
To test your setup, run your Node.js server:
node app.js
Now, use a tool like Postman or curl to make a POST request to http://localhost:3000/connect-call. You should receive a call, and once it's answered, it will start recording.
To stop the server, press Ctrl + C.
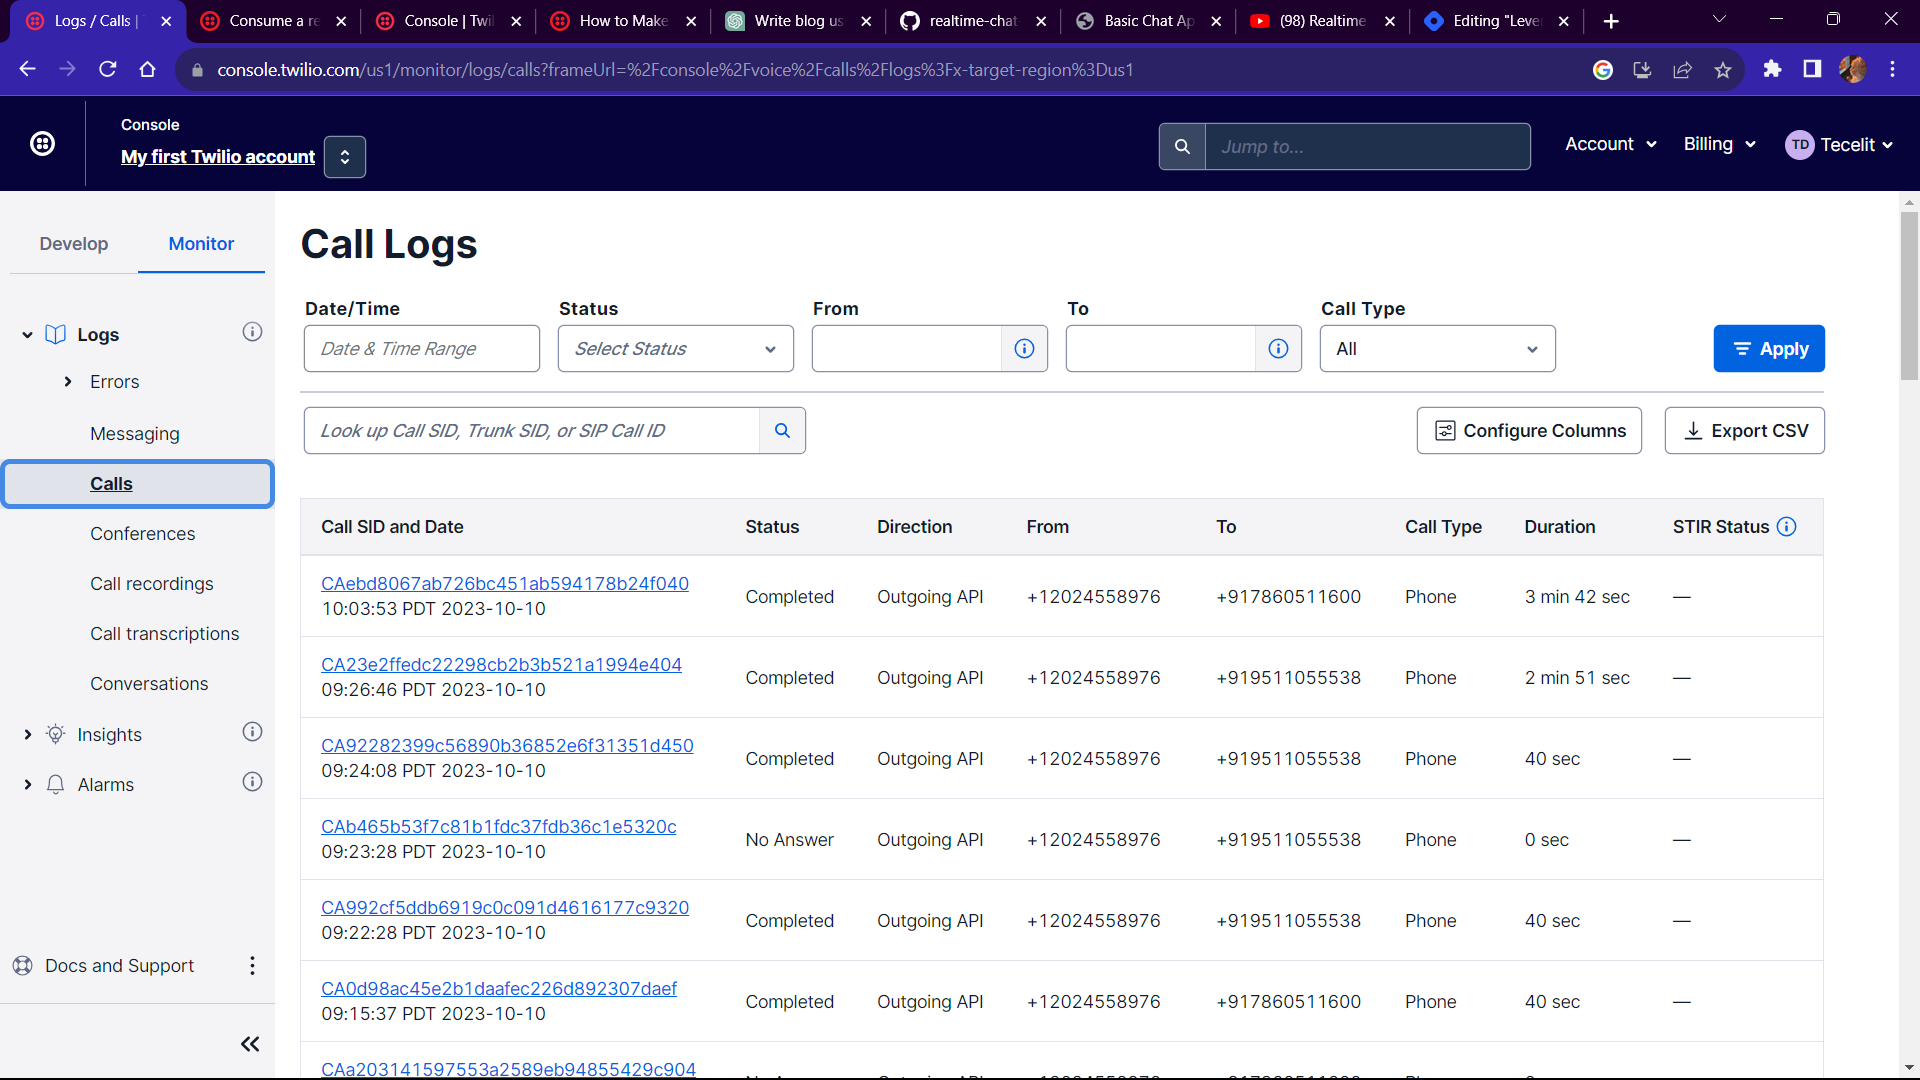
Call logs
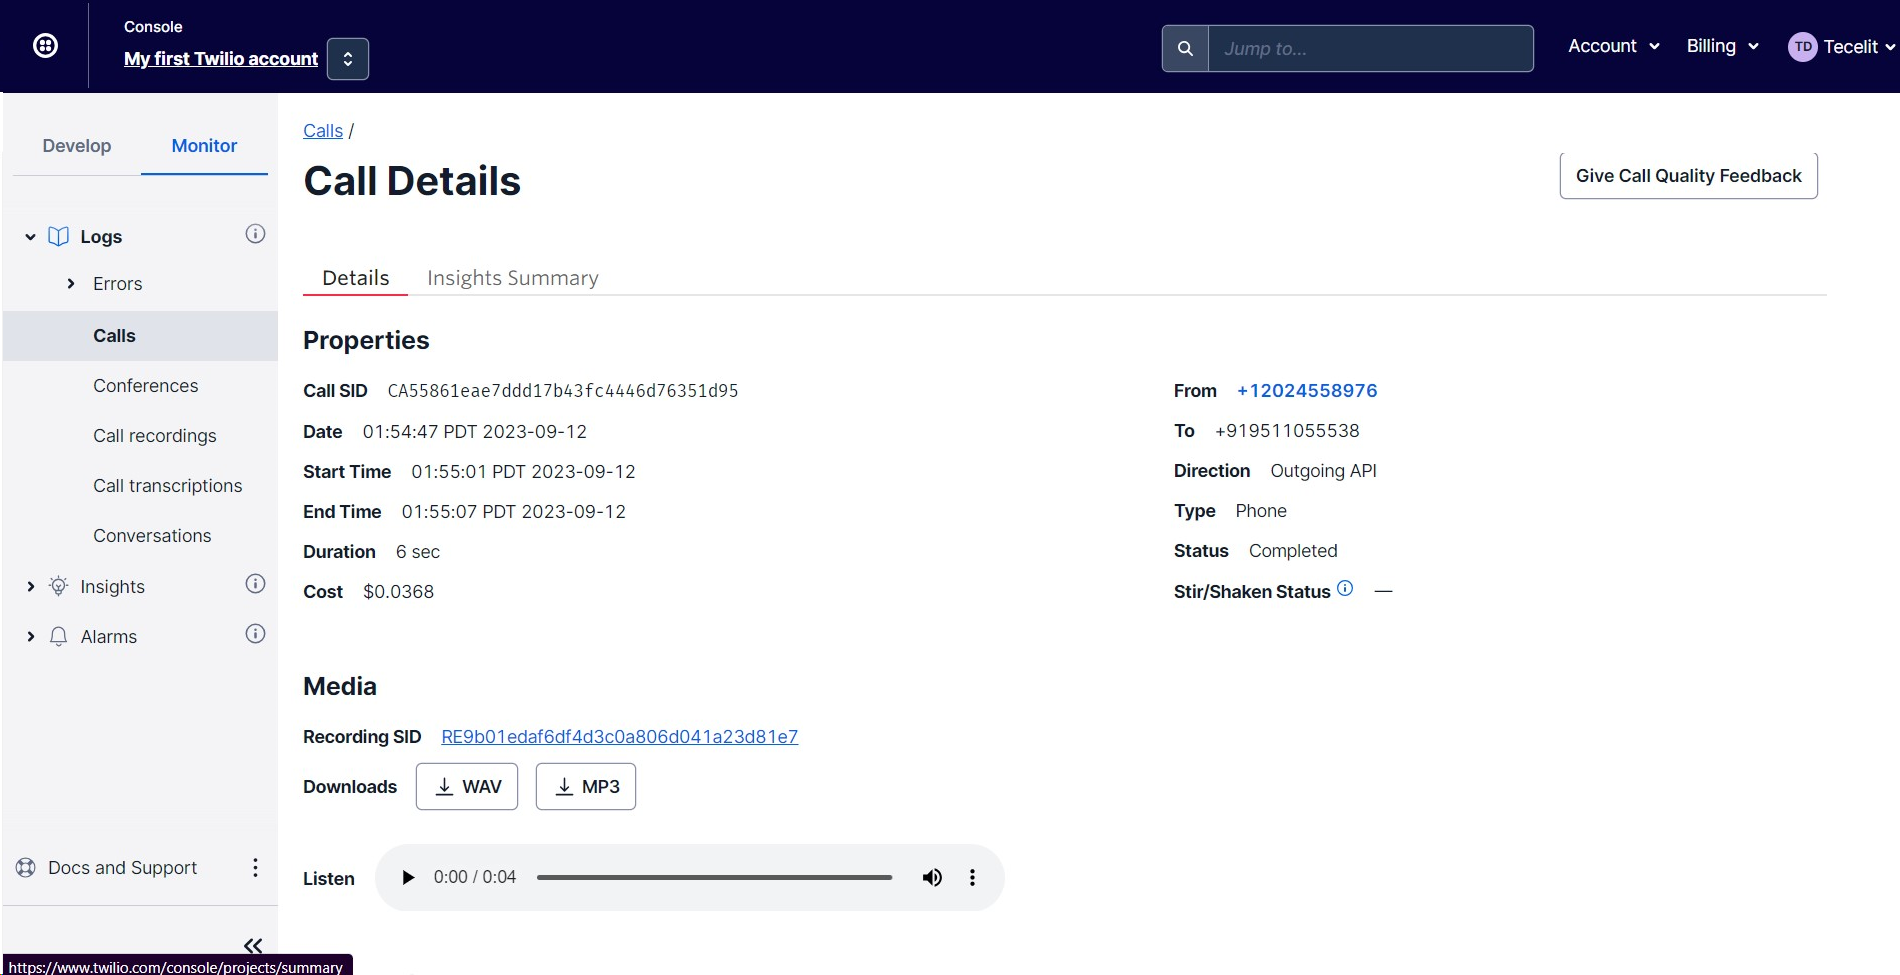
To check the call logs , go to monitor section and then click on logs

the click on the call sid

Conclusion
With this tutorial, you've learned how to connect and record calls using Twilio in a Node.js application. This is just the beginning of what you can achieve with Twilio's extensive features for voice and messaging. You can use this knowledge to build powerful voice applications, interactive voice response (IVR) systems, and more.
Enhance your communication capabilities with Twilio and Node.js, and explore the possibilities of cloud-based communication in your applications. Happy coding! 📞🚀
Subscribe to my newsletter
Read articles from Yash Badoniya directly inside your inbox. Subscribe to the newsletter, and don't miss out.
Written by

Yash Badoniya
Yash Badoniya
🚀 Aspiring Developer | 📱 Mobile App Enthusiast | 💡 Creative Problem Solver I'm Yash Badoniya, on a journey to conquer the tech universe! Currently pursuing a B.Tech in Computer Science and Engineering, I'm your go-to Mobile Developer Intern at Tecelit. With a passion for innovation, I'm all about making apps snappier and user experiences unforgettable. When not coding, you'll find me leading the charge in the world of creativity through extracurricular activities. Let's connect and explore the endless possibilities of tech together! 🔥🌟