Terraweek day 3 : Unlocking the power of terraform with aws, creating instances
 Gourav Toonwal
In Terraweek series we have already learned basics and concepts that will help us to understand the configuration file.
We will be creating EC2 instances in the AWS platform and will understand how to terraform init and terraform apply for works and validate the directory without initialising.
Task 1:
Create a Terraform configuration file to define a resource of AWS EC2 instance.
for creating a EC2 instance in the AWS with the help of terraform, you need to integrate aws with terraform with the help of aws cli and IAM User.
step 1 : Download aws cli with this command
sudo apt install awscli
step 2: go to AWS management console and configure a new IAM user with the policy attached of an AdminstratorAccess
after creating a access key and a secret access key provided
now head towards your machine and follow this
aws configure

now it's time to create a ec2 instance with the help of terraform
make a file In mine case it's main.tf
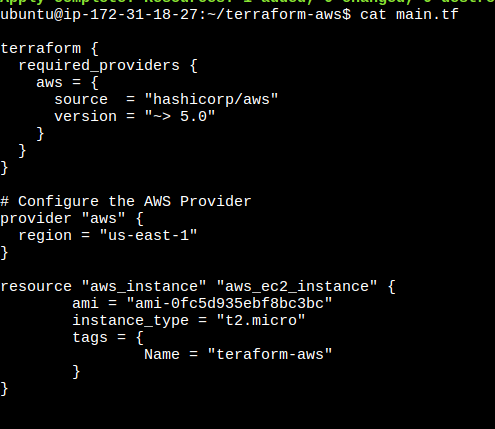
## terrraform block is use to configure terraform with aws
terraform {
  required_providers {
    aws = {
      source  = "hashicorp/aws"
      version = "~> 5.0"
    }
  }
}

# Configure the AWS Provider
provider "aws" {
  region = "us-east-1"
}
## resouce block for ec2 instance
resource "aws_instance" "aws_ec2_instance" {
        ami = "ami-0fc5d935ebf8bc3bc" ##ami ID from aws
        instance_type = "t2.micro"
        tags = {
                Name = "teraform-aws" ## name of the instance
        }
}
once it done run this commands
Task 2:
Check state files before running plan and apply commands & Use validate command to validate your tf file for errors and provide the Output generated by each commands.
terraform validate
terraform init ##for initialise a terraform file
terrform plan ##show the plan of terraform , what will be the changes
terraform apply ##to apply the changes
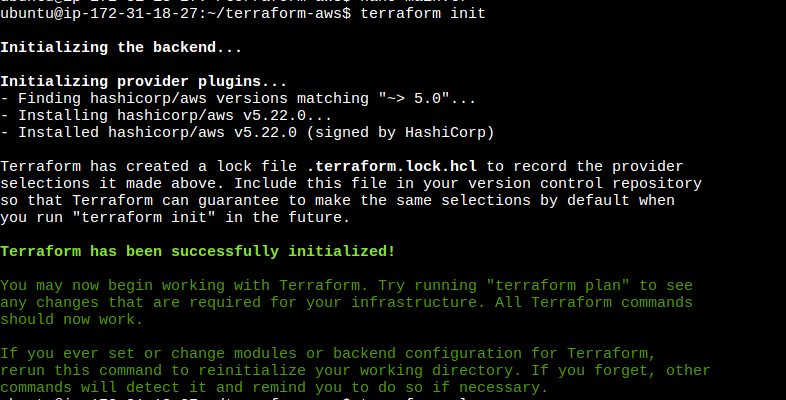
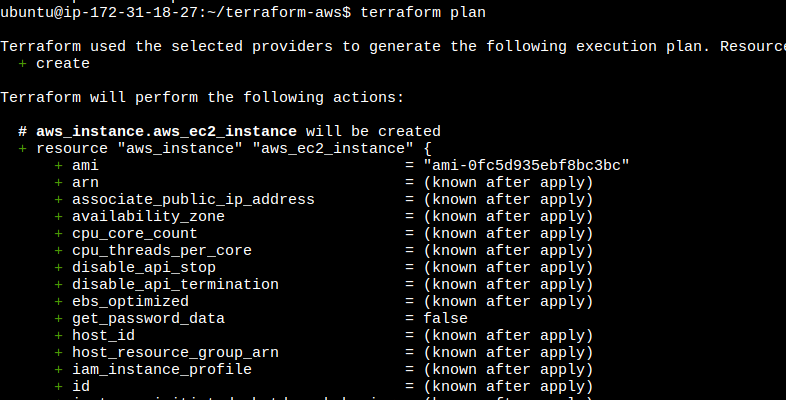
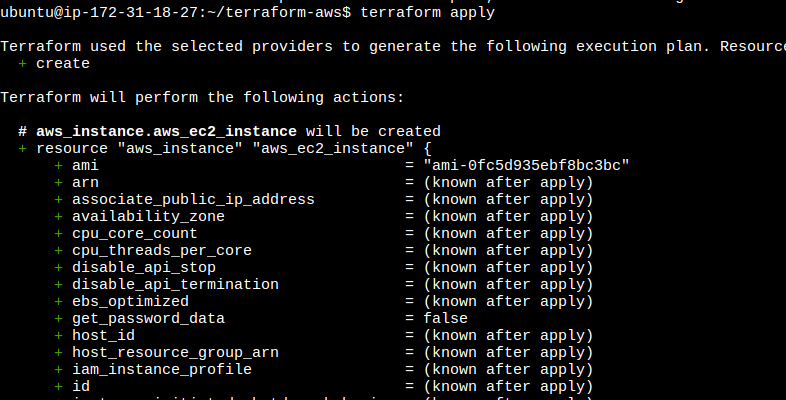
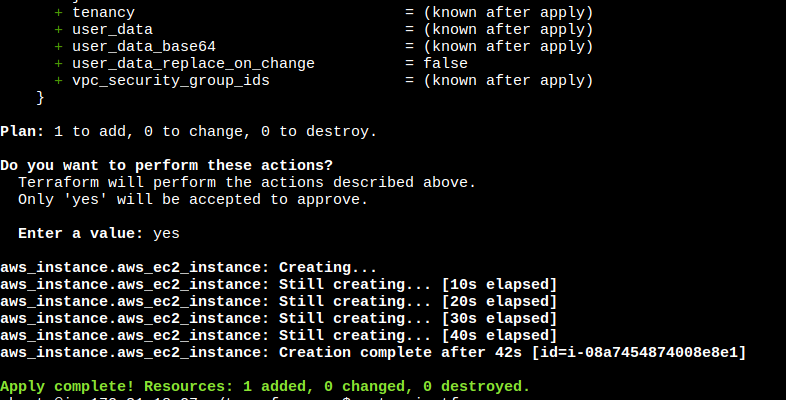
once it is done , you can confirm the creation of ec2 instance on the aws consol
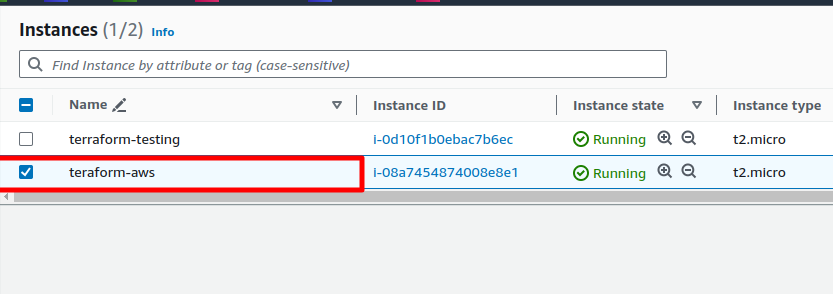
and that's it the ec2 instance is created successfully...
Task 3:
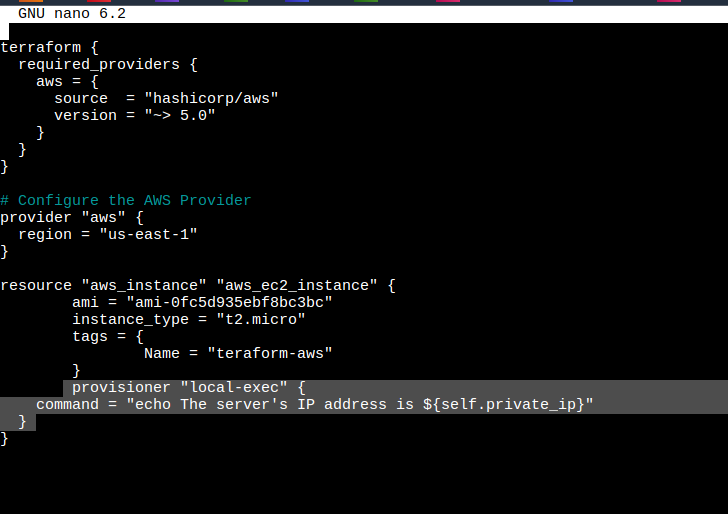
Add a provisioner to the configuration file to configure the resource after it is created and use Terraform commands to apply for changes and destroy to remove resources.
In Terraform, the provisioner block is used to define actions or scripts that should be executed on a resource after it is created or destroyed. It allows you to configure and customize the resource as needed, such as installing software, running commands, or executing configuration scripts.
resource "aws_instance" "aws_ec2_instance" {
        ami = "ami-0fc5d935ebf8bc3bc"
        instance_type = "t2.micro"
        tags = {
                Name = "teraform-aws"
        }
        provisioner "local-exec" {
    command = "echo The server's IP address is ${self.private_ip}"
  }
}
create and destroy
The create provisioner runs after the resource is created, allowing you to perform actions like software installation or configuration. It ensures that the resource is ready for use once created
The destroy provisioner runs before the resource is destroyed. It allows you to clean up or perform any necessary actions before the resource is removed, such as removing files or releasing resources.
Once we have added the provisioners block just initialize the project, apply the planned changes.

Task 4:
Add lifecycle management configurations to the configuration file to control the creation, modification, and deletion of the resource and use Terraform commands to apply the changes.
What is a lifecycle block:
In Terraform, the lifecycle block is used to define lifecycle management configurations for resources.
It allows you to control the behaviour of Terraform during resource creation, modification, and deletion. The lifecycle block provides options for managing resource replacement, preventing certain changes from triggering resource recreation, and specifying other resource-specific behaviours.
Create resources before they are destroyed :
This will cause downtime but must happen, Use the create_before_destroy attribute to create your new resource before destroying the old resource.
- Update your EC2 instance to reflect this change by adding the create_before_destroy attribute
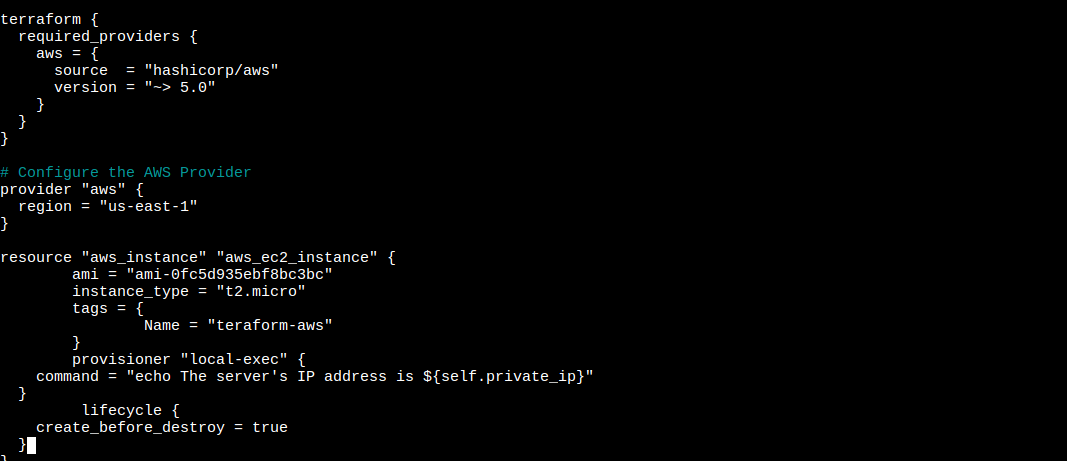
Once you added the changes observe the result.
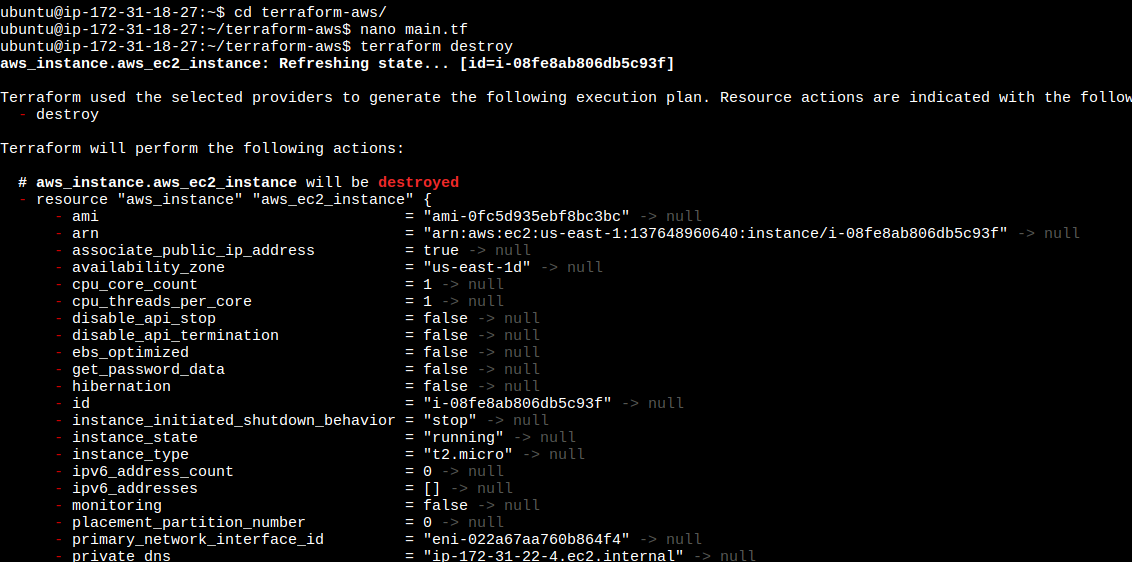
once the demonstration and the practice is completed make sure to destroy the infra with this command
terraform destroy

thank you for being here
If you've enjoyed this article and want to stay updated on the latest in the tech world, don't forget to connect with me on GOURAV TOONWAL. Let's keep the conversation going and explore the exciting world of technology together. Follow for more insights, discussions, and tech updates.
spreading knowledge in the community ...
Subscribe to my newsletter
Read articles from Gourav Toonwal directly inside your inbox. Subscribe to the newsletter, and don't miss out.
Written by
