Setting up a Kubernetes Cluster with Kubeadm on AWS EC2 Instances
 CHANDRESH PATLE
Kubernetes has emerged as a powerful platform for orchestrating containerized applications, providing scalability, fault tolerance, and ease of management. In this step-by-step guide, we will walk you through the process of setting up a Kubernetes cluster using Kubeadm, specifically on AWS EC2 instances. We will utilize an Ubuntu-based t2.medium instance for the master node and a t2.micro instance for the worker nodes.
🔶 Prerequisites:
Before we dive into the cluster setup, make sure you have the following prerequisites in place:
AWS Account: Access to an AWS account with appropriate permissions to create EC2 instances.
SSH Key Pair: Generate an SSH key pair to securely access the EC2 instances.
AWS EC2 Instances: Launch an Ubuntu-based t2.medium instance for the master node and t2.micro instances for the worker nodes.
Security Group Configuration: Set up inbound rules to allow SSH (port 22) and Kubernetes communication (ports 6443, 2379-2380, and 10250-10252).
🔶 Setting up the Master Node:
Launch an EC2 instance:
Choose the Ubuntu 23.10 LTS AMI and the t2.medium instance type.
Configure security groups to allow SSH and Kubernetes communication ports.
Connect to the master node:
Use SSH with the generated key pair to access the EC2 instance.
Update the system packages:
sudo apt-get updateInstall Docker:
sudo apt-get install docker.io -yStart and enable Docker service:
 sudo systemctl start docker
 sudo systemctl enable docker
Add your user to the Docker group:
sudo usermod -aG docker ubuntuRestart Docker:
sudo systemctl restart dockerDisable swap memory:
sudo swapoff -aComment out the swap entry in
/etc/fstab:sudo sed -i '/ swap / s/^\(.*\)$/#\1/g' /etc/fstabEnable bridged traffic to pass through iptables:
sudo sysctl net.bridge.bridge-nf-call-iptables=1Import the Kubernetes repository signing key:
curl -s https://packages.cloud.google.com/apt/doc/apt-key.gpg | sudo apt-key add -Add the Kubernetes repository:
cat <<EOF | sudo tee /etc/apt/sources.list.d/kubernetes.list
deb https://apt.kubernetes.io/ kubernetes-xenial main
EOF
Update the package list:
sudo apt-get update -yInstall specific versions of Kubeadm, Kubectl, and Kubelet:
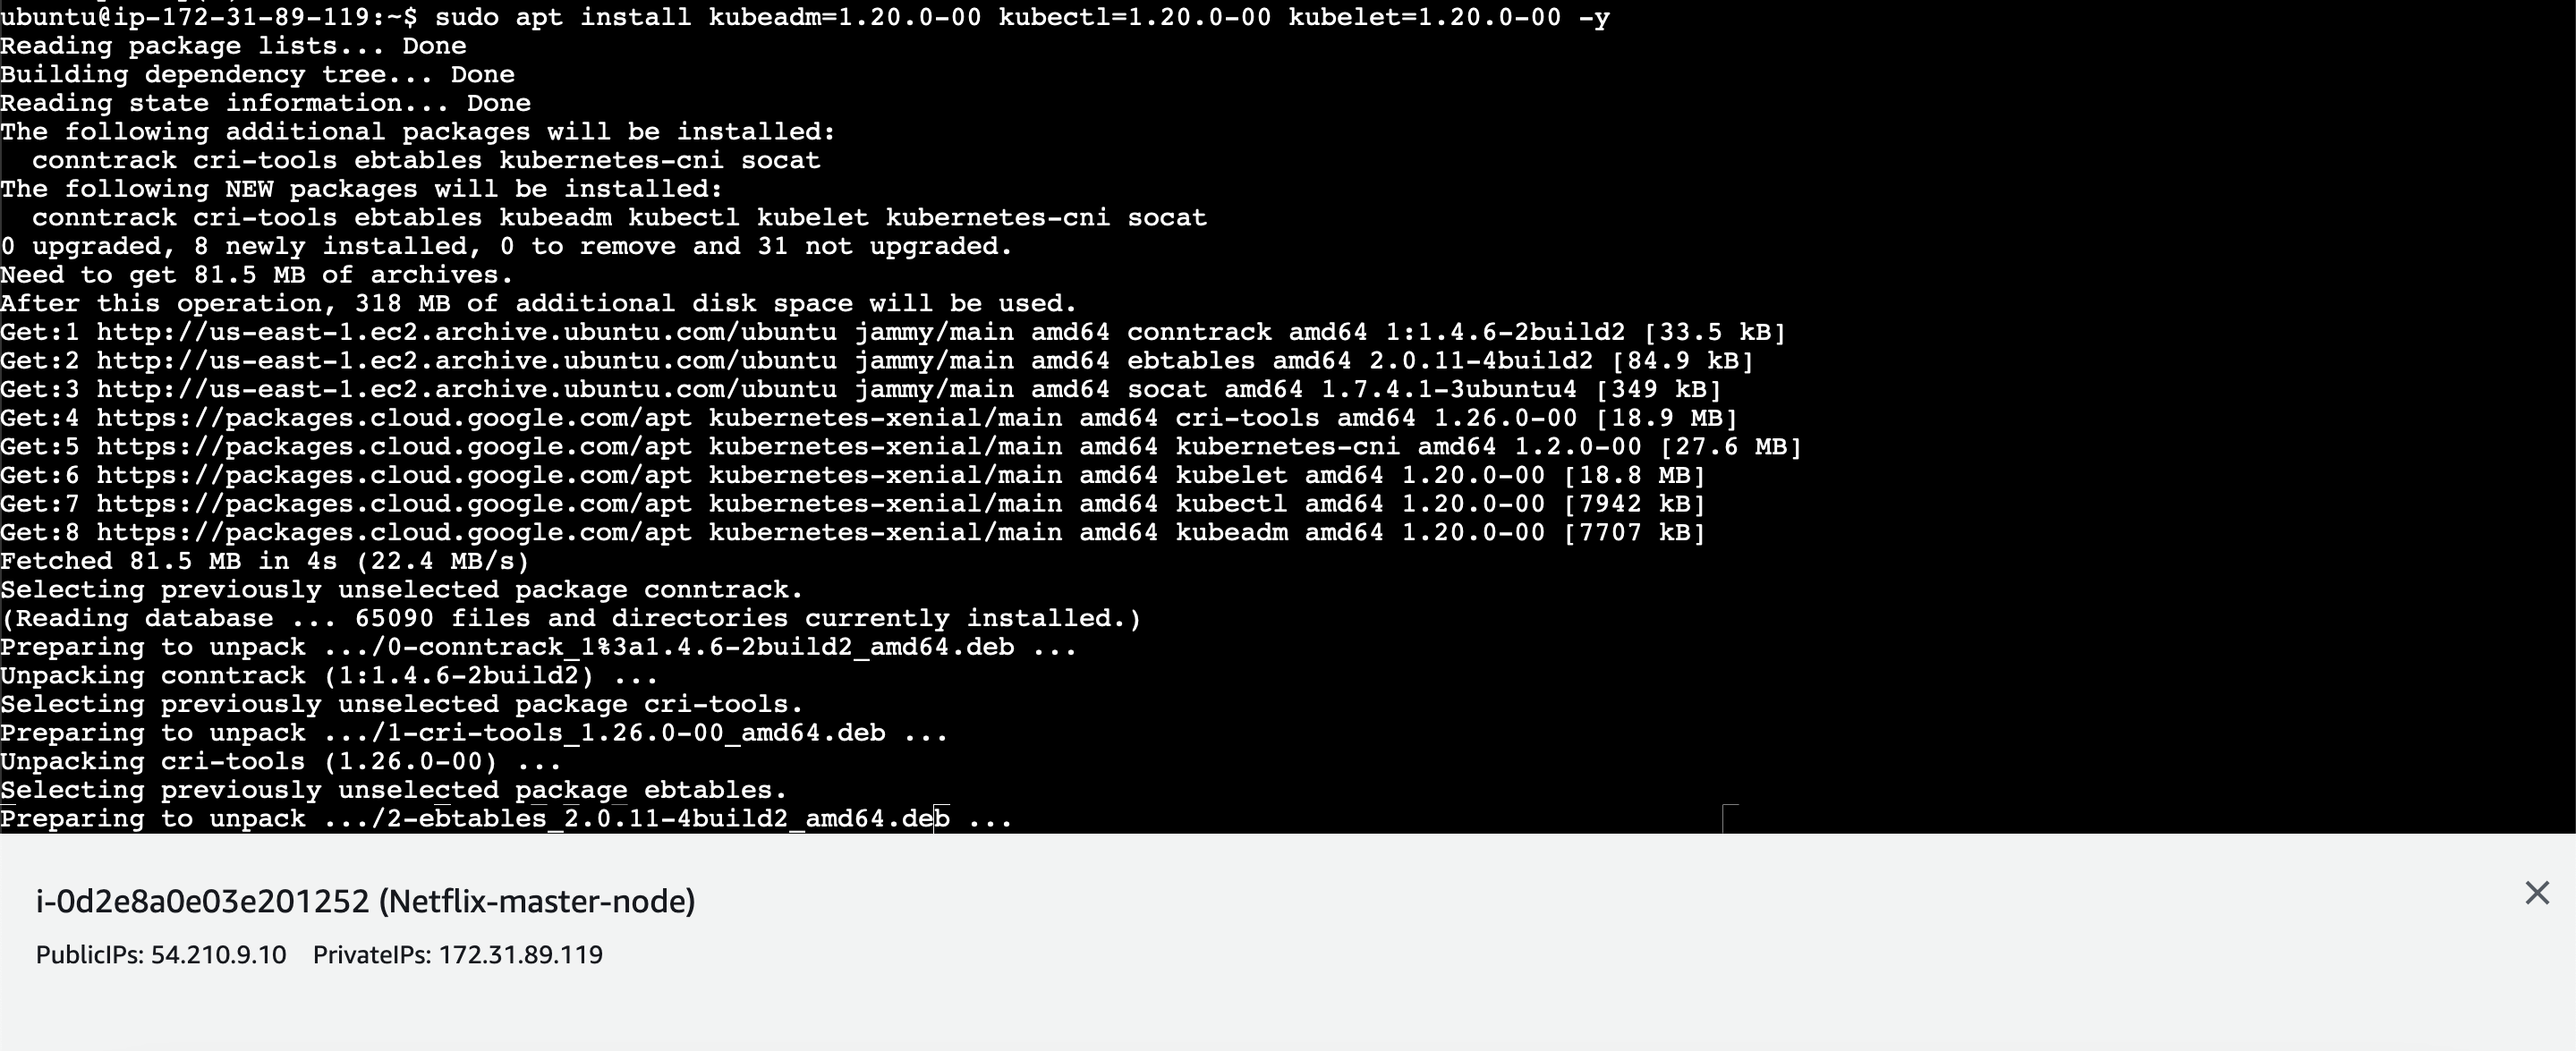
sudo apt install kubeadm=1.20.0-00 kubectl=1.20.0-00 kubelet=1.20.0-00 -y
Initialize the Kubernetes cluster using Kubeadm:
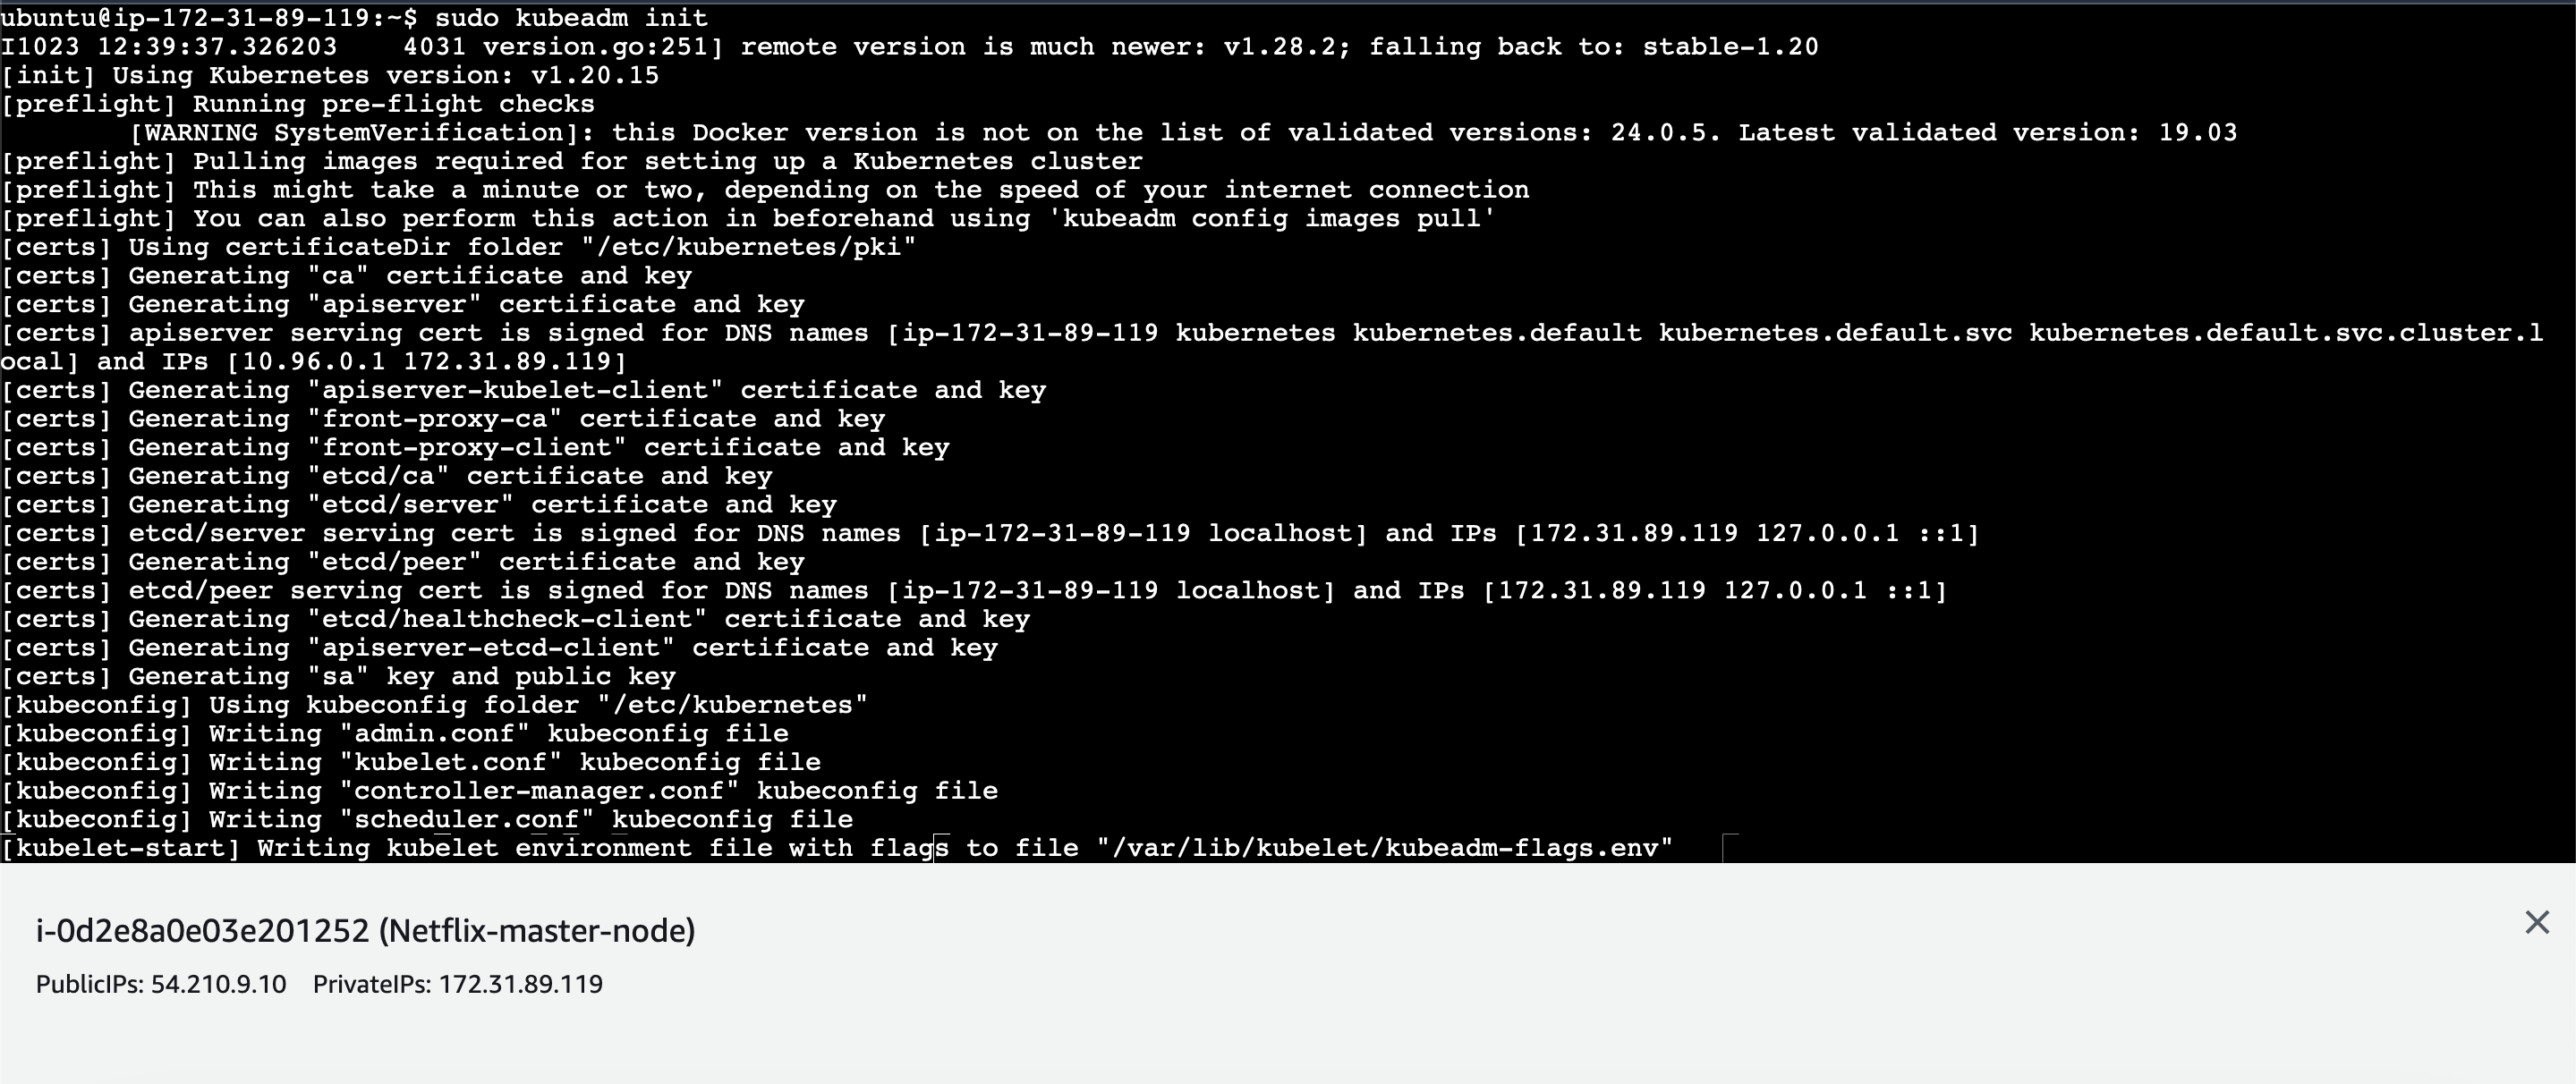
sudo kubeadm init
Set the
KUBECONFIGenvironment variable:export KUBECONFIG=/etc/kubernetes/admin.confDeploy the Weave network plugin for pod networking:
sudo kubectl apply -f https://github.com/weaveworks/weave/releases/download/v2.8.1/weave-daemonset-k8s.yaml
🔶 Setting up the Worker Nodes
Launch EC2 instances:
Choose the Ubuntu 23.10 LTS AMI and the t2.micro instance type.
Configure security groups to allow SSH and Kubernetes communication ports.
Connect to each worker node:
- Use SSH with the generated key pair to access the EC2 instances.
Follow steps 3-10 from the "Setting up the Master Node" section to configure Docker and system settings.
Install specific versions of Kubeadm, Kubectl, and Kubelet:
sudo apt install kubeadm=1.20.0-00 kubectl=1.20.0-00 kubelet=1.20.0-00 -yPerform pre-flight checks to ensure the worker node is ready to join the cluster:
sudo kubeadm reset pre-flight checks
🔶 Joining Worker Nodes to the Cluster
On the master node, generate the join command by executing:
sudo kubeadm token create --print-join-command
Copy the generated join command.
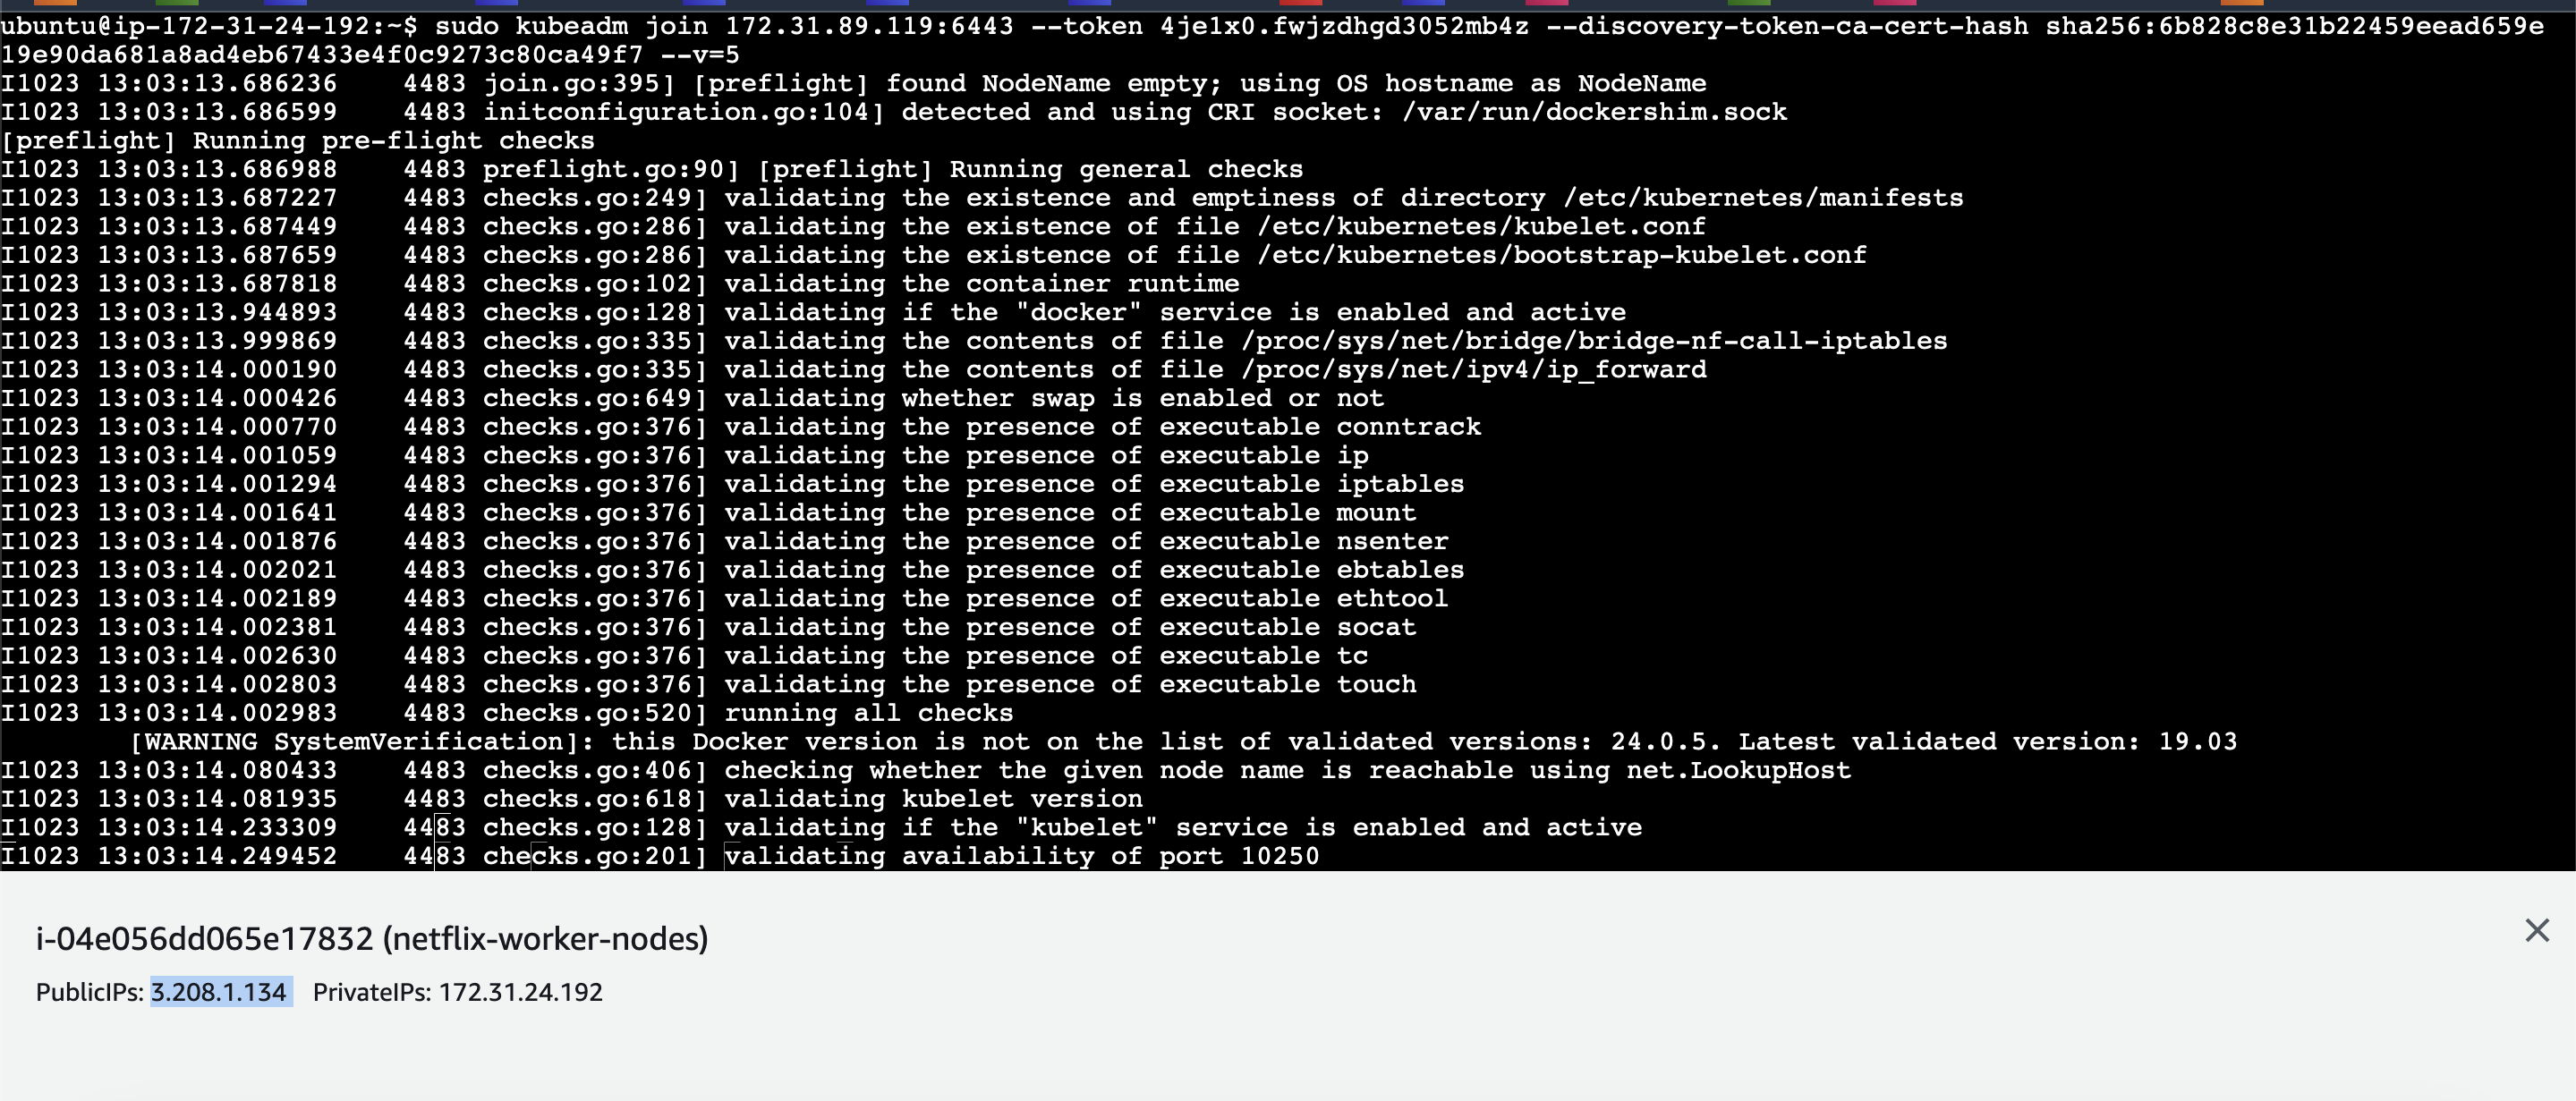
On each worker node, paste and run the join command obtained from the master node don't forget to add --v=5 at the end of the token.
🔶 Verifying the Cluster
Switch back to the master node.
Verify that all nodes have successfully joined the cluster:
kubectl get nodes
The output should display all the nodes in the cluster, including the master node and worker nodes.
In conclusion, this guide has provided a step-by-step walkthrough of setting up a Kubernetes cluster using Kubeadm on AWS EC2 instances. Kubernetes has become a fundamental platform for orchestrating containerized applications, offering scalability, fault tolerance, and effective management.
Here's a summary of the key steps and achievements in this process:
Prerequisites: You ensured that the necessary prerequisites were in place, including an AWS account, SSH key pair, appropriate EC2 instances, and the configuration of security groups. Additionally, you installed the AWS CLI on your local machine.
Setting up the Master Node: You started by launching the master node and performed the following tasks:
Installed Docker and enabled it as a service.
Added your user to the Docker group for permissions.
Disabled swap memory.
Enabled bridged traffic to pass through iptables.
Added the Kubernetes repository and installed specific versions of Kubeadm, Kubectl, and Kubelet.
Initialized the Kubernetes cluster with Kubeadm.
Deployed the Weave network plugin for pod networking.
Setting up the Worker Nodes: The process for setting up the worker nodes was almost identical to that of the master node. You launched worker nodes, configured Docker and system settings, and installed specific versions of Kubeadm, Kubectl, and Kubelet.
Joining Worker Nodes to the Cluster: On the master node, you generated a join command and copied it. On each worker node, you pasted and executed this command to join them to the cluster.
Verifying the Cluster: Finally, you confirmed the successful formation of the cluster by checking the status of all nodes. The output included the master node and worker nodes, indicating a properly functioning Kubernetes cluster.
This guide equips you with the knowledge and hands-on experience needed to create a Kubernetes cluster on AWS, a fundamental skill for managing containerized applications efficiently and effectively. The Kubernetes cluster offers a robust platform for container orchestration, enabling you to deploy and manage applications at scale with reliability and flexibility.
Happy Learning :)
Stay in the loop with my latest insights and articles on cloud ☁️ and DevOps ♾️ by following me on Hashnode, LinkedIn (https://www.linkedin.com/in/chandreshpatle28/), and GitHub (https://github.com/Chandreshpatle28).
Thank you for reading! Your support means the world to me. Let's keep learning, growing, and making a positive impact in the tech world together.
#Git #Linux Devops #Devopscommunity #python #docker #Jenkins #Kubernetes #Terraform #AWS #Grafana

Subscribe to my newsletter
Read articles from CHANDRESH PATLE directly inside your inbox. Subscribe to the newsletter, and don't miss out.
Written by